GemTek Technology P950605G Dynex Wireless 11G Desktop Card User Manual Manual
Gemtek Technology Co., Ltd. Dynex Wireless 11G Desktop Card Manual
UserManual.wiki
>
GemTek Technology
>
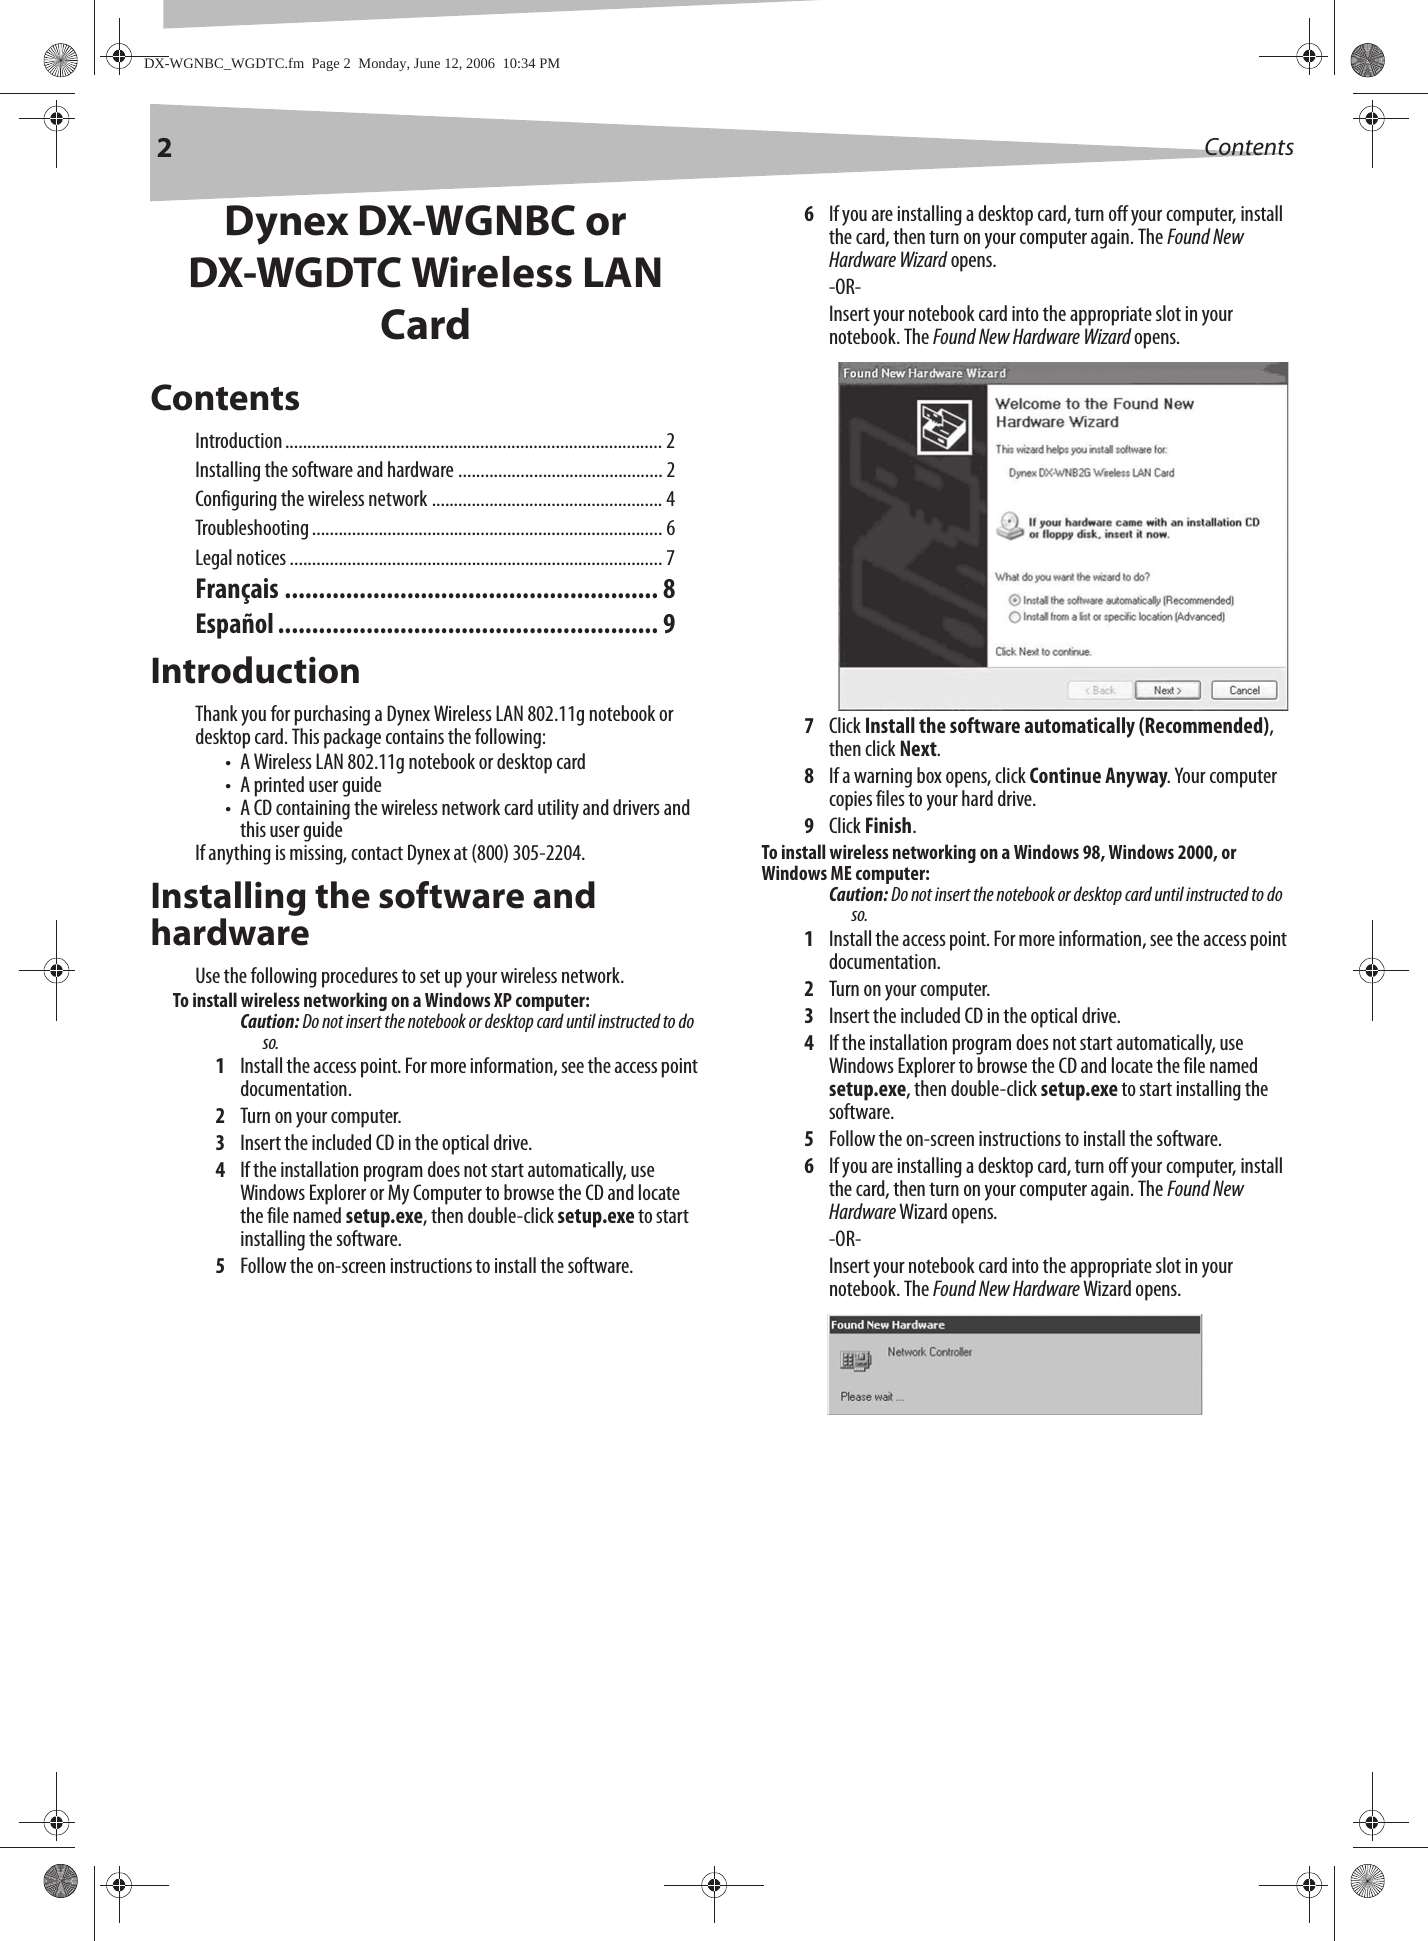
P950605G User Manual
Manual
Navigation menu
Upload a User Manual
Namespaces
Wiki Guide
HTML
PDF
Info
Views
User Manual
Discussion / Help
Navigation
![US E R G U I DE • G U IDE DE L’ U T ILISATEU R • GUÍA D E L U S UARIOProduct Name [French]Product Name [Spanish]DX-WGNBC_WGDTC.fm Page 1 Monday, June 12, 2006 10:34 PMWireless 11G Desktop CardDX-WGDTC](https://usermanual.wiki/GemTek-Technology/P950605G/User-Guide-672166-Page-1.png)