GemTek Technology WIXFBR-103 WiMAX Indoor CPE User Manual
Gemtek Technology Co., Ltd. WiMAX Indoor CPE
UserManual.wiki
>
GemTek Technology
>
WIXFBR 103 User Manual
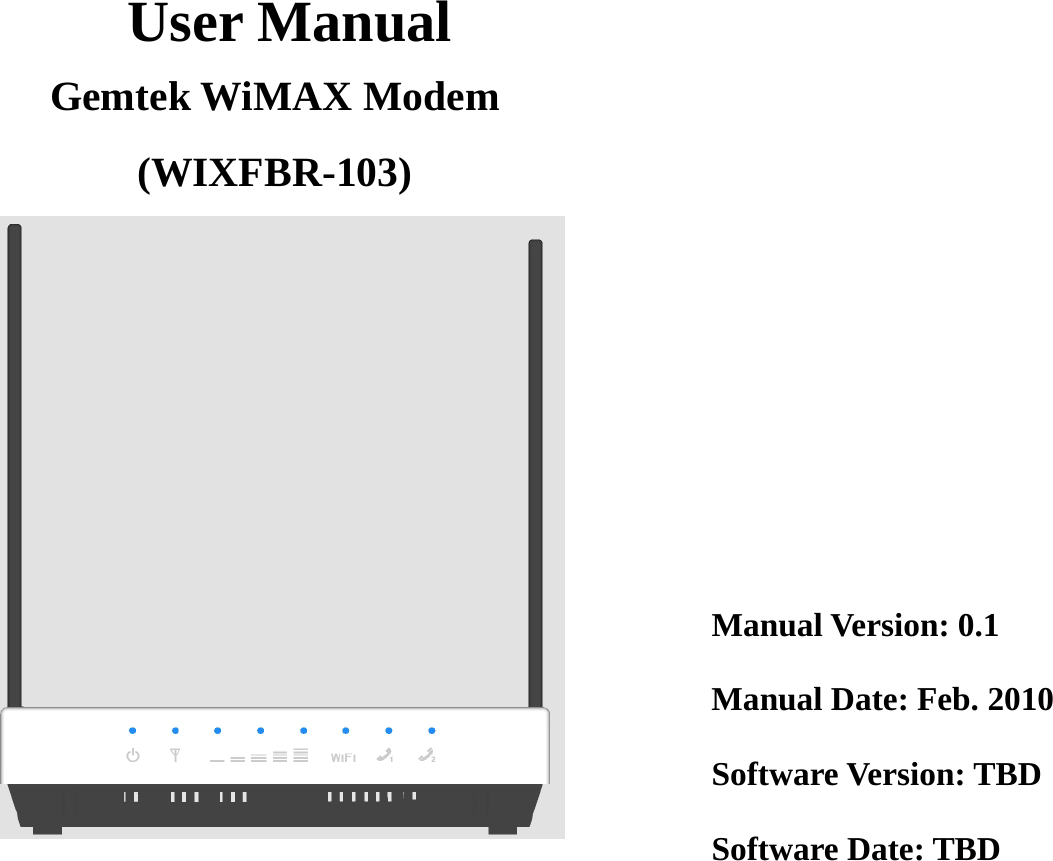
User Manual
Navigation menu
Upload a User Manual
Namespaces
Wiki Guide
HTML
PDF
Info
Views
User Manual
Discussion / Help
Navigation
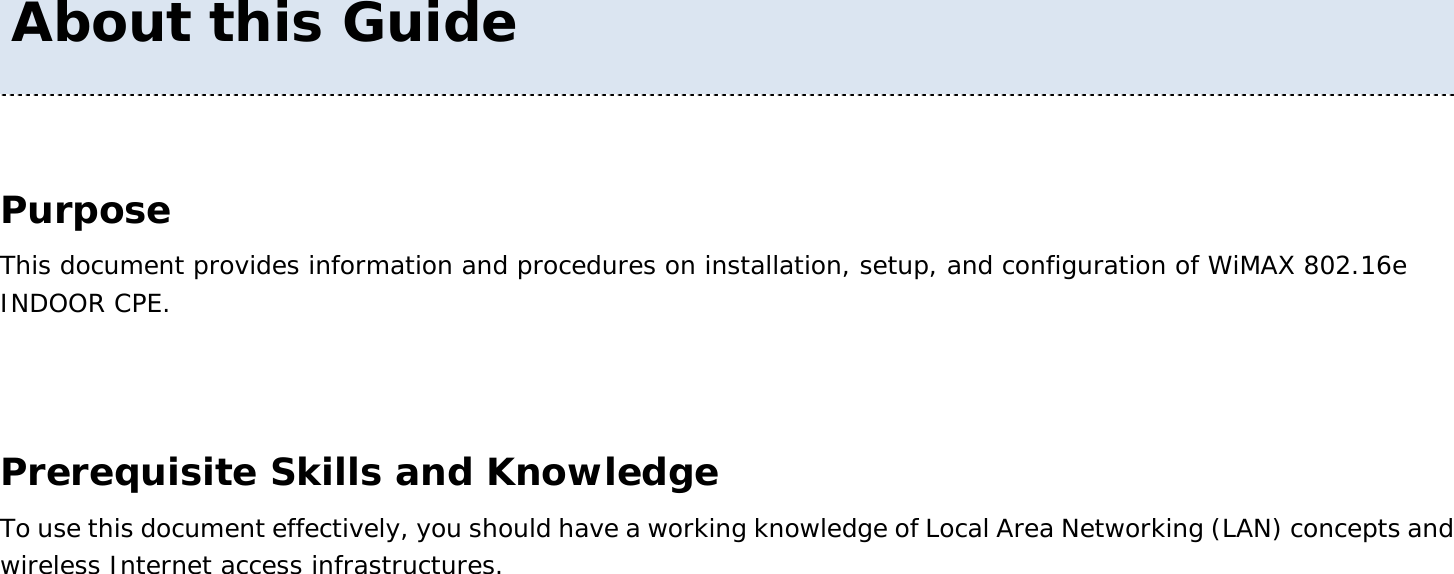
![User Manual 7 Conventions Used in this Document The following typographic conventions and symbols are used throughout this document: *!! Very important information. Failure to observe this may result in personnel injury, damage to the device software and user PC software. It may also result in THE CPE device not being able to connect to the network. *! Important information that should be observed for proper functioning of the device * Additional information that may be helpful but which is not required. bold Menu commands, buttons and input fields are displayed in bold. code File names, directory names, form names, and system-generated output such as error messages are displayed in constant-width type. <value> Placeholder for certain values, e.g. user inputs. [value] Input field format, limitations, and/or restrictions.](https://usermanual.wiki/GemTek-Technology/WIXFBR-103/User-Guide-1253024-Page-7.png)