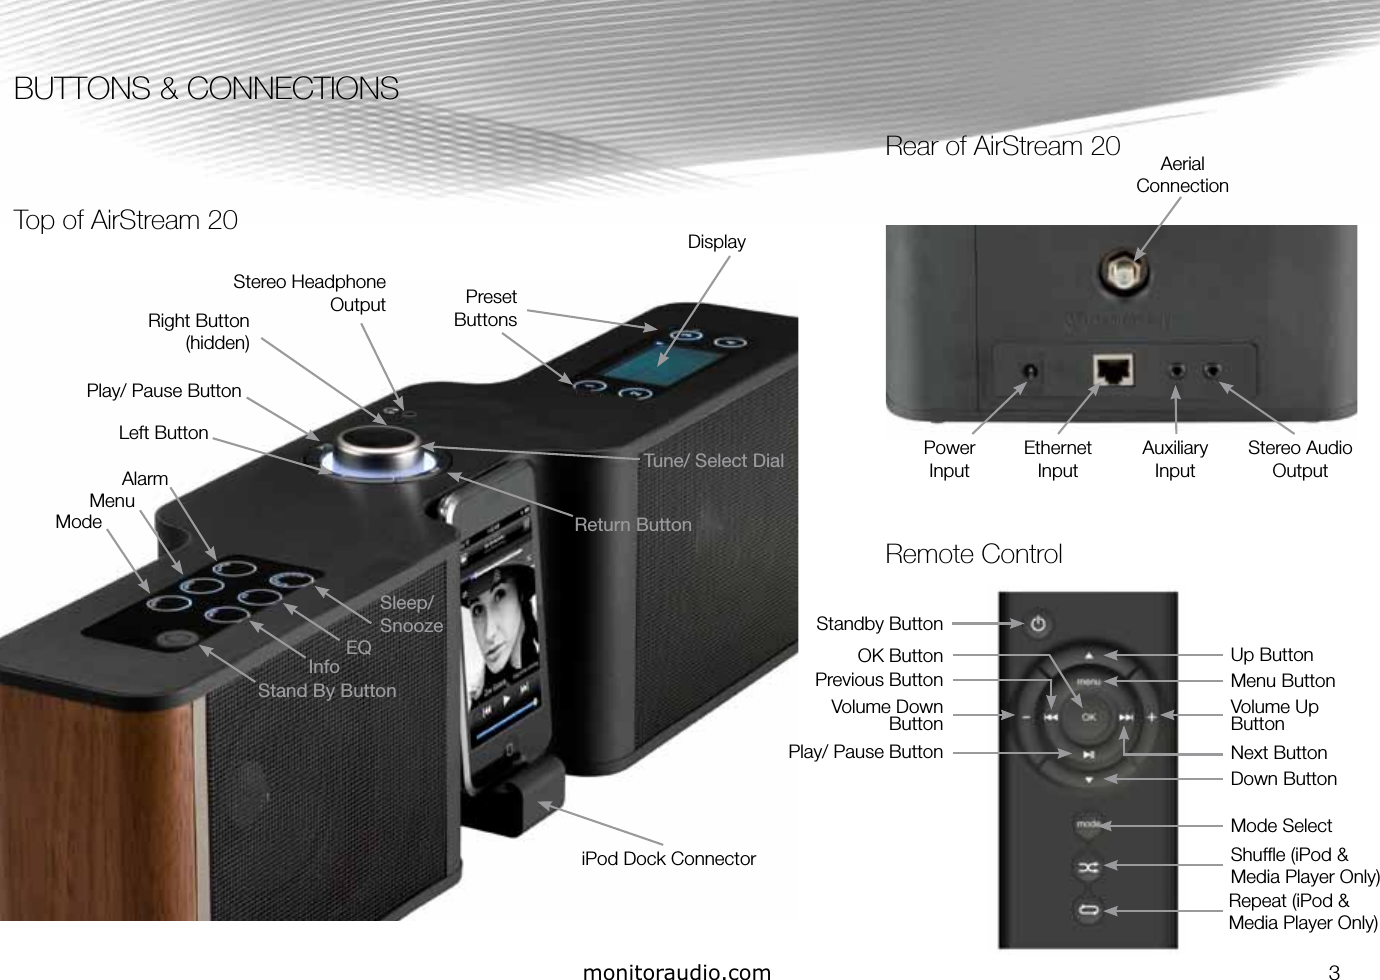
MEILOON AS20 Internet Radio User Manual R48AS20
Meiloon Industrial Co., Ltd. Internet Radio R48AS20
UserManual.wiki
>
MEILOON
>
AS20 User Manual
R48AS20_User Manual
Navigation menu
Upload a User Manual
Namespaces
Wiki Guide
HTML
PDF
Info
Views
User Manual
Discussion / Help
Navigation
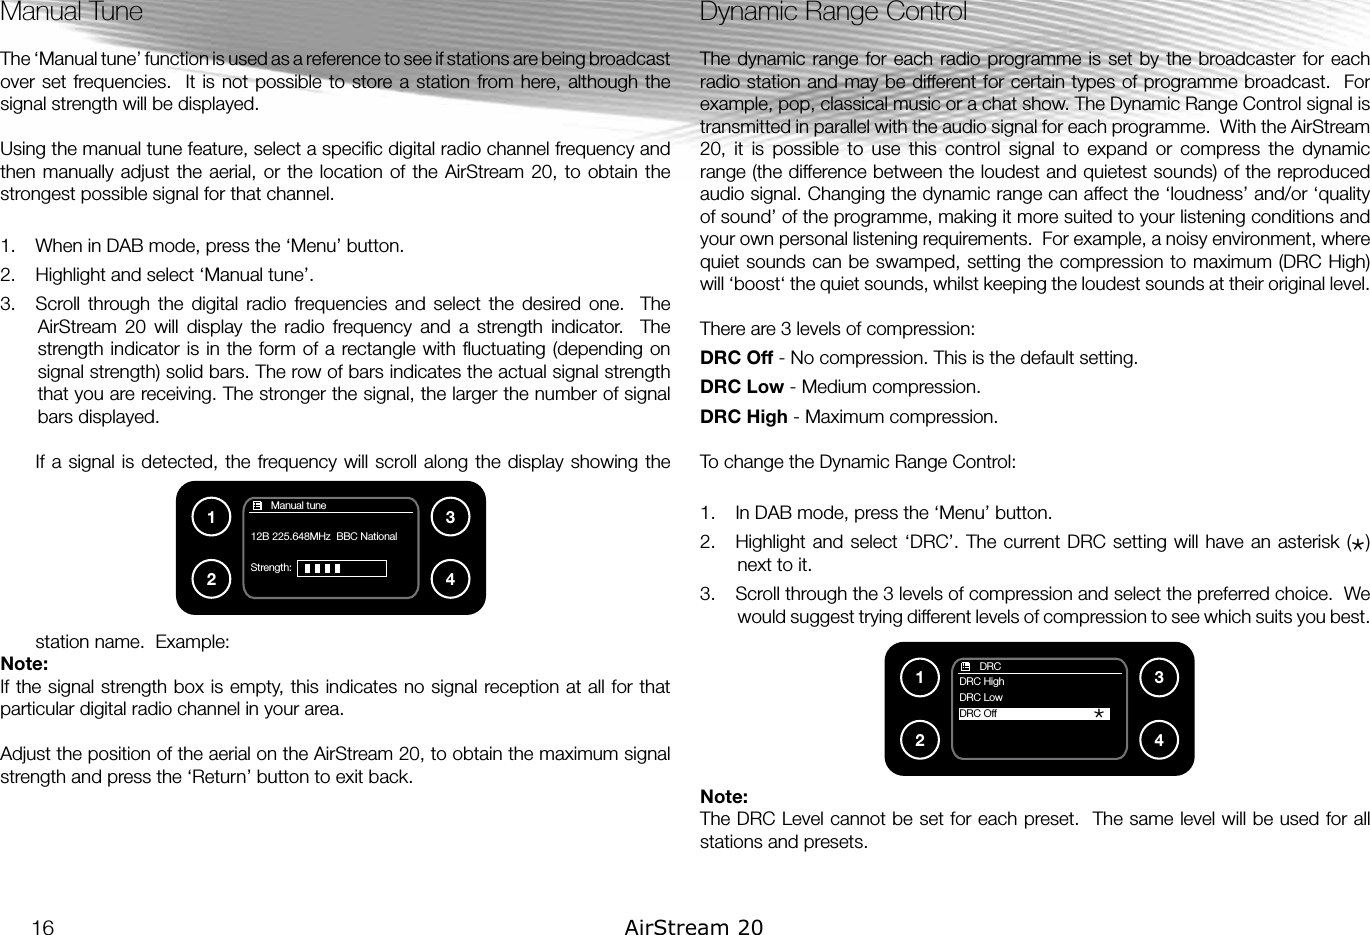
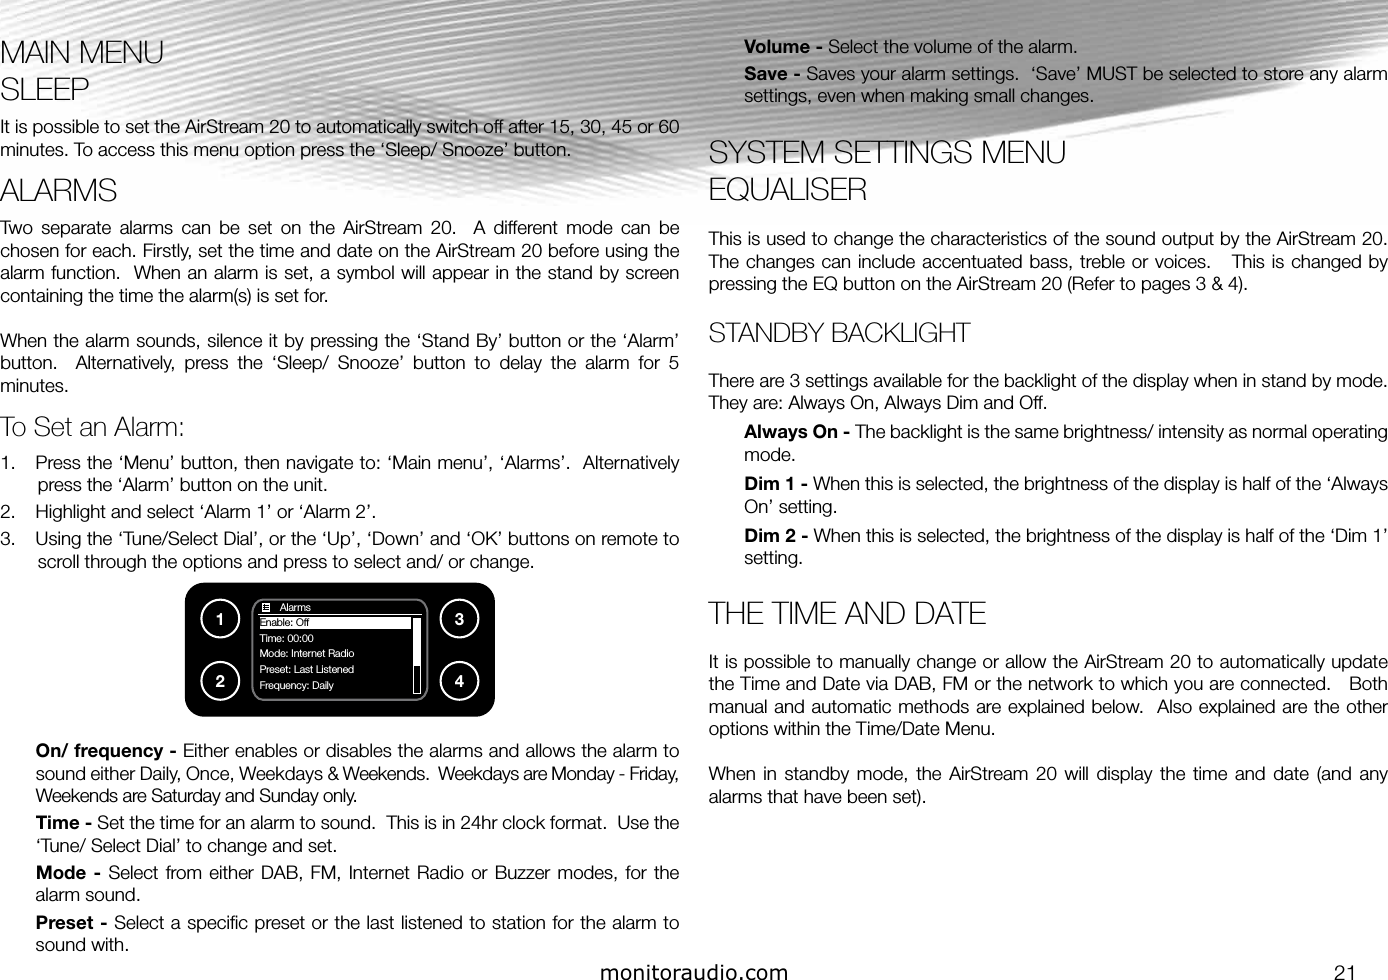
![8. Select preffered automatic update method, then time zone and daylight savings. 9. Select your Wireless Region. The AirStream 20 will then search for available wireless networks.10. Use the ‘Tune/Select Dial’ or the ‘Up’, ‘Down’ and ’OK’ buttons on the remote to highlight and select your chosen network. If using the wired connection method, select ‘[WIRED]’ from the list (please go to step 12). If the network does not have any security, ‘Please wait connecting’, and then ‘Connected’ will be displayed.11. If your network does have security, the wizard will prompt you to enter the relevant Wired Equivalent Privacy (WEP) or Wi-Fi Protected Access (WPA) code or pass phrase. This is accomplished by turning the ‘Tune/ Select Dial’ to highlight the appropriate character, then pressing it to select. Alternatively, use the ‘Up/ Down Buttons’ and the ‘OK Button’ on the remote. When the key has been entered, highlight and select ‘OK’. After successful entry of these details, the display will change to ‘Please wait connecting’, and then ‘Connected’ will be displayed.Note: If your network name or SSID has been hidden, the AirStream 20 will not be able to detect it. You can either turn on the SSID of your access point and then select ’[Rescan]’ or manually enter the SSID into the AirStream 20. To enter your SSID into the AirStream 20, select ‘[Manual config]’ as below, then ‘DHCP Enable’ (if you wish to manually assign an IP address, select Disable), ‘Wireless’ and then enter your SSID. After you have entered your SSID, either select ’Open’ if you have no further security on your network or proceed to enter your WEP or WPA codes. The AirStream 20 will now connect to the network. Note: In addition to the list of available networks there are three advanced options:Rescan - To scan again for available networksWired - Which selects a ’wired‘ networkManual config - Which enables manual set up of a wireless configuration including SSID, WEP/WPA codes, IP Address, etc.12. If using the wired connection method, then simply select it from the Network Wizard menu. It will then run through the connection process. If it doesn’t connect first time, go to the ‘Manual settings’ in the ‘Network settings’ menu and select the ‘Wired’ option, then ‘DHCP enable’Note: For legal reasons, you should only connect to wireless access points that you own or have agreement to use. Note: WEP and WPA codes are sensitive to upper and lower case characters so must be entered exactly as they have been stored in the wireless access point.Note: The security details must be the same as those saved in the wireless access point, which would have been set up by the person who installed your wireless network. The WEP/ WPA code and SSID can be written into the box below for future reference.Note: Make sure that the letter, number or symbol you wish to select is highlighted in the display before you press the ‘Tune/ Select Dial’ (or OK on the remote) to select it. Network settingsPlease wait.Connecting...1234 Network settingsPlease wait.Connecting...1234 Network settings ConnectedR1234 Network settings ConnectedR12346AirStream 20](https://usermanual.wiki/MEILOON/AS20/User-Guide-1384512-Page-10.png)
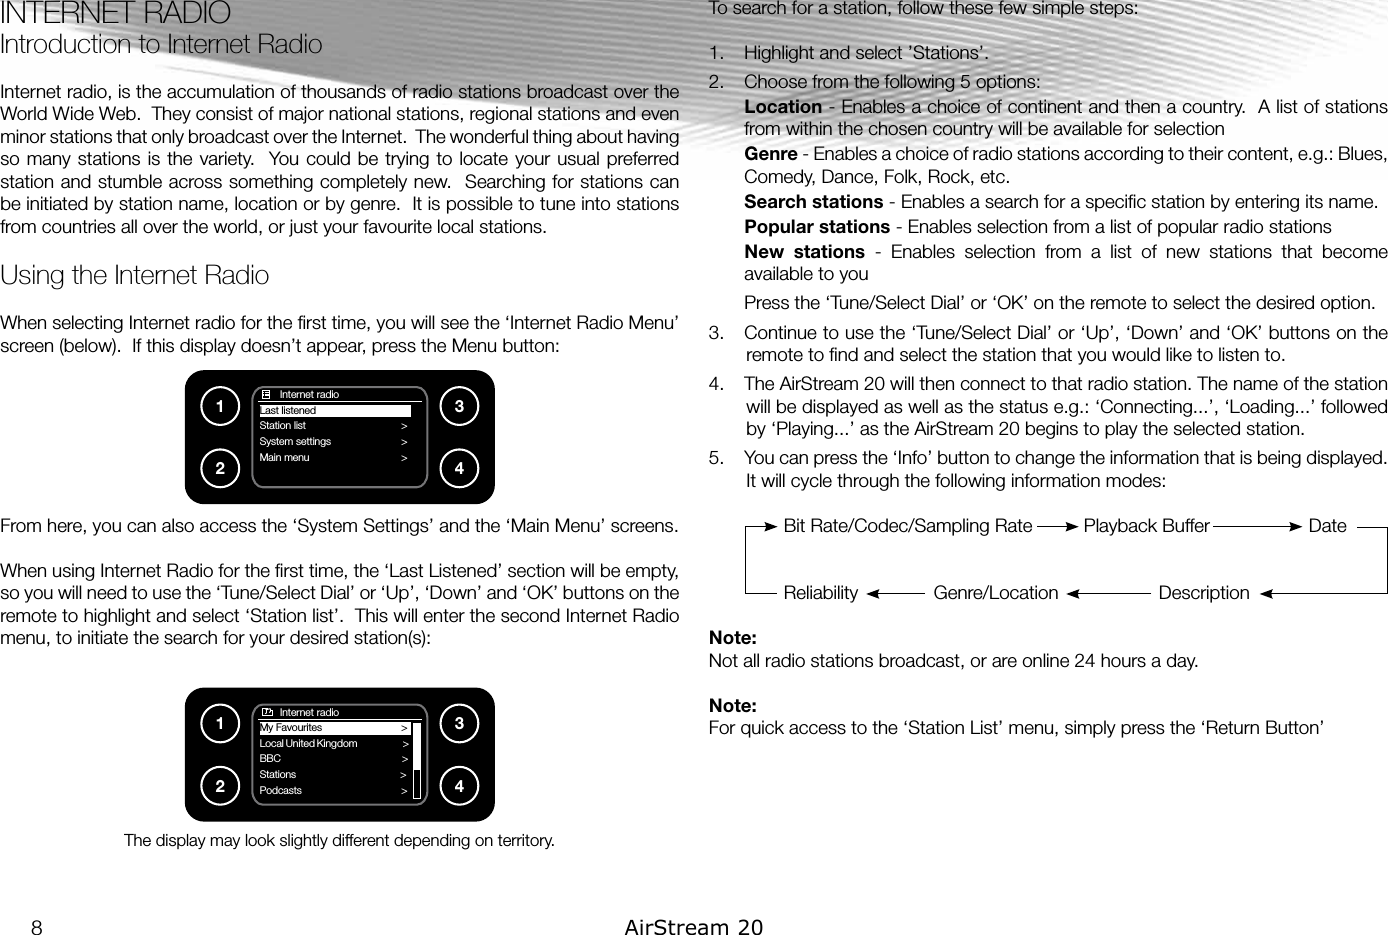

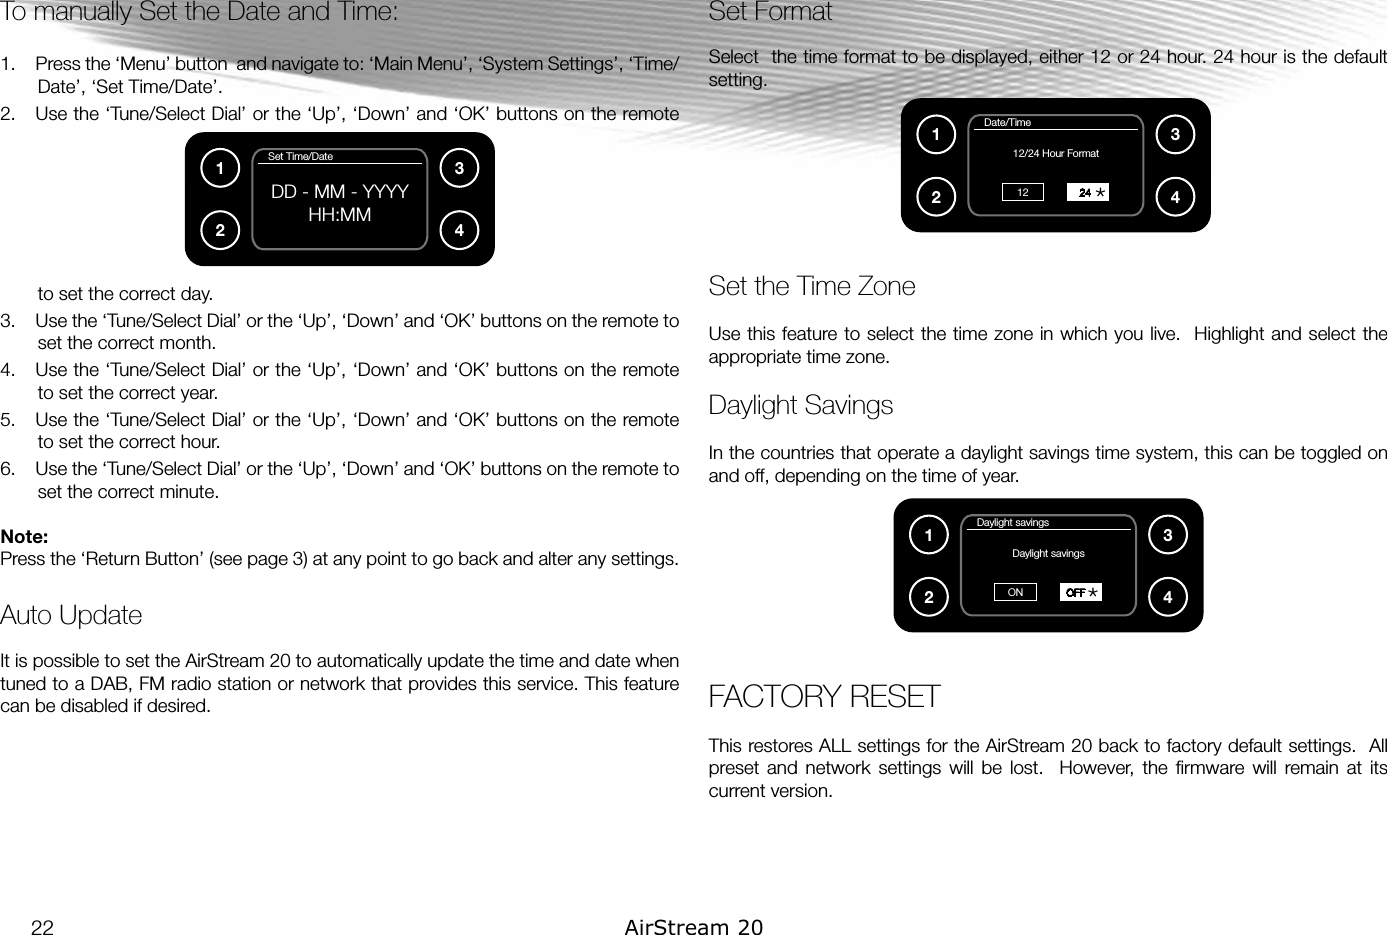
![monitoraudio.com 23SOFTWARE UPDATEThis enables the AirStream 20 to keep up to date with the latest soft and firmware updates. Changes could be in the form of updates to the system’s features or, if necessary, minor bug fixes.Choose between manually or automatically checking for updates. When set to automatic, the AirStream 20 will check for updates approximately 10 minutes after main power up (not from stand by) and then at 24 hour intervals thereafter.Automatic UpdatesTo ensure the AirStream 20 is always kept up to date with the very latest software changes, we recommend enabling the ‘Auto-Check Setting’ in the update menu as follows:1. From the System Update menu, highlight and select the ‘Auto-check Setting’. The following screen will be displayed:2. Highlight ‘Yes’ (if not already highlighted) and select. The screen will return to the previous menu display.3. Press the ‘Return Button’ (see page 3) to return to the ‘System Settings’ menu.Manually Check for Updates.1. From the System Settings Menu, highlight and select ‘Software Update’. The Software update menu will be displayed:2. Highlight and select ‘Check Now’. The AirStream 20 will then check via the internet connection for the latest updates (if there are any). If already up to date, it will display the following images:3. If an update is available (possible when using for the very first time), the following images will be displayed:Note:Do not remove the power supply during the update as this could cause irreversible damage to the AirStream 10. An additional warning will be shown on the display of the AirStream 20. Software updateCheck periodicallyfor new versionsYES NO1234 Network settingsChecking fornew updates...1234 Network settings[update number]downloading update1234 Network settingsChecking fornew updates...1234 Software updateAuto-check settingCheck now1234 Network settings Software up to dateR1234 System settingsTime / Date >Factory Reset Software update >Setup wizard Info1234](https://usermanual.wiki/MEILOON/AS20/User-Guide-1384512-Page-27.png)
![monitoraudio.com 25HELPIf experiencing problems with the AirStream 20, there are some quick and easy checks, which may help to solve the problem.Unable to connect to the wireless network• Some wireless networks may be set up so that only registered MAC addresses can connect to them. The person who set up the network will be able to advise if the MAC address is required. See page 7 for how to find the MAC address of the AirStream 20. Refer to router/ access point guide to find out how to add the AirStream 20’s MAC address to the list of allowed devices• If connecting to an encrypted network, check that the correct key or pass phrase has been entered into the AirStream 20. Remember that the key or pass phrase must be entered exactly as it appears in your access point and is case sensitive. A location to record the WEP key or pass phrase for future use can be found on page 6.• The network name or SSID may have been set to hidden. In this case, the AirStream 20 will not be able to find it. Either turn on the SSID of your access point and then select one of the options as on page 6 ‘[Rescan]’ or manually enter the SSID into the AirStream 20:To enter the SSID into the AirStream 20, select the ‘[Manual config]’ option, as on page 6. Then ‘DHCP Enable’, ‘Wireless’ and then enter the SSID. After the SSID has been entered, either select ‘Open’ if there is no further security on the network or proceed to enter the WEP or WPA codes.I can connect to the network but cannot play some internet radio stations• The station may not be broadcasting at the time of day that an attempt has been made to listen to it. (Depending on the particular radio station, it may be in a different time zone.)• The station may have too many people trying to connect to its servers and their server capacity may not be enough to enable everyone to connect. Try again later to see if connection is possible• The station is no longer broadcasting• The internet connection between the server (possibly located in another country) and the AirStream 20 is slow. Internet Service Providers may fail to provide service in certain geographical areas. Use a computer to check if the internet radio station can be received• If the AirStream 20 station connection is intermittent or keeps stopping, check the broadband connection and speed. If experiencing an intermittent service or high error rate on your broadband connection, the AirStream 20 will not connect continuously and play in internet radio mode. If you are experiencing problems with your broadband connection, you will need to contact your broadband providerThe computer to stream music from can be seen, but cannot find any folders via the AirStream 20• The folder with the music in it has not been shared on the computer. Please refer to pages 12 - 14 for instructions on sharing folders• The wrong user name and password may have been entered for the computer being accessed. Check and re-enter the user name and password, remembering that the password will be case sensitive and must be entered into the AirStream 20 exactly as it would be entered into the computerI cannot see the name of the computer to connect to on the AirStream 20• The network may have a hidden SSID. Please refer to page 6 for how to connect to a hidden network from the AirStream 20• The AirStream 20 may not be connected to the wireless network. Refer to page 5 for information on running the ‘Internet Wizard’ and connecting to wireless/ wired network• The computer might not be set up to recognise a network, refer to page 12 on how to set up shared media on a network• If using an Apple Mac, 3rd party software is required because Apple do not offer native UPnP support as part of their operating systems. Suggested software items are Media Tomb (http://mediatomb.cc), Eye Connect (http://www.elagato.com).Note:Please note that all 3rd party software is offered as a recommendation only for using UPnP servers on Macintosh computers. Monitor Audio does not offer support on these applications, nor will Monitor Audio be held responsible for any loss or damage incurred by any person acting upon any advice given.• Try connecting the AirStream 20 to the network using the network cable supplied, rather than using wireless connectivity](https://usermanual.wiki/MEILOON/AS20/User-Guide-1384512-Page-29.png)