Option OMO0402-2 GSM/GPRS/UMTS/HSUPA/HSDPA PCI MINI EXPRESS MODULE User Manual Z07 065 UG GTConnect indd
Option NV GSM/GPRS/UMTS/HSUPA/HSDPA PCI MINI EXPRESS MODULE Z07 065 UG GTConnect indd
UserManual.wiki
>
Option
>
OMO0402-2 User Manual
>
User Manual
Contents
1.
Annex to User Manual
2.
User Manual
3.
Annex to User Manual Certification Leaflet
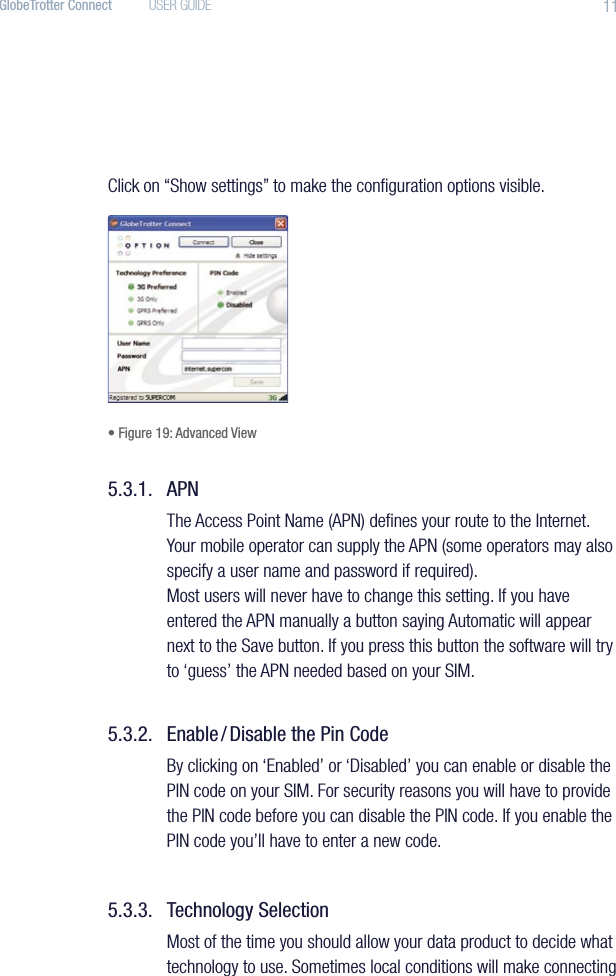
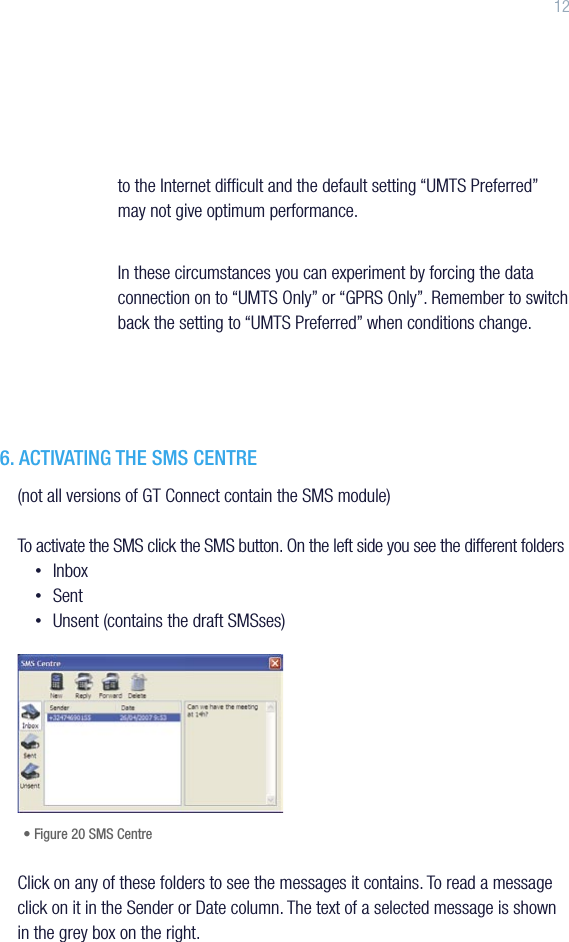
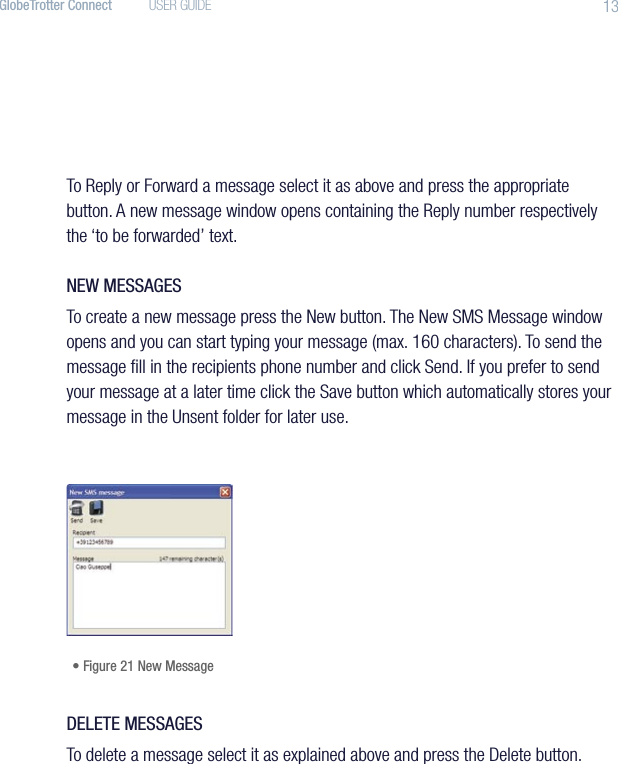
User Manual
Navigation menu
Upload a User Manual
Namespaces
Wiki Guide
HTML
PDF
Info
Views
User Manual
Discussion / Help
Navigation