Panasonic of North America 9TGRI15A RFID Module User Manual 20160603 v1 Host CF 20
Panasonic Corporation of North America RFID Module 20160603 v1 Host CF 20
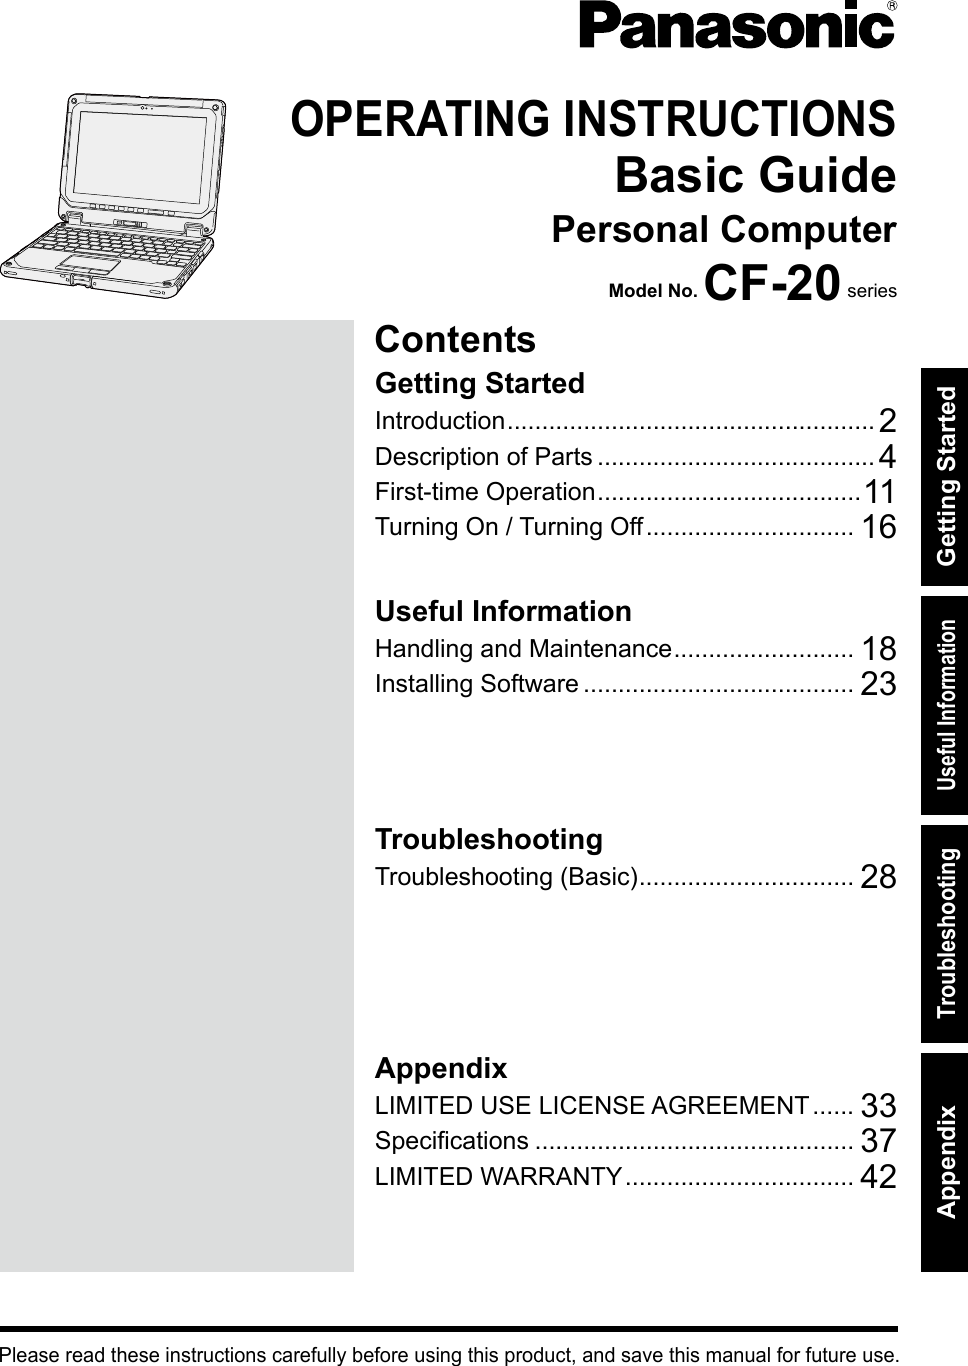
Contents
- 1. Host Manual
- 2. Module Manual
- 3. User Manual_20160603_v1 - Host_User Manual_CF-20
- 4. User Manual_20160603_v1 - Manual_RI15A
User Manual_20160603_v1 - Host_User Manual_CF-20
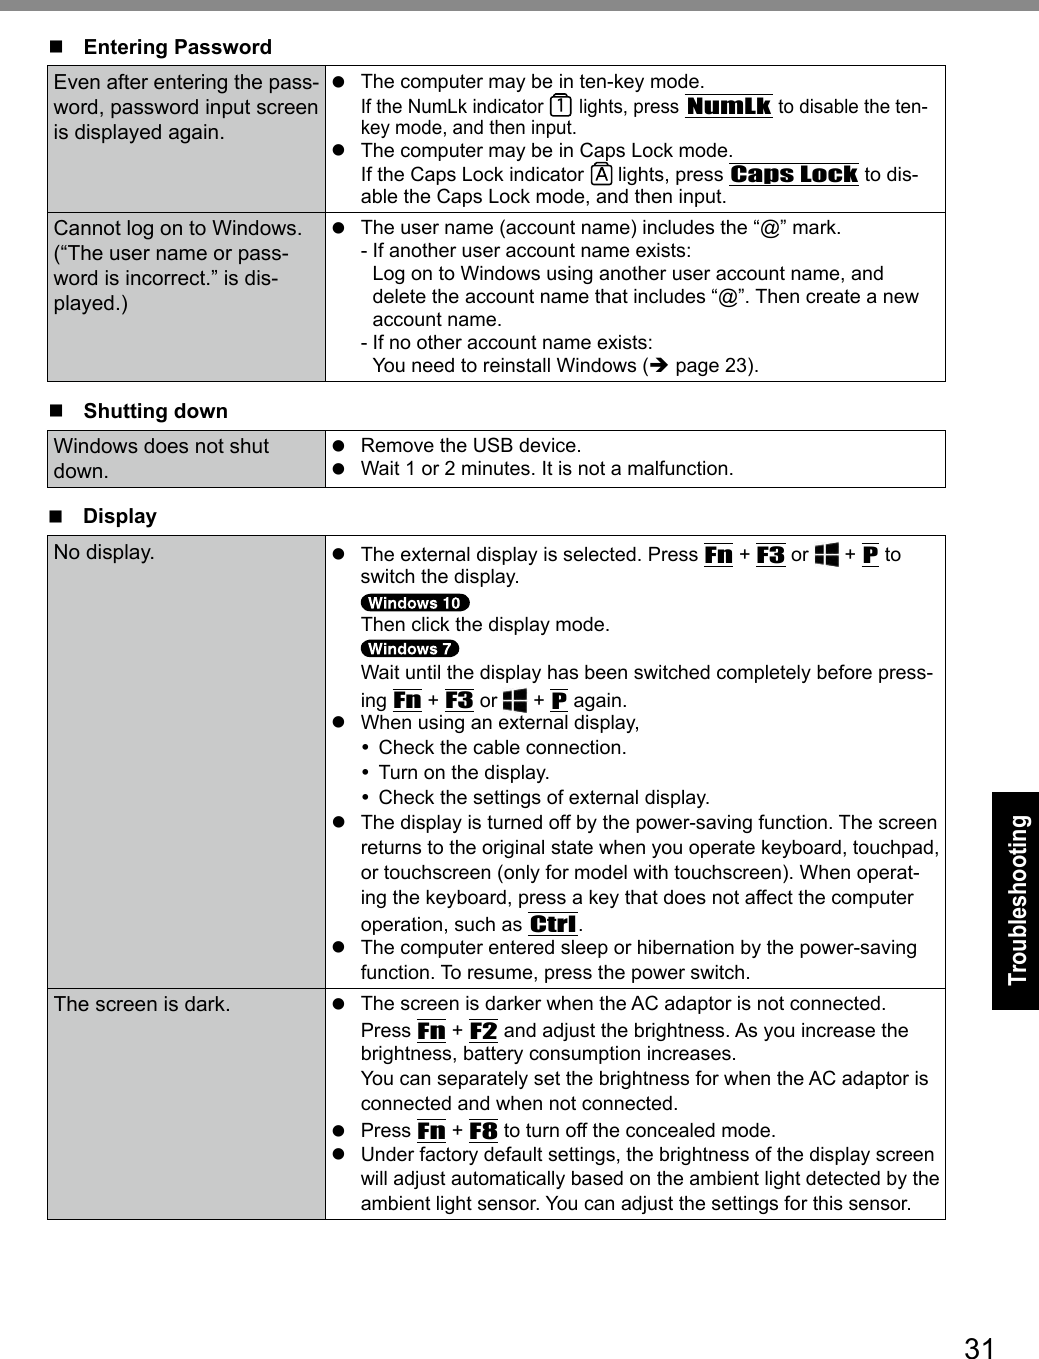
![2Getting StartedThank you for purchasing this Panasonic product. For optimum performance and safety, please read these instructions carefully.In these instructions, the names are referred as follows. indicates Windows 10 Operating System. indicates Windows 7 Operating System.n Terms and illustrations in these instructionsCAUTION : Conditions that may result in minor or moderate injury.NOTE : Useful and helpful information.Enter : Press [Enter] key.Fn + F5 : Press and hold [Fn] key, and then press [F5] key.l - [All Apps] : Click (Start) and then click [All Apps]. (Start) - [All Programs] : Click (Start), and then click [All Programs]. You may need to double-click in some cases.è : Page in these Operating Instructions or in the Reference Manual. : Reference to the on-screen manuals.l Someillustrationsaresimpliedtohelpyourunderstandingandmaylookdifferentfromtheactual unit.l If you do not log on as an administrator, you cannot use some functions or cannot display some screens.l Refer for the latest information about optional products to the catalogs, etc.l In these instructions, the names and terms are referred as follows. “Windows 10 Pro 64-bit” as “Windows” or “Windows 10” “Windows 7 Professional 32-bit Service Pack 1” and “Windows 7 Professional 64-bit Service Pack 1” as “Windows” or “Windows 7” DVD MULTI drive as “CD/DVD drive” Circular media including DVD-ROM and CD-ROM as “discs” The Digitizer + Touch Screen (Capacitive) as the “digitizer”, and the Touch Screen as the “touchscreen”. The digitizer pen and the stylus as the “pen (included)”.l Screen messages are explained in [English (United States)]. (Depending on the language preference, some screen messages in these instructions are dif-ferent from the actual screen messages. For example, [Flight mode] may be displayed instead of [Airplane mode] in some language preference.)n DisclaimerComputerspecicationsandmanualsaresubjecttochangewithoutnotice.PanasonicCorpora-tion assumes no liability for damage incurred directly or indirectly from errors, omissions or dis-crepancies between the computer and the manuals.Introduction](https://usermanual.wiki/Panasonic-of-North-America/9TGRI15A.User-Manual-20160603-v1-Host-User-Manual-CF-20/User-Guide-3022965-Page-2.png)
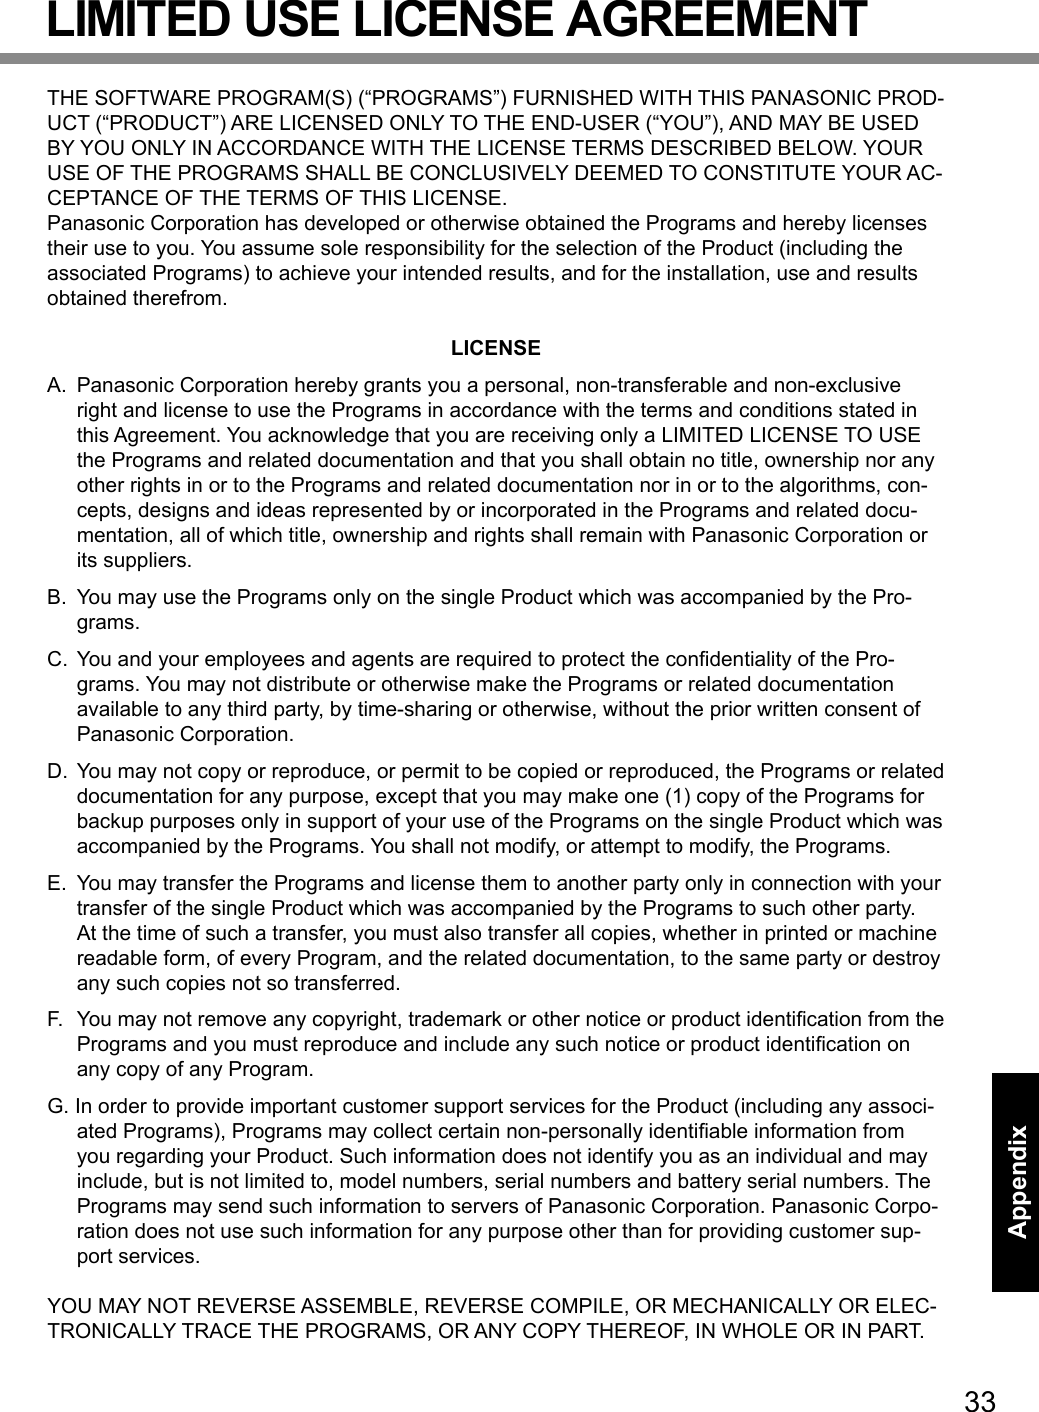
![3Getting Startedn TrademarksMicrosoft®, Windows®, the Windows logo, and IntelliMouse are registered trademarks of Microsoft Corporation of the United States and/or other countries.Intel, Core and PROSet are either registered trademarks or trademarks of Intel Corporation.SDXC Logo is a trademark of SD-3C, LLC. microSDXC Logo is a trademark of SD-3C, LLC. Adobe, the Adobe logo and Adobe Reader are either registered trademarks or trademarks of Adobe Systems Incorporated in the United States and/or other countries.Bluetooth® is a registered trademark owned by Bluetooth SIG, Inc., U.S.A. and licensed to Panasonic Corporation.HDMI,theHDMILogoandHigh-DenitionMultimediaInterfacearetrademarksorregisteredtrademarks of HDMI Licensing LLC in the United States and other countries.Names of products, brands, etc., appearing in this manual are trademarks or registered trade-marks of their respective own companies.n On-screen ManualFor further information about the computer, you can refer to the on-screen manual.l Reference Manual The Reference Manual contains the practical information to help you fully enjoy the comput-er’s performance. Update it to the latest version for reference.l Important Battery Tips The Important Battery Tips will provide you with the battery information so that you can use the battery in the optimum condition to obtain longer operation time.l Update the on-screen manuals This describes the procedures to update the on-screen manual.l Connect to a network This describes the connection procedures using the network devices mounted on this unit.To access the on-screen manuals, follow the steps below.Double-click [Manual Selector] on the desktop, and select the on-screen manual. 1. Double-touch the [Panasonic PC Settings Utility] on the desktop screen, and then touch [Sup-port] - [Manual] - [Manual Selector].2. Select the manual and touch [OPEN]. NOTE [Contents] tab or [Search] tab of the on-screen manuals is displayed on the left side of the window. Select tab and display the desired item.](https://usermanual.wiki/Panasonic-of-North-America/9TGRI15A.User-Manual-20160603-v1-Host-User-Manual-CF-20/User-Guide-3022965-Page-3.png)


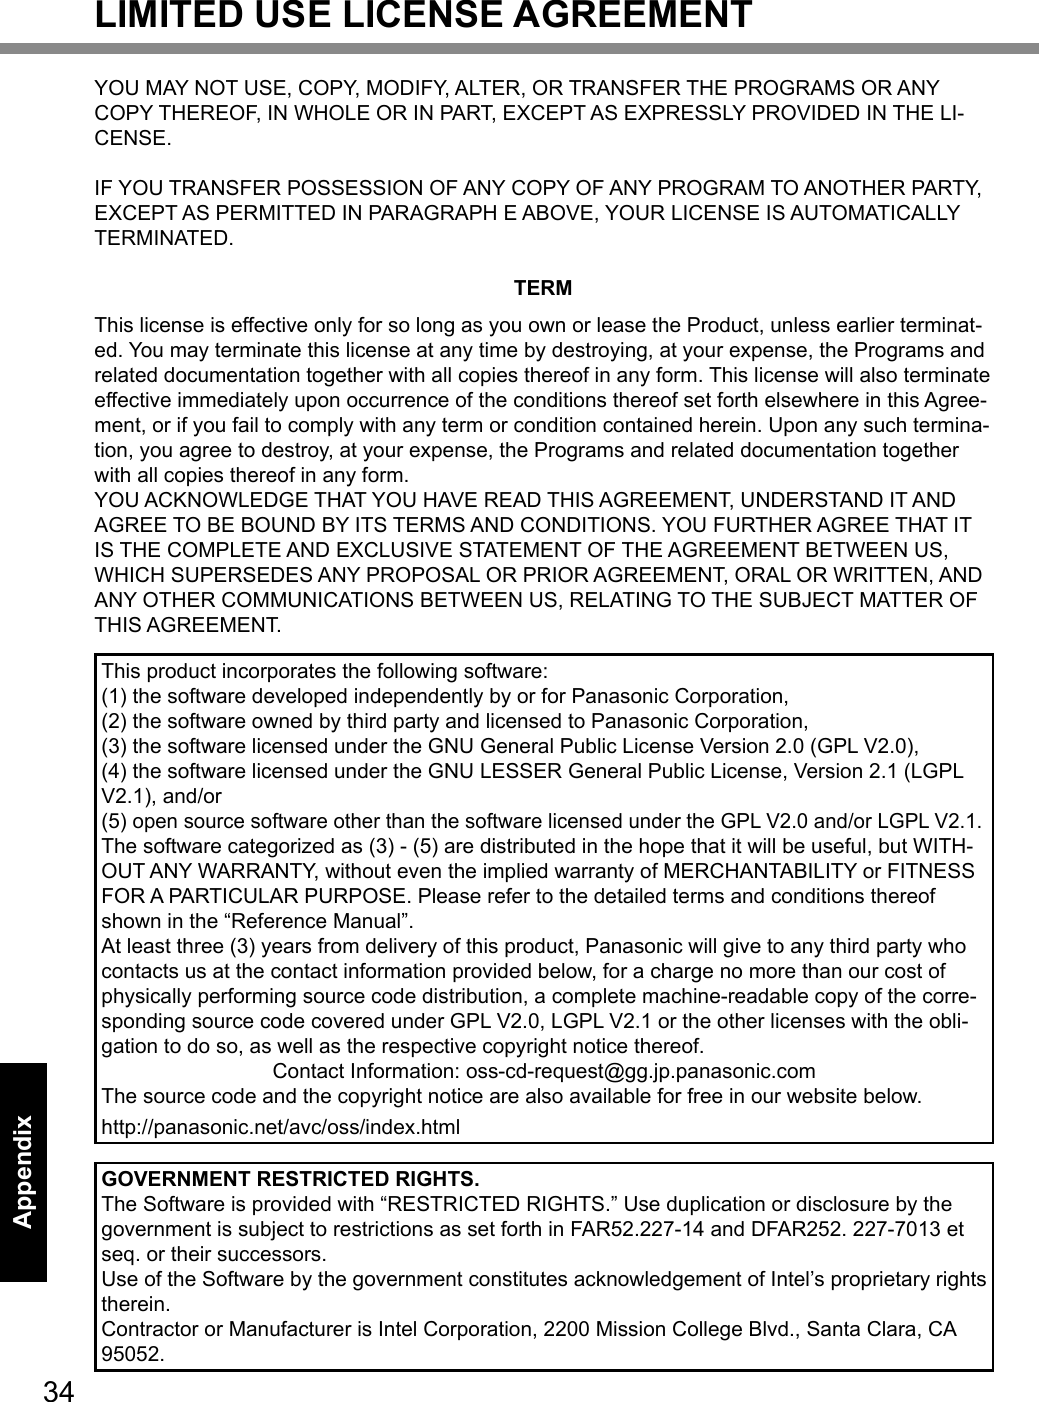
![14Getting StartedFirst-time Operation CAUTION l You can change the user name, password, image and secu-rity setting after setup of Windows.l Remember your password. If you forget the password, you cannot use Windows. Creating a password reset disk before-hand is recommended.l Use standard characters as a computer name: numbers 0 through 9, uppercase and lowercase letters from A to Z, and the hyphen (-) character. If the error message “The computer name is not valid” appears, check if characters other than the above are not entered. If the error message still remains on the display, set the key entry mode to English (“EN”) and enter characters.l Do not use the following words and characters for user name: CON, PRN, AUX, CLOCK$, NUL, COM1 to COM9, LPT1 to LPT9, LPT, &, space. 6 Restart the computerA Touch (Start).B Touch (Power) - [Restart].l A portion of the Panasonic PC Settings Utility functions will be enabled after the computer restarts.7 Update the on-screen manualA Connect to the internet. Sign in / Log on to Windows as an administrator. For further information, refer to Connect to a network.B Update the on-screen manual. Double-touch the [Panasonic PC Settings Utility] on the desktop screen, and then touch [Support] - [Manual] - [Launch Manual Selector]. Double-click [Manual Selector] on the desk-top.Follow the on-screen instructions.8 Create a recovery discA recovery disc allows you to install OS and restore its factory default condition, in case, the recovery partition of the HDD is damaged.We recommend creating a recovery disc before you begin using the computer.Refer to è Reference Manual “Recovery Disc Creation Util-ity” about creating the disc.](https://usermanual.wiki/Panasonic-of-North-America/9TGRI15A.User-Manual-20160603-v1-Host-User-Manual-CF-20/User-Guide-3022965-Page-14.png)
![15Getting Started NOTE l PC Information Viewer This computer periodically records the management information of the hard disk, etc. The maxi-mum data volume for each record is 1024 bytes. This information is only used for estimating the cause in the case when the hard disk goes down by any possibility. They are never sent to outside via network nor used for any other purpose except for the purpose described the above. To disable the function, add the check mark for [Disable the automatic save function for manage-ment information history] in [Hard Disk Status] of PC Information Viewer, and click [OK]. Then follow the on-screen instructions. (è Reference Manual “Troubleshooting (Advanced)” - “Checking the Computer’s Usage Status”)n Before using wireless function A Click (Notication)atthetasktray,andthenclick (All settins) - [Network & Internet] - [Airplanemode]. Set [Airplane mode] to [Off], and then; Set [Wi-Fi] to [On] (for wireless LAN). Set [Cellular] to [On] (for wireless WAN). Set [GPS] to [On] (for wireless WAN). Set [Bluetooth] to [On] (for Bluetooth). Set [GPS\GNSS] to [On] (for GPS).n About the partition structureYou can shrink a part of an existing partition to create unallocated disk space, from which you can create a new partition.In the default setting, you can use a single partition. CAUTION l Do not add or delete partitions in Windows 10, as the Windows area and recovery partition must be adjacent to each other in Windows 10.To change the partition structureA Click (Start) and right-click [Computer], then click [Manage].l A standard user needs to enter an administrator password.B Click [Disk Management].C Right-click the partition for Windows (“c” drive in the default setting), and click [Shrink Vol-ume].l Thepartitionsizedependsonthecomputerspecications.D Input the size in [Enter the amount of space to shrink in MB] and click [Shrink].l You cannot input a larger number than the displayed size.l To select [Reinstall Windows to the OS related partitions] in installing OS (è page 25), 60 GB or more is necessary for [Total size after shrink in MB].E Right-click [Unallocated] (the shrunk space in the step D) and click [New Simple Volume].F Follow the on-screen instructions to make the settings, and click [Finish]. Wait until formatting is completed. NOTE l You can create an additional partition using remaining unallocated space or newly creating unallocated space.l To delete a partition, right-click the partition and click [Delete Volume] in the step C.](https://usermanual.wiki/Panasonic-of-North-America/9TGRI15A.User-Manual-20160603-v1-Host-User-Manual-CF-20/User-Guide-3022965-Page-15.png)
![16Getting StartedTurning On / Turning OffTurning OnPress and hold the power switch (è page 4) until the power indicator (è page 4) lights. NOTE l Do not press the power switch repeatedly.l The computer will forcibly be turned off if you press and hold the power switch for four sec-onds or longer.l Once you turn off the computer, wait for ten seconds or more before you turn on the computer again.l Do not perform the following operation until the drive indicator turns off.• Connecting or disconnecting the AC adaptor• Pressing the power switch• Touching the keyboard, touchpad, touchscreen <only for model with touchscreen> or exter-nal mouse• Closing the display• Turn on/off the wireless switchTurning OffA Click (Start) at the lower left.B Click (Power) - [Shutdown].A Click (Start) - [Shutdown]. NOTE l To turn off the computer completely, proceed as follows.A Click (Start) at the lower left, and the click (Settings) - [Update & security] - [recovery].B Click [Restart now] under “Advanced startup”.C Click [Turn off your PC].](https://usermanual.wiki/Panasonic-of-North-America/9TGRI15A.User-Manual-20160603-v1-Host-User-Manual-CF-20/User-Guide-3022965-Page-16.png)

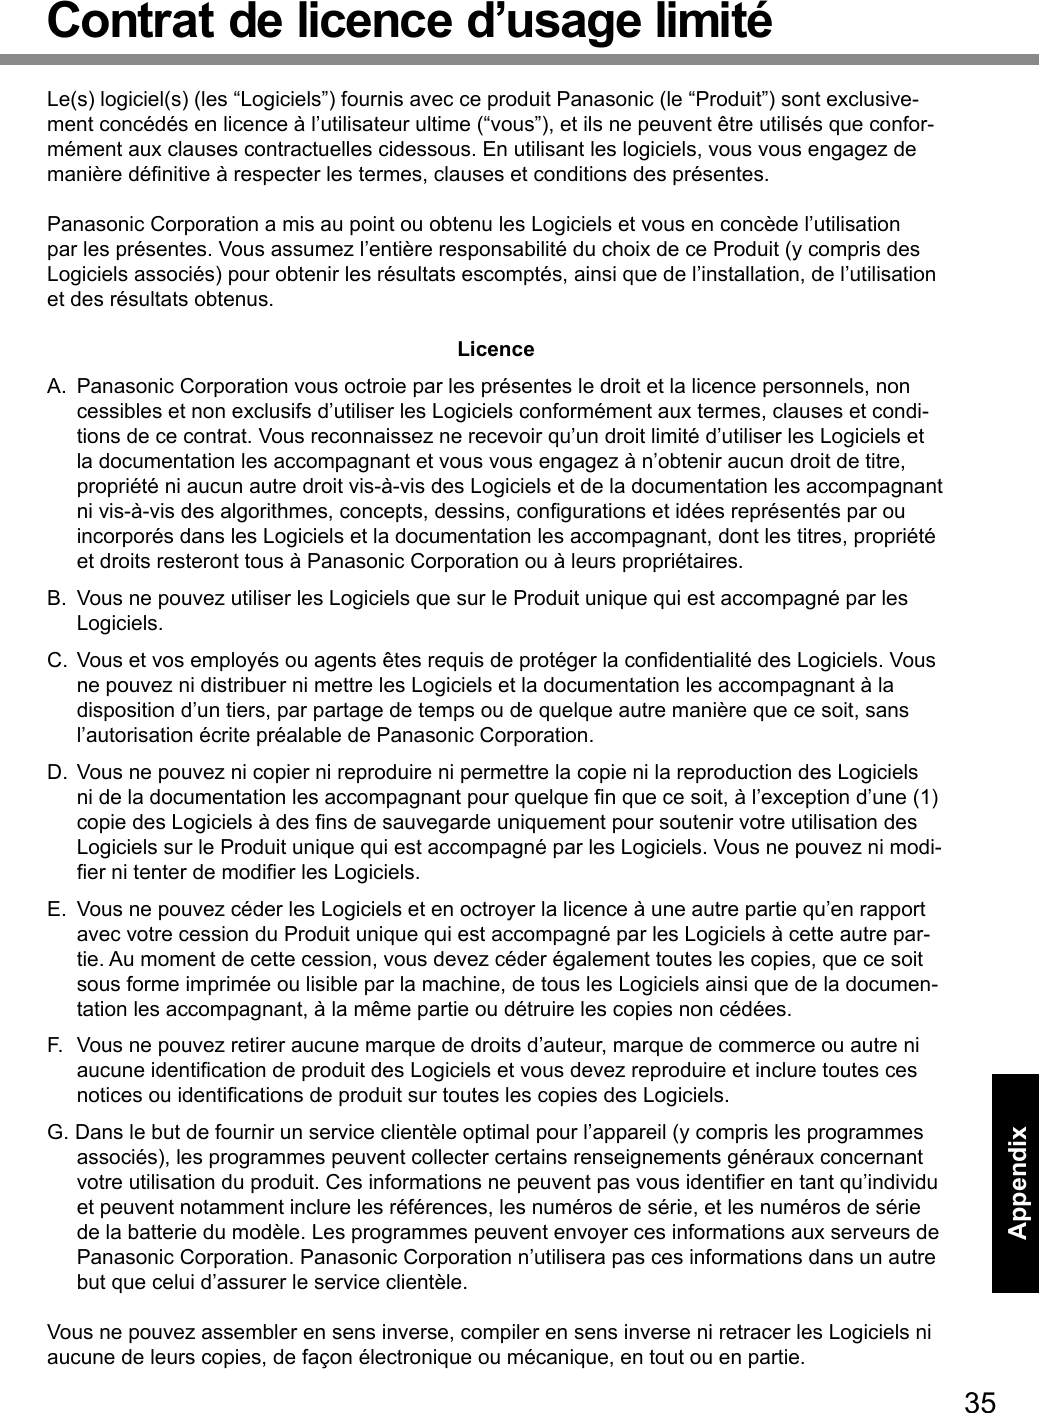
![20Useful InformationHandling and Maintenancen SensorsThis computer is equipped with four sensors (acceleration sensor, gyro sensor, magnetic sensor, ambient light sensor), and you can use these sensors with any software that is compatible.As the accuracy of each sensor output is dependent on the operating environment and other con-ditions, the results should only be used as a reference.The acceleration sensor, gyro sensor, and magnetic sensor are located at the bottom left of the LCD. The detection results of each sensor may vary depending on how you are holding the com-puter, the application software you are using, and other factors.l Automatic brightness adjustment The computer is equipped with an automatic brightness adjustment function that adjusts the displayscreenbasedontheambientlightsensor.Youcanconguretheautomaticadjustmentfunction as follows. A Click (Start) at the lower left, and then click (Settings) - [System] - [Display].B Set [Adjust my screen brightness automatically] to [On]. A Click (Start) - [Control Panel] - [Hardware and Sound] - [Power Option].B Click [Change plan settings] for the power plan currently used.C Click [Change advanced power settings] and double-click [Display].D Double-click [Enable adaptive brightness], make necessary settings, and click [OK]. Set each item to ON, and the brightness of the screen display will adjust automatically. The ambient light sensor is located at the top of LCD. The ambient light cannot be detected properly if this area is obstructed or dirty.l Magnetic sensor The magnetic sensor on the computer operates by detecting geomagnetism. Therefore, the magnetic sensor may not function properly and it readings may be inaccurate, especially in the following environments. Inside or near steel structures such as buildings or bridges Inside or near automobiles, or near train power lines Near metallic furniture or appliances When the AC adaptor or other peripheral devices are brought closer to the computerNearmagnets,speakers,orotherobjectswithstrongmagneticelds The magnetic directions indicated by the magnetic sensor may not be accurate immediately afterpurchaseorinenvironmentswithpoormagneticelds. In such cases, turn on the computer and move it as follows.A Hold the computer so that its screen side is facing upward and level.B While keeping the computer level, rotate it 90 degrees or more clockwise.C Return the computer to position A, and rotate it 90 degrees or more counterclockwise.D Return the computer to position A.E Tilt the computer 90 degrees or more to the left so that the left side of the computer tilts down.F Return the computer to position A, and tilt it 90 degrees or more to the right so that the right side of the computer tilts down. CAUTION Holdthecomputerrmlywhenmovingit.Strongshocksfromdroppingthecomputermayresult in damage. If the sensors do not works correctly, check the settings according to the follow-ing steps.A Click (Start) - [Control Panel] - [Hardware and Sound] - [Location and Other Sensors].B Add the check mark for each check box.C Click [Apply].](https://usermanual.wiki/Panasonic-of-North-America/9TGRI15A.User-Manual-20160603-v1-Host-User-Manual-CF-20/User-Guide-3022965-Page-20.png)
![23Useful InformationInstalling SoftwareInstalling software will return the computer to the default condition. When you install the soft-ware, the internal SSD data will be erased.Back up important data to other media or an external hard disk before installation. CAUTION l Do not delete the Recovery Partition on the SSD. If it has been deleted, the Recovery Disc could not be created. To check the Recovery Partition, perform the following methods.A Right-click at the bottom left corner of the Desktop screen.Click (Start) and right-click [Computer], then click [Manage].l A standard user needs to enter an administrator password. Click [Disk Management].n Reset WindowsPreparationIf the computer does not operate normally, or becomes unstable, you can reset Windows to solve the problem.l Remove all peripherals and SD memory card, etc.l Connect the AC adaptor and do not remove it until installation is complete.1 Perform “Remove everything and reinstall Windows”.A Click (Start) - [Settings] - [Update & security] - [Recovery]. B Click [Get Started] under “Reset this PC”.C Click [Next].D Select the option. 1.[Keepmyles] Windows reinstallation can be completed in a short time (Approximately 30 minutes). Applications and other items that do not come with this computer will be removed. 2. [Remove everything]l [Justremovemyles](Approximately30minutes)l [Removelesandcleanthedrive]Byfullycleaning,thedeletedlescannotberecoveredeasilyandthesecuritylevelwillbe increased. The processing time will be longer (Approximately 50 minutes).Follow the on-screen instructions. After the reinstallation, the computer will restart.l Do not interrupt installation, for example by turning off the computer or performing other operation. Otherwise installation may become unavailable as Windows may not start up or the data may be corrupted.2 Perform the “Setup Windows” (è page 13). NOTE l The date and time, and the time zone may not be correct. Be sure to set them correctly.3 Perform Windows Update.](https://usermanual.wiki/Panasonic-of-North-America/9TGRI15A.User-Manual-20160603-v1-Host-User-Manual-CF-20/User-Guide-3022965-Page-23.png)
![24Useful InformationInstalling Softwaren Disk recoveryYou can reinstall the OS that was pre-installed at the time of purchase (Windows 10 or Windows 7). If reinstallation using the method described in “Reset this PC” is not successful, fol-low the steps below.Preparationl Remove all peripherals and SD memory card etc.l Connect the AC adaptor and do not remove it until installation is complete.1 Start the Setup Utility.A Click (Start) - [Settings] - [Update & security] - [Recovery]. B Click [Restart now] under “Advanced startup”.C Click [Troubleshoot] - [Advanced options] - [UEFI Firmware Settings] - [Restart].Turn on the computer, and press F2 or Del while [Panasonic] boot screen is displayed.l If the [Panasonic] boot screen is not displayed, turn on the computer while holding down F2 or Del.l If the password is requested, enter the Supervisor Password.2 Write down all of the contents of the Setup Utility and press F9.Attheconrmationmessage,select[Yes]andpressEnter.3 Check the [UEFI Boot] setting of the Setup Utility.Check the [UEFI Boot] setting of the Setup Utility.[UEFI Boot] should be set to as follows.When installing Windows 10 : [Enabled]When installing Windows 7 : [Disabled]4 Press F10.Attheconrmationmessage,select[Yes]andpressEnter.Computer will restart.5 Press F2 or Del while [Panasonic] boot screen is displayed.The Setup Utility starts up.l If the password is requested, enter the Supervisor Password.6 Select the [Exit] menu, then select [Recovery Partition] and press Enter.7 Click [Recovery].Click [CANCEL] to abort the operation. Click [Reinstall Windows] and click [Next]. Conrmthecontentsof“EULA”,andtouch[Accept.]ifyoucontinue.8 At the License Agreement screen, click [Yes, I agree to the provisions above and wish to continue!] and click [Next].9 Click [Disk 0].](https://usermanual.wiki/Panasonic-of-North-America/9TGRI15A.User-Manual-20160603-v1-Host-User-Manual-CF-20/User-Guide-3022965-Page-24.png)
![25Useful Information10 Click [Next].If the option is displayed, select the setting and click [Next].l [Initialize and reinstall Windows to the whole Disk]Select this option when you want to install Windows to the factory default. After instal-lation, you can create a new partition. For how to create a new partition, refer to “To change the partition structure” (è page 15)l [Reinstall Windows to the OS related partitions]*1Select this option when the hard disk has already been divided into several partitions and you want to keep the partition structure. For how to create a new partition, refer to “To change the partition structure” (è page 15).*1 This does not appear if Windows cannot be installed to the recovery partition and the area usable by Windows.11 At the conrmation message, click [YES].12 Select OS (32bit or 64bit) and click [OK].13 Click [Recovery ALL Partitions.].14 At the conrmation message, click [YES].Installation starts according to the instructions on the screen. (It will take approximately several tens of minutes / 20 minutes.)l Do not interrupt installation, for example by turning off the computer or performing other operation. Otherwise installation may become unavailable as Windows may not start up or the data may be corrupted.15 When Ending process screen is displayed, click [Shutdown.] / [OK] to turn off the computer.16 Turn on the computer.l If the password is requested, enter the Supervisor Password.17 Perform the “Setup Windows” (è page 13).18 Start the Setup Utility and change the settings as necessary.n Using Recovery DiscUse the Recovery Disc in the following conditions. You have forgotten the administrator password. Installation is not complete. The recovery partition in the hard disk may be broken. <Only for Windows 7 downgrade model> To change OS from Windows 7 to Windows 10, or vice versa. NOTE l To change OS from 32 bit to 64 bit, or vice versa, install OS using the recovery par-tition in the SSD.](https://usermanual.wiki/Panasonic-of-North-America/9TGRI15A.User-Manual-20160603-v1-Host-User-Manual-CF-20/User-Guide-3022965-Page-25.png)
![26Useful InformationInstalling SoftwarePreparationl Prepare the following items: Recovery Disc ( USB memory device can also be used as a recovery disc.) (è Reference Manual “Recovery Disc Creation Utility”) Commercially available optical drive l Remove all peripherals and SD memory card etc. (except for the commercially available optical drive).l Connect the AC adaptor and do not remove it until installation is complete.1 Connect the commercially available optical drive to the USB port.2 Start the Setup Utility.A Click (Start) - [Settings] - [Update & security] - [Recovery]. B Click [Restart now] under “Advanced startup”.C Click [Troubleshoot] - [Advanced options] - [UEFI Firmware Settings] - [Restart].Turn on the computer, and press F2 or Del while [Panasonic] boot screen is displayed.l If the [Panasonic] boot screen is not displayed, turn on the computer while holding down F2 or Del.l If the password is requested, enter the Supervisor Password.3 Write down all of the contents of the Setup Utility and press F9. Attheconrmationmessage,select[Yes]andpressEnter.4 Check the [UEFI Boot] setting of the Setup Utility.[UEFI Boot] should be set to as follows.When the recovery disc for Windows 10 is used : [Enabled]When the recovery disc for Windows 7 is used : [Disabled]5 Set the Recovery Disc into the DVD drive or commercially available optical drive.6 Press F10.Attheconrmationmessage,select[Yes]andpressEnter.Computer will restart.7 Press F2 or Del while [Panasonic] boot screen is displayed.The Setup Utility starts up.l If the password is requested, enter the Supervisor Password.8 Select the [Exit] menu, then select DVD drive or commercially avail-able optical drive in [Boot Override] and press Enter.The computer will restart.9 Click [Recovery].10 Click [Reinstall Windows] and click [Next].11 At the conrmation message, click [YES].Conrmthecontentsof“EULA”,andtouch[Accept.]ifyoucontinue.12 At the License Agreement screen, click [Yes, I agree to the provisions above and wish to continue!] and click [Next].13 Click [Disk 0].](https://usermanual.wiki/Panasonic-of-North-America/9TGRI15A.User-Manual-20160603-v1-Host-User-Manual-CF-20/User-Guide-3022965-Page-26.png)
![27Useful Information14 Click [Next].If the option is displayed, select the setting and click [Next].l [Initialize and reinstall Windows to the whole Disk]Select this option when you want to install Windows to the factory default. After instal-lation, you can create a new partition. For how to create a new partition, refer to “To change the partition structure” (è page 15).l [Reinstall Windows to the OS related partitions]*2Select this option when the hard disk has already been divided into several partitions and you want to keep the partition structure. For how to create a new partition, refer to “To change the partition structure” (è page 15).*2 This does not appear if Windows cannot be installed to the recovery partition and the area us-able by Windows.15 Click [Recovery ALL Partitions.].16 At the conrmation message, click [YES].Installation starts according to the instructions on the screen. (It will take approximately @@ minutes / 30 - 45 minutes.)l Do not interrupt installation, for example by turning off the computer or pressing Ctrl + Alt + Del. Otherwise installation may become unavailable as Windows may not start up or the data may be corrupted.17 When Ending process screen is displayed, remove the Recovery Disc and DVD drive or commercially available optical drive and then click [Reboot] / [OK].Follow the on-screen instructions.18 Perform the “First-time Operation” (è page 13).19 On the “Finish Recovery Process.” screen, click [Shutdown.].20 Turn on the computer.21 Start the Setup Utility and change the settings as necessary.](https://usermanual.wiki/Panasonic-of-North-America/9TGRI15A.User-Manual-20160603-v1-Host-User-Manual-CF-20/User-Guide-3022965-Page-27.png)
![28TroubleshootingTroubleshooting (Basic)Follow the instructions below when a problem has occurred. There is also an advanced trouble-shooting guide in the “Reference Manual”. For a software problem, refer to the software’s instruc-tion manual. If the problem persists, contact Panasonic Technical Support (è pages 42 - 48). You can also check the computer’s status in the PC Information Viewer (è Reference Manual “Troubleshooting (Advanced)”).n Starting UpCannot start up.The power indicator or bat-tery indicator is not lit.l Connect the AC adaptor.l Insert a fully charged battery.l Remove the battery pack and the AC adaptor, then connect them again. l Even if the AC adaptor and battery pack are correctly connected, if the battery indicator is not lit, the AC adaptor protection function may be operating. Disconnect the AC cord, wait three minutes or more, and reconnect the AC cord.l If a device is connected to the USB port, disconnect the device, or set [USB Port] or [Legacy USB Support] to [Disable] in the [Ad-vanced] menu of the Setup Utility.l Press Fn + F8 to turn off the concealed mode.l Check the [UEFI Boot] setting of the Setup Utility. [UEFI Boot] should be set to [Enabled] / [Disabled].The power is turned on but “Warming up the system (up to 30 minutes)” appears.l The computer is warming up before start up. Wait for the com-puter to start up (takes up to 30 minutes). If, “Cannot warm up the system” is displayed, the computer failed to warm up and does not start. In this case, turn off the computer, leave it in an environ-ment of 5 °C {41 °F} or higher temperature for about an hour, and then turn on the power once more.Cannot turn on the computer.The computer does not re-sume from sleep.(The power indicator blinks rapidly in green.)l Leave it in an environment of 5 °C {41 °F} or higher temperature for about an hour, then turn on the power again.The computer does not enter sleep mode while the screen saver is running. (The screen stays black.)l Press and hold the power switch for 4 seconds or longer to shut down the computer forcibly. (Data not saved will be lost.) Then disable the screen saver.It takes time for the power indicator to light up.l If the power switch is pressed immediately after the battery pack has been mounted on the computer, and while the AC adaptor is notconnected,itmaytakeaboutvesecondsbeforethepowerindicator lights up and the computer turns on. This is because the computer is checking the remaining battery charge; it is not a malfunction.You have forgotten the pass-word.l Supervisor Password or User Password: Contact Panasonic Tech-nical Support (è pages 42 - 48).l Administrator password: If you have a password reset disk, you can reset the administra-tor password. Set the disk and enter any wrong password, then follow the on-screen instructions and set a new password. If you do not have a password reset disk, reinstall (è page 23) and set up Windows, and then set a new password.](https://usermanual.wiki/Panasonic-of-North-America/9TGRI15A.User-Manual-20160603-v1-Host-User-Manual-CF-20/User-Guide-3022965-Page-28.png)
![29Troubleshootingn Starting Up“Remove disks or other media. Press any key to restart” or a similar message appears.l If a device is connected to the USB port, disconnect the device, or set [Tablet USB Port] or [Legacy USB Support] to [Disabled] in the [Advanced] menu of the Setup Utility.l If the problem persists after removing the disk, it may be a hard disk failure. Contact Panasonic Technical Support (è pages 42 - 48).l Set [UEFI Boot] to [Disabled] in the [Boot] menu of the Setup Util-ity.Windows startup and opera-tion is slow.l Press F9 in the Setup Utility (è Reference Manual “Setup Utility”) to return the Setup Utility settings (excluding the pass-words) to the default values. Start the Setup Utility and make the settings again. (Note that the processing speed depends on the application software, so this procedure may not make Windows faster.)l If you installed a resident software after purchase, turn off the residence.The date and time are incor-rect.l Make the correct settings.A Right-click (Start) at the bottom left corner, and then click [Control Panel]. Click (Start) - [Control Panel].B Click [Clock, Language, and Region] - [Date and Time].l If the problem persists, the internal clock battery may need to be replaced. Contact Panasonic Technical Support (è pages 42 - 48).l When the computer is connected to LAN, check the date and time of the server.l The 2100 A.D. or later year will not be correctly recognized on this computer.[Executing Battery Recali-bration] screen appears.l The Battery Recalibration was cancelled before Windows was shut down last time. To start up Windows, turn off the computer by the power switch, and then turn on.](https://usermanual.wiki/Panasonic-of-North-America/9TGRI15A.User-Manual-20160603-v1-Host-User-Manual-CF-20/User-Guide-3022965-Page-29.png)
![30TroubleshootingTroubleshooting (Basic)n Starting Up[Enter Password] does not appear when resuming from sleep/hibernation.l Select [Enabled] in [Password On Resume] in the [Security] menu of the Setup Utility (è Reference Manual “Setup Utility”).l The Windows password can be used instead of the password set in the Setup Utility.A Add a password. 1. Click (Start) - [Settings] - [Accounts]. 2. Click [Sign-in options], and click [Add] under “Password”. 1. Click (Start) - [Control Panel]. 2. Click [User Accounts and Family Safety] - [Add or remove user accounts].B Set up the following. 1. Open the Control Panel, click [System and Security] - [Power Options] - [Require a password on wakeup]. 2. Add a check mark for [Require a password]. 1. Click [Control Panel] - [System and Security] - [Power Op-tion] - [Require a password when the computer wakes] and add a check mark for [Require a password].Cannot resume. l One of the following operations may have been carried out. Press the power switch turn on the computer. Data not saved will be lost. In sleep mode, the AC adaptor or battery pack was disconnect-ed, or a peripheral was connected or disconnected. The power switch was slid for four seconds or longer to forcibly turn off the computer.l An error may occur when the computer automatically enters the sleep or hibernation mode while the screensaver is active. In this case, turn off the screensaver or change the pattern of the screensaver.Other startup problems. l Start in the Setup Utility (è Reference Manual “Setup Utility”) to return the Setup Utility settings (excluding the passwords) to the default values. Start the Setup Utility and make the settings again.l Remove all peripheral devices.l Check to see if there was a disk error.A Remove all peripheral devices including an external display.B Right-click (Start) at the bottom left corner, and then click [File Explorer]. Click (Start) - [Computer].C Right-click [This PC].D Right-click [Windows (C:)] / [Local Disk (C:)], and click [Properties].E Click [Tools] - [Check] / [Check Now...]. A standard user needs to enter an administrator password.F Follow the on-screen instructions.](https://usermanual.wiki/Panasonic-of-North-America/9TGRI15A.User-Manual-20160603-v1-Host-User-Manual-CF-20/User-Guide-3022965-Page-30.png)
![32TroubleshootingTroubleshooting (Basic)n DisplayThe screen is disordered. l Changing the number of display colors and resolution may affect the screen. Restart the computer.l Connecting/disconnecting an external display may affect the screen. Restart the computer.l Resuming from sleep or hibernation may affect the screen of the external display. Restart the computer.During Simultaneous display, one of the screens becomes disordered.l When using the Extended Desktop, use the same display colors for the external display as those used by the LCD. If you continue to experience problems, try changing the display.lSimultaneous display cannot be used until Windows startup is complete (during Setup Utility, etc.).The external display does not work normally.l If the external display does not support the power saving function, it may not work normally when the computer enters the power saving mode. Turn off the external display.n TouchpadThe pointer does not work. l When using the external mouse, connect it correctly.l Restart the computer using the keyboard. l If the computer does not respond to keyboard commands, read “No response” (è page 32).Cannot input using the touchpad.l Set [Touch Pad] to [Enabled] in the [Main] menu of the Setup Util-ity.l The drivers for some mice may disable the touchpad. Check your mouse’s operating instructions.n On-screen DocumentThe document of PDF for-mat is not displayed.l Install Adobe Reader.A Log on to Windows as an administrator.B Click (Start) and input “c:\util\reader\en\Pinstall.bat” in [Searchprogramsandles]thenpressEnter.C Update Adobe Reader to its latest version. If your computer is connected to the internet, start up Adobe Reader and click [Help] - [Check for Updates...].n OthersNo response. l Press Ctrl+Shift+Esc to open Task Manager and close the software application that is not responding.l An input screen (e.g., password input screen at startup) may be hidden behind another window. Press Alt+Tab to check.l Press the power switch for 4 seconds or longer to shut down the computer, and then press the power switch to turn it on. If the ap-plication program does not work normally, uninstall and reinstall the program. To uninstall,A Right-click (Start) at the bottom left corner, and then click [Control Panel]. Click (Start) - [Control Panel].B Click [Program] - [Uninstall a program].](https://usermanual.wiki/Panasonic-of-North-America/9TGRI15A.User-Manual-20160603-v1-Host-User-Manual-CF-20/User-Guide-3022965-Page-32.png)
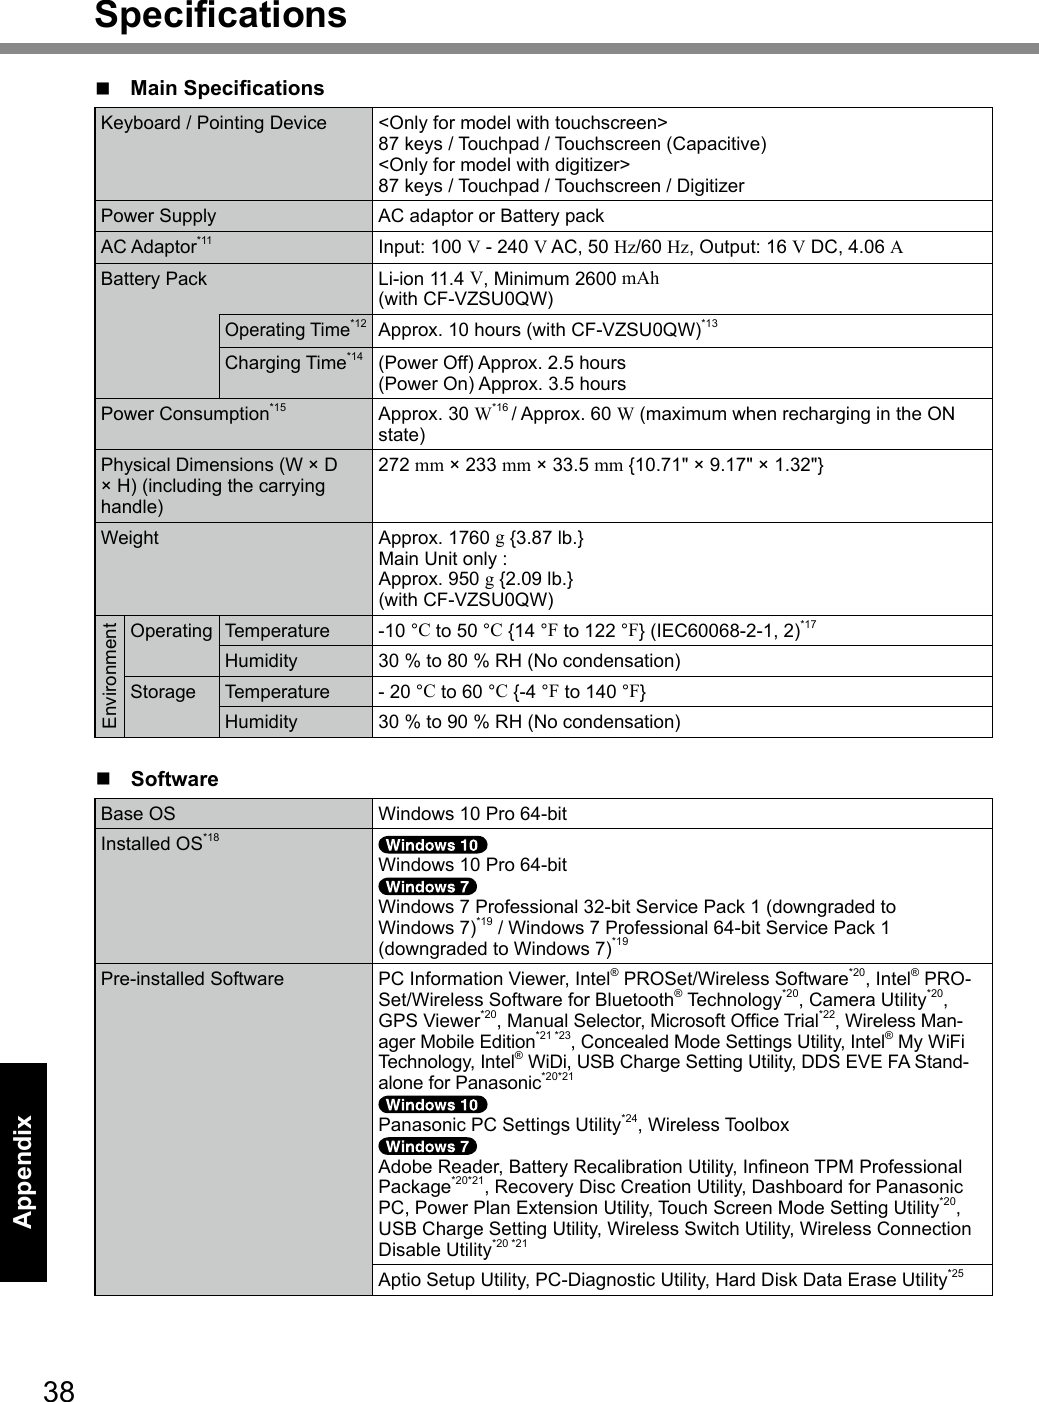
![37AppendixSpecicationsThispageprovidesthespecicationsforthebasicmodel. Themodelnumberisdifferentaccordingtotheunitconguration.l To check the model number: Check the bottom of the computer or the box the computer came in at the time of purchase.l To check CPU speed, memory size and the hard disk drive (HDD) size: Run the Setup Utility (è Reference Manual “Setup Utility”) and select [Information] menu. [Processor Speed]: CPU speed, [Memory Size]: Memory size, [Hard Disk]: SSD sizen Main SpecicationsCPU Intel® Core™ m5-6Y57 Processor (4 MB*1 cache, 1.1 GHz up to 2.8 GHz) with Intel® Turbo Boost TechnologyChip Set Built-in CPUVideo controller Intel® HD Graphics 515 (Built-in CPU)Main Memory*2 4 GB*1, LPDDR3 SDRAM (8 GB*1 Max.)Storage SSD: 128 GB*3 (SSD) Approx. 18 GB*3 is used as a partition with disk recovery tools. (Users cannot use this partition.) Approx. 1.2 GB*3 is used as a partition with system tools. (Users cannot use this partition.) Approx. 25 GB*3 is used as a partition with disk recovery tools. (Users cannot use this partition.) Approx. 300 MB*3 is used as a partition with system tools. (Users cannot use this partition.)Display Method 10.1” WUXGA (1920 ×1200 dots)Internal LCD*4 Max. 16,777,216 colors (1920 × 1200 dots)External Display (HDMI)*5 65,536 / 16,777,216 colors (1920 × 1200 dots Max.)Wireless LAN*6 IntelSnoweldPeakIntel® Dual Band Wireless-AC 8260è page 39Bluetooth*7 è page 39LAN IEEE 802.3 10Base-T / IEEE 802.3u 100BASE-TX / IEEE 802.3ab 1000BASE-TSound Intel®HighDenitionAudiosubsystemsupportSD Memory Card Slot*8 × 1Interface USB Ports (USB 3.0 ports × 3)*9 / LAN Port (RJ-45) × 1 / HDMI Port (Type A)*10 / Headset (Miniature jack, 3.5 DIA, CTIA standard / Headphone: Im-pedance 32 Ω, Output Power 4 mW × 2, Stereo / Microphone: Monaural Input) / Expansion Bus Connector (Dedicated 24-pin female)Camera 1920 x 1080 dots, 30fps(Video) / 1920 x 1080 dots(Still), Dual Micro-phoneSensor Ambient light sensorEquippedMagnetic sensor Digital compassGyro sensor EquippedAcceleration sensorEquipped](https://usermanual.wiki/Panasonic-of-North-America/9TGRI15A.User-Manual-20160603-v1-Host-User-Manual-CF-20/User-Guide-3022965-Page-37.png)
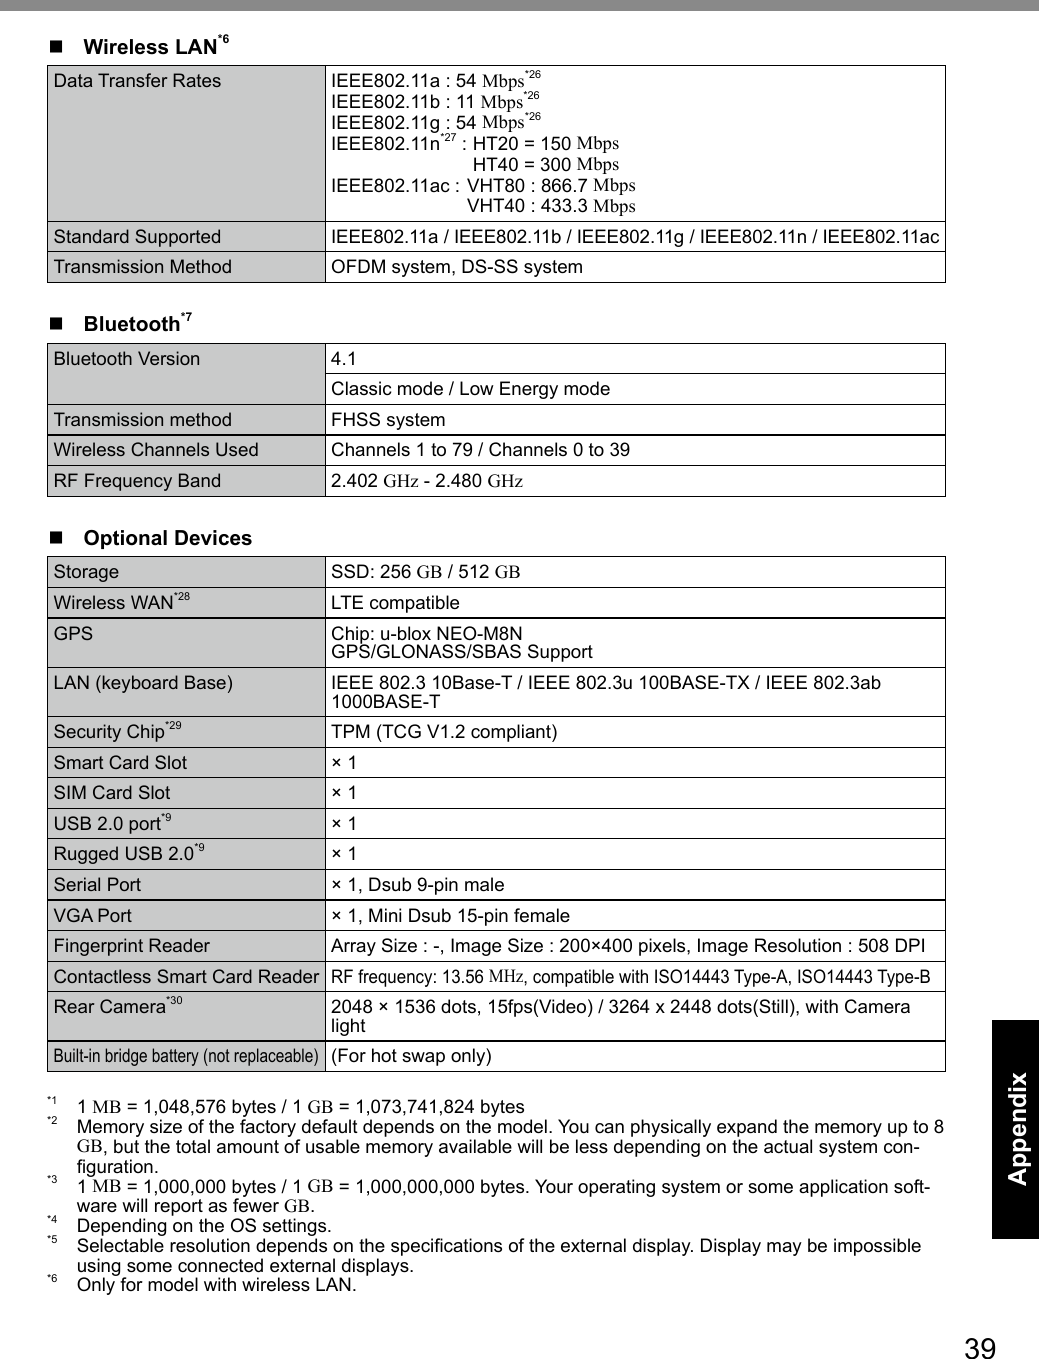
![40AppendixSpecications*7 Only for model with Bluetooth. Does not guarantee operation of all Bluetooth peripherals.*8 This slot is compatible with UHS-Ⅰ.OperationhasbeentestedandconrmedusingPanasonicSD/SDHC Memory Cards with a capacity of up to 64 GB. Operation on other SD equipment is not guaran-teed.*9 Does not guarantee operation of all USB-compatible peripherals.*10 Does not guarantee operation of all HDMI-compatible peripherals.*11 <Only for North America> The AC adaptor is compatible with power sources up to 240 V AC adaptor. This computer is supplied with a 125 V AC compatible AC cord. 20-M-2-1*12 Measured with LCD brightness : 60 cd/m2 Varies depending on the usage conditions, or when an optional device is attached.*13 If B-LAN is disabled, the operating time is 6 hours.*14 Varies depending on the usage conditions, CPU speed, etc.*15 Approx. 0.5 W when the battery pack is fully charged (or not being charged) and the computer is off. <When using with 115 V AC> Even when the AC adaptor is not connected to the computer, power is consumed (Max. 0.3 W) simply by having the AC adaptor plugged into an AC outlet.*16 Rated power consumption. 23-E-1*17 Do not expose the skin to this product when using the product in a hot or cold environment. (è OPERATING INSTRUCTIONS - Read Me First) When using in hot or cold environment, some pe-ripherals and battery pack may fail to work properly. Check the operation environment of the peripherals. Using this product continuously in a hot environment will shorten the product life. Avoid use in these types of environments. When using in low temperature environment, startup may become slow or battery operation time may become short. The computer consumes power when the hard disk is warming up during startup. Therefore, if you are using battery power and the remaining power is low, the computer may not start up.*18 Operations of this computer are not guaranteed except for the pre-installed OS and the OS which is installed by using the hard disk recovery and the recovery disc.*19 This system is preinstalled with Windows 7 Professional software and also comes with a license for Windows 10 Pro software. You may only use one version of the Windows software at a time. Switching between versions will require you to uninstall one version and install the other version.*20 Depending on the models, this application software is not installed.*21 Must be installed before use.*22 To continue using this software after the end of the trial, purchase a license by following the on-screen instructions.*23 For information on Wireless Manager, refer to the “Supplementary Instructions for Wireless Manager mobile edition” by the following procedure. A Right-click (Start) at the bottom left corner. B Click [Run], input “c:\util\wlprjct\Supplementary Instructions.pdf” then click [OK]. Click (Start)andinput“c:\util\wlprjct\SupplementaryInstructions.pdf”in[Searchprogramsandles]and press Enter.*24 Panasonic PC Settings Utility includes the following functions: Ambient light sensor power management options / Economy mode of battery (ECO) / Battery Charge Speed / Battery Recalibration / Touch Opera-tion Support / USB Charge Settings / Power Saving Settings*25 Perform on the recovery disc. Alternatively perform on the SSD recovery partition.*26 ThesearespeedsspeciedinIEEE802.11a+b+g+n+acstandards.Actualspeedsmaydiffer.*27 Available when set to “WPA-PSK”, “WPA2-PSK” or “none”. Only available when HT40 enabled by the computer and access point which associated supports HT40.*28 Thespecicationsmaydifferdependingonthemodel. A SIM card (15 mm {0.59”} × 25 {0.98”} mm) must be inserted in the SIM card slot.](https://usermanual.wiki/Panasonic-of-North-America/9TGRI15A.User-Manual-20160603-v1-Host-User-Manual-CF-20/User-Guide-3022965-Page-40.png)
![41Appendix*29 For information on TPM, refer to the Installation Manual of “Trusted Platform Module (TPM)” by the fol-lowing procedure. Double-click [Manual Selector] on the desktop, and select “Installation Manual for Trusted Platform Mod-ule (TPM)”.*30 Thespecicationsmaydifferdependingonthemodel. Dependingonthespecicationofapplicationsoftware,thefollowingcasesmayoccur.Inthesecases,select a smaller resolution. - Cannot select a large resolution.- When selecting a large resolution, an error occurs.](https://usermanual.wiki/Panasonic-of-North-America/9TGRI15A.User-Manual-20160603-v1-Host-User-Manual-CF-20/User-Guide-3022965-Page-41.png)