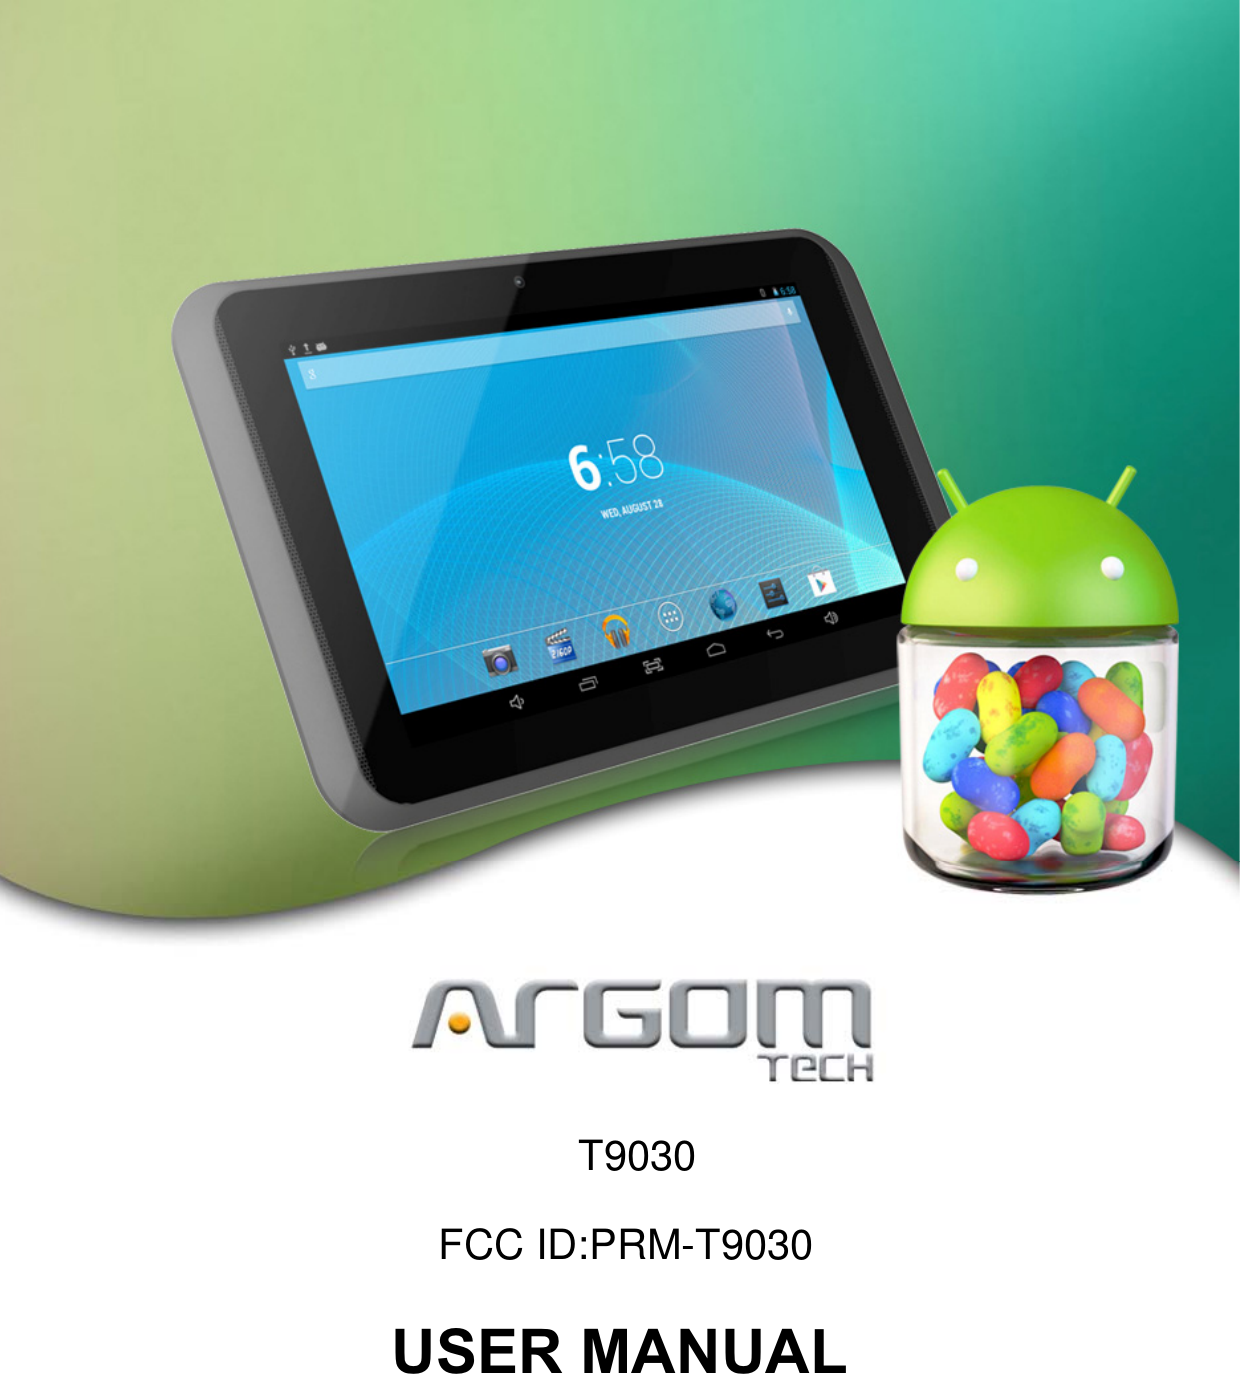
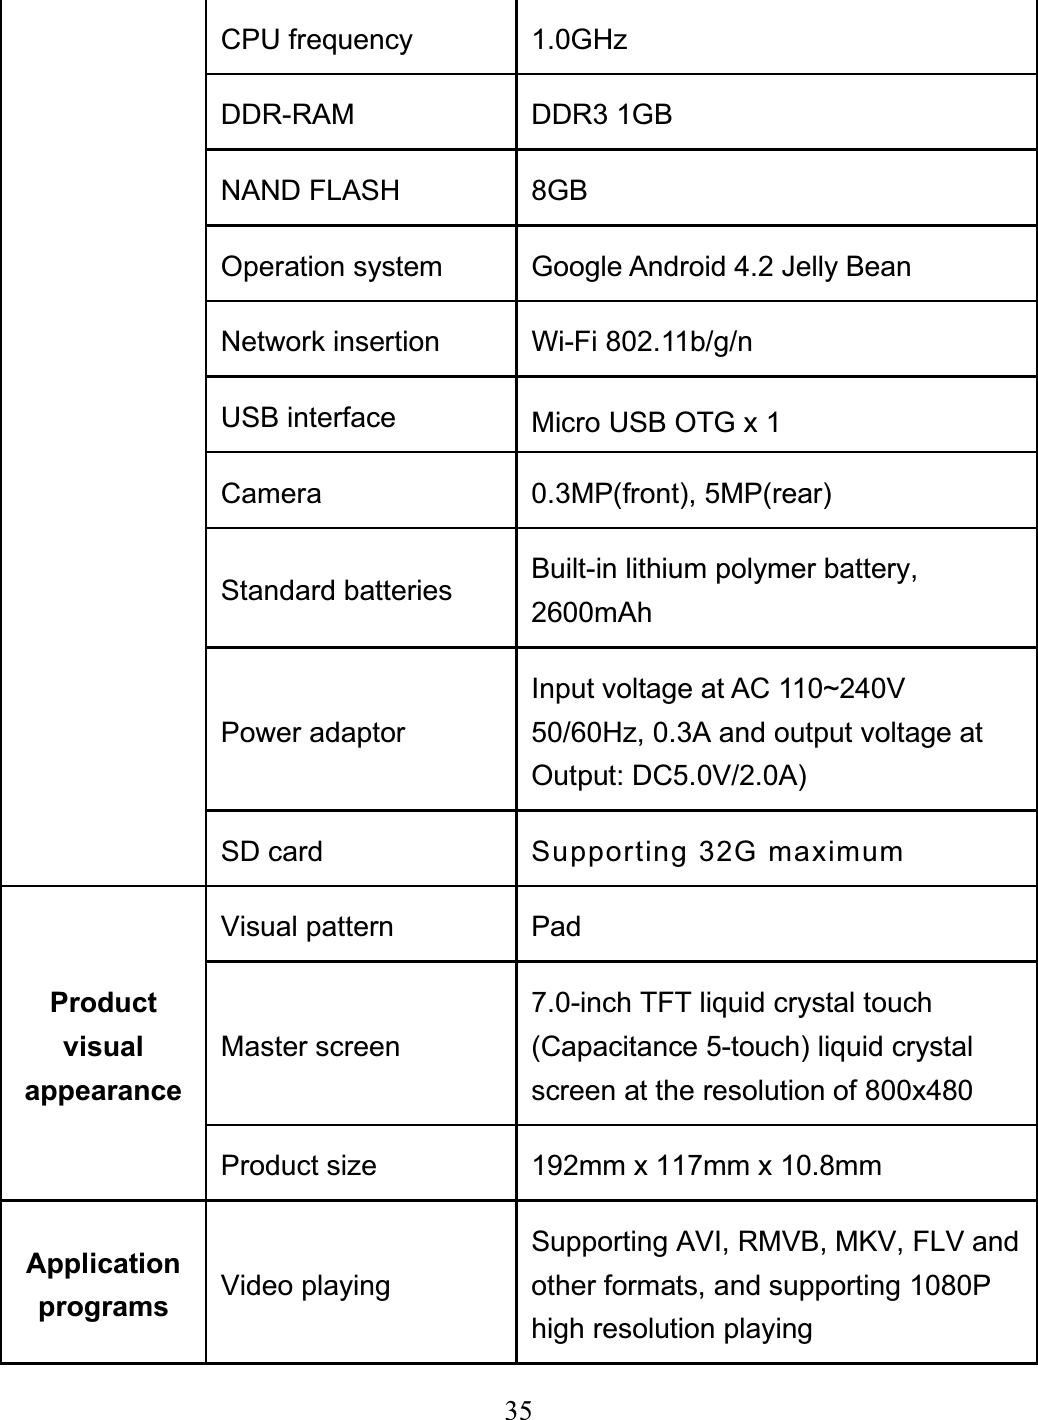
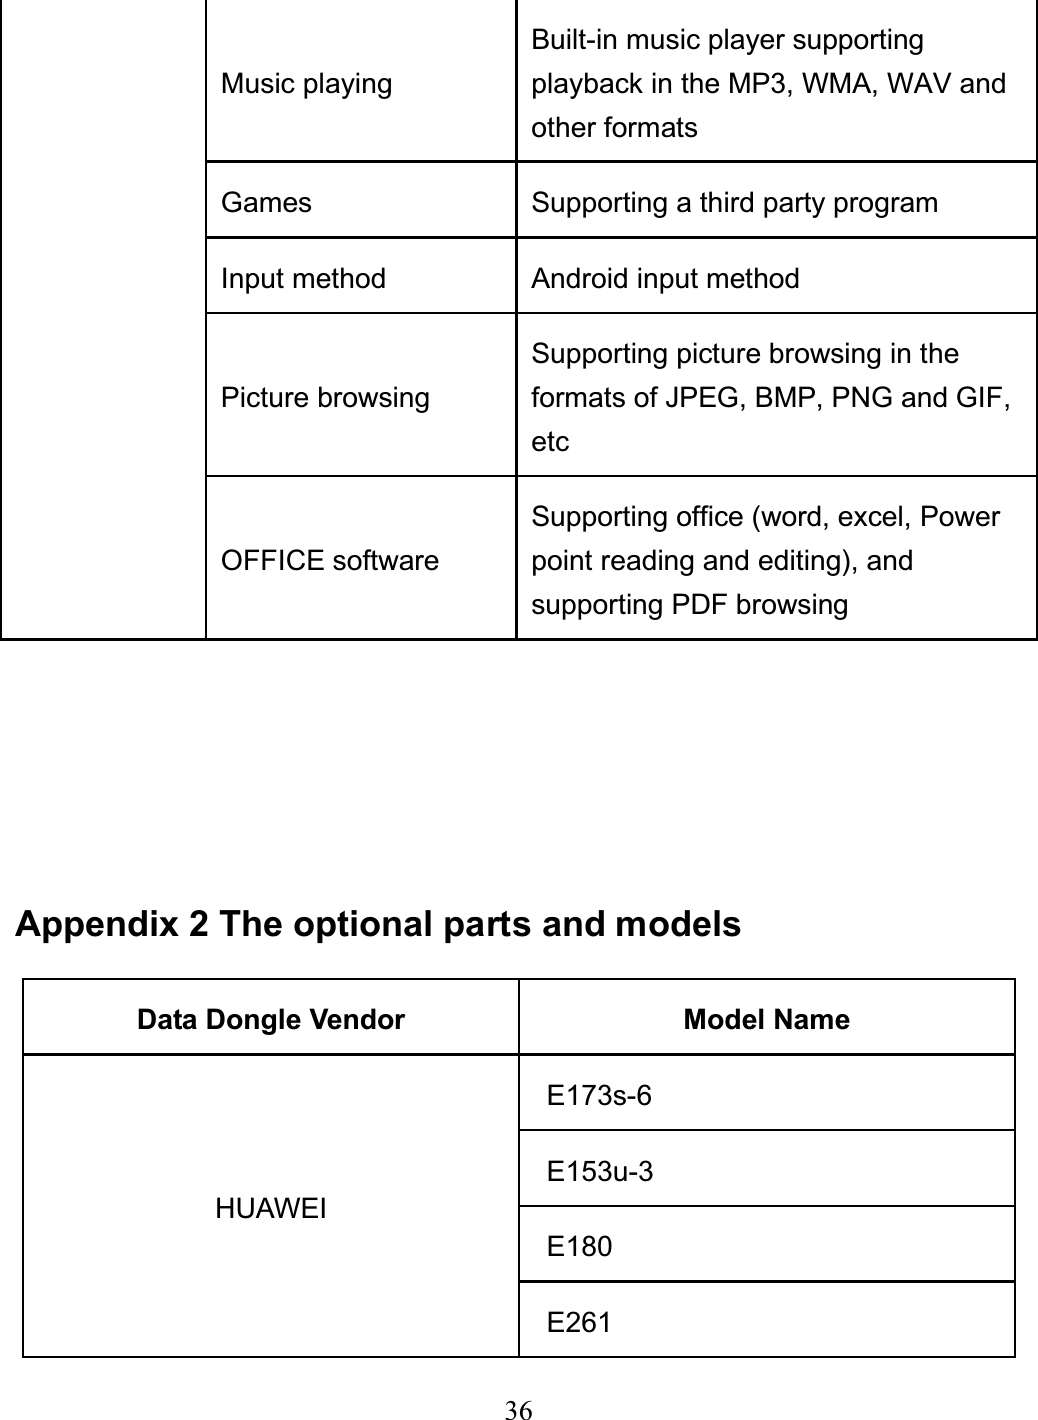
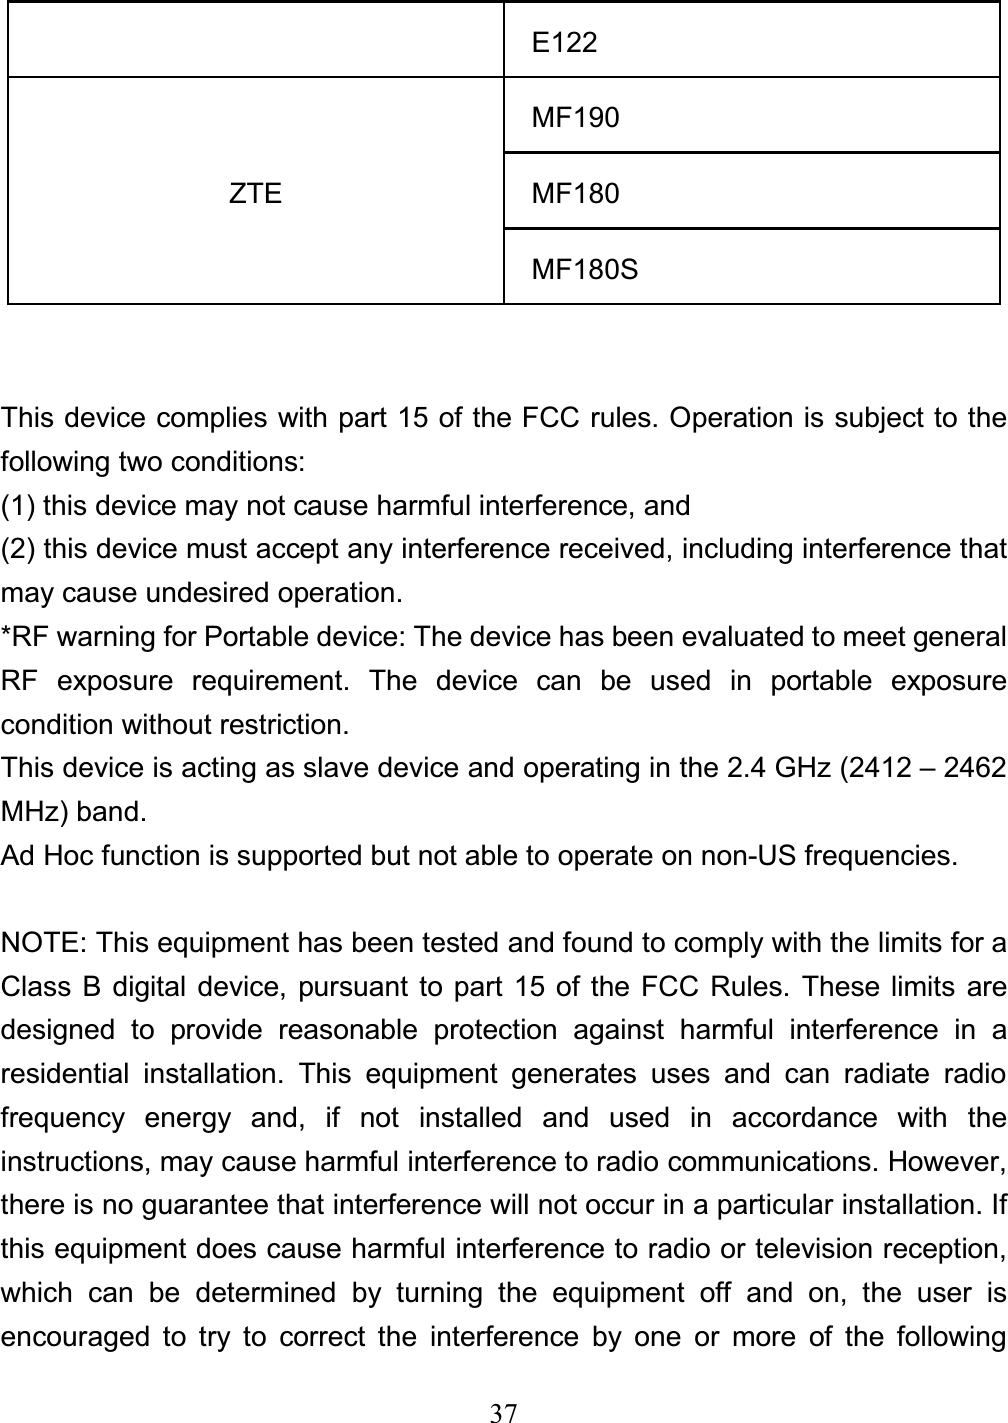
Star Computer Group T9030 Tablet PC User Manual T9030
STAR COMPUTER GROUP INC. Tablet PC T9030
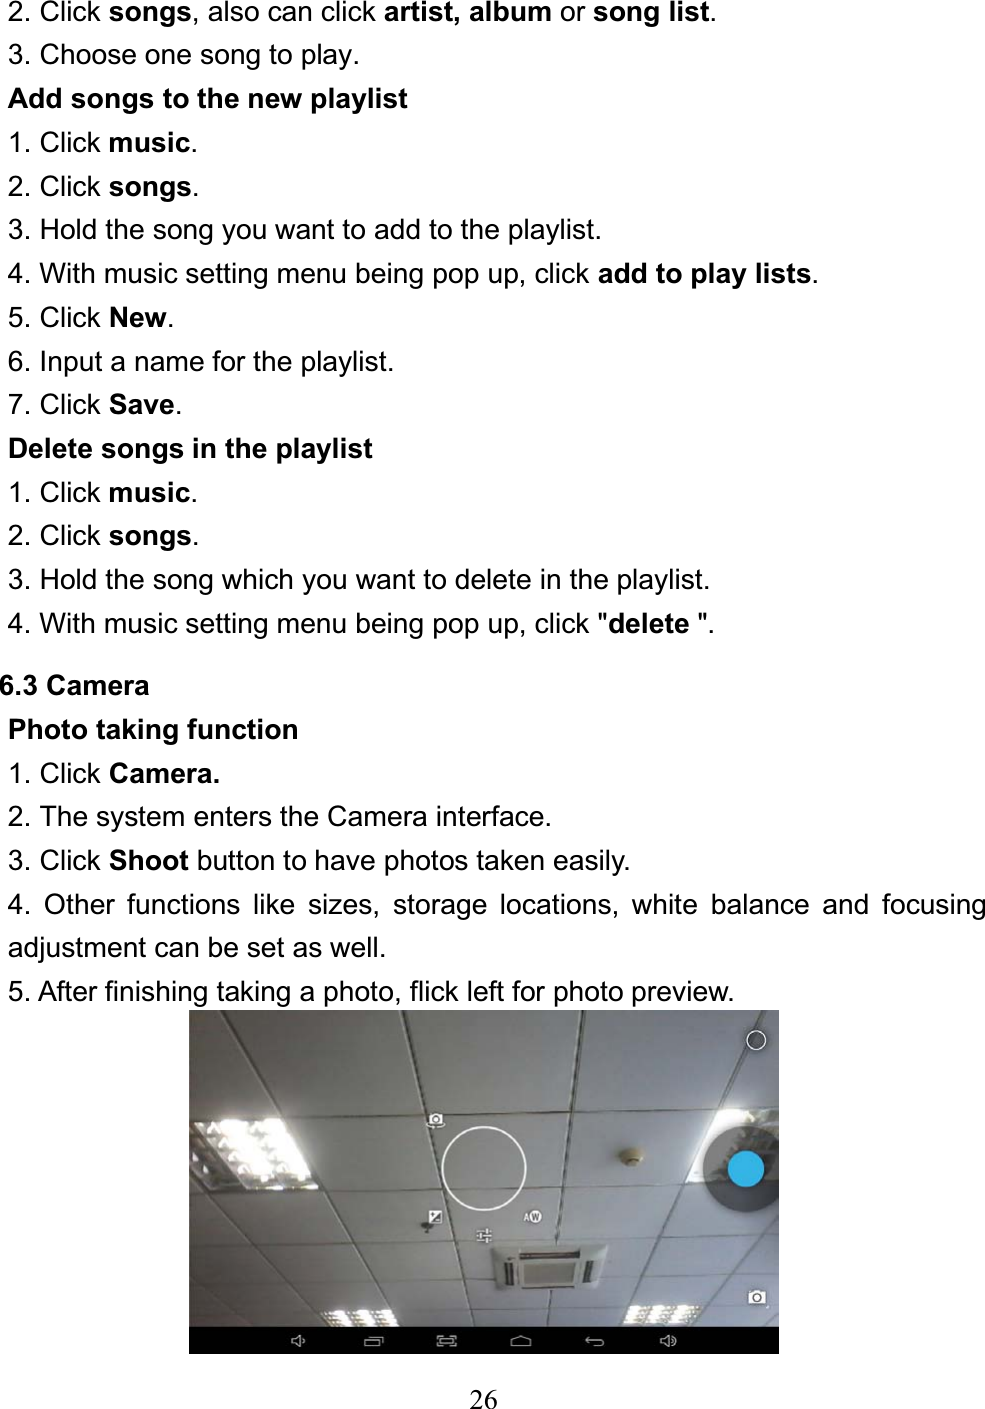
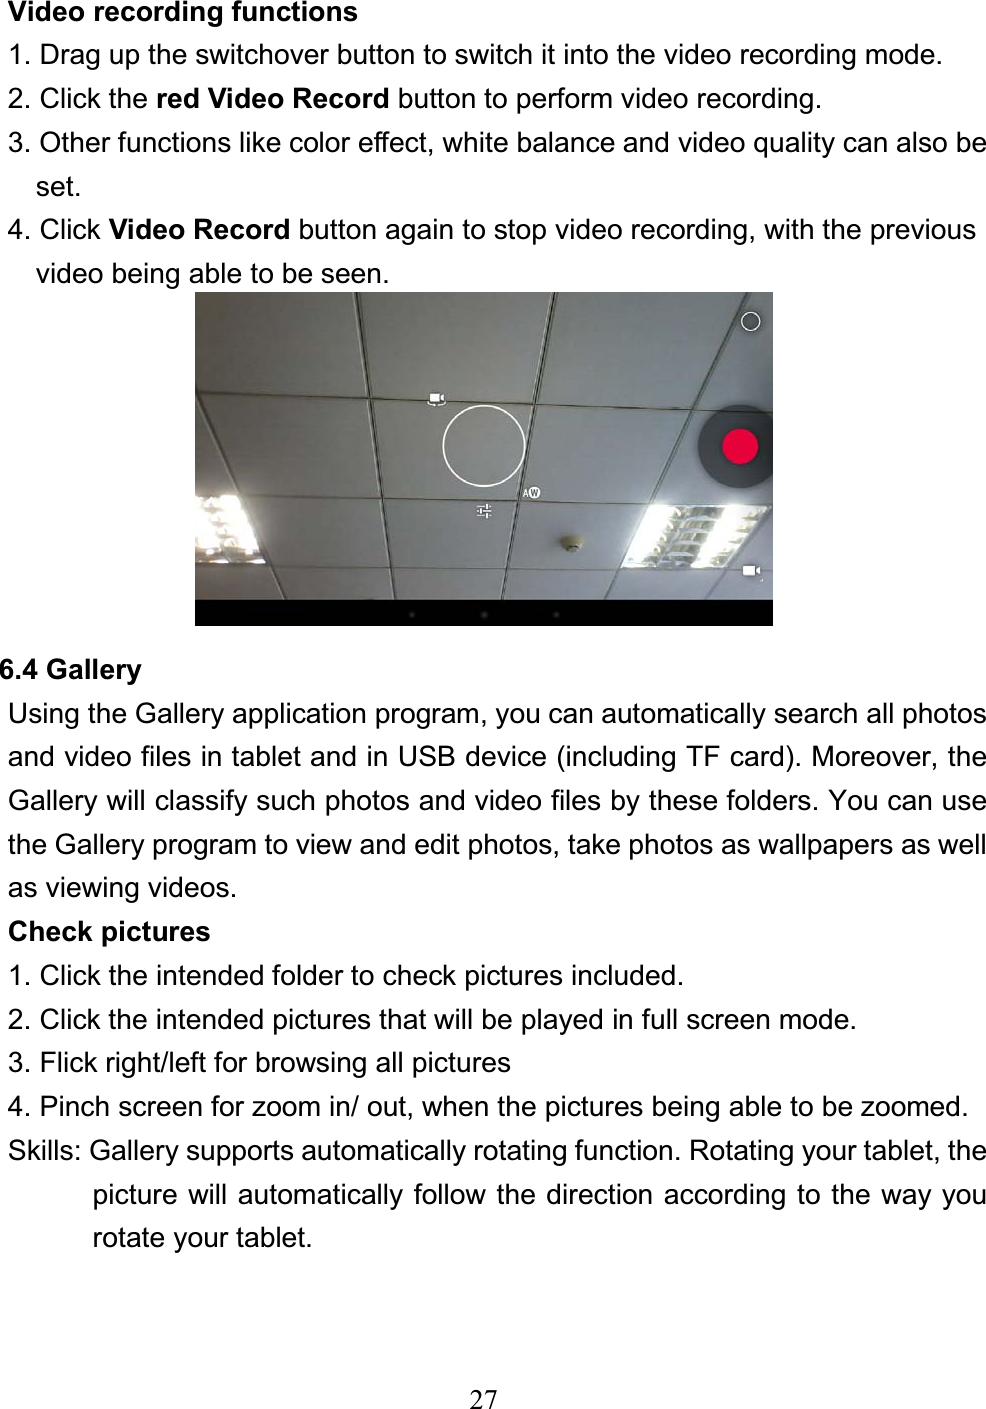
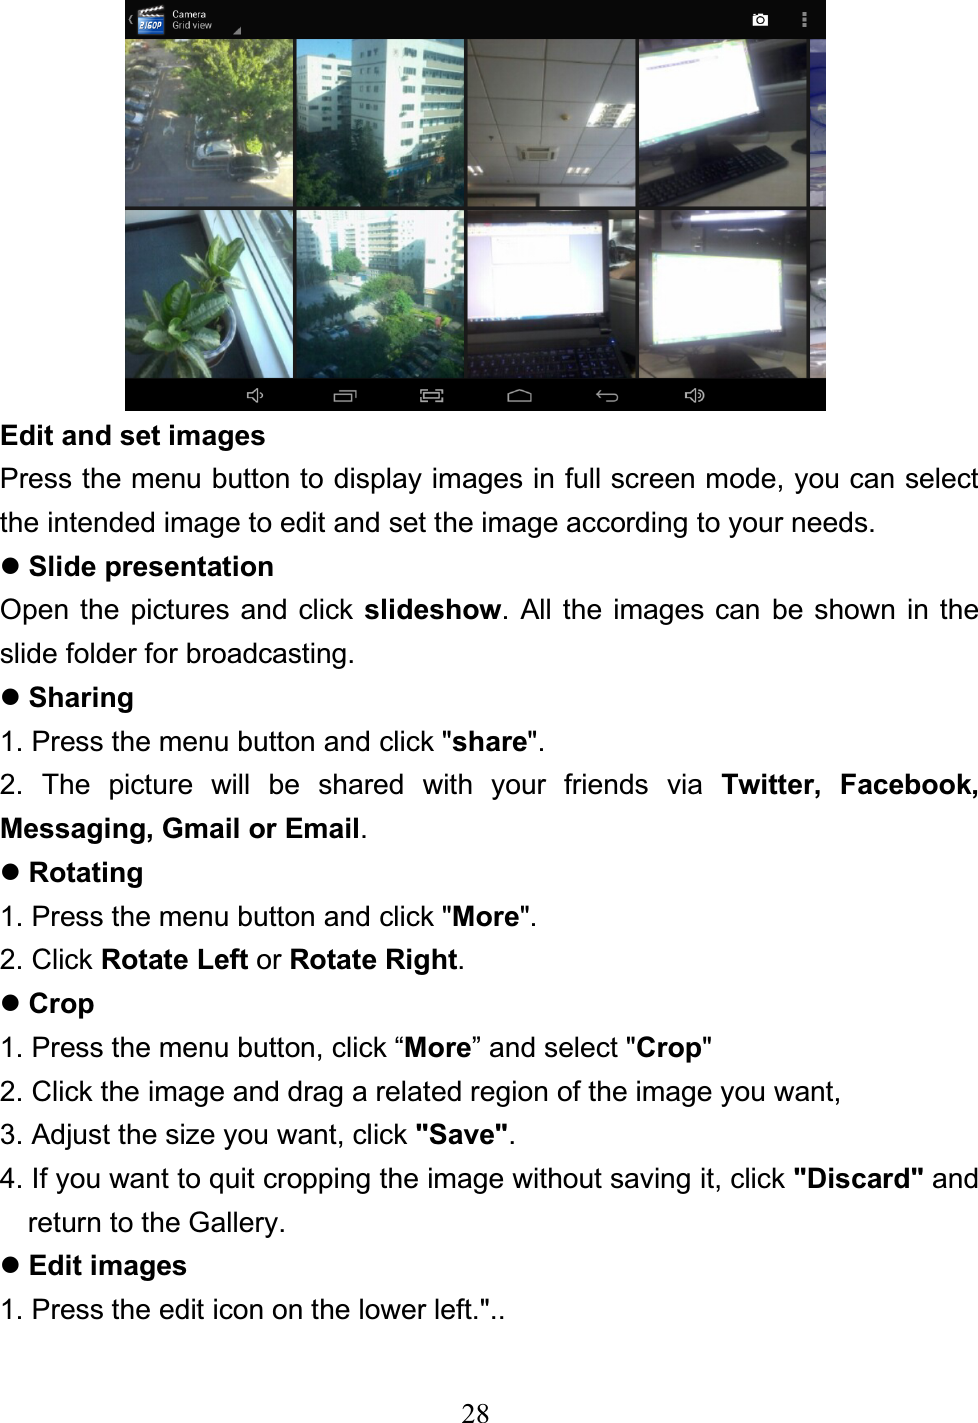
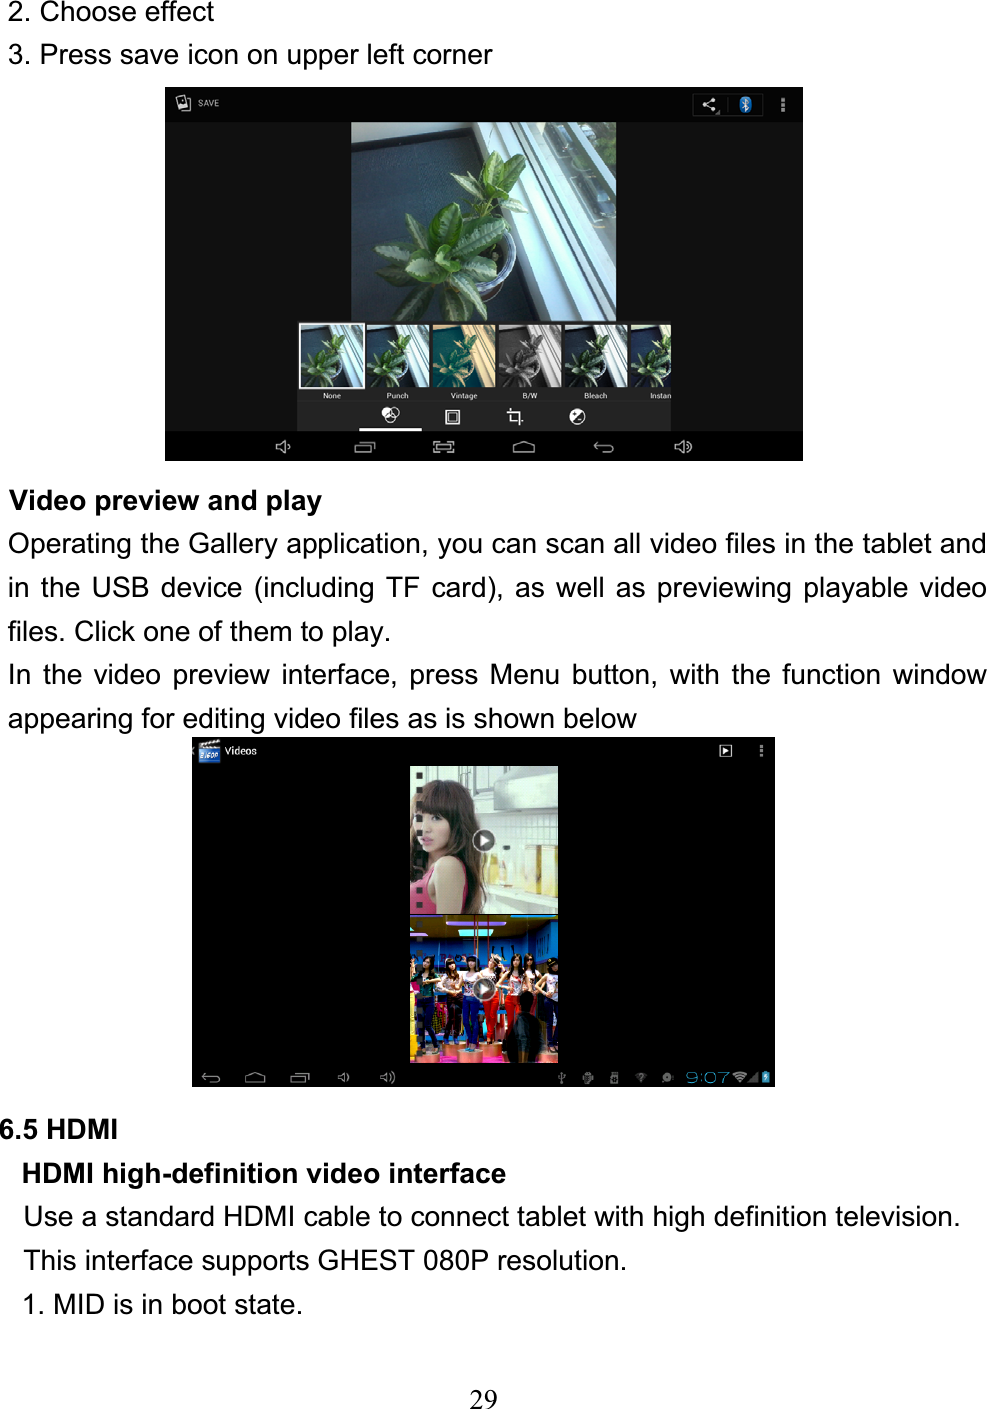
UserManual.wiki
>
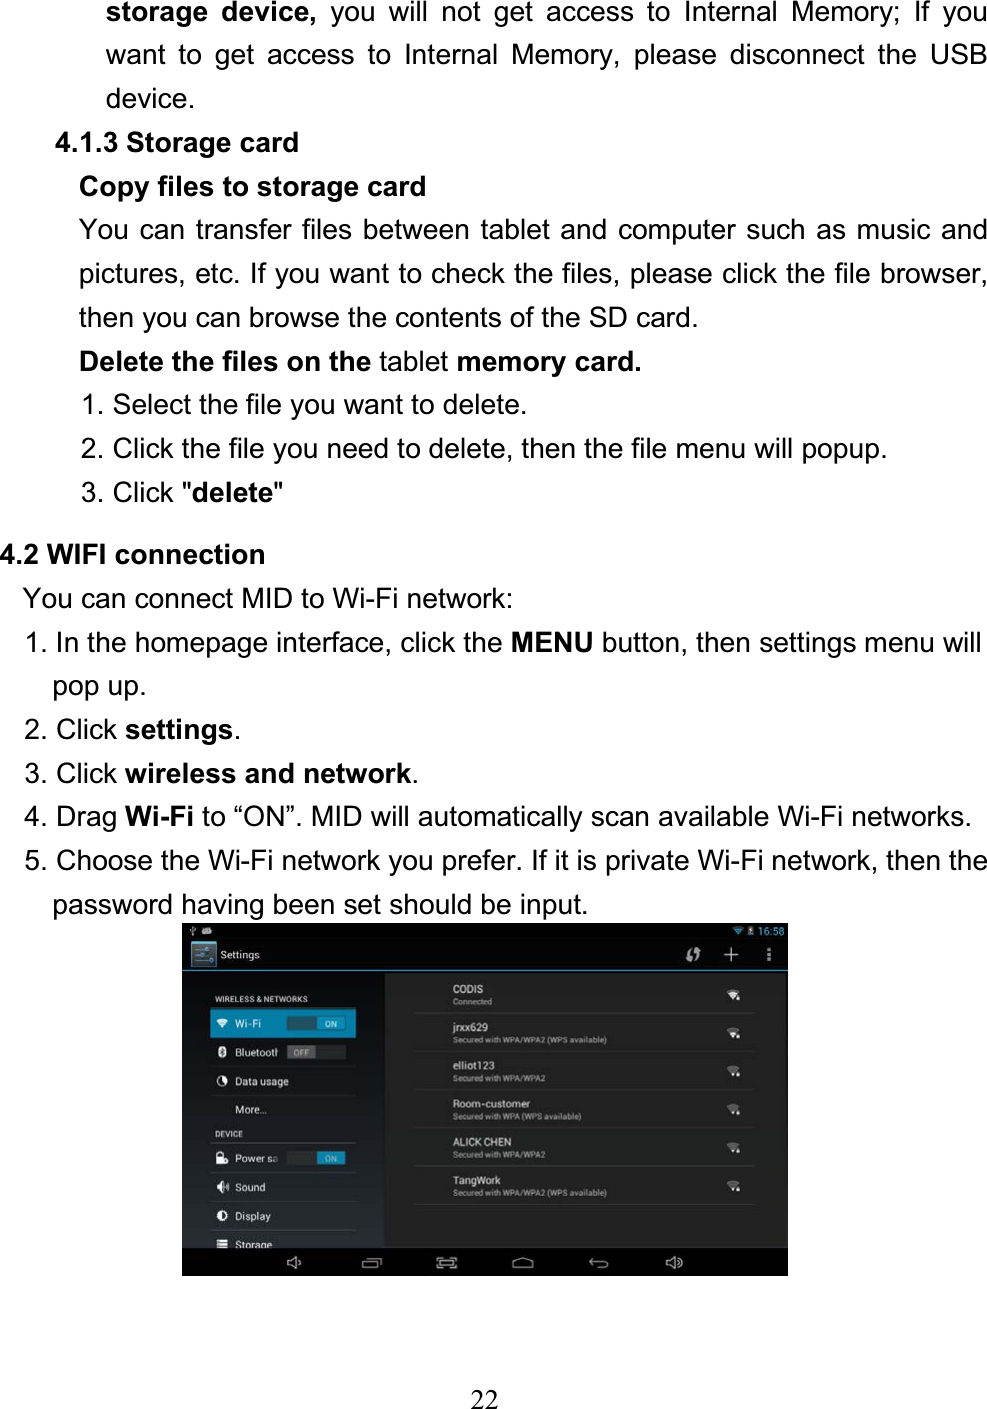
Star Computer Group
>
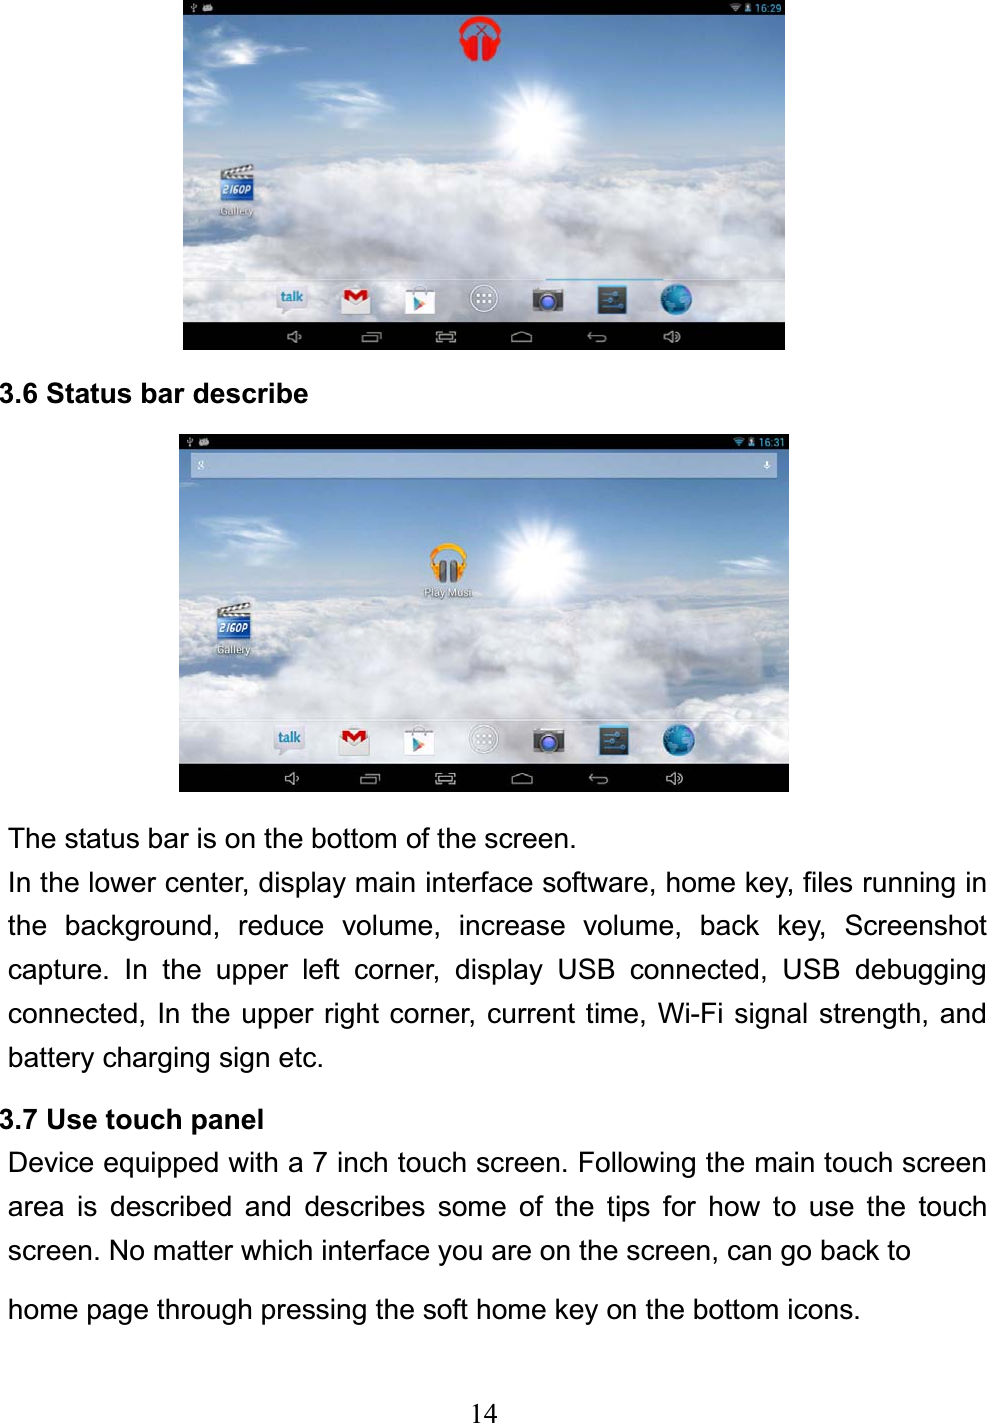
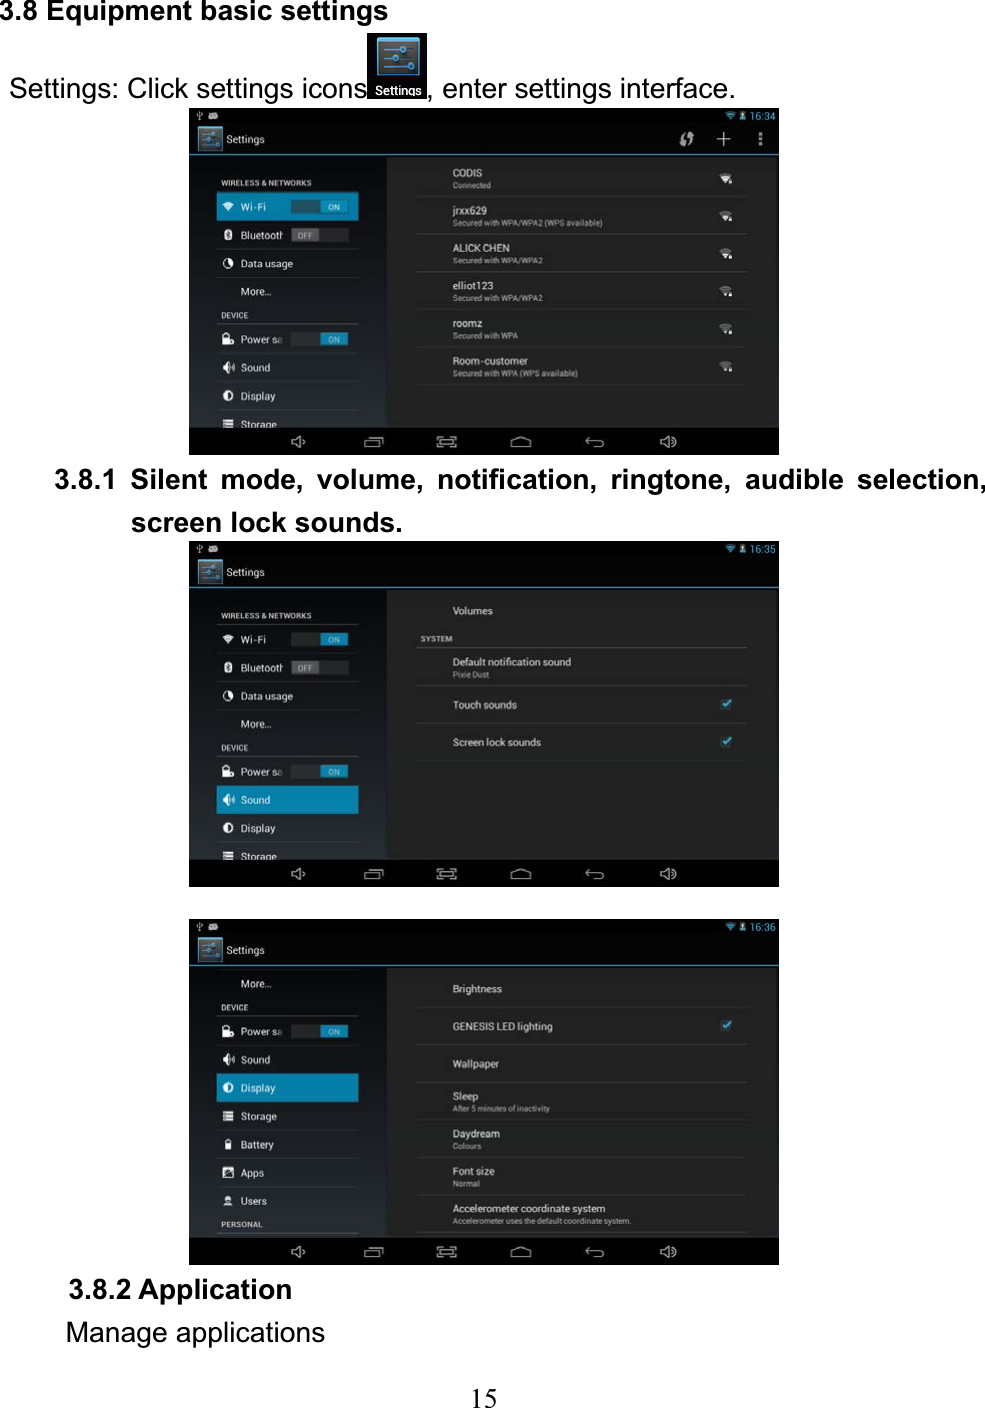
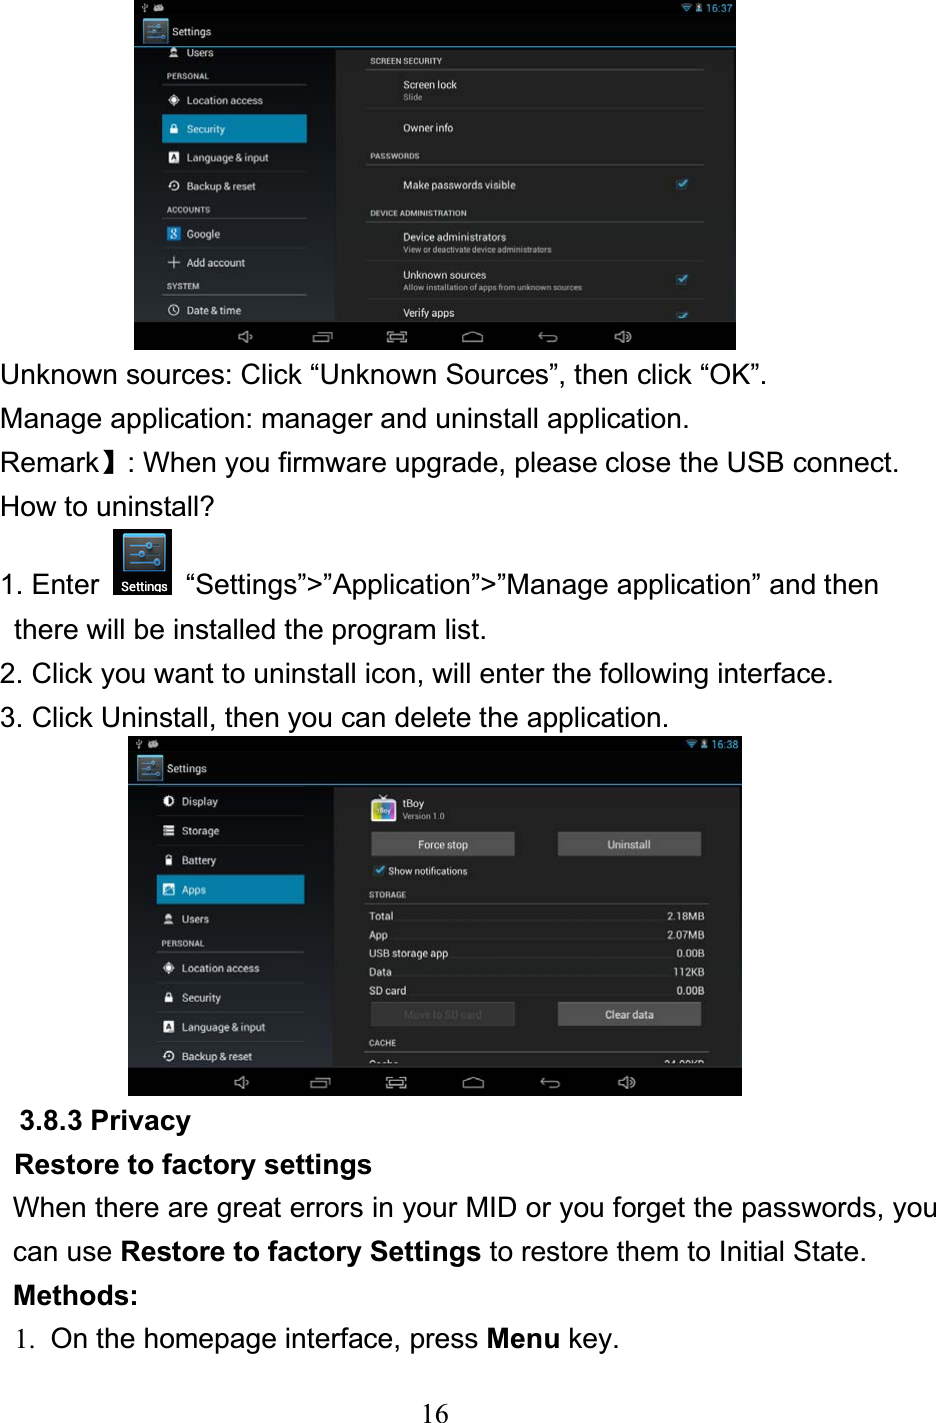
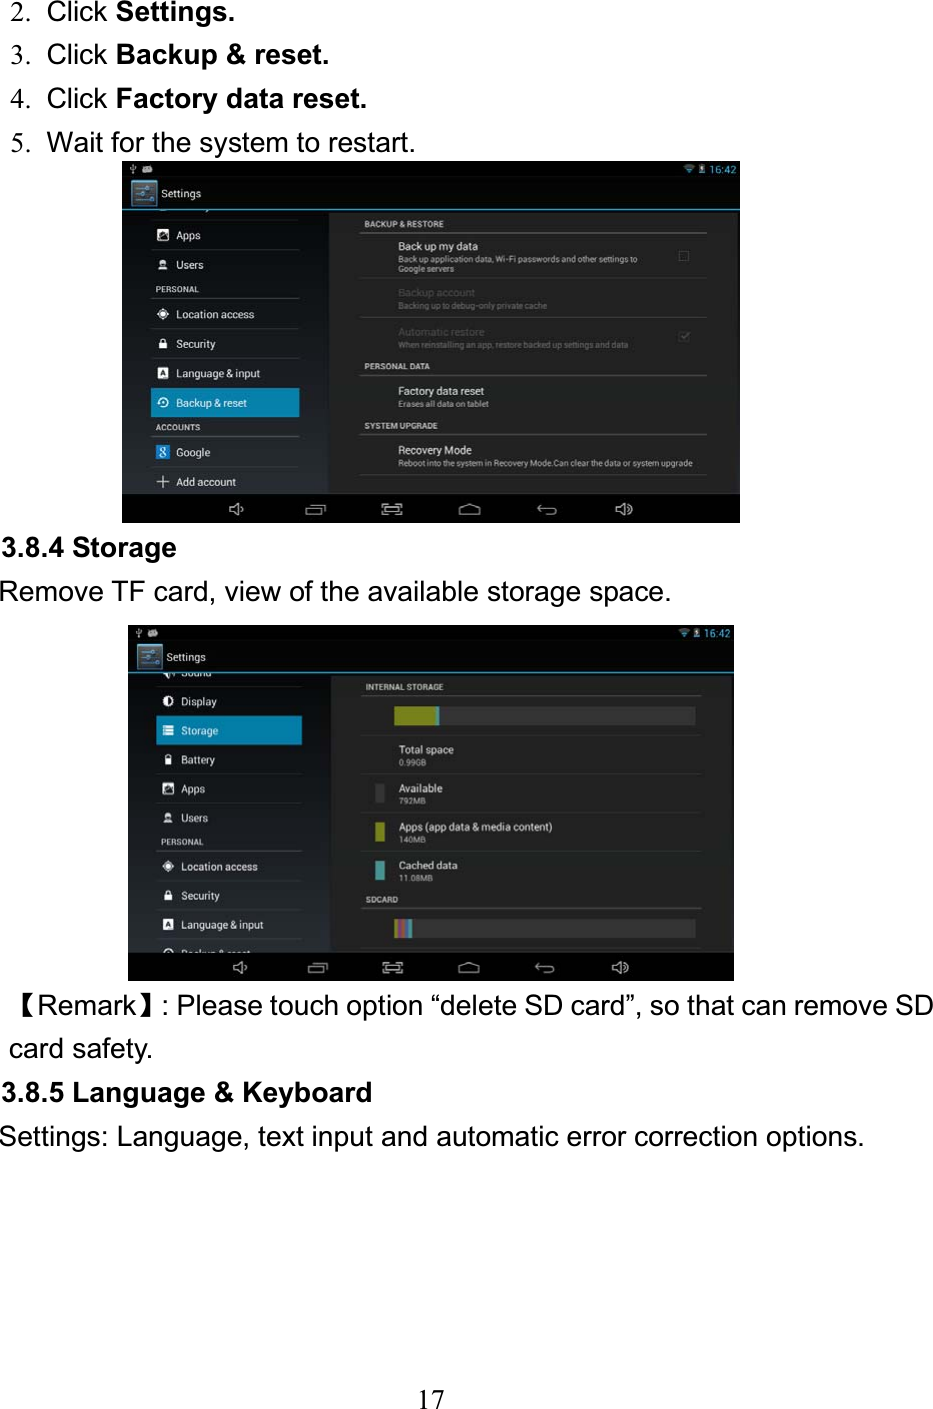
T9030 User Manual
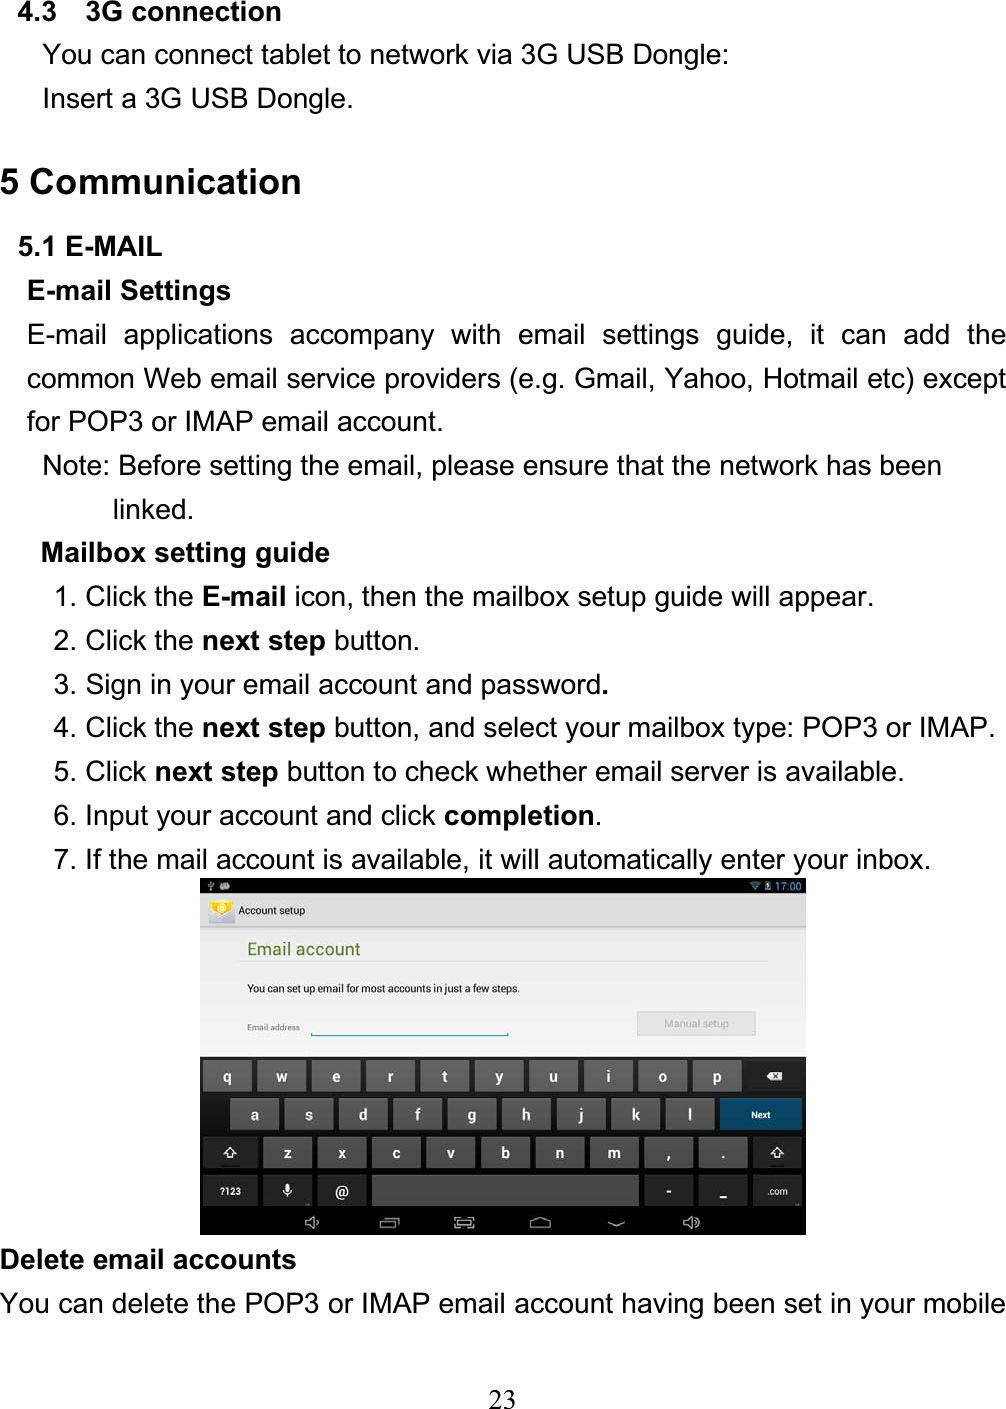
User Manual
Navigation menu
Upload a User Manual
Namespaces
Wiki Guide
HTML
PDF
Info
Views
User Manual
Discussion / Help
Navigation