Sanyo Electric Co SCP-25H Cellular/ PCS CDMA Phone with Bluetooth User Manual Key Functions
Sanyo Electric Co Ltd Cellular/ PCS CDMA Phone with Bluetooth Key Functions
UserManual.wiki
>
Sanyo Electric Co
>
SCP 25H User Manual
Users Manual
Navigation menu
Upload a User Manual
Namespaces
Wiki Guide
HTML
PDF
Info
Views
User Manual
Discussion / Help
Navigation


![Personal Organizer Managing the Calendar Calendar Use the Calendar to remind you of events or important calls you need to make. You can schedule up to 200 events, 15 Call Alarms and 40 To-Do Items. Setting the Time/Date In no service area or Analog service area, it’s necessary to set actual time and date to use Calendar function. Set the current Time/Date by using numeric keys and/or the navigation key (right or left: move cursor, up or down: change value). To display the time setting display, select MENU/OK > Calendar. It's available from 12:00 AM, Jan 1, 2000 to 11:59 PM, Dec 31, 2099. Setting Holidays You can set your personal holidays by displaying the data in red on the Calendar display. The default holidays displayed in red are Sundays and National holidays. You can set holidays from Jan 1,2000 to Dec 31,2020. 1. Select MENU/OK > Tools > Calendar. 2. Select the day you want to set to the holiday by using the navigation key. (right : next day left : previous day, up : previous week, down: next week). 3. Press Options (right softkey),select Settings and press MENU/OK. 4. Select Holiday and press MENU/OK. 5. Select Set Date or Set Weekly from the options, and press MENU/OK. Options: • Set Date sets the selected date to the holiday. • Set Weekly sets the weekly holidays. • Reset Date resets the holiday setting for the selected date. • Reset Weekly resets the weekly holiday setting. • Reset All resets all the holiday settings and returns to the default settings. 6. If you selected Set Weekly, Reset Weekly or Reset All, you’ll be prompted to select Yes or No. Tip: The current day is framed by a rectangle. Adding an Event to the Calendar Your Calendar helps organize your time and reminds you of important events. To add an event: 1. Select MENU/OK > Tools > Calendar. 2. Select the day you want to add an event to by using the navigation key and press Options (right softkey). 3. Select Add Schedule and press MENU/OK. 4. Enter the description and press MENU/OK (or press Mode [right softkey] to select a description from “From To Do List”). 5. Select the menu under the following event details, and press MENU/OK. 33](https://usermanual.wiki/Sanyo-Electric-Co/SCP-25H/User-Guide-842365-Page-34.png)

![Using SMS Text Messaging With SMS Text Messaging, you can use a person’s wireless phone number to send instant text messages from your PCS Phone to their messaging-ready phone - and they can send messages to you. In addition, SMS Text Messaging includes a variety of pre-set messages, such as “I’m running late, I’m on my way,” that make composing messages fast and easy. New Messages When you receive a voice message, a pop-up notification will automatically appear on your phone’s main display screen. Use your softkeys to view the message. Composing SMS Text Messaging To compose an SMS Text message: 1. Select MENU/OK > Messaging > Send Message > Text and select the entry method you prefer: • Contacts to select a recipient from your internal Contacts. (Qualifying Contacts entries must contain a phone number or an email address.) • Phone# to use the keypad to enter the phone number of the person to whom you wish to send a message. • Email to enter the recipient’s email address. 2. Press MENU/OK to save the recipient. (You may include up to 50 recipients per message.) 3. Press Next (left softkey) when you have finished selecting and entering recipients. 4. Compose a message or use the preset messages or smileys (icons). To type a message, use your keypad to enter your message. Select Mode(right softkey) to select a character input mode. 5. Scroll down to select the message priority (Ordinary or Urgent), set the callback number, set the signature, or set the delivery receipt. 6. Review your message and select Send(left softkey). (You may also select additional messaging options by selecting Options [right softkey] to change the recipients or save to draft.) Displaying Messages To display a Message from the main menu: 1. Press MENU/OK to access the main menu. 2. Select Messaging and press MENU/OK. 3. Select Text and press MENU/OK. (The folder list appears.) 4. Select Inbox, Sent Mail, Pending, Drafts, or your defined folder and press MENU/OK. (The message list appears.) 5. Highlight the header of the message you want to see and press MENU/OK. (The message detail appears.) 46](https://usermanual.wiki/Sanyo-Electric-Co/SCP-25H/User-Guide-842365-Page-47.png)
![• Don’t attempt to disassemble or short-circuit the battery. • The battery may need recharging if it has not been used for a long period of time. • It’s best to replace the battery when it no longer provides acceptable performance. It can be recharged hundreds of times before it needs replacing. • Don’t store the battery in high temperature areas for long periods of time. It’s best to follow these storage rules: Less than one month: - 4º F to 140º F (-20º C to 60º C) More than one month: - 4º F to 113º F (-20º C to 45º C) Disposal of Lithium Ion (Li-Ion) Batteries Do not handle a damaged or leaking Li-Ion battery as you can be burned. For safe disposal options of your Li-Ion batteries, contact your nearest PCS-authorized service center. Special Note: Be sure to dispose of your battery properly. In some are as, the disposal of batteries in household or business trash may be prohibited. Radiofrequency (RF) Energy Understanding How Your Phone Operates Your phone is basically a radio transmitter and receiver. When it’s turned on, it receives and transmits radiofrequency (RF) signals. When you use your phone, the system handling your call controls the power level. This power can range from 0.006 watts to 0.2 watts in digital mode. Knowing Radiofrequency Safety The design of your Phone complies with updated NCRP standards described below. In 1991–92, the Institute of Electrical and Electronics Engineers (IEEE) and the American National Standards Institute (ANSI) joined in updating ANSI’s 1982 standard for safety levels with respect to human exposure to RF signals. More than 120 scientists, engineers and physicians from universities, government health agencies and industries developed this updated standard after reviewing the available body of research. In 1993,the Federal Communications Commission (FCC) adopted this updated standard in a regulation. In August 1996, the FCC adopted hybrid standard consisting of the existing ANSI/IEEE standard and the guidelines published by the National Council of Radiation Protection and Measurements (NCRP). Body-Worn Operation To maintain compliance with FCC RF exposure guidelines, if you wear a handset on your body, use the PCS supplied or approved carrying case, holster or other body-worn accessory. If you do not use a body-worn accessory, ensure the antenna is at least [2.4] centimeters from your body when transmitting. Use of non-PSC approved accessories may violate FCC RF exposure guidelines. For more information about RF exposure, visit the FCC Web site at www.fcc.gov. Specific Absorption Rate (SAR) for Wireless Phones The SAR is a value that corresponds to the relative amount of RF energy absorbed in the head of a user of a wireless handset. 49](https://usermanual.wiki/Sanyo-Electric-Co/SCP-25H/User-Guide-842365-Page-50.png)
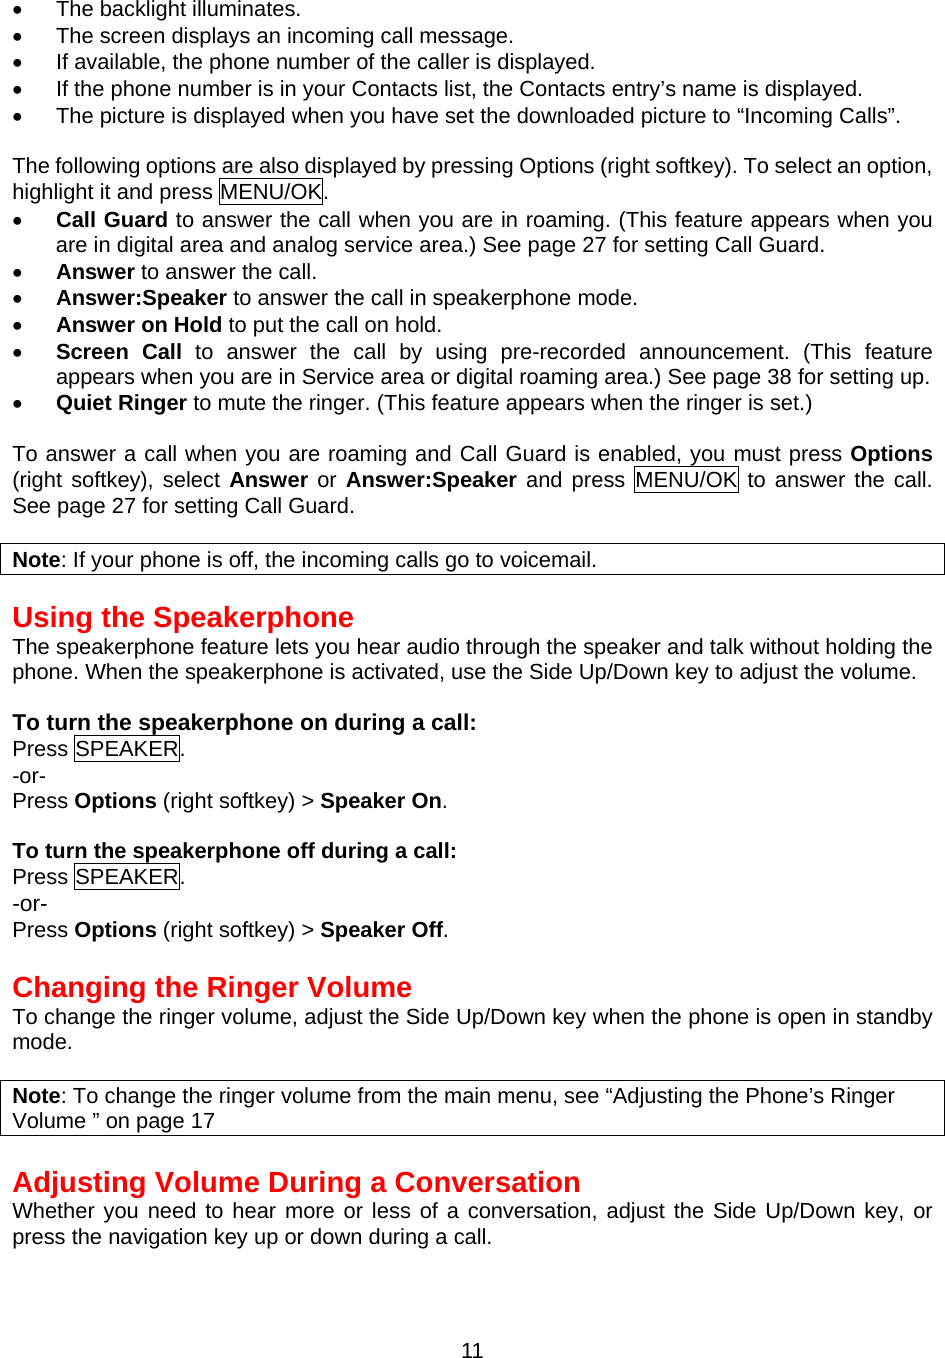
![The SAR value of a phone is the result of an extensive testing, measuring and calculation process. It does not represent how much RF the phone emits. All phone models are tested at their highest value in strict laboratory settings. But when in operation, the SAR of a phone can be substantially less than the level reported to the FCC. This is because of a variety of factors including its proximity to a base station antenna, phone design and other factors. What is important to remember is that each phone meets strict federal guidelines. Variations in SARs do not represent a variation in safety. All phones must meet the federal standard, which incorporates a substantial margin of safety. As stated above, variations in SAR values between different model phones do not mean variations in safety. SAR values at or below the federal standard of 1.6 W/kg are considered safe for use by the public. The highest reported SAR values of the SCP-2500 are: Cellular CDMA mode (Part 22): Head: [1.48] W/kg; Body-worn: [0.616] W/kg PCS CDMA mode (Part 24): Head: [1.46] W/kg; Body-worn: [0.367] W/kg FCC Radiofrequency Emission This phone meets the FCC Radiofrequency Emission Guidelines. FCC ID number: AEZSCP-25H. More information on the phone’s SAR can be found from the following FCC Web site: http://www.fcc.gov/oet/fccid. FCC Notice This device complies with Part 15 of the FCC Rules. Operation is subject to the following two conditions: (1) this device may not cause harmful interference, and (2) this device must accept any interference received, including interference that may cause undesired operation. Changes or modifications not expressly approved by the party responsible for compliance could void the user’s authority to operate the equipment. These limits are designed to provide reasonable protection against harmful interference in a residential installation. This equipment generates, uses and can radiate radio frequency energy and, if not installed and used in accordance with the instructions, may cause harmful interference to radio communications. However, there is no guarantee that interference will not occur in a particular installation. If this equipment does cause harmful interference to radio or television reception, which can be determined by turning the equipment off and on, the user is encouraged to try to correct the interference by one or more of the following measures: • Reorient the direction of the internal antenna. • Increase the separation between the equipment and receiver. • Connect the equipment into an outlet on a circuit different from that to which the receiver is connected. • Consult the dealer or an experienced radio/TV technician for help. Note: This equipment has been tested and found to comply with the limits for a Class B digital device, pursuant to Part 15 of the FCC Rules. 50](https://usermanual.wiki/Sanyo-Electric-Co/SCP-25H/User-Guide-842365-Page-51.png)