X Wireless SYNQ 4G Smart Phone User Manual artwork of UN 04 08Nu 20170419
Xwireless LLC 4G Smart Phone artwork of UN 04 08Nu 20170419
UserManual.wiki
>
X Wireless
>
SYNQ User Manual
User Manual
Navigation menu
Upload a User Manual
Namespaces
Wiki Guide
HTML
PDF
Info
Views
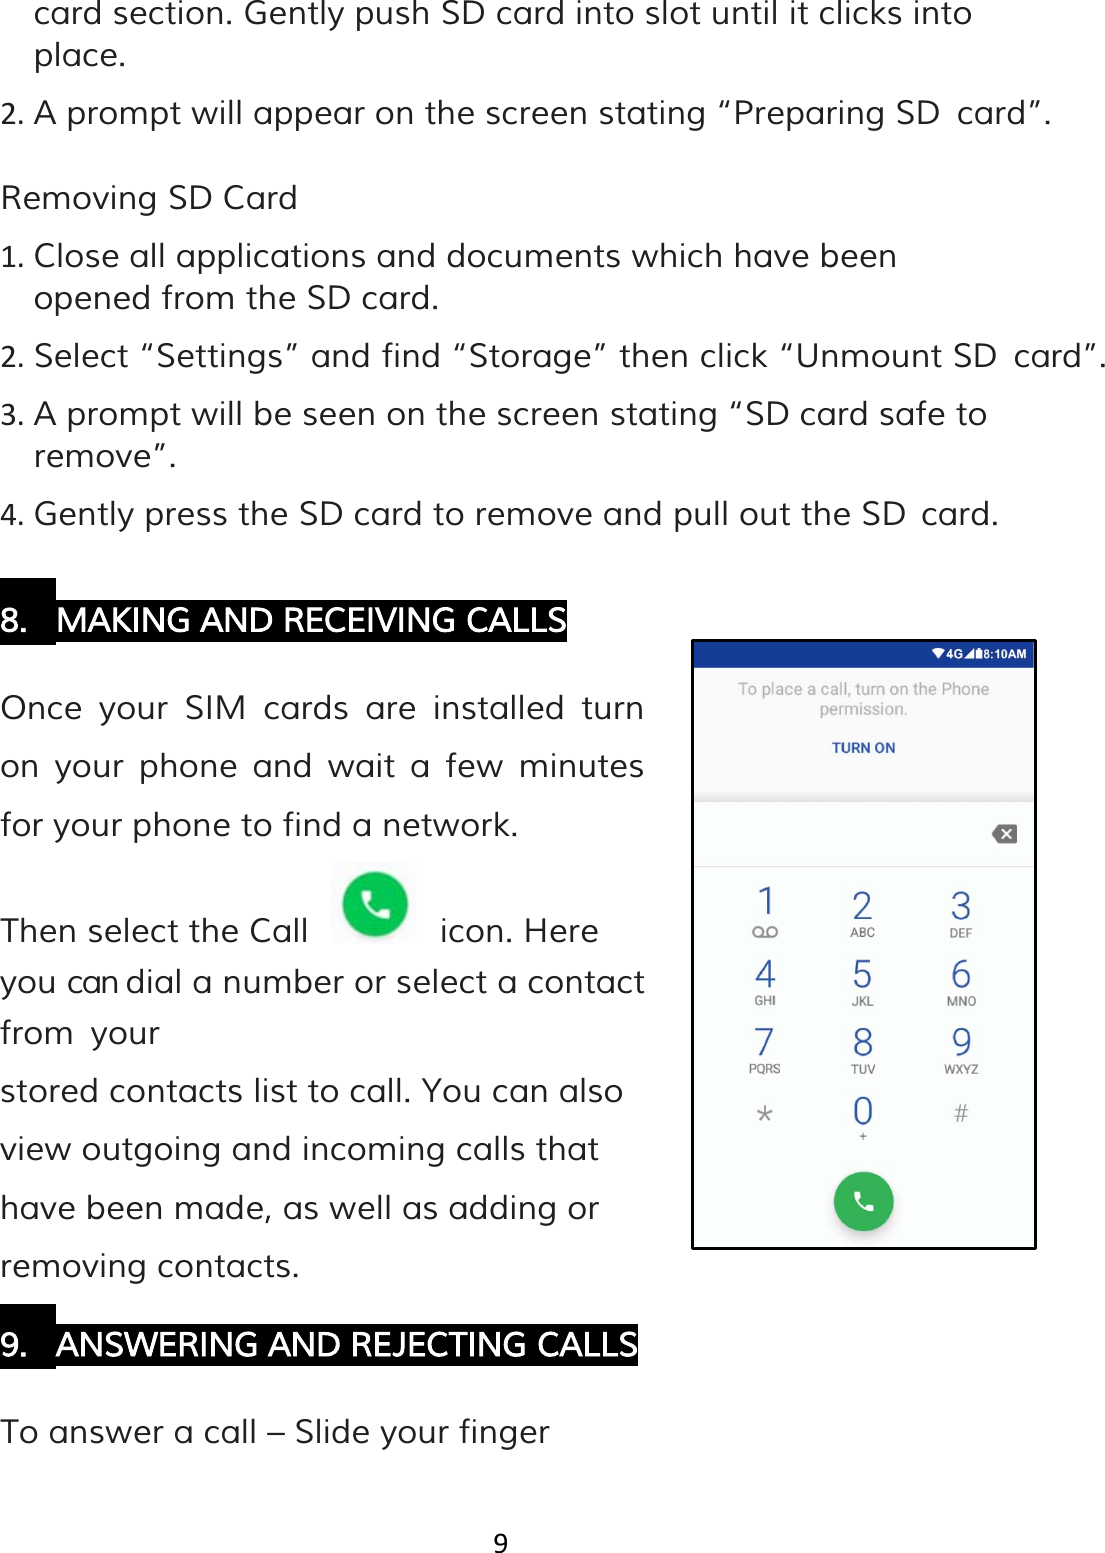
User Manual
Discussion / Help
Navigation