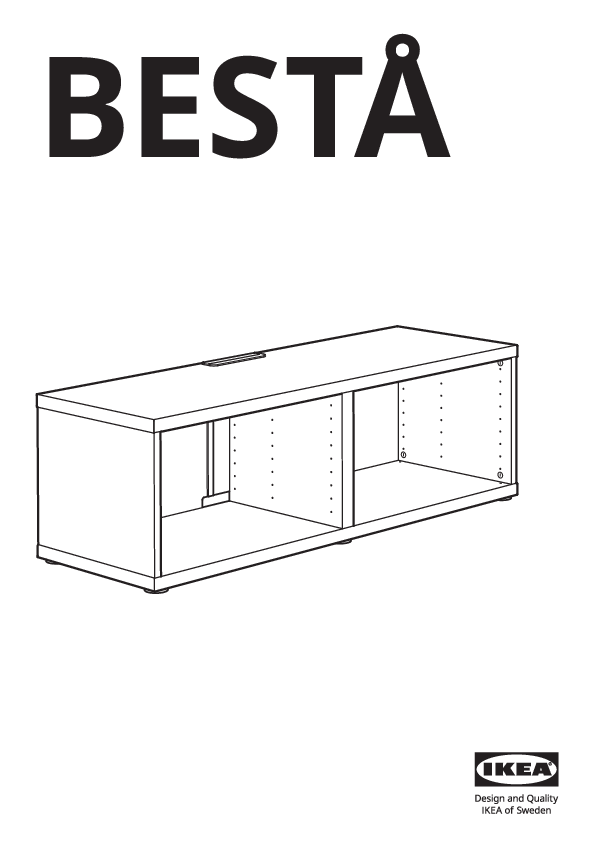
IKEA BESTÅ TV Bench Assembly Instructions
Important Safety Information
WARNING! Serious or fatal crushing injuries can occur from furniture tip over. To prevent tip over, this furniture must be used with the wall attachment device(s) provided.
Screws(s) and plug(s) for the wall are not included. Use screw(s) and plug(s) suitable for your walls. If you are uncertain, seek professional advice. Read and follow each step of the instruction carefully.
The product is available in multiple languages. Please refer to the relevant section for your language.
Assembly Steps
Follow these instructions carefully to assemble your IKEA BESTÅ TV bench. Ensure you have all parts and tools before starting.
Tools Required: Screwdriver (Phillips head), Spirit Level.
Step 1: Attach the base supports. Insert 6 base supports (part 114947/115988) into the pre-drilled holes on the bottom panels. Ensure they are securely fastened.
Step 2: Assemble the main frame. Connect the side panels to the bottom panel using the provided cam locks and dowels (12x part 130618). Insert cam lock screws (12x part 130618) into the side panels and then secure them with cam locks.
Step 3: Attach the back support brackets. Use 2x part 144342 and 2x part 113287 to attach the back support brackets to the assembled frame.
Step 4: Insert the internal dividers. Slide the internal dividers into the designated slots in the frame.
Step 5: Secure the top panel. Use 4x cam lock screws (part 118137/122971/141028/130725/119253) and cam locks (part 130619/130722/141027/130723/130620) to attach the top panel to the frame.
Step 6: Attach the wall mounting brackets. Use 1x part 113287 and 1x part 144342 to attach the wall mounting brackets to the top rear of the unit. Repeat for the other side.
Step 7: Prepare for wall mounting. Place the unit in its desired location. Use a spirit level to ensure it is straight.
Step 8: Secure the unit to the wall. Use the provided wall attachment hardware (3x part 144343/144344/144345/144346/144347) to securely fasten the unit to the wall. Ensure you use appropriate wall anchors for your wall type.
Step 9: Install the shelf supports. Insert the shelf supports (part 115444/115443) into the desired shelf positions.
Step 10: Place the shelves. Rest the shelves on the installed shelf supports.
Step 11: Attach the cable management system. Use the provided clips and ties to organize cables.
Step 12: Final check. Ensure all screws are tightened and the unit is stable and securely attached to the wall.
Optional: UPPLEVA TV Mount Installation
If you are using the UPPLEVA TV mount, follow the separate instructions provided with the mount. This typically involves attaching a bracket to the TV and then to the TV bench, ensuring proper alignment and secure fastening.
Diagram Descriptions:
- Page 5: Shows the tools needed (screwdrivers, spirit level) and depicts two people assembling furniture, with one person looking at instructions and another holding a part. It also shows a diagram with a red cross over a person attempting to lift a heavy object alone, and another diagram showing two people lifting a heavy object together. Another diagram shows a person incorrectly assembling a part, and another showing the correct assembly. The final diagram shows a person confused with instructions and then successfully assembling the unit, with a call to IKEA for assistance.
- Page 6: Illustrates various hardware components including screws, cam locks, dowels, an Allen key, base supports, and wall mounting brackets. It shows quantities for each part (e.g., 12x, 8x, 6x, 4x, 3x, 1x).
- Page 7: Shows different components of the unit, including long decorative strips and brackets, with quantities indicated.
- Page 8: Depicts the initial steps of assembly, focusing on attaching the base supports to the bottom panels.
- Page 9: Continues the assembly process, showing how to connect the side panels and attach the back support brackets.
- Page 10: Illustrates securing the top panel using cam locks and screws.
- Page 11: Shows the attachment of the wall mounting brackets to the unit.
- Page 12: Lists countries where the UPPLEVA product is not available.
- Page 13-14: Continues the assembly sequence, showing the insertion of internal dividers and the final assembly of the main structure.
- Page 15: Details the attachment of cable management components and the UPPLEVA TV mount instructions.
- Page 16-18: Further steps for securing the unit and attaching the UPPLEVA mount, including cable routing.
- Page 19-20: Shows the final steps of securing the unit to the wall using brackets and screws.
- Page 21-23: Provides detailed measurements for wall mounting and final assembly steps, including attaching the UPPLEVA mount.
- Page 24-25: Shows the UPPLEVA TV mount installation on the BESTÅ unit, with specific references to installation steps (7-24, 7-15, 25).
- Page 26-28: Final assembly steps, including securing the unit and attaching the UPPLEVA mount, with emphasis on correct alignment and secure connections.
Care and Maintenance
Wipe clean with a damp cloth. Wipe dry with a clean cloth.