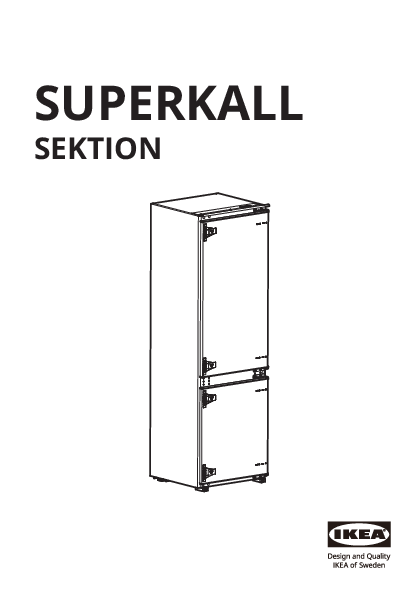
IKEA SUPERKALL Built-in Refrigerator
Installation Guide
Important Safety Information
Warning! Before proceeding with installation, read the safety information in the User Manual. Serious or fatal crushing injuries can occur from refrigerator tip-over. Always secure this refrigerator to the wall using tip-over restraints. Do not use an extension cable or multiplug when connecting to an electrical circuit.
Tools Required
The following tools are recommended for installation:
- Screwdriver (Phillips head)
- Screwdriver (Flat head)
- Adjustable wrench
- Allen key (Hex key)
- Hammer
- Measuring tape
- Level
- Gloves
Parts Included
The following parts are included with the SUPERKALL refrigerator:
- Screw A (4X)
- Screw B (12X)
- Screw C (2X)
- Screw D (4X)
- Cap E (4X)
- Clip F (4X)
- Bracket G (2X)
- Plate H (2X)
- Tray J (2X)
- Seal K (1X)
Installation Steps
- Step 1: Fasten the raster on the back of the middle partition with screws (6X).
- Step 2: Fasten the support screw to the indicated position, then place the middle partition on it.
- Step 3: Fasten the hinge cabinet door to the corresponding screw hole on the side board.
- Step 4: Remove the protection foil from the FIXED BLOCK (H), then paste it on the corresponding position of the fridge side panel.
- Step 5: Push the fridge into the cabinet. Ensure your hands do not get trapped during the process.
- Step 6: When the fridge is about to push into the cabinet, adjust the lower support hook to face downwards. Adjust the fridge so that the baffle and flange are in contact with the edge of the cabinet partition, and the lower support hook is in contact with the bottom edge.
- Step 7: Once the left of the fridge is securely attached to the cabinet and the top baffle is securely attached to the edge of the middle, fasten the top baffle to the middle baffle with screws. Fasten the lower support to the bottom plank with screws.
- Step 8: Cover the top baffle and the screw cover of the lower support.
- Step 9: Cut the rubber seal strip (K) and use it to seal the gap between the fridge and cabinet side wall opposite the hinge.
- Step 10: Fasten the stopper block to the threaded hole in the middle of the center beam. Note that the screw only needs to be tightened to 2/3 of a stroke. Slide the stopper block closer to the planks on both sides of the cabinet, then fasten it with screws. Tighten the screws and confirm the distance between the planks. Install the pin in the screw hole on the left side of the center beam.
- Step 11: Open the cabinet door to the maximum degree, then open the fridge door to the corresponding position. Slide the cabinet door gear block so that the position mark is aligned with the edge of the fridge door, then tighten it to the cabinet door with screws. Finally, fold and fasten the screw covers.
- Step 12: Open the upper door and close the lower door. Check if the lower door seal is tightly attached to the cabinet. If not, adjust the position of the fridge.
- Step 13: Open the lower door and close the upper door. Check if the upper door seal is tightly attached to the cabinet. If not, adjust the position of the fridge.
Dimensions
The SUPERKALL refrigerator has the following dimensions:
- Height: 1776-1784 mm (approx. 70 inches)
- Width: 560 mm (approx. 22 inches)
- Depth: 550 mm (approx. 21.6 inches)
Refer to the diagrams for detailed measurements.
Tip-Over Restraint
It is crucial to secure the refrigerator to the wall using the provided tip-over restraints to prevent serious or fatal crushing injuries.
Care and Maintenance
Refer to the user manual for detailed care and maintenance instructions.
Contact Information
For further assistance, please refer to the IKEA website or your local IKEA store.
