Thule Rapid System Kit 4037 & Thule Podium Kit 4037
Instructions
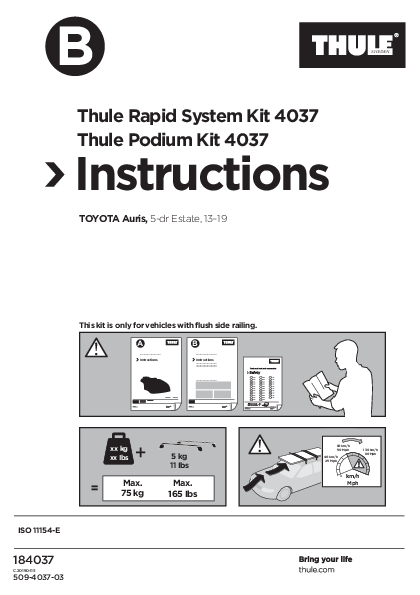
For TOYOTA Auris, 5-dr Estate, 2013–2019
Compatibility
This kit is designed exclusively for vehicles with flush side railings.
Vehicle Model: TOYOTA Auris, 5-door Estate, Model Years 2013–2019.
Kit Contents and Load Limits
The kit includes the following main components:
- 4 x Foot Packs (Thule Rapid System Foot Pack 753/7531 or Thule Podium Foot Pack 460/460R)
- 1 x Specific Tool (Part No. 52577)
- 1 x Instruction Manual
Maximum Load Capacity:
| Measurement | Limit |
|---|---|
| Kilograms (kg) | 75 kg |
| Pounds (lbs) | 165 lbs |
⚠️ Important Safety Note: Always adhere to the maximum load capacity specified for your vehicle and roof rack system. Exceeding this limit can be dangerous.
Safety and Speed Recommendations
For your safety and optimal performance, observe the following speed recommendations:
- General driving: 80 km/h (50 mph)
- Reduced speed recommended for adverse conditions or when heavily loaded: 40 km/h (25 mph)
- Maximum permissible speed (under ideal conditions): 130 km/h (80 mph)
⚠️ Warning: Driving at higher speeds with a roof load can affect vehicle handling and stability. Always drive cautiously and be aware of road conditions and legal speed limits.
Installation Steps
Follow these steps carefully for correct installation:
Step 1: Prepare Foot Packs
Attach the necessary components to the foot packs as illustrated. Ensure all parts click securely into place.
(Diagram shows attaching parts to the foot pack, with numbered indicators 1, 2, 3.)
Step 2: Attach Foot Packs to Vehicle
Position the foot packs onto the vehicle's flush side railings. Ensure they are correctly oriented (refer to diagrams for placement).
(Diagram shows foot packs being placed on the car roof rails.)
Step 3: Clean Vehicle Roof
Clean the areas of the vehicle's roof where the foot packs will make contact. Ensure the surface is free from dirt and debris to ensure a secure grip.
(Diagram shows cleaning the car roof with a cloth and cleaning solution.)
Step 4: Position Roof Rack Bars
Place the roof rack bars onto the foot packs. Adjust the position of the bars to achieve the recommended spacing. The approximate distance between the front and rear bars should be ~700 mm.
(Diagram shows roof rack bars being placed on the car, with a measurement indicator for bar spacing.)
Step 5: Tighten All Fastenings
Securely tighten all screws and fastenings. It is crucial to tighten them alternately on each side to ensure even pressure and a stable fit.
Torque Specification: Tighten to 6 Nm (Newton-meters).
(Diagram shows a hand using the tool to tighten screws, with indicators for alternating tightening and a torque value.)
Indicator: Ensure the indicators on the foot packs show a secure fit after tightening.
(Diagram shows indicators on the foot pack, possibly changing color or position when correctly tightened.)
Manufacturer Information
Thule Sweden AB
Box 69, 330 33 Hillerstorp, SWEDEN
Thule Inc.
42 Silvermine Road, Seymour, Connecticut 06483, USA
For support and inquiries, please contact:
Email: info@thule.com
Phone: 800-238-2388
Website: www.thule.com
© Thule Group 2015. All rights reserved.
