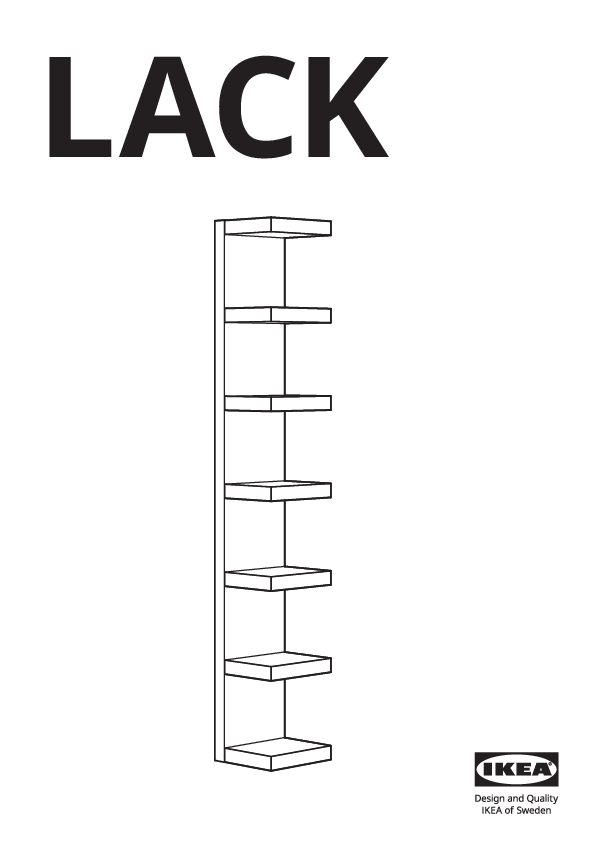
IKEA LACK Wall Shelf Assembly Instructions
This document provides assembly instructions for the IKEA LACK wall shelf unit.
Important Safety Information
Important! This furniture must be fixed to the wall with the enclosed wall fastener. Different wall materials require different types of fixing devices. Use fixing devices suitable for the walls in your home (not included). If you are uncertain about what type of screw or fitting to use, please contact your hardware store.
Parts Included
The following parts are included in the package:
- Wall mounting plate (3x)
- Long screws (14x)
- Short screws (9x)
- L-shaped bracket (1x)
- Part numbers: 104323, 104325, 120942, 120943, 120944, 109053, 100001
Assembly Steps
Step 1: Prepare the Shelves
Lay the shelf unit components on a soft surface, such as a rug, to prevent scratching. Insert the long screws (14x) into the pre-drilled holes on the underside of the shelves. Ensure the screws are inserted correctly, as shown in the diagram [diagram showing screws being inserted into shelf ends].
Step 2: Attach the Mounting Plate
Align the wall mounting plate with the top of the assembled shelf unit. Use the short screws (9x) to attach the mounting plate to the shelf unit. Ensure the plate is flush and securely fastened.
Step 3: Secure the L-shaped Bracket
Attach the L-shaped bracket to the top of the shelf unit using one of the short screws (1x). This bracket is used for additional stability when mounting to the wall.
Step 4: Mount to the Wall
Hold the assembled shelf unit against the wall at the desired height. Use a level to ensure it is straight. Mark the wall through the holes in the mounting plate. Drill holes in the wall at the marked locations, using appropriate wall plugs if necessary (not included). Secure the shelf unit to the wall by driving screws through the mounting plate into the wall. Ensure the unit is firmly attached.
Step 5: Final Check
Ensure all screws are tightened and the shelf unit is stable and securely mounted to the wall.
Note: The diagrams in the original document illustrate the assembly process. Please refer to the visual cues for precise placement and orientation of parts.
Tools Required (Not Included)
- Screwdriver (Phillips head)
- Pencil
- Level
- Measuring tape
Care Instructions
Wipe clean with a damp cloth. Wipe dry with a clean cloth.
