ℹ️ Document Conversion Notice:
This page was converted from the original file for easier reading. Diagrams/images may appear only in the original PDF below.
File info: application/pdf · 109 pages · 6.78MB
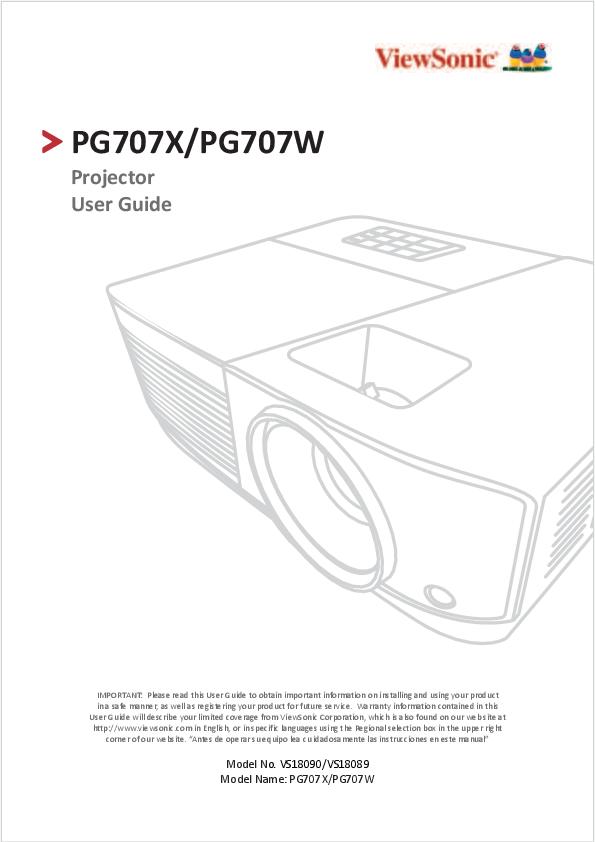
ViewSonic PG707X/PG707W Projector User Guide
Welcome to the comprehensive user guide for the ViewSonic PG707X and PG707W projectors. This document provides essential information for installing, operating, and maintaining your projector.
Discover the advanced features designed for clarity and performance:
- High Brightness: 4000 ANSI lumens
- Exceptional Contrast Ratio: 22000:1
- Extended Lamp Life: Up to 20,000 hours
- Versatile Connectivity: Multiple ports for various devices
- Ideal for Small-to-Medium Spaces: Perfect for meeting rooms and classrooms
For detailed specifications, safety precautions, and troubleshooting tips, please refer to the respective sections within this guide.
For more information and support, visit the official ViewSonic website: www.viewsonic.com.
Models: Projector, PG707X, PG707W
Full PDF Document

If the inline viewer fails, it will open the original document in compatibility mode automatically. You can also open the file directly.
References
-
 AMX Audio Video Control Systems | English
-
 Control Systems for Home Automation, Campus & Building Control by Crestron Electronics [Crestron Electronics, Inc.]
-
crestron.com/getroomview
-
 ViewSonic Australia | ViewBoards, Monitors, and Visual Solutions
-
ViewSonic Bangladesh | ViewBoards, Monitors, and Visual Solutions
-
ViewSonic Germany | ViewBoards, Monitors, and Visual Solutions
-
ViewSonic Spain | ViewBoards, Monitors, and Visual Solutions
-
ViewSonic Europe | ViewBoards, Monitors, and Visual Solutions
-
Solution ViewBoard, Écrans PC, Vidéoprojecteurs | ViewSonic France
-
ViewSonic Hong Kong | ViewBoards, Monitors, and Visual Solutions
-
ViewSonic Hong Kong | ViewBoards, Monitors, and Visual Solutions
-
ViewSonic Indonesia | ViewBoards, Monitors, and Visual Solutions
-
ViewSonic Israel | ViewBoards, Monitors, and Visual Solutions
-
ViewSonic India | Gaming Monitors, Projectors & ViewBoards
-
ビューソニックジャパン
-
뷰소닉 코리아 | 프로젝터, LCD 모니터, 디지털사이니지, 전자칠판등의 미국디스플레이 전문 기업
-
ViewSonic Kazakhstan | ViewBoards, Monitors, and Visual Solutions
-
ViewSonic Middle East | ViewBoards, Monitors, and Visual Solutions
-
ViewSonic Myanmar | ViewBoards, Monitors, and Visual Solutions
-
Projectors, Monitors & Visual Solutions | ViewSonic MY
-
ViewSonic Nepal | ViewBoards, Monitors, and Visual Solutions
-
ViewSonic New Zealand | ViewBoards, Monitors, and Visual Solutions
-
ViewSonic Philippines | ViewBoards, Monitors, and Visual Solutions
-
ViewSonic Pakistan | ViewBoards, Monitors, and Visual Solutions
-
ViewSonic Russia | ViewBoards, Monitors, and Visual Solutions
-
Projector, 4K Monitor & Digital Signage | ViewSonic SG
-
ViewSonic Thailand | ViewBoards, Monitors, and Visual Solutions
-
ViewSonic Turkiye | ViewBoards, Monitors, and Visual Solutions
-
ViewSonic Taiwan | ViewBoards, Monitors, and Visual Solutions
-
ViewSonic Ukraine | ViewBoards, Monitors, and Visual Solutions
-
ViewSonic UK | ViewBoards, Monitors, and Visual Solutions
-
Trang chủ - ViewSonic Việt Nam | Website Chính Thức
-
ViewSonic South Africa | ViewBoards, Monitors, and Visual Solutions
-
 ViewSonic Europe | ViewBoards, Monitors, and Visual Solutions
-
ViewSonic Europe | ViewBoards, Monitors, and Visual Solutions
-
ViewSonic