Expert Grill Deluxe Grilling Thermometer
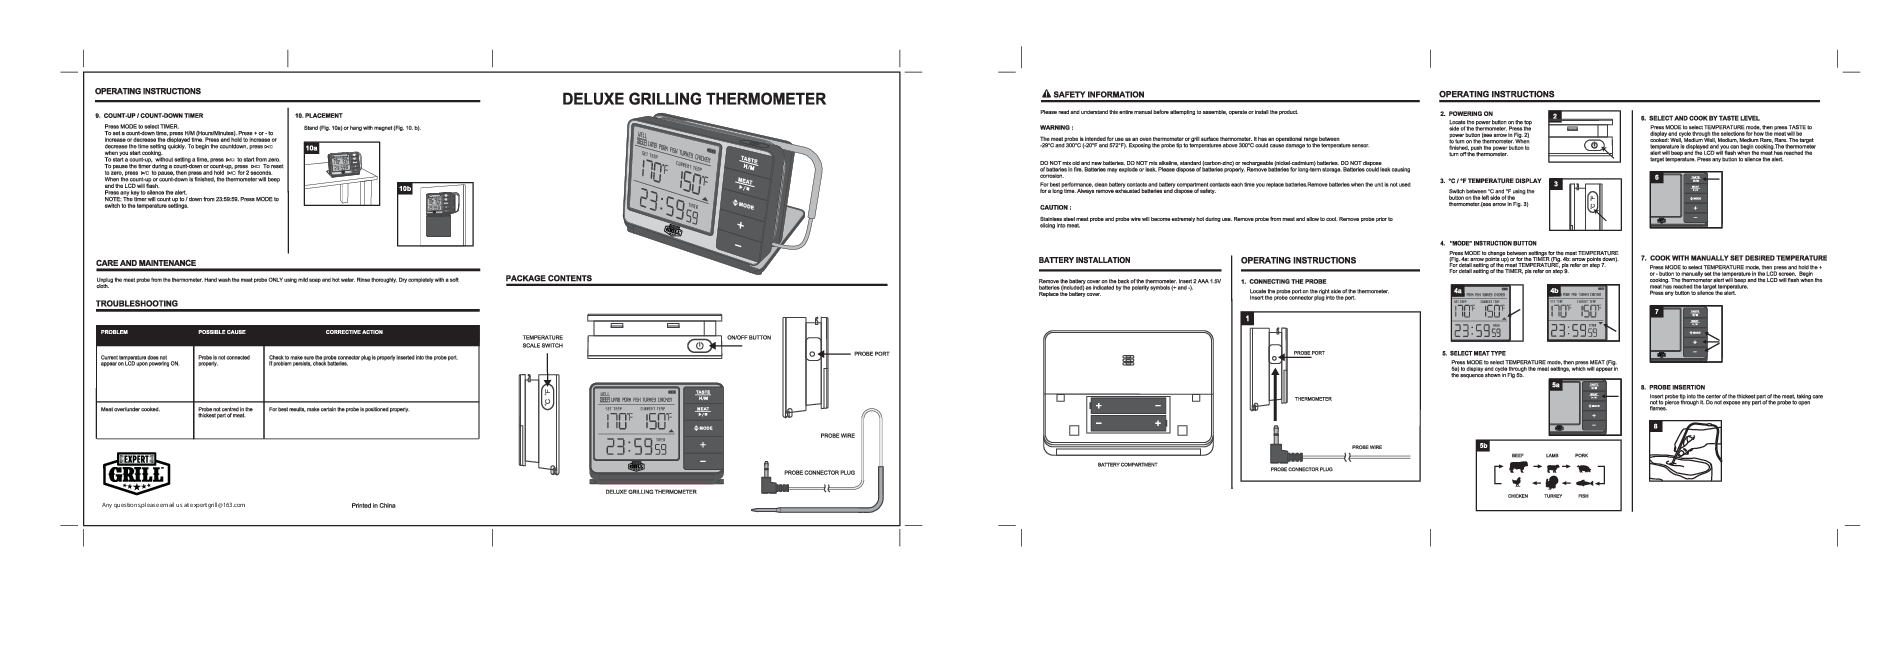
⚠ Safety Information
Please read and understand this entire manual before attempting to assemble, operate or install the product.
Warning:
The meat probe is intended for use as an oven thermometer or grill surface thermometer. It has an operational range between -29°C and 300°C (-20°F and 572°F). Exposing the probe tip to temperatures above 300°C could cause damage to the temperature sensor.
DO NOT mix old and new batteries. DO NOT mix alkaline, standard (carbon-zinc) or rechargeable (nickel-cadmium) batteries. DO NOT dispose of batteries in fire. Batteries may explode or leak. Please dispose of batteries properly. Remove batteries for long-term storage. Batteries could leak causing corrosion.
For best performance, clean battery contacts and battery compartment contacts each time you replace batteries. Remove batteries when the unit is not used for a long time. Always remove exhausted batteries and dispose of safely.
Caution:
Stainless steel meat probe and probe wire will become extremely hot during use. Remove probe from meat and allow to cool. Remove probe prior to slicing into meat.
Package Contents
The Expert Grill Deluxe Grilling Thermometer package includes the main thermometer unit, a meat probe with wire, and a probe connector plug. The thermometer features a large LCD display showing SET TEMP, CURRENT TEMP, and a timer. It has buttons for TASTE, H/M, MEAT, P/M, MODE, and +/- controls. The unit also has an ON/OFF button and a temperature scale switch (℃/℉) on its sides, and a battery compartment on the back.
Battery Installation
Remove the battery cover on the back of the thermometer. Insert 2 AAA 1.5V batteries (included) as indicated by the polarity symbols (+ and -). Replace the battery cover.
Operating Instructions
Connecting the Probe
Locate the probe port on the right side of the thermometer. Insert the probe connector plug into the port. (Refer to original Fig. 1: Diagram shows probe plug inserting into the side port of the thermometer unit.)
Powering On
Locate the power button on the top side of the thermometer. Press the power button (indicated by an arrow in original Fig. 2) to turn on the thermometer. When finished, push the power button to turn off the thermometer.
°C/°F Temperature Display
Switch between °C and °F using the button on the left side of the thermometer (indicated by an arrow in original Fig. 3).
"MODE" Instruction Button
Press MODE to change between settings for the meat TEMPERATURE (original Fig. 4a: arrow points up) or for the TIMER (original Fig. 4b: arrow points down). For detailed setting of the meat TEMPERATURE, refer to step 7. For detailed setting of the TIMER, refer to step 9.
Select Meat Type
Press MODE to select TEMPERATURE mode, then press MEAT (original Fig. 5a) to display and cycle through the meat settings, which will appear in the sequence shown in original Fig. 5b: Beef, Lamb, Pork, Chicken, Turkey, Fish.
Select and Cook by Taste Level
Press MODE to select TEMPERATURE mode, then press TASTE to display and cycle through the selections for how the meat will be cooked: Well, Medium Well, Medium, Medium Rare, Rare. The target temperature is displayed and you can begin cooking. The thermometer alert will beep and the LCD will flash when the meat has reached the target temperature. Press any button to silence the alert.
Cook with Manually Set Desired Temperature
Press MODE to select TEMPERATURE mode, then press and hold the + or - button to manually set the temperature in the LCD screen. Begin cooking. The thermometer alert will beep and the LCD will flash when the meat has reached the target temperature. Press any button to silence the alert.
Probe Insertion
Insert probe tip into the center of the thickest part of the meat, taking care not to pierce through it. Do not expose any part of the probe to open flames. (Refer to original Fig. 8: Diagram shows probe inserted into a cut of meat.)
Count-Up / Count-Down Timer
Press MODE to select TIMER. To set a count-down time, press H/M (Hours/Minutes). Press + or - to increase or decrease the displayed time. Press and hold to increase or decrease the time setting quickly. To begin the countdown, press ▷ when you start cooking.
To start a count-up, without setting a time, press ▷ to start from zero. To pause the timer during a count-down or count-up, press ⏸. To reset to zero, press ⏸ to pause, then press and hold ⏯ for 2 seconds. When the count-up or count-down is finished, the thermometer will beep and the LCD will flash. Press any key to silence the alert.
NOTE: The timer will count up to / down from 23:59:59. Press MODE to switch to the temperature settings.
Placement
Stand the thermometer unit (original Fig. 10a) or hang with its magnet (original Fig. 10b).
Care and Maintenance
Unplug the meat probe from the thermometer. Hand wash the meat probe ONLY using mild soap and hot water. Rinse thoroughly. Dry completely with a soft cloth.
Troubleshooting
| Problem | Possible Cause | Corrective Action |
|---|---|---|
| Current temperature does not appear on LCD upon powering ON. | Probe is not connected properly. | Check to make sure the probe connector plug is properly inserted into the probe port. If problem persists, check batteries. |
| Meat over/under cooked. | Probe not centred in the thickest part of meat. | For best results, make certain the probe is positioned properly. |
Models: Deluxe Grilling Thermometer IM1