INNOVA 6100p OBD2 Diagnostic Tool
Owner's Manual Overview
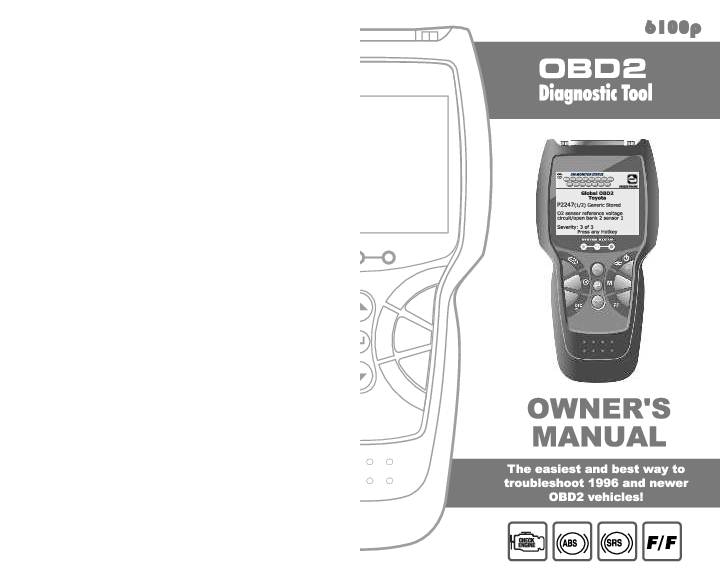
About the INNOVA 6100p Diagnostic Tool
This manual provides comprehensive guidance for the INNOVA 6100p, an OBD2 diagnostic tool designed to help users troubleshoot and understand vehicle issues. It covers essential information for operating the device safely and effectively on 1996 and newer OBD2-compliant vehicles.
Understanding OBD2
The document explains the On-Board Diagnostics (OBD) system, particularly OBD2, which became standard for vehicles sold in the U.S. starting in 1996. It details how OBD2 systems monitor vehicle emissions and engine performance, alerting drivers to potential problems via the "CHECK ENGINE" light and storing Diagnostic Trouble Codes (DTCs) for analysis.
Key Features and Functions
- Code Retrieval: Read generic and enhanced DTCs from Powertrain, ABS, and SRS systems.
- Data Viewing: Access Freeze Frame data, I/M Monitor Status, and other vehicle information.
- System Tests: Perform O2 Sensor Tests, OBD Monitor Tests, and EVAP System Tests.
- Maintenance Functions: Includes Oil Maintenance Light reset and Battery/Alternator monitoring.
- User Settings: Customize display language, units, and tool settings.
- RepairSolutions®: Access to detailed diagnostic reports and repair information via INNOVA's web service.
Safety Precautions
Crucial safety guidelines are provided to prevent personal injury, instrument damage, and vehicle damage. These include operating in well-ventilated areas, wearing eye protection, being aware of moving parts, avoiding hot engine components, and ensuring the vehicle is properly secured before testing.
Getting Started
The manual guides users through connecting the tool to the vehicle's Data Link Connector (DLC), powering on the device, and navigating through menus to retrieve diagnostic information.
Additional Resources
Information on vehicle service manuals from publishers like Haynes and Helm Inc. is provided. For further details and support, users can visit www.innova.com.
Models: OBD, OBD2, Diagnostic Tool
Full PDF Document

If the inline viewer fails, it will open the original document in compatibility mode automatically. You can also open the file directly.