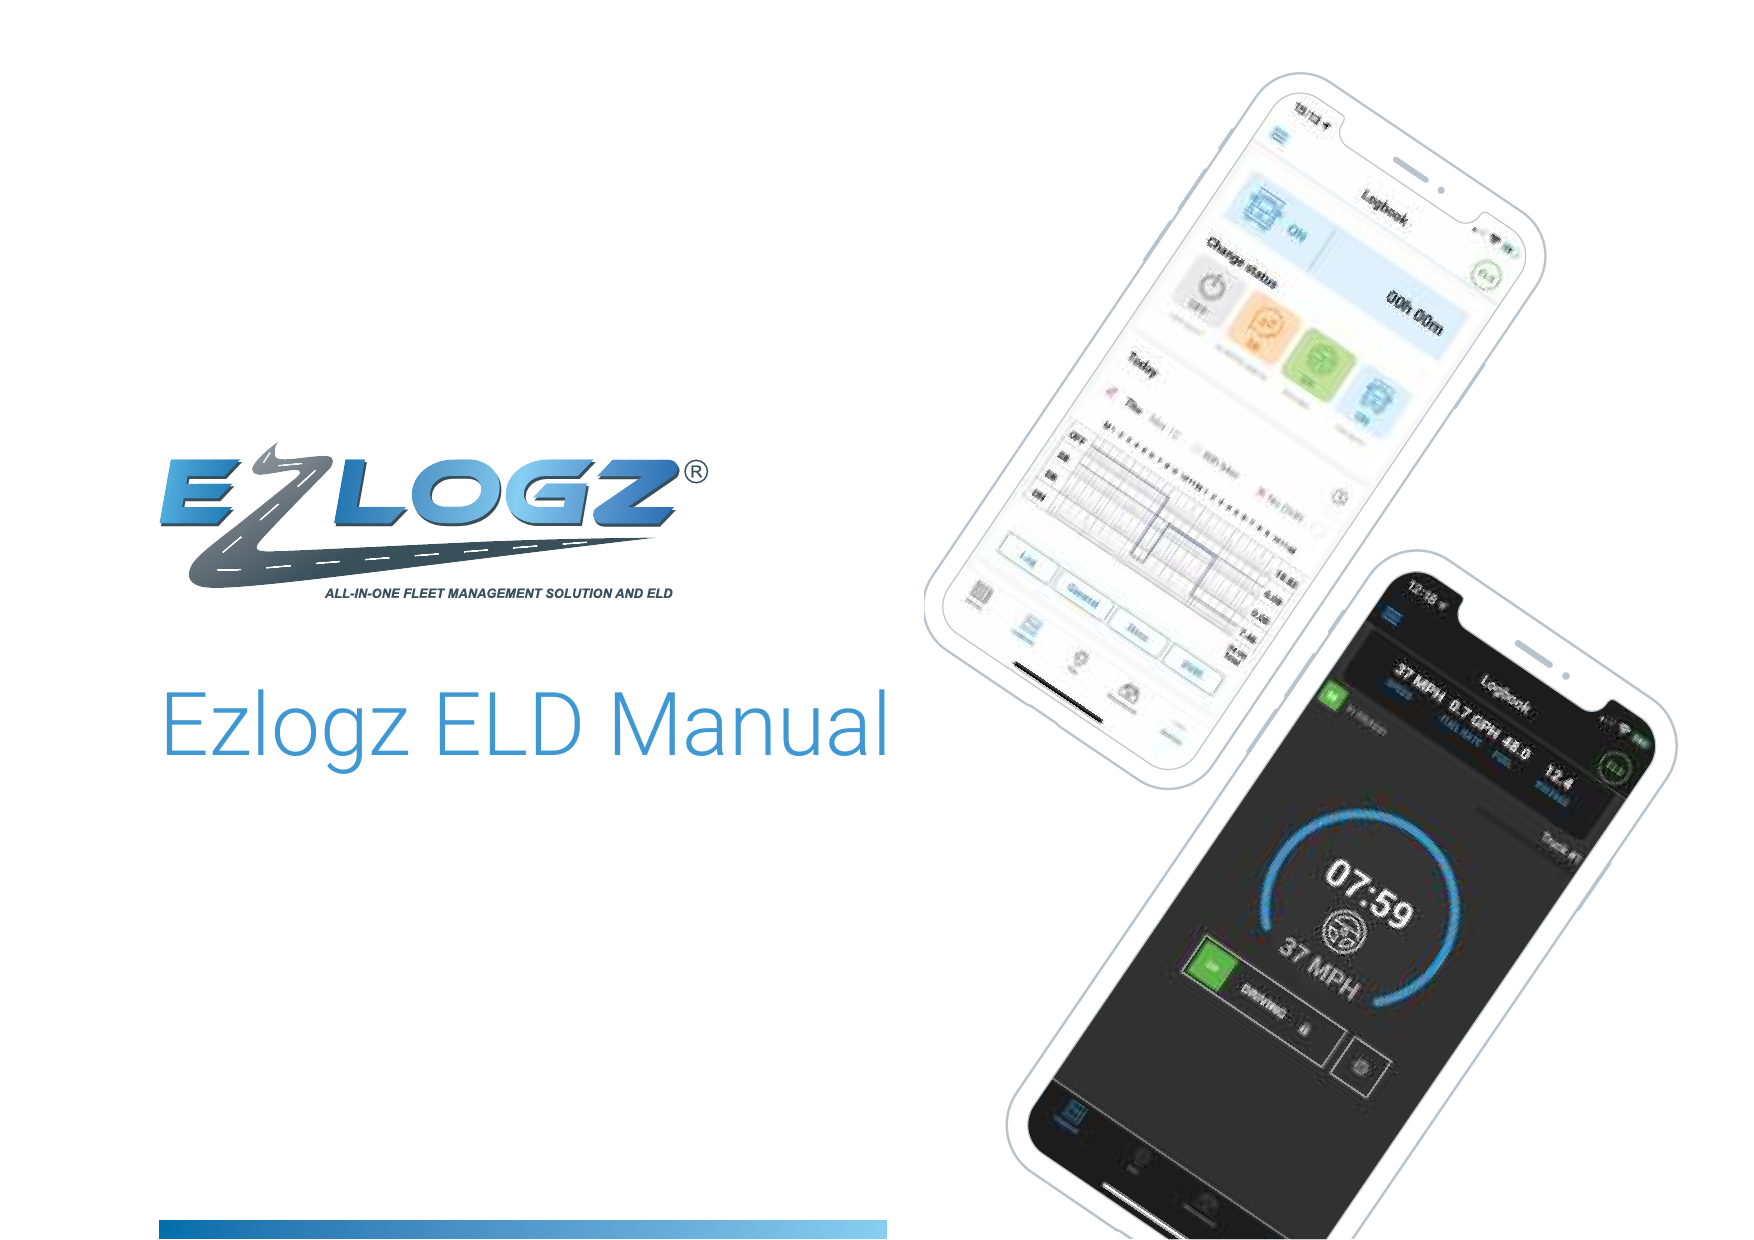
EZLOGZ ELD App User Manual
File info: application/pdf · 36 pages · 1.63MB
EzlogzManual
Ezlogz ELD Manual
Ezlogz ELD Manual ... ELD. Ezlogz ELD device. Look at your truck OBD port to make sure what pin cable ... Connect Bluetooth adapter to the 16-pin data link ... Logging out or deleting can cause data loss. The app may sh…
Ezlogz ELD Manual. Table of Contents. Setting up. ... *2014 and newer mack and volvo heavy duty vehicles that use OBD II 16-PIN data port, will require 16 PIN OBD II installation kit.
Full PDF Document

If the inline viewer fails, it will open the original document in compatibility mode automatically. You can also open the file directly.
Extracted Text
Ezlogz ELD Manual

Table of Contents
Setting up
Install Ezlogz app for Android/IOS ELD Package Scanner set up
Using the ELD
Registration. Connect to Fleet Carrier setup How to become an ELD driver Connect app with scanner ELD Menu Options Adding a truck Changing status Driving status Edit status Insert past duty status Fill day logbook info Create DVIR Sign logs

Related functionality

03

Send DOT Output File. Transfer ELD records 24

04

to an authorized safety official, ERODS

05

To send Logbook complete the following

25

steps

Send DVIR

27

Send Documents

28

06

Send inspection report

29

07

Select "Unidentified Driving"

30

08

Register Malfunction

31

09

Scanner Update

32

11

ELD in Sleep Mode

33

12

Synchronization

34

13

Network synchronization

35

14

16

18

Contacts

36

19

20

23

Ezlogz 02

Setting up
Install Ezlogz app for Android Or visit goo.gl/m6aFzY

Install Ezlogz app for iOS Or visit appsto.re/uS/ib00fb.i

1 Type "Ezlogz" into the search bar of Google Play Store.
2 Tap on "Install" button to download the app into your device.
3 Wait for the app to be successfully installed into your device.

1 Type" Ezlogz" into the search bar of App Store.
2 Tap on "Get" button
3 Tap on "Install" button o download the app into your device.
4 Wait for the app to be successfully installed into your device.

Ezlogz 03

Setting up
ELD Package
Look at your truck OBD port to make sure what pin cable will you need. Most 2007 and newer vehicles have the 9 pin configuration.
*2014 AND NEWER MACK AND VOLVO HEAVY DUTY VEHICLES THAT USE OBD II 16-PIN DATA PORT, WILL REQUIRE 16 PIN OBD II INSTALLATION KIT.
Once you unpack your Ezlogz ELD device you will need to connect it to your vehicle OBD port. Installation video on YouTube Ezlogz channel.

Ezlogz ELD device.
ELD
List of the following items that you will receive with your order: 1. ELD device 2. 1 sticker 3. Cab card
Ezlogz 04

Setting up
Scanner set up Before beginning to work with the application, make sure that the vehicle supports OBD-II-standards.
1 Connect Bluetooth adapter to the 16-pin data link connector.
2 Make certain that lamp on the adapter goes on after connecting the parts (in case the DLC is not in the open view, it is recommended checking the lamp with the help of a pocket mirror or a front-facing camera of the smartphone).
3 Start the vehicle's engine. 4 Make sure bluetooth is on. 5 Register on the app, then connect device to the truck. 6 Click ELD/AOBRD circle in top right hand corner. 7 Click truck number. 8 Click device. 9 May have to add vin manually. 10 Device will connect.

ELD Ezlogz 05

Using the ELD

Registration. Connect to Fleet
Before beginning to work with the application, make sure that the vehicle supports OBD-II-standards.

1 Open the "Ezlogz" app. 2 Tap on "Register" button.

2

3

It will open the "Sign up" screen.

In the field "User type" select the option "Driver".

4
Fill in all given fields with correct information.

5
Check in the box near to "I accept the terms and conditions" and tap on the
button "next".

Ezlogz 06

Using the ELD

Carrier setup
Before beginning to work with the application, make sure that the vehicle supports OBD-II-standards.

1
Fill your carrier info.

2
Click �Save� button.

3
�Rule settings� screen will appear.
Select needed settings and click
�SAVE�.

4
Registration finished.

Ezlogz 07

Using the ELD

How to become an ELD driver
Before beginning to work with the application, make sure that the vehicle supports OBD-II-standards.

1
Tap menu button in top left corner.

2
Select �Settings�. Then �Carrier
Connect� correct information.

3
�Tap �Connect to a different fleet.

4
When USDOT is found click on �Save� button.

Ezlogz 08

Using the ELD

Connect app with scanner
Start using the app after setting up the adapter and installing the application on your smartphone. At first, connect the scanner to the application by completing the

1
Turn on the Bluetooth on your smartphone.

2
Connect the device to the DLC. Correct information.

3
Open the application.

4
Find the icon with the scanner in the upper right
corner of the Logbook screen. The icon is going to remain grey until the ELD scanner is connected.

5
Tap on the "Connect" button.

Ezlogz 09

Using the ELD

Connect app with scanner

6

7

8

9

10

11

12

Choose the truck from the list or create a new
one.

It will open up the pop-up "Choose
scanner" with a list of the available
devices within your range.

Make sure that the device
connected is the correct one.
Otherwise, the selected truck
will not get connected accordingly.

Choose Tap on the "Connecting"

the device "Select" button pop-up will

from the

to be

open

list.

connected to

the selected or

created truck.

Press "Cancel"

to undo the

action.

After scanner is successfully connected, an ELD icon
will turn green.

13
Tap on the icon again to check device
state, disconnect device or select other
device.

It is going to take a few seconds for the scanner to connect.

Ezlogz 10

Connection Status
ELD Menu Options
1 BT Connection - indicates Bluetooth status. 2 GPS connected - indicates GPS status (available,
unavailable). 3 Engine on/off - indicates current status of engine. 4 Tap on �+� or select truck from list. Repeat the given
above steps and create a new truck. 5 Check update - check scanner firmware
update. 6 Unidentified driving.
7 Register malfunction � register scanner malfunction. 8 Send debug logs - improve maintenance sending
diagnostic alerts.

Ezlogz 11

Using the ELD

Adding a truck Also, you can create a new truck from the "Manage trucks" screen.

1
Go back to the main screen "Logbook".

2
Press on "+" in the bottom right corner of the screen.

3
Choose "Manage units".

4
Repeat the given above steps and
create a new truck.

Ezlogz 12

Using the ELD

Changing status

1 Ezlogz ELD application offers statuses to choose from: OFF - Off duty, you are not working. SB - Sleeper berth, time spent in the berth. ON - On duty, but you are not driving.
2 Press on the status of your choice.

1 If there is a need, enter a note and attach documents.

You can also create the status from the "Logbook" screen by pressing on the status icon in the upper left corner.

It will open the screen "Create Status" with A list of available statuses. Press the status to select it. Afterward, save the changes.

Ezlogz 13

Using the ELD

Driving status

1
ELD automatically changes user's
status to "Driving" when a vehicle starts moving.

2

3

After vehicle speed reaches more than 5 miles, the DRIVING status appears on the main. Logbook screen, or any other screen of the application used at
the moment.

When the vehicle stops, after 3 seconds driving
screen switches to �Stationary� mode. Button
on the center of screen unlocks. Press button to
change your status.

4
Pup-up with status change will appear.

Tap on gear icon to enable special mods: adverse driving.
Tap on day or night button to change style.

Ezlogz 14

Using the ELD

Driving status

5
Pop-up offers three statuses for choice: ON,
OFF, SB.

6

7

Select the status Pop-up will close

by tapping on it. and redirect you to

Tap save to

the main screen

change status

"Logbook.

After 5 minutes of stationary, if driver didn't changed his
status, offer to change status will
appear.

After 1 minute status will automatically change
to ON.

Ezlogz 15

Using the ELD

Edit status To edit the timeline for added status complete the following steps:

1
Go to the main "Logbook" screen.

2
Open today's log.

3
Double click on any log -> "Correction &
Annotation" popup will be opened.

4
Click on "Edit" will redirect user to "Correction &
Annotation" screen.

Ezlogz 16

Connection Status
Edit status
1 You will be able to change the timeline of the chosen status: tap on the timeline and move it right to prolong, or left to shorten it.
2 Also, you can edit the status timeline by using the fields "From" and "To."
3 Press on the option "From" to open the internal clock to set up the needed time for status to start.
4 Press on the option "To" in order to open the internal clock to set up the needed time for status to finish.
5 To edit the type of status, tap on the needed status from the list of the offered statuses.
6 After completing these steps, you will see changes in the time-schedule and will be able to edit the timeline of the selected status.
7 Press "Save" to save changes.

Ezlogz 17

Using the ELD

Insert past duty status To add status to the previous Logbook, complete the following steps:

1
Go to the main screen "Logbook".

2
Open the needed logbook.

3
Click on "+"button.

4
Select "Insert status" option.

5
"Insert Status" button opens the screenfor creating the status. There you can select
and add any offered statuses.

Ezlogz 18

Using the ELD

Fill day logbook info

1
Tap on �General� button on main logbook screen.

2
�General� screen will appear.

3
Fill needed info, like shipping docs,
trucks, trailers, notes, etc.

Distances will record automatically, but it can be changed manually if needed.
Signature can be put on this screen. Signature should be put only after end of work day! It will be cleared automatically when any info is changed.
Ezlogz 19

Using the ELD

Create DVIR To create a Vehicle Inspection Report � DVIR complete the following steps:

1 Go to the main "Logbook" screen.

2 Find a button that says "No DVIR". If there are no previous DVIR reports the DVIR icon will be red

3

4

Tap on the "No DVIR" button.

urrent trucks will automatically show up in th field "Trucks" and
in the field "Trailers" you can add any available trailers.

5
To add defects tap on "Click here to add defects". It will opens a screen with a list of defects for trailers and a list of defects for trucks accordingly.

Ezlogz 20

Using the ELD

Create DVIR

6
Choose one or several defects if
needed in each of the
lists.

7
Tap on the defect to select it.

8

9

10

11

After the defects are selected, tap on the "Save" button to save the changes. When the saving is finished, you will see a pop-up "Add a
note to your defect", where you can include a message to the added
defect.

After the work with a pop-up is done, you will be redirected back
to the screen "Create DVIR", where all selected defects will be enumerated in
the red frame.

Tap on "Next" to It will open a

continue creating "Signature"

DVIR.

screen.

Ezlogz 21

Using the ELD

Create DVIR

If there are no defects, then option "No defects"
will be selected automatically.

If there are some defects, then option "Defects need to be
corrected" will be selected
automatically.

12

If the defects were corrected, then you will be
able to select " Defects corrected".

To complete the process, add your signature and save the changes. The created DVIR will be shown on the next
screen. It will also be available for review from the main screen "Logbook" by tapping on the "DVIR" button of blue
color. You can also revise the information about created DVIR-s from
the Inspection report.

Ezlogz 22

Using the ELD

Sign logs In order to add your signature to the Logbook, complete the following steps:

1 Go to the main screen "Logbook".

2 Find an icon with a pen and tap on it.

3 It will open a screen "Signature Log".

4 Sign in the field "Draw your signature".

5 To edit the signature, tap on the "clear signature" and draw your signature again.

6 Tap on the "Save" button to save the changes.

12

3

7 You can use your previous signature by selecting the option "Use previous signature".

4567 Ezlogz 23

Using the ELD

Send DOT Output File. Transfer ELD records to an authorized safety official, ERODS

1
In main menu choose "Inspection
mode"

2
At the bottom of the screen press
button "Send Output File"

3
Choose an option "Web service" or "Email"

4
After Inspector inputs comment, press button
"Send"

Ezlogz 24

Using the ELD

To send Logbook complete the following steps: You can select and send all needed documents from the application to your email address.

1

2

3

4

5

In order to send the current Logbook, go to the main page of the Logbook.

Tap on the radio button next to the today's Logbook.

"Share" button will appear in the right upper
corner. Tap on it and choose one of the two given options: "Share the given document" or "Send it as an email".

By selecting the second option, you will open the screen with a field for an email address. Tap on button "Send"to send the document to your email.

Check your email.

Ezlogz 25

Related Fuctionality

To send Logbook complete the following steps: You can select and send all needed documents from the application to your email address.

6

7

To send all other Logbooks go back to the main screen
"Logbook".

Tap on the radio button "Check all".

8
Tap on the button "Share" > "Send email".

9

10

Type in the email address Check your

and tap on the button

email.

"Send".

Ezlogz 26

Related Fuctionality

Send DVIR:

1
To send DVIR over the email, go from the main screen "Logbook" to the
screen "DVIR".

2
Tap on the button "Share".

3
Select the "Send email" option.

4
Complete the process by filling in the email
address and pressing on the "Send" button
similarly to sharing the Logbook.

Ezlogz 27

Related Fuctionality

Send documents:

6

7

To send documents over email, go from the navigation screen to the "Document Center" screen.

Select all needed documents.

8
Press on the button "Share".

9
Select the option "Send email".

10
Complete the process by filling in the email
address and pressing on the "Send" button
similarly to sharing the Logbook.

Ezlogz 28

Related Fuctionality

Send inspection report:

6

7

8

To send "Inspection Report" over email go from
the navigation screen to the screen "Inspection
Mode".

Press on the button "Share".

Select the option "Send email".

9
Fill in the email address and press on the button "Send".

10
Check the email.

Ezlogz 29

Unidentified driving

Select "Unidentified Driving"

1
Find the icon ELD in the upper right. Select the option
"Unidentified Driving".

2
Go to the main screen "View
Logs".

3
In order to see the full
information click on the opened list.

4
Click on the "Approve" button
below.

Ezlogz 30

Register malfunction

Register Malfunction
Ezlogz provides drivers with the ELD Malfunction Manual, which can be presented to the Inspector during the inspection procedure in case of ELD malfunction.

1
If the ELD/scanner does not work for some reason, the user goes to the
"Register Malfunction" section and selects a required item from the list, depending on what is not
working.

2
Instruction for the driver is displayed, which describes ELD malfunction report requirements and recordkeeping procedures during ELD malfunction.

Ezlogz 31

Scanner Update

Scanner Update
If the scanner update is available, the "Scanner Update" pop-up is displayed when connecting to the ELD device. To update the scanner, click on the option "Check update." If the update is available, a pop-up with a recommendation to upgrade will be displayed. If the update is not available, a pop-up with the information that you have the latest version will be displayed.

If a driver has problems with connection after the update. Follow steps below

1 Check the data connection.

3

2 Unplug the device, turn on the engine, plug the device into OBD.
3 Turn off, then turn on BT. Re-login the Ezlogz application. Try to connect. If error pop-up occurs, click on the buttons "Cancel" or "Ok," and then try again.

4 After the scanner update, if it freezes, reboot the device. Check that BT pairs to the device.

Note: You might even need to restart your phone so that it can
connect to BT!
4

Ezlogz 32

ELD in Sleep Mode
ELD in Sleep Mode You can use ELD in sleep mode (turn screen off or minimize application) 1 If you start driving then you will receive a notification 2 If you stop then you will receive a notification
"Vehicle has stopped!" 3 If for some reason the scanner turns off, you will receive
a notification "Device has been disconnected!"
Ezlogz 33

ELD in Sleep Mode
Synchronization

After the app starts, you may see a synchronization screen. That means that the device was
disconnected or the app was closed. To prevent data loss, the app automatically reconnects and
synchronizes with the device to restore data. It can take a few minutes.

You may need to stay near the device to synchronize. If you can't do it right now, the app will prompt the �Force Continue� button, but that action
will cause data loss.

Ezlogz 34

ELD in Sleep Mode
Network synchronization The application needs an internet connection when in use. Without an internet connection, the data will transfer to the server when connection resumes.
If you are using the app without a network connection, do not delete the app or logout from your account. Logging out or deleting can cause data loss. The app may show a message if it has any unsynchronized data. To synchronize your data with a server, enable the internet connection, and wait a few minutes. Ezlogz recommends using the app with an internet connection all the time. Or enable connection at least a few times per week.

Ezlogz 35

Contact & Follow Us
facebook.com/ezlogz twitter.com/ezlogz instagram.com/ezlogz youtube.com/channel/UCmueqLy-JSIs3cggEXhhx8Q

E-mail: support@ezlogz.com

Phone: (800) 670 78 07

Site: ezlogz.com