GRÖNLID 2-Seat Section Cover Assembly Instructions
Product Overview
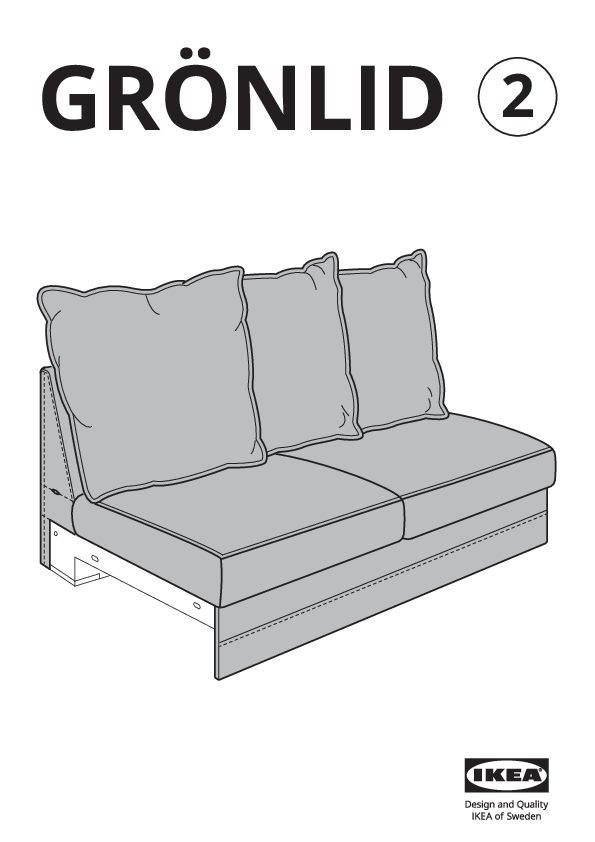
This document provides instructions for fitting the cover for the GRÖNLID 2-seat sofa section. It includes important safety information and assembly steps.
Brand: IKEA
Product: GRÖNLID 2-Seat Section Cover
Important Information & Warnings
General Warnings:
- Do not use the product if any part is missing or damaged.
- Ensure all parts are correctly assembled before use.
- Keep plastic bags away from children to prevent suffocation.
- Dispose of plastic packaging responsibly.
Assembly Warnings:
- Two people are recommended for assembly.
- Do not use sharp objects like knives or scissors to open the packaging, as this may damage the product.
- Ensure the cover is correctly oriented before attempting to fit it.
Assembly Steps
Step 1: Prepare the Sofa Section
Place the sofa section on a clean, flat surface. Ensure it is stable.
Visual Description: Two people are shown placing the sofa section onto a base structure. An inset shows a close-up of how the cover attaches to the frame.
Step 2: Position the Cover
Unfold the cover and carefully position it over the sofa section, aligning the seams and edges.
Visual Description: The cover is being draped over the sofa section. Arrows indicate the direction of placement. An inset shows a close-up of the cover's attachment points.
Step 3: Secure the Cover
Gently pull the cover down and ensure it fits snugly. Use the provided attachment points to secure the cover to the sofa frame.
Visual Description: People are shown pulling the cover down and securing it. An inset shows a close-up of how the cover attaches to the back of the sofa section, with a warning symbol indicating not to force it if it doesn't fit easily.
Step 4: Adjust and Smooth
Adjust the cover to ensure it is smooth and wrinkle-free. Pay attention to corners and edges.
Visual Description: Arrows indicate smoothing the cover along the sides of the sofa section. An inset shows a close-up of tucking the fabric into crevices.
Step 5: Final Check
Ensure all parts of the cover are securely in place and that the sofa looks neat and tidy.
Visual Description: A person is shown checking the fit of the cover, with arrows indicating adjustments. The final result is a neatly covered sofa section.
Step 6: Cushion Covers
For the cushion covers, insert the cushions and carefully zip them up. Ensure the zipper is fully closed.
Visual Description: The process of putting cushion covers on is shown. Close-ups illustrate how to align the zipper and pull it closed smoothly.
Step 7: Final Placement
Place the cushions onto the sofa section.
Visual Description: Three cushions are shown being placed onto the covered sofa section.
Care Instructions
Refer to the care label on the cover for specific washing and care instructions. Generally, covers can be machine washed and tumble dried at low temperatures. Ironing may be required at a low setting.
Visual Description: An icon indicates ironing on a low setting. Another icon shows a washing machine with a temperature symbol. A warning symbol indicates not to dry clean.
Disposal of Packaging
Dispose of all packaging materials responsibly, following local recycling guidelines. The packaging may contain small parts or plastic bags that should be kept away from children.
Visual Description: An illustration shows a person placing plastic packaging into a recycling bin.
