File info: application/pdf · 4 pages · 358.11KB
TCP/IP communications using Labview with the SR860/SR865A
Select Manual Entry of LAN Instrument, then click on next. Fill in the IP Address and in the Lan Device Name box type in inst0 (must be inst0) When Done Click Next (do not validate). 6. On the Next Page Give it an Alias…
here - thinkSRS.com
Click on Visa TCP/IP Resource... • A menu will pop up asking want type of resource you want to add. • Select Manual Entry of LAN Instrument, then click ...
TCP/IP communications using Labview ...
Full PDF Document

If the inline viewer fails, it will open the original document in compatibility mode automatically. You can also open the file directly.
Extracted Text
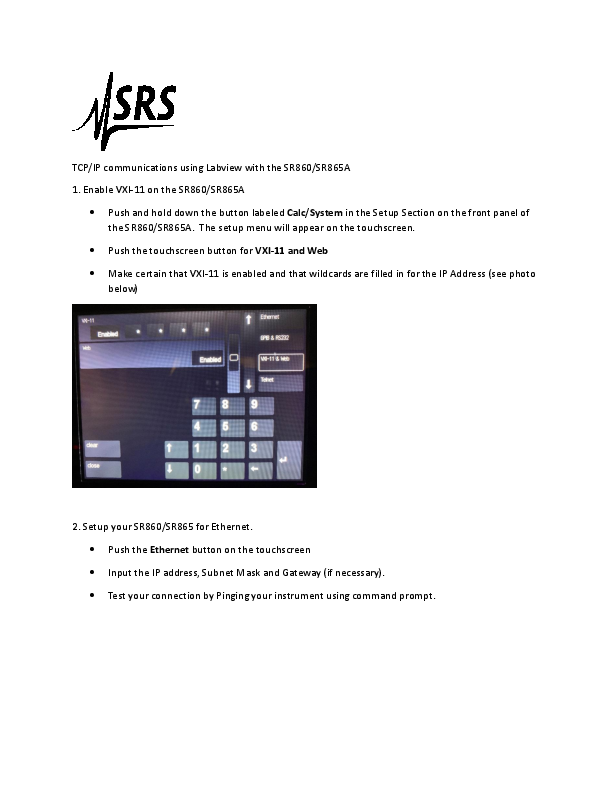
TCP/IP communications using Labview with the SR860/SR865A 1. Enable VXI-11 on the SR860/SR865A
 Push and hold down the button labeled Calc/System in the Setup Section on the front panel of the SR860/SR865A. The setup menu will appear on the touchscreen.
 Push the touchscreen button for VXI-11 and Web  Make certain that VXI-11 is enabled and that wildcards are filled in for the IP Address (see photo
below)
2. Setup your SR860/SR865 for Ethernet.  Push the Ethernet button on the touchscreen  Input the IP address, Subnet Mask and Gateway (if necessary).  Test your connection by Pinging your instrument using command prompt.

3. Open NI Max, expand the "Devices and Interface" and Click on Network Devices.
4. 4. Click on "Add Network Device"

5. Click on Visa TCP/IP Resource...  A menu will pop up asking want type of resource you want to add.  Select Manual Entry of LAN Instrument, then click on next.  Fill in the IP Address and in the Lan Device Name box type in inst0 (must be inst0)  When Done Click Next (do not validate).
6. On the Next Page Give it an Alias (ie SR865), then click next.

7. On the left column you should see your Network Devices. If you click on your instrument, you will see on the right column the Visa Resource name of your instrument. Use the Visa Resource name as you would a GPIB device in Lab View.