ℹ️ Document Conversion Notice:
This page was converted from the original file for easier reading. Diagrams/images may appear only in the original PDF below.
File info: application/pdf · 80 pages · 49.93MB
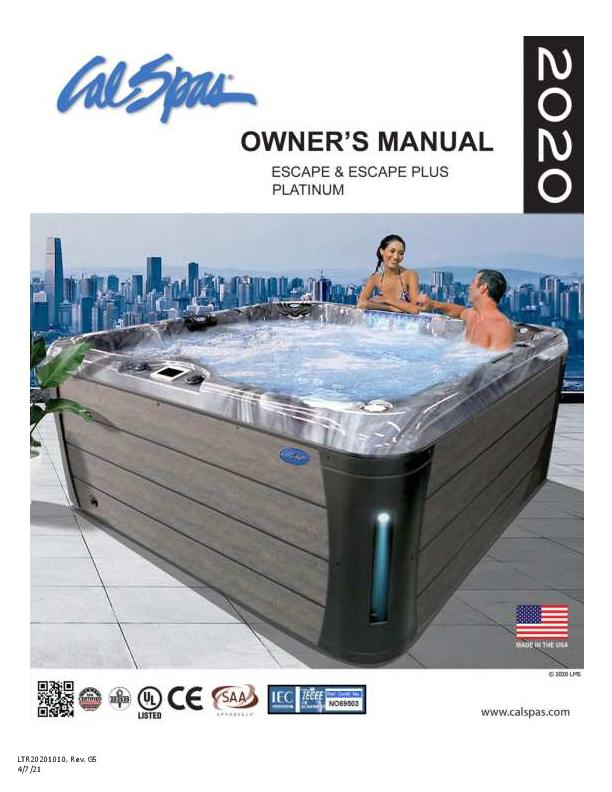
Cal Spas 2020 Escape & Platinum Series Owner's Manual
Welcome to Your New Cal Spas Portable Spa
This comprehensive owner's manual provides essential information for your 2020 Cal Spas Escape, Escape Plus, and Platinum portable spa models. It is designed to guide you through the entire process, from initial setup to ongoing maintenance and safe operation.
Key Information Covered
- Pre-Delivery & Setup: Guidance on site selection, foundation preparation, and electrical installation to ensure a safe and proper setup.
- Operation: Detailed instructions on using the spa's control panels, jets, lighting, and special features like the Cal Connect™ system.
- Water Clarity & Maintenance: Essential steps for maintaining clean, clear, and healthy spa water, including water chemistry, sanitation, filter cleaning, and regular maintenance schedules.
- Safety Instructions: Critical safety warnings and guidelines to ensure a safe spa experience for all users.
- Troubleshooting: Solutions for common issues to help you resolve problems quickly.
- Warranty Information: Details on the limited warranty for your Cal Spas product.
For detailed information and support, please refer to the specific sections within this manual. For additional resources, visit the official Cal Spas website at www.calspas.com.
Models: LTR20201010, Escape, Escape Plus Platinum, calspas
Full PDF Document

If the inline viewer fails, it will open the original document in compatibility mode automatically. You can also open the file directly.