SYNCWIRE SW-WL647 Magnetic Wireless Car Charger User Manual
File info: application/pdf · 1 pages · 5.74MB
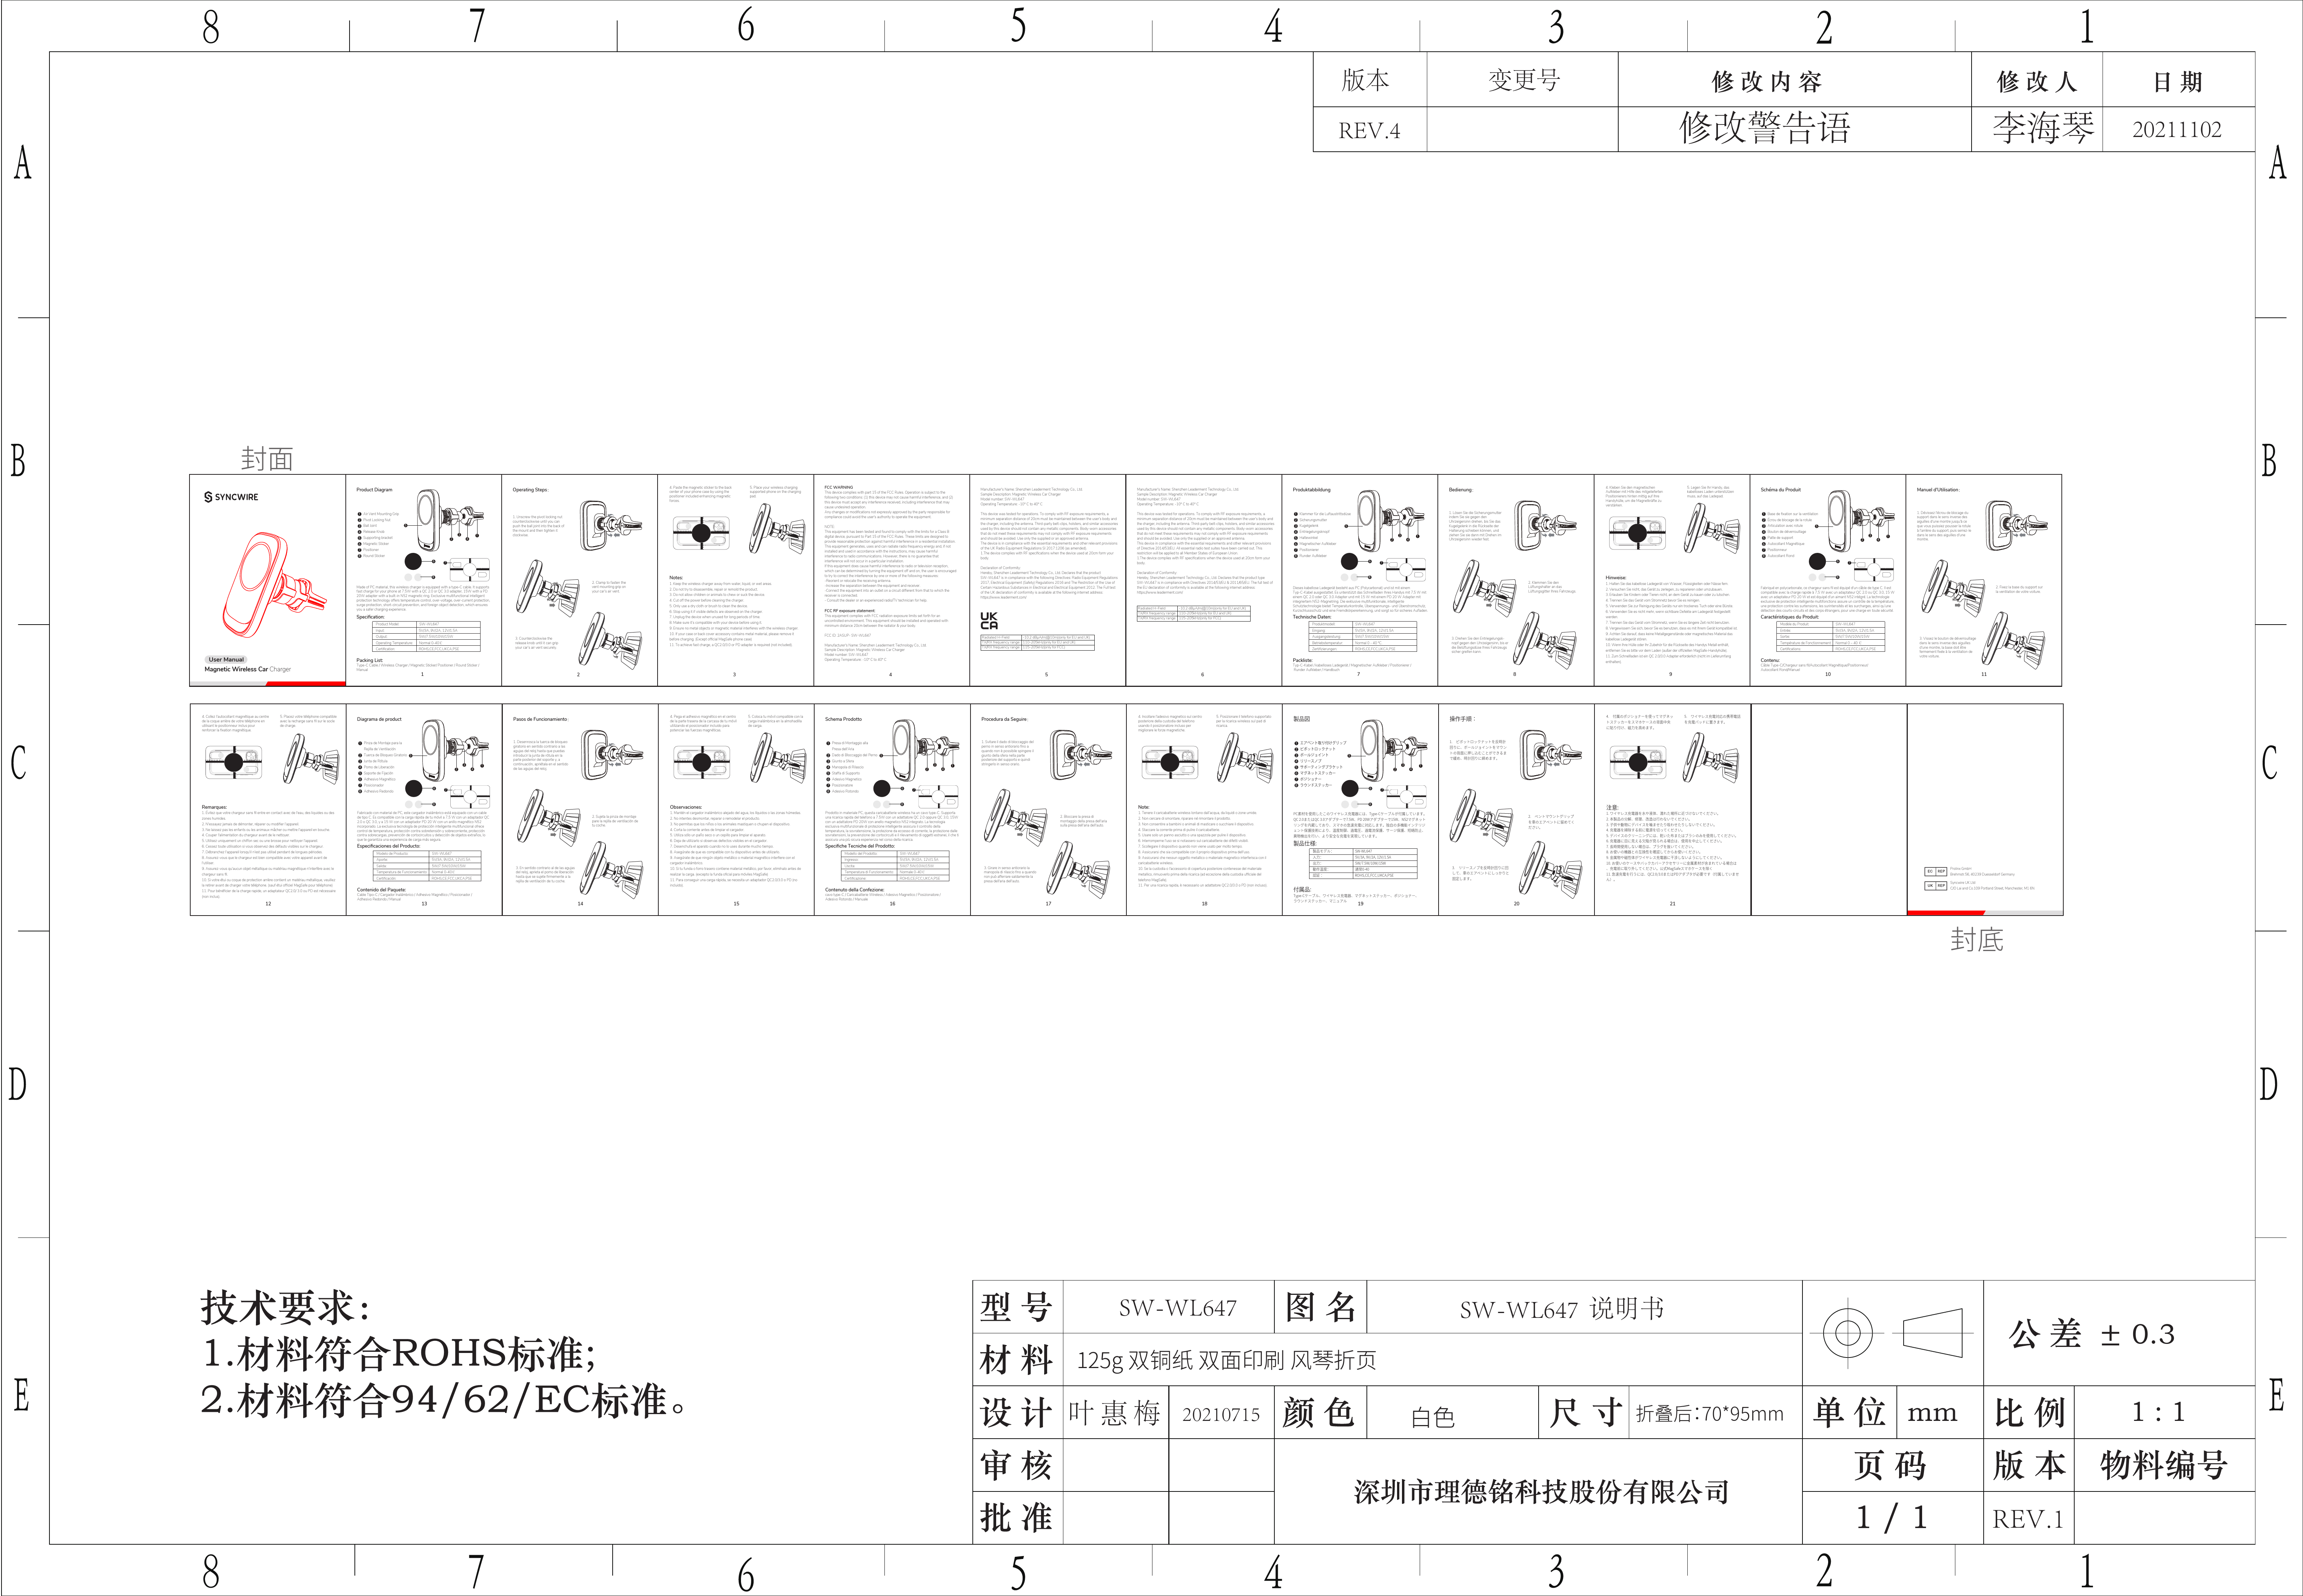
SW-WL647 支架无线充 说明书 20211102(REV.4)
User manual
Shenzhen Leaderment Technology Co.,Ltd. SW-WL647 Magnetic Wireless Car Charger 2ASUP-SW-WL647 2ASUPSWWL647 sw wl647
Full PDF Document

If the inline viewer fails, it will open the original document in compatibility mode automatically. You can also open the file directly.
Extracted Text
 3&7


User Manual Magnetic Wireless Car Charger

Product Diagram

1 Air Vent Mounting Grip

2 Pivot Locking Nut

3 Ball Joint

5

4 Release Knob

5 Supporting bracket

6 Magnetic Sticker

7 Positioner

8 Round Sticker

3

1

2

4

25 20 15 10 5

68

78

88

55 50 45 40 35 30 25 20 15 10 5

5 10 15 20 25 30 35 40 45 50 55

5 10 15 20 25

Made of PC material, this wireless charger is equipped with a type-C cable. It supports fast charge for your phone at 7.5W with a QC 2.0 or QC 3.0 adapter, 15W with a PD 20W adapter with a built-in N52 magnetic ring. Exclusive multifunctional intelligent protection technology offers temperature control, over-voltage, over-current protection, surge protection, short-circuit prevention, and foreign object detection, which ensures you a safer charging experience.

Specification:
Product Model: Input: Output: Operating Temperature: Certification:

SW-WL647 5V/3A, 9V/2A, 12V/1.5A 5W/7.5W/10W/15W Normal 0-40� ROHS,CE,FCC,UKCA,PSE

Packing List:
Type-C Cable / Wireless Charger / Magnetic Sticker/ Positioner / Round Sticker / Manual
1

Operating Steps
1. Unscrew the pivot locking nut counterclockwise until you can push the ball joint into the back of the mount and then tighten it clockwise.
2. Clamp to fasten the vent mounting grip on your car's air vent.
3. Counterclockwise the release knob until it can grip your car's air vent securely.
2

4. Paste the magnetic sticker to the back center of your phone case by using the positioner included enhancing magnetic forces.

5. Place your wireless charging supported phone on the charging pad.

25 20 15 10 5

55 50 45 40 35 30 25 20 15 10 5

5 10 15 20 25 30 35 40 45 50 55

5 10 15 20 25

Notes:
1. Keep the wireless charger away from water, liquid, or wet areas. 2. Do not try to disassemble, repair or remold the product. 3. Do not allow children or animals to chew or suck the device. 4. Cut off the power before cleaning the charger. 5. Only use a dry cloth or brush to clean the device. 6. Stop using it if visible defects are observed on the charger. 7. Unplug the device when unused for long periods of time. 8. Make sure it's compatible with your device before using it. 9. Ensure no metal objects or magnetic material interferes with the wireless charger. 10. If your case or back cover accessory contains metal material, please remove it before charging. (Except official MagSafe phone case) 11. To achieve fast charge, a QC2.0/3.0 or PD adapter is required (not included).
3

FCC WARNING This device complies with part 15 of the FCC Rules. Operation is subject to the following two conditions: (1) this device may not cause harmful interference, and (2) this device must accept any interference received, including interference that may cause undesired operation. Any changes or modifications not expressly approved by the party responsible for compliance could avoid the user's authority to operate the equipment.
NOTE: This equipment has been tested and found to comply with the limits for a Class B digital device, pursuant to Part 15 of the FCC Rules. These limits are designed to provide reasonable protection against harmful interference in a residential installation. This equipment generates, uses and can radiate radio frequency energy and, if not installed and used in accordance with the instructions, may cause harmful interference to radio communications. However, there is no guarantee that interference will not occur in a particular installation. If this equipment does cause harmful interference to radio or television reception, which can be determined by turning the equipment off and on, the user is encouraged to try to correct the interference by one or more of the following measures: -Reorient or relocate the receiving antenna. -Increase the separation between the equipment and receiver. -Connect the equipment into an outlet on a circuit different from that to which the receiver is connected. - Consult the dealer or an experienced radio/TV technician for help.
FCC RF exposure statement: This equipment complies with FCC radiation exposure limits set forth for an uncontrolled environment. This equipment should be installed and operated with minimum distance 20cm between the radiator & your body.
FCC ID: 2ASUP- SW-WL647
Manufacturer's Name: Shenzhen Leaderment Technology Co., Ltd. Sample Description: Magnetic Wireless Car Charger Model number: SW-WL647 Operating Temperature: -10� C to 40� C
4

Manufacturer's Name: Shenzhen Leaderment Technology Co., Ltd. Sample Description: Magnetic Wireless Car Charger Model number: SW-WL647 Operating Temperature: -10� C to 40� C
This device was tested for operations. To comply with RF exposure requirements, a minimum separation distance of 20cm must be maintained between the user's body and the charger, including the antenna. Third-party belt-clips, holsters, and similar accessories used by this device should not contain any metallic components. Body-worn accessories that do not meet these requirements may not comply with RF exposure requirements and should be avoided. Use only the supplied or an approved antenna. The device is in compliance with the essential requirements and other relevant provisions of the UK Radio Equipment Regulations SI 2017:1206 (as amended). 1.The device complies with RF specifications when the device used at 20cm form your body.
Declaration of Conformity: Hereby, Shenzhen Leaderment Technology Co., Ltd. Declares that the product SW-WL647 is in compliance with the following Directives: Radio Equipment Regulations 2017, Electrical Equipment (Safety) Regulations 2016 and The Restriction of the Use of Certain Hazardous Substances in Electrical and Electrical Equipment 2012. The Full test of the UK declaration of conformity is available at the following internet address: https://www.leaderment.com/

Radiated H-Field

-10.2 dBA/m(@10m)(only for EU and UK)

TX/RX frequency range 110-205kHz(only for EU and UK)

TX/RX frequency range 115-205kHz(only for FCC)

5

Manufacturer's Name: Shenzhen Leaderment Technology Co., Ltd. Sample Description: Magnetic Wireless Car Charger Model number: SW-WL647 Operating Temperature: -10� C to 40� C
This device was tested for operations. To comply with RF exposure requirements, a minimum separation distance of 20cm must be maintained between the user's body and the charger, including the antenna. Third-party belt-clips, holsters, and similar accessories used by this device should not contain any metallic components. Body-worn accessories that do not meet these requirements may not comply with RF exposure requirements and should be avoided. Use only the supplied or an approved antenna. This device in compliance with the essential requirements and other relevant provisions of Directive 2014/53/EU. All essential radio test suites have been carried out. This restriction will be applied to all Member States of European Union. 1.The device complies with RF specifications when the device used at 20cm form your body.
Declaration of Conformity: Hereby, Shenzhen Leaderment Technology Co., Ltd. Declares that the product type SW-WL647 is in compliance with Directives 2014/53/EU & 2011/65/EU. The full test of the EU declaration of conformity is available at the following internet address: https://www.leaderment.com/

Radiated H-Field

-10.2 dBA/m(@10m)(only for EU and UK)

TX/RX frequency range 110-205kHz(only for EU and UK)

TX/RX frequency range 115-205kHz(only for FCC)

6

Produktabbildung

1 Klammer f�r die Luftaustrittsd�se

2 Sicherungsmutter

3 Kugelgelenk

5

4 Entriegelungsknopf

5 Haltewinkel 6 Magnetischer Aufkleber

7 Positionierer

8 Runder Aufkleber

3

1

2

4

25 20 15 10 5

68

78

88

55 50 45 40 35 30 25 20 15 10 5

5 10 15 20 25 30 35 40 45 50 55

5 10 15 20 25

Dieses kabellose Ladeger�t besteht aus PC (Polycarbonat) und ist mit einem Typ-C-Kabel ausgestattet. Es unterst�tzt das Schnellladen Ihres Handys mit 7,5 W mit einem QC 2.0 oder QC 3.0 Adapter und mit 15 W mit einem PD 20 W Adapter mit integriertem N52-Magnetring. Die exklusive multifunktionale, intelligente
Schutztechnologie bietet Temperaturkontrolle, �berspannungs- und �berstromschutz, Kurzschlussschutz und eine Fremdk�rpererkennung, und sorgt so f�r sicheres Aufladen.

Technische Daten:

Produktmodell:

SW-WL647

Eingang:

5V/3A, 9V/2A, 12V/1.5A

Ausgangsleistung:

5W/7.5W/10W/15W

Betriebstemperatur:

Normal 0 - 40 �C.

Zertifizierungen:

ROHS,CE,FCC,UKCA,PSE

Packliste:
Typ-C-Kabel / kabelloses Ladeger�t / Magnetischer Aufkleber / Positionierer /
Runder Aufkleber / Handbuch
7

Bedienung
1. L�sen Sie die Sicherungsmutter indem Sie sie gegen den Uhrzeigersinn drehen, bis Sie das Kugelgelenk in die R�ckseite der Halterung schieben k�nnen, und ziehen Sie sie dann mit Drehen im Uhrzeigersinn wieder fest.
2. Klemmen Sie den L�ftungshalter an das L�ftungsgitter Ihres Fahrzeugs.
3. Drehen Sie den Entriegelungsknopf gegen den Uhrzeigersinn, bis er die Bel�ftungsd�se Ihres Fahrzeugs sicher greifen kann.
8

4. Kleben Sie den magnetischen
Aufkleber mit Hilfe des mitgelieferten Positionierers hinten mittig auf Ihre
Handyh�lle, um die Magnetkr�fte zu verst�rken.

5. Legen Sie Ihr Handy, das
kabelloses Laden unterst�tzen muss, auf das Ladepad.

25 20 15 10 5

55 50 45 40 35 30 25 20 15 10 5

5 10 15 20 25 30 35 40 45 50 55

5 10 15 20 25

Hinweise:
1. Halten Sie das kabellose Ladeger�t von Wasser, Fl�ssigkeiten oder N�sse fern. 2. Versuchen Sie nicht, das Ger�t zu zerlegen, zu reparieren oder umzubauen. 3. Erlauben Sie Kindern oder Tieren nicht, an dem Ger�t zu kauen oder zu lutschen. 4. Trennen Sie das Ger�t vom Stromnetz bevor Sie es reinigen. 5. Verwenden Sie zur Reinigung des Ger�ts nur ein trockenes Tuch oder eine B�rste. 6. Verwenden Sie es nicht mehr, wenn sichtbare Defekte am Ladeger�t festgestellt werden. 7. Trennen Sie das Ger�t vom Stromnetz, wenn Sie es l�ngere Zeit nicht benutzen. 8. Vergewissern Sie sich, bevor Sie es benutzen, dass es mit Ihrem Ger�t kompatibel ist. 9. Achten Sie darauf, dass keine Metallgegenst�nde oder magnetisches Material das kabellose Ladeger�t st�ren. 10. Wenn Ihre H�lle oder Ihr Zubeh�r f�r die R�ckseite des Handys Metall enth�lt, entfernen Sie es bitte vor dem Laden (au�er der offiziellen MagSafe-Handyh�lle). 11. Zum Schnellladen ist ein QC 2.0/3.0 Adapter erforderlich (nicht im Lieferumfang enthalten).
9

Sch�ma du Produit

1 Base de fixation sur la ventilation 2 �crou de blocage de la rotule

3 Articulation avec rotule

5

4 Bouton de d�verrouillage 5 Patte de support

6 Autocollant Magn�tique 7 Positionneur

8 Autocollant Rond

3

1

2

4

25 20 15 10 5

68

78

88

55 50 45 40 35 30 25 20 15 10 5

5 10 15 20 25 30 35 40 45 50 55

5 10 15 20 25

Fabriqu� en polycarbonate, ce chargeur sans fil est �quip� d'un c�ble de type C. Il est compatible avec la charge rapide � 7,5 W avec un adaptateur QC 2.0 ou QC 3.0, 15 W avec un adaptateur PD 20 W et est �quip� d'un aimant N52 int�gr�. La technologie exclusive de protection intelligente multifonctions assure un contr�le de la temp�rature, une protection contre les surtensions, les surintensit�s et les surcharges, ainsi qu'une d�tection des courts-circuits et des corps �trangers, pour une charge en toute s�curit�.

Caract�ristiques du Produit:

Mod�le du Produit: Entr�e: Sortie:

SW-WL647 5V/3A, 9V/2A, 12V/1.5A 5W/7.5W/10W/15W

Temp�rature de Fonctionnement: Normal 0 � 40 �

Certifications:

ROHS,CE,FCC,UKCA,PSE

Contenu:
C�ble Type-C/Chargeur sans fil/Autocollant Magn�tique/Positionneur/ Autocollant Rond/Manuel
10

Manuel d'Utilisation
1. D�vissez l'�crou de blocage du support dans le sens inverse des aiguilles d'une montre jusqu'� ce que vous puissiez pousser la rotule � l'arri�re du support, puis serrez-le dans le sens des aiguilles d'une montre.
2. Fixez la base du support sur la ventilation de votre voiture.
3. Vissez le bouton de d�verrouillage dans le sens inverse des aiguilles d'une montre, la base doit �tre fermement fix�e � la ventilation de votre voiture.
11

4. Collez l'autocollant magn�tique au centre de la coque arri�re de votre t�l�phone en utilisant le positionneur inclus pour
renforcer la fixation magn�tique.

5. Placez votre t�l�phone compatible
avec la recharge sans fil sur le socle de charge.

25 20 15 10 5

55 50 45 40 35 30 25 20 15 10 5

5 10 15 20 25 30 35 40 45 50 55

5 10 15 20 25

Remarques:
1. �vitez que votre chargeur sans fil entre en contact avec de l'eau, des liquides ou des zones humides. 2. N'essayez jamais de d�monter, r�parer ou modifier l'appareil. 3. Ne laissez pas les enfants ou les animaux m�cher ou mettre l'appareil en bouche. 4. Couper l'alimentation du chargeur avant de le nettoyer. 5. Utilisez uniquement un chiffon sec ou une brosse pour nettoyer l'appareil. 6. Cessez toute utilisation si vous observez des d�fauts visibles sur le chargeur. 7. D�branchez l'appareil lorsqu'il n'est pas utilis� pendant de longues p�riodes. 8. Assurez-vous que le chargeur est bien compatible avec votre appareil avant de l'utiliser. 9. Assurez-vous qu'aucun objet m�tallique ou mat�riau magn�tique n'interf�re avec le chargeur sans fil. 10. Si votre �tui ou coque de protection arri�re contient un mat�riau m�tallique, veuillez la retirer avant de charger votre t�l�phone. (sauf �tui officiel MagSafe pour t�l�phone) 11. Pour b�n�ficier de la charge rapide, un adaptateur QC2.0/ 3.0 ou PD est n�cessaire (non inclus).
12

Diagrama de product

1 Pinza de Montaje para la Rejilla de Ventilaci�n
2 Tuerca de Bloqueo Giratorio 5 3 Junta de R�tula 4 Pomo de Liberaci�n 5 Soporte de Fijaci�n 6 Adhesivo Magn�tico 7 Posicionador 8 Adhesivo Redondo

3

1

2

4

25 20 15 10 5

68

78

88

55 50 45 40 35 30 25 20 15 10 5

5 10 15 20 25 30 35 40 45 50 55

5 10 15 20 25

Fabricado con material de PC, este cargador inal�mbrico est� equipado con un cable de tipo C. Es compatible con la carga r�pida de tu m�vil a 7,5 W con un adaptador QC
2.0 o QC 3.0, y a 15 W con un adaptador PD 20 W con un anillo magn�tico N52 incorporado. La exclusiva tecnolog�a de protecci�n inteligente multifuncional ofrece control de temperatura, protecci�n contra sobretensi�n y sobrecorriente, protecci�n contra sobrecargas, prevenci�n de cortocircuitos y detecci�n de objetos extra�os, lo
que te garantiza una experiencia de carga m�s segura.

Especificaciones del Producto:

Modelo de Producto:

SW-WL647

Aporte:

5V/3A, 9V/2A, 12V/1.5A

Salida:

5W/7.5W/10W/15W

Temperatura de Funcionamiento: Normal 0-40�

Certificaci�n:

ROHS,CE,FCC,UKCA,PSE

Contenido del Paquete:
Cable Tipo-C / Cargador Inal�mbrico / Adhesivo Magn�tico / Posicionador / Adhesivo Redondo / Manual
13

Pasos de Funcionamiento
1. Desenrosca la tuerca de bloqueo giratorio en sentido contrario a las agujas del reloj hasta que puedas introducir la junta de r�tula en la parte posterior del soporte y, a continuaci�n, apri�tala en el sentido de las agujas del reloj.
2. Sujeta la pinza de montaje pare la rejilla de ventilaci�n de tu coche.
3. En sentido contrario al de las agujas del reloj, aprieta el pomo de liberaci�n hasta que se sujete firmemente a la rejilla de ventilaci�n de tu coche.
14

4. Pega el adhesivo magn�tico en el centro de la parte trasera de la carcasa de tu m�vil
utilizando el posicionador incluido para potenciar las fuerzas magn�ticas.

5. Coloca tu m�vil compatible con la carga inal�mbrica en la almohadilla de carga.

25 20 15 10 5

55 50 45 40 35 30 25 20 15 10 5

5 10 15 20 25 30 35 40 45 50 55

5 10 15 20 25

Observaciones:
1. Mant�n el cargador inal�mbrico alejado del agua, los l�quidos o las zonas h�medas. 2. No intentes desmontar, reparar o remodelar el producto. 3. No permitas que los ni�os o los animales mastiquen o chupen el dispositivo. 4. Corta la corriente antes de limpiar el cargador. 5. Utiliza s�lo un pa�o seco o un cepillo para limpiar el aparato. 6. Deja de utilizarlo si observas defectos visibles en el cargador. 7. Desenchufa el aparato cuando no lo uses durante mucho tiempo. 8. Aseg�rate de que es compatible con tu dispositivo antes de utilizarlo. 9. Aseg�rate de que ning�n objeto met�lico o material magn�tico interfiere con el cargador inal�mbrico. 10. Si tu funda o forro trasero contiene material met�lico, por favor, elim�nalo antes de realizar la carga. (excepto la funda oficial para m�viles MagSafe) 11. Para conseguir una carga r�pida, se necesita un adaptador QC2.0/3.0 o PD (no incluido).
15

Schema Prodotto

1 Presa di Montaggio alla
Presa dell'Aria 2 Dado di Bloccaggio del Perno 5 3 Giunto a Sfera 4 Manopola di Rilascio 5 Staffa di Supporto 6 Adesivo Magnetico 7 Posizionatore 8 Adesivo Rotondo

3

1

2

4

25 20 15 10 5

68

78

88

55 50 45 40 35 30 25 20 15 10 5

5 10 15 20 25 30 35 40 45 50 55

5 10 15 20 25

Prodotto in materiale PC, questa caricabatterie wireless ha un cavo type-C. Supporta una ricarica rapida del telefono a 7.5W con un adattatore QC 2.0 oppure QC 3.0, 15W con un adattatore PD 20W con anello magnetico N52 integrato. La tecnologia
esclusiva multifunzionale di protezione intelligente assicura il controllo della temperatura, la sovratensione, la protezione da eccesso di corrente, la protezione dalle sovratensioni, la prevenzione dei cortocircuiti e il rilevamento di oggetti estranei, il che ti assicura una pi� sicura esperienza nel corso della ricarica.

Specifiche Tecniche del Prodotto:

Modello del Prodotto:

SW-WL647

Ingresso:

5V/3A, 9V/2A, 12V/1.5A

Uscita:

5W/7.5W/10W/15W

Temperatura di Funzionamento: Normale 0-40�

Certificazione:

ROHS,CE,FCC,UKCA,PSE

Contenuto della Confezione:
cavo type-C / Caricabatterie Wireless / Adesivo Magnetico / Posizionatore / Adesivo Rotondo / Manuale
16

Procedura da Seguire
1. Svitare il dado di bloccaggio del perno in senso antiorario fino a quando non � possibile spingere il giunto della sfera nella parte posteriore del supporto e quindi stringerlo in senso orario.
2. Bloccare la presa di montaggio della presa dell'aria sulla presa dell'aria dell'auto.
3. Girare in senso antiorario la manopola di rilascio fino a quando non pu� afferrare saldamente la presa dell'aria dell'auto.
17

4. Incollare l'adesivo magnetico sul centro posteriore della custodia del telefono
usando il posizionatore incluso per migliorare le forze magnetiche.

5. Posizionare il telefono supportato per la ricarica wireless sul pad di
ricarica.

25 20 15 10 5

55 50 45 40 35 30 25 20 15 10 5

5 10 15 20 25 30 35 40 45 50 55

5 10 15 20 25

Note:
1. Tenere il caricabatterie wireless lontano dall'acqua, da liquidi o zone umide. 2. Non cercare di smontare, riparare n� rimontare il prodotto. 3. Non consentire a bambini o animali di masticare o succhiare il dispositivo. 4. Staccare la corrente prima di pulire il caricabatterie. 5. Usare solo un panno asciutto o una spazzola per pulire il dispositivo. 6. Interromperne l'uso se si notassero sul caricabatterie dei difetti visibili. 7. Scollegare il dispositivo quando non viene usato per molto tempo. 8. Assicurarsi che sia compatibile con il proprio dispositivo prima dell'uso. 9. Assicurarsi che nessun oggetto metallico o materiale magnetico interferisca con il caricabatterie wireless. 10. Se la custodia o l'accessorio di copertura posteriore contenesse del materiale metallico, rimuoverlo prima della ricarica (ad eccezione della custodia ufficiale del telefono MagSafe). 11. Per una ricarica rapida, � necessario un adattatore QC2.0/3.0 o PD (non incluso).
18


1

2

3

5

4

5

6

7

8

3

1

2

4

25 20 15 10 5

68

78

88

55 50 45 40 35 30 25 20 15 10 5

5 10 15 20 25 30 35 40 45 50 55

5 10 15 20 25

PCType-C QC 2.0QC 3.07.5WPD 20W15WN52


SW-WL647 5V/3A, 9V/2A, 12V/1.5A 5W/7.5W/10W/15W 0-40 ROHS,CE,FCC,UKCA,PSE


Type-C


19


1.
2.
3.
20

4.

5.

25 20 15 10 5

55 50 45 40 35 30 25 20 15 10 5

5 10 15 20 25 30 35 40 45 50 55

5 10 15 20 25


1.  2.  3.  4.  5.  6.  7.  8.  9.  10.  MagSafe 11. QC2.0/3.0PD
21

Prolinx GmbH EC REP Brehmstr.56, 40239 Duesseldorf Germany
Syncwire UK Ltd UK REP C/O Lai and Co.109 Portland Street, Manchester, M1 6N


488-

488-

125g


70*95mm

� 0.3

mm

1:1

3&7