Introduction to the HK-7200 Series
The HKSYSTEM HK-7200 Series represents a flexible and reliable electronic cash register designed to enhance efficiency in various retail and hospitality environments. This manual provides comprehensive instructions for operating and programming the HK-7200 Series, ensuring users can leverage its full capabilities for fast transaction processing, robust security, and detailed sales reporting.
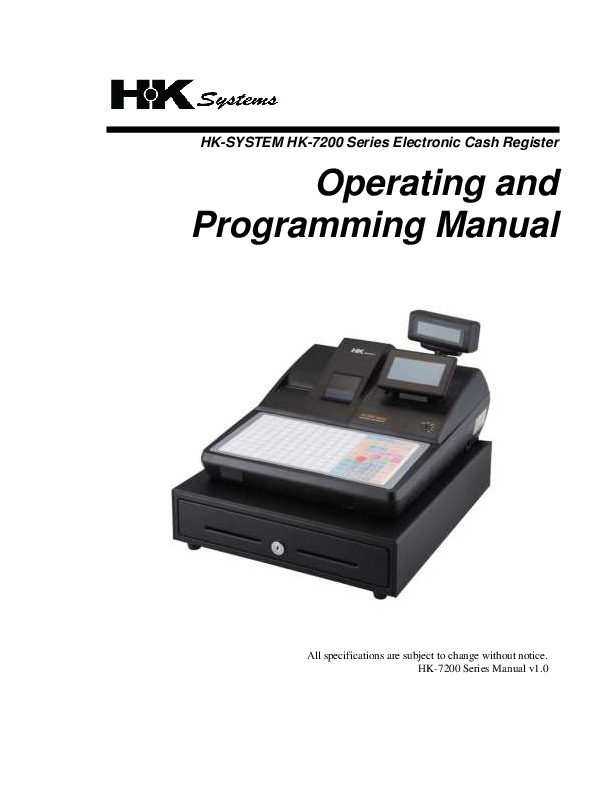
The series features an intuitive operator screen for viewing transaction details and simplified on-screen programming. This manual covers all models within the HK-7200 Series, with specific configurations determined by keyboard and printer setups. Key features remain consistent across models unless otherwise specified.
Using This Manual
This guide is structured to help users maximize the potential of their HKSYSTEM cash register. It is divided into seven key sections:
- Getting Started: Quick steps for initial setup and basic applications.
- Operations: Detailed guidance on performing various transaction sequences.
- Manager Mode (X Mode): Explains manager-controlled functions, X reports, and balancing procedures.
- Z-Mode: Instructions for resetting reports and other end-of-day functions.
- Service Mode Programming: Procedures for advanced programming, typically performed by authorized dealers.
- Program Mode Programming: Comprehensive instructions for PLU, function key, and option programming, suitable for store owners and managers.
- Sample Reports: Examples of various register reports for reference.
For specific configurations or programming assistance, users are encouraged to contact their authorized HKSYSTEM dealer.
Safety and Precautions
This manual emphasizes critical safety precautions to prevent damage and ensure user safety. It includes guidelines for handling sensitive electronic components (ESDs), proper battery replacement, and general servicing precautions. Adhering to these guidelines is essential for the safe and effective operation of the HK-7200 Series.