General Dynamics Itronix IX300AC775BT GoBook Tablet PC with PCS and Bluetooth User Manual
General Dynamics Itronix Corporation GoBook Tablet PC with PCS and Bluetooth Users Manual
UserManual.wiki
>
General Dynamics Itronix
>
IX300AC775BT User Manual
>
Manual
Contents
1.
Manual
2.
Manual statements
Manual
Navigation menu
Upload a User Manual
Namespaces
Wiki Guide
HTML
PDF
Info
Views
User Manual
Discussion / Help
Navigation


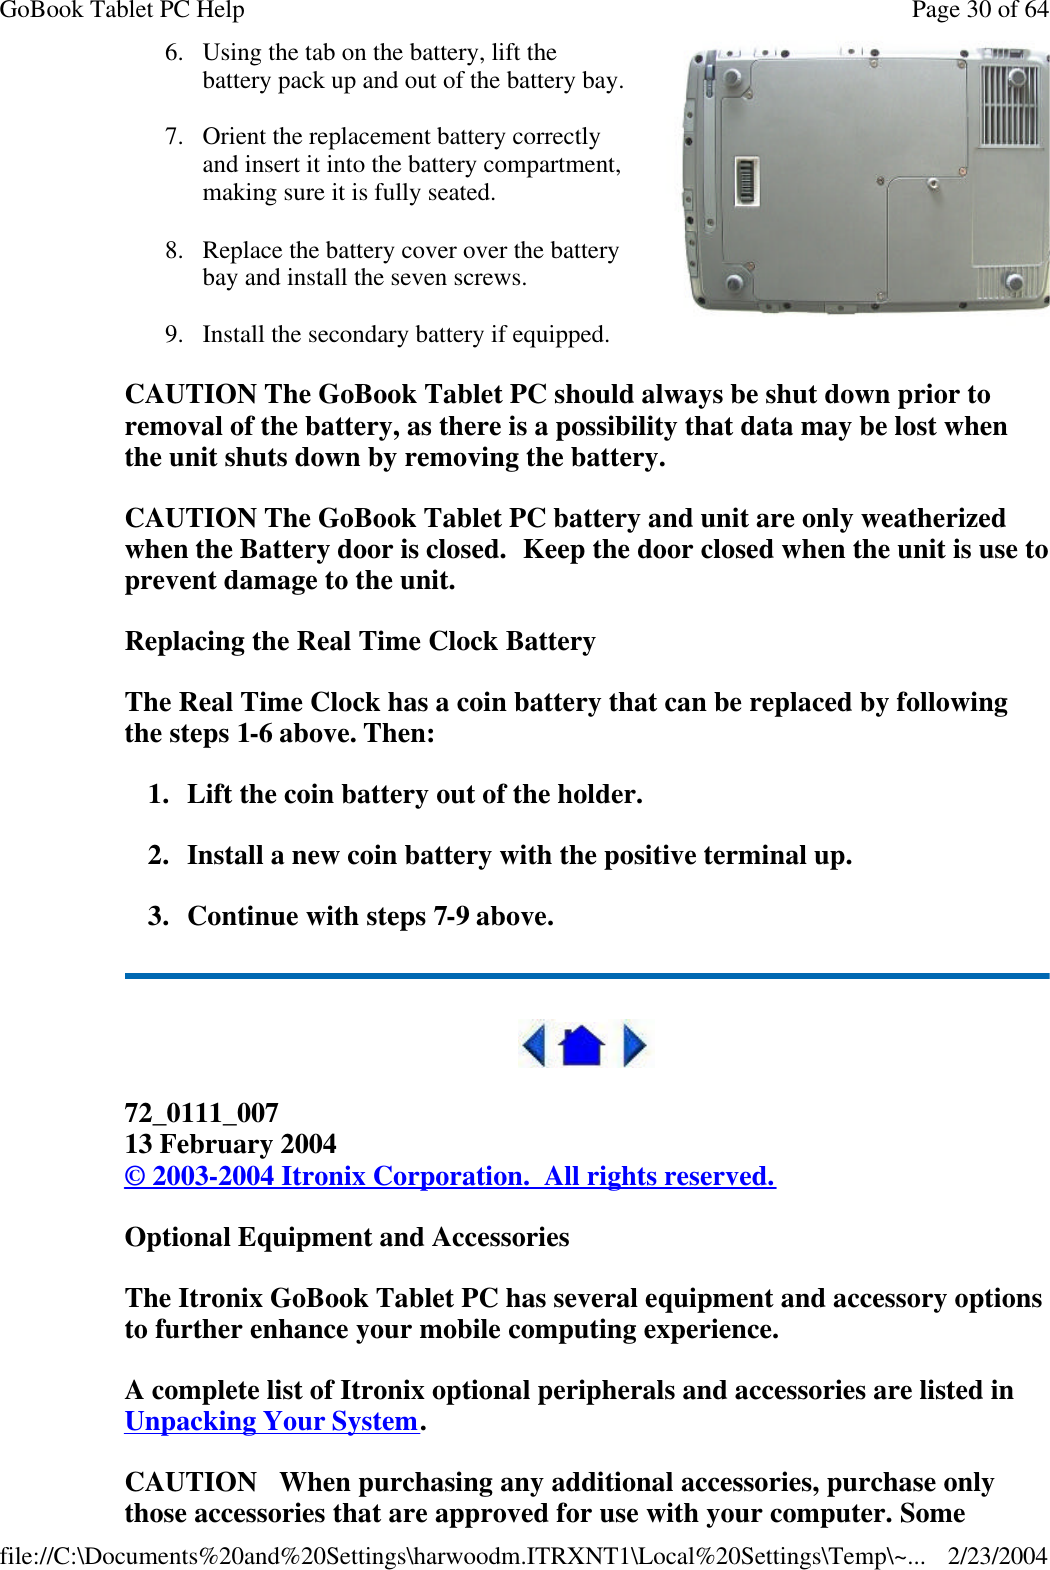


![The computer locks up when I remove the PC card nBefore you remove the card, select the PC card icon on the taskbar (in the tray area near the clock in the lower right corner), and choose “Stop [card name] card.” 72_0111_007 13 February 2004 © 2003-2004 Itronix Corporation. All rights reserved. Pen/Digitizer Touch Panel When I try to use the pen on my display, nothing happens nIf you cannot select objects accurately with the pen, you may need to recalibrate the digitizer touch panel. To calibrate the digitizer touch panel 1. From the Start Menu, select Control Panel. 2. If you are in Classic View continue to step 3. If you are in Category View select Printers and Other Hardware and continue to step 3. 3. Select Tablet and Pen Settings. Then tap the Settings tab. 4. Under the Calibration field choose the orientation you want to calibrate, either Landscape or Portrait. 5. Tap on the Calibrate button. 6. After you have completed calibration by touching the crosshairs with your digitizer pen, select OK to have the new settings take effect. NOTE You need to recalibrate the screen for each orientation. The display warps or pillows in high humidity nThe computer remains functional; however, moving the computer to a GoBook® Tablet PC Help Page 61 of 64GoBook Tablet PC Help2/23/2004file://C:\Documents%20and%20Settings\harwoodm.ITRXNT1\Local%20Settings\Temp\~...](https://usermanual.wiki/General-Dynamics-Itronix/IX300AC775BT.Manual/User-Guide-510837-Page-61.png)