Innowell URENV1 UMPC User Manual
Innowell Co. Ltd. UMPC Users Manual
UserManual.wiki
>
Innowell
>
URENV1 User Manual
Users Manual
Navigation menu
Upload a User Manual
Namespaces
Wiki Guide
HTML
PDF
Info
Views
User Manual
Discussion / Help
Navigation

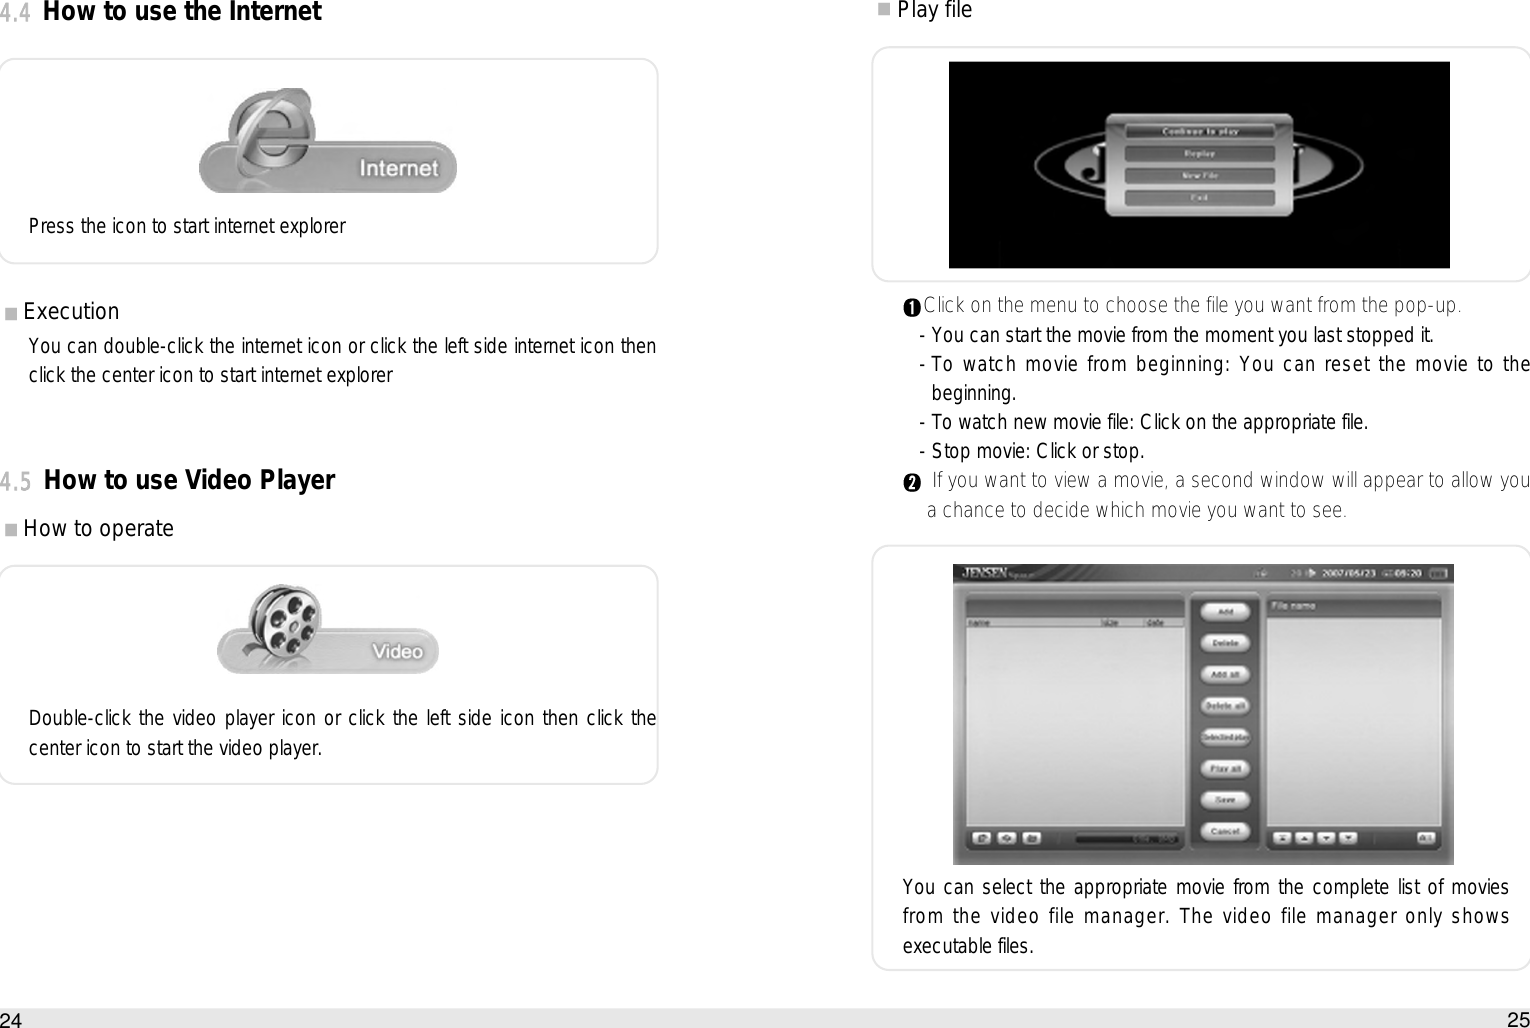
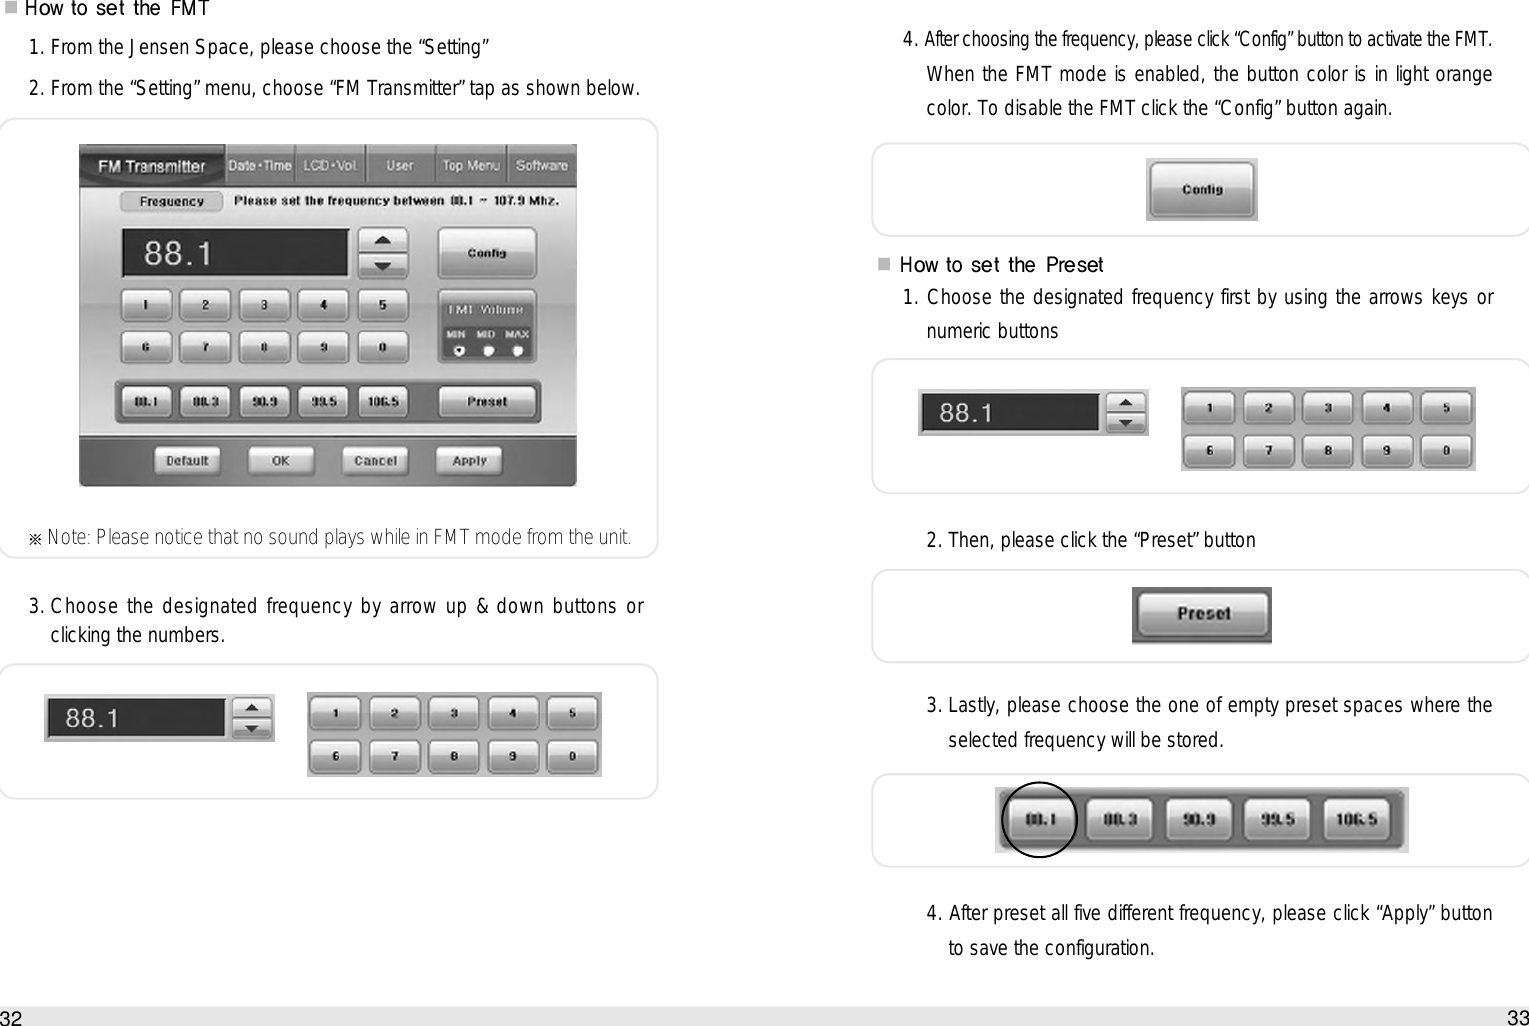

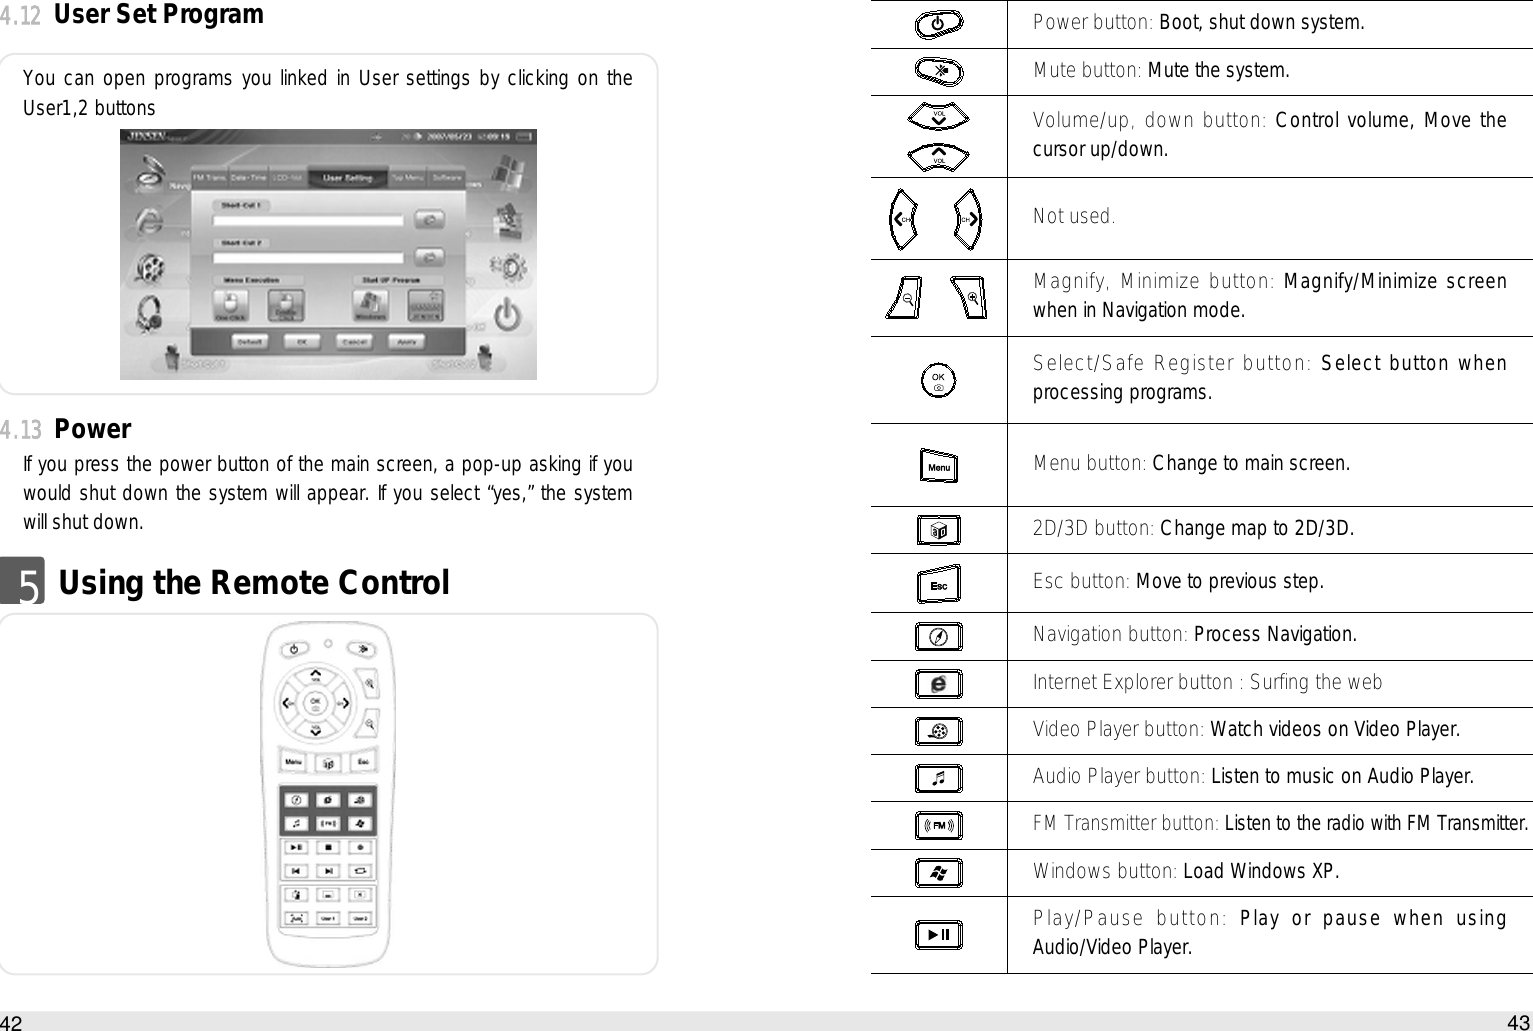
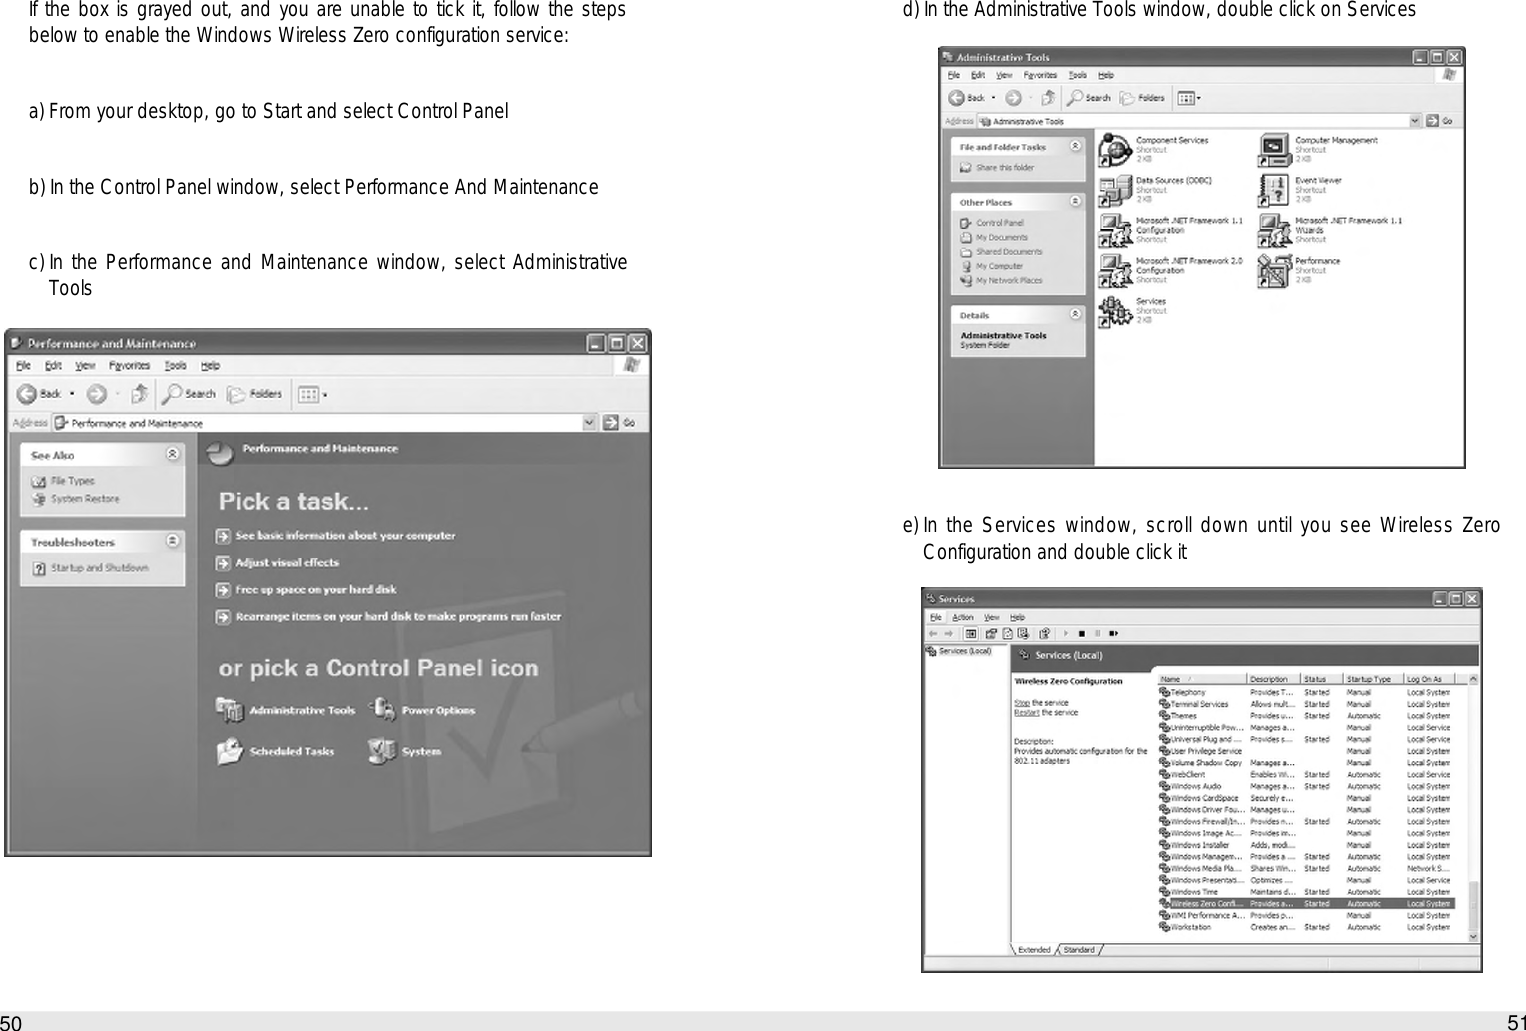
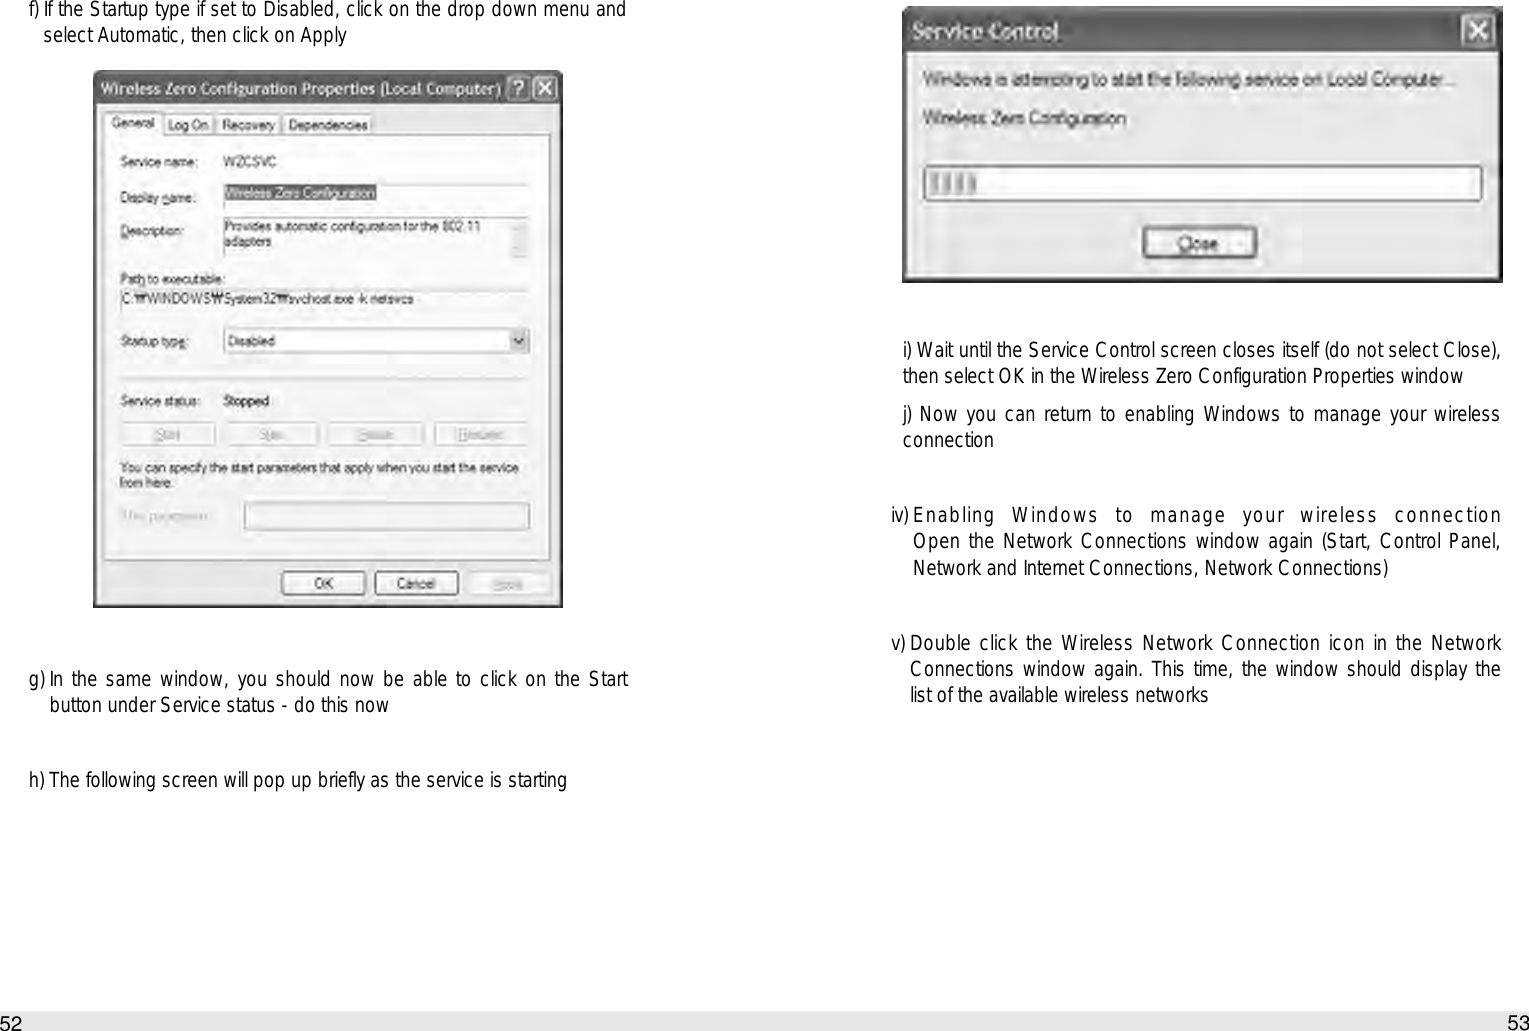
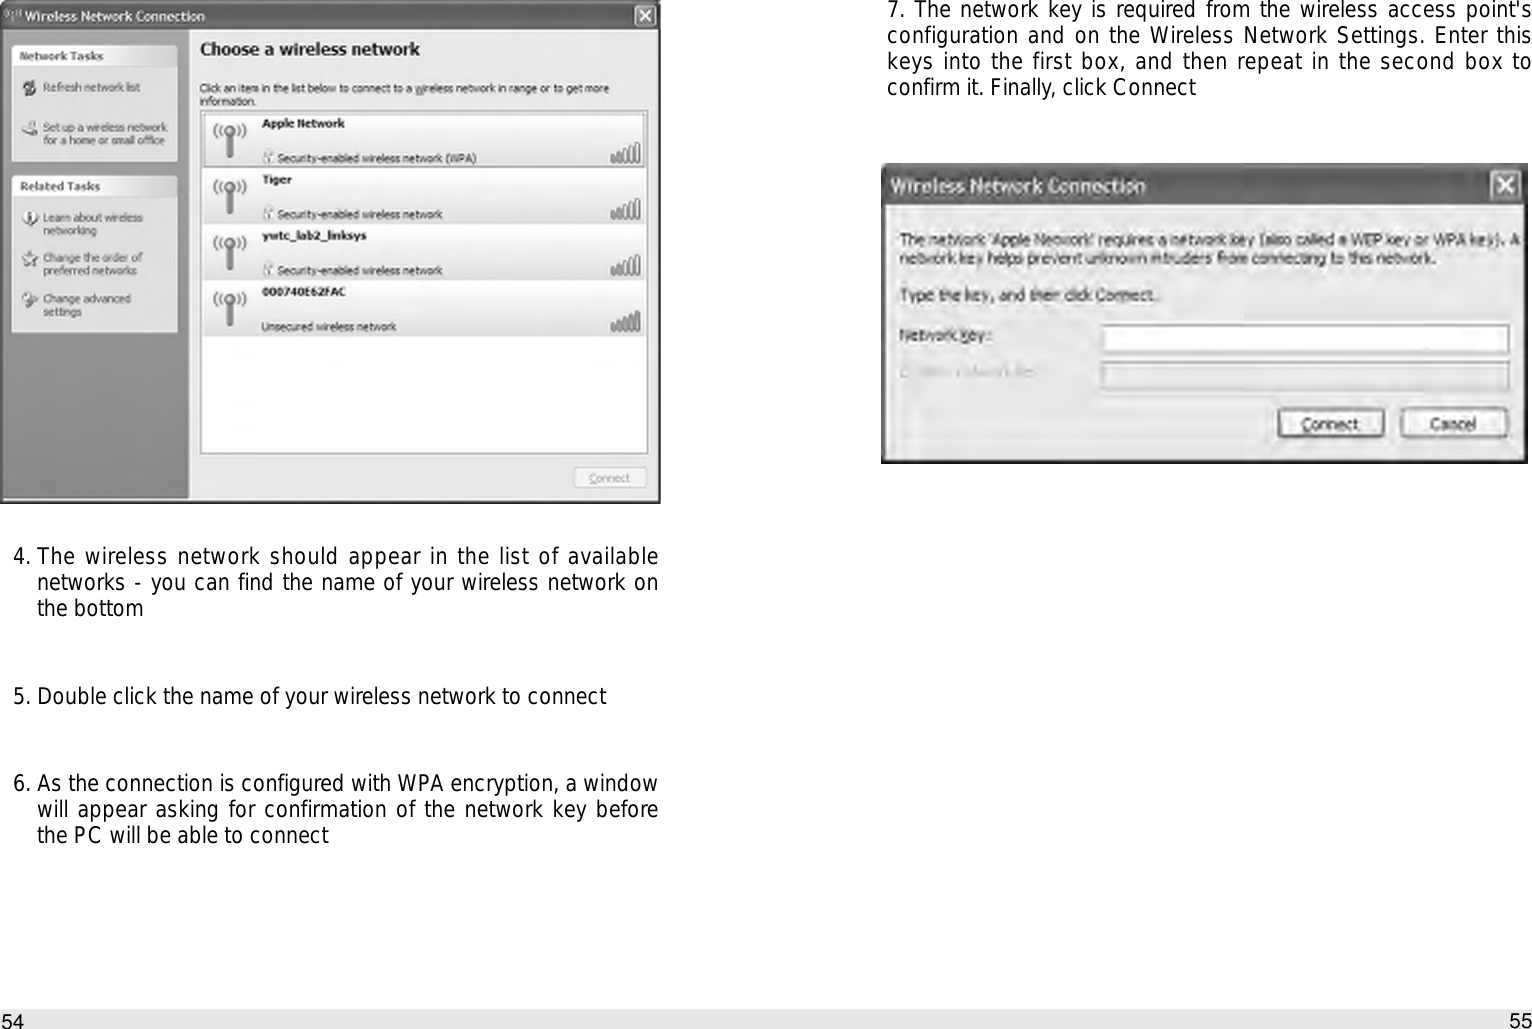
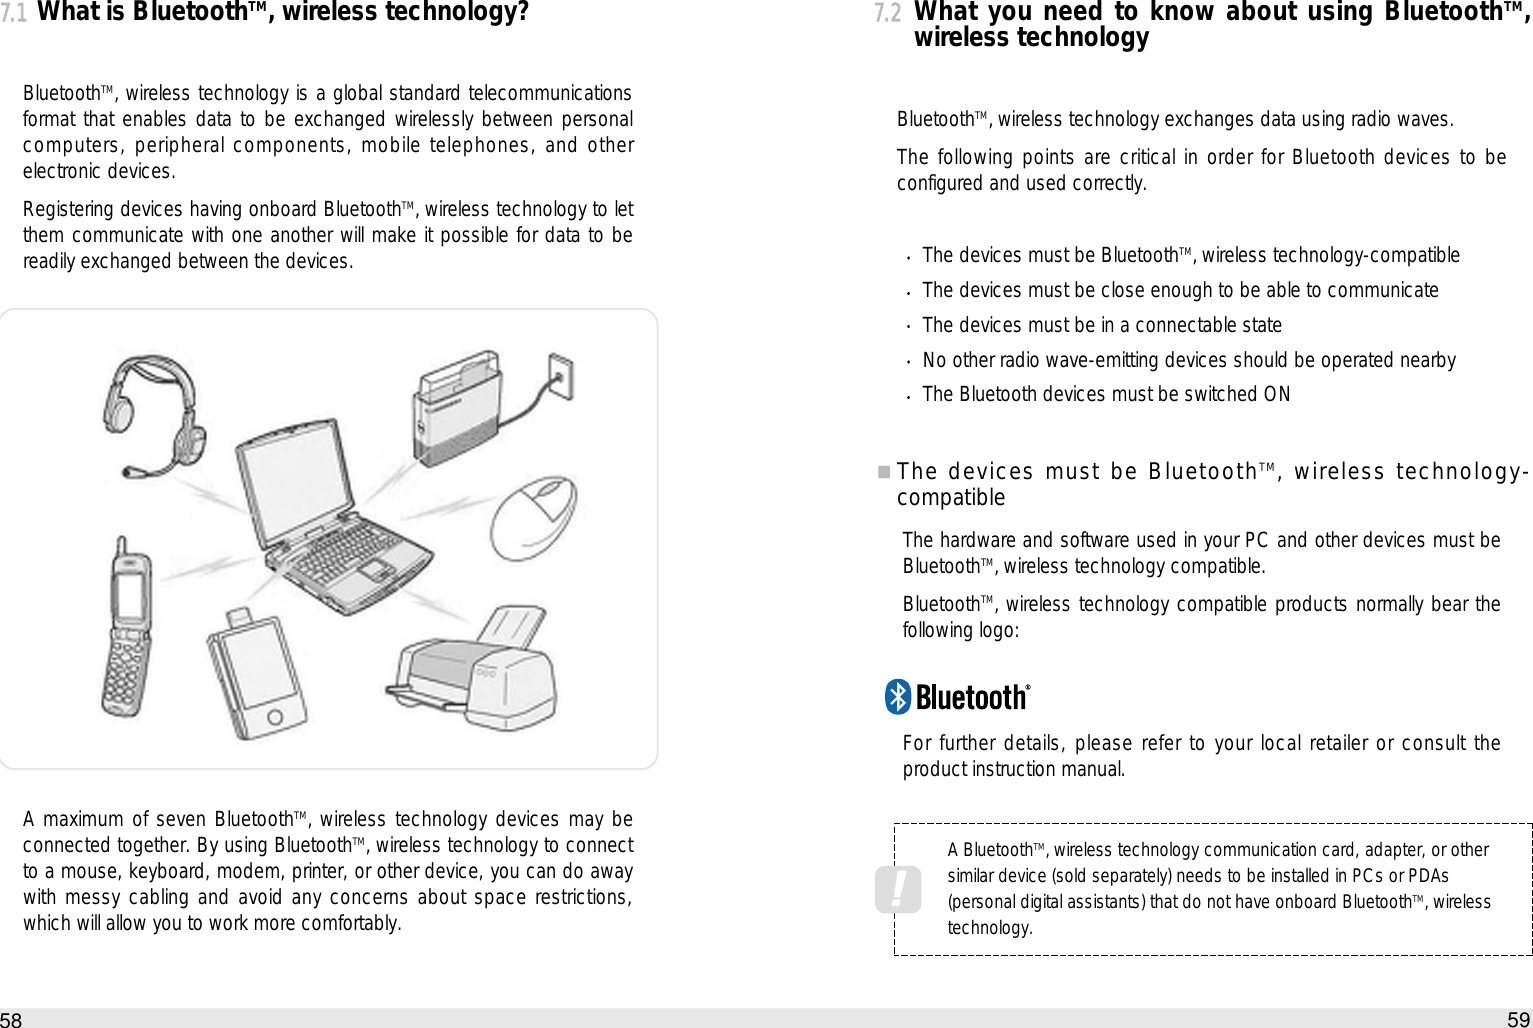
![57How to use the Auto PC8. Your PC should connect and the connection will show as"Connected" in the Wireless Network Connection Window56Thank you very much for selecting the BluetoothTM Utility.This Help facility will show you how to use the BluetoothTM Utility forconfiguring BluetoothTM wireless technology devices and how it can beused in other convenient ways. We hope that the Help facility will enable you to be able to make full useof the BluetoothTM Utility.What is BluetoothTM wireless technology? What you need to know about using BluetoothTM wireless technology Varieties of BluetoothTM wireless technology devices you can use Contents of the BluetoothTM Utility Important This Help is oriented towards PCs that are compatible with BluetoothTMwireless technology (whether onboard or via installed communicationscards or adapters), as supported by the BluetoothTM Utility. Some of thedescribed functions may be impossible to use in your operatingenvironment. A part of descriptions for logo and icon and a part of paths to [Bluetooth]menu from [start] menu may be different from yours. These depend onyour PC software and hardware environments for BluetoothTM wirelesstechnology. [Trademark information](C) 2003, 2005 TOSHIBA Corporation All Rights Reserved7Bluetooth Instruction](https://usermanual.wiki/Innowell/URENV1/User-Guide-814294-Page-29.png)
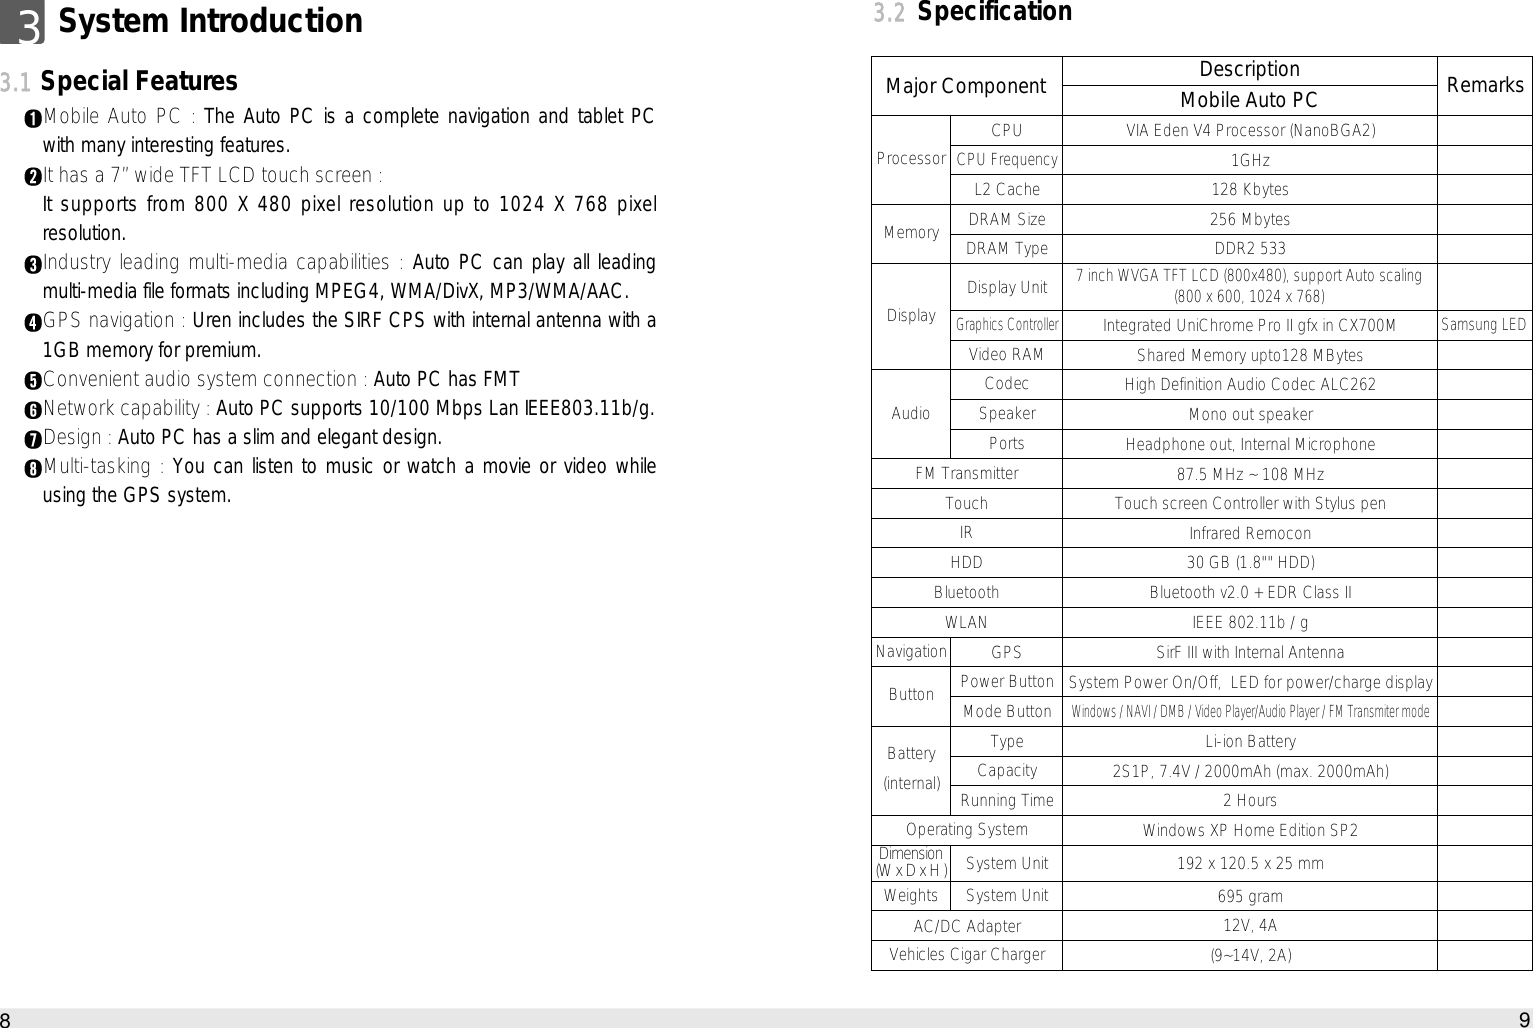
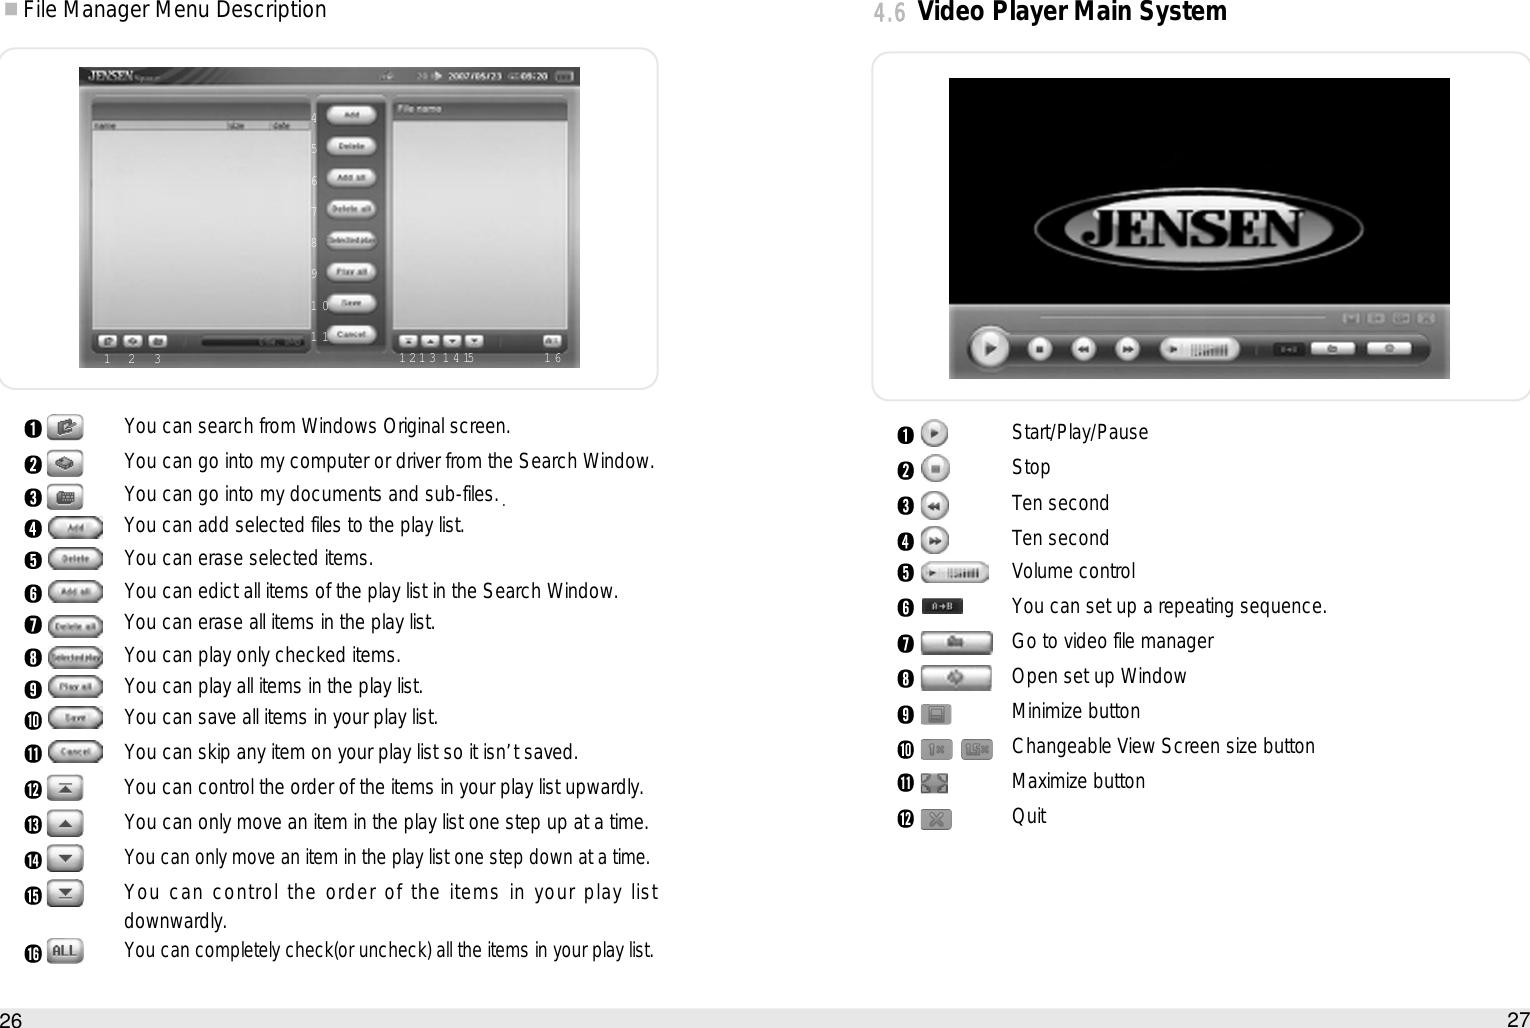
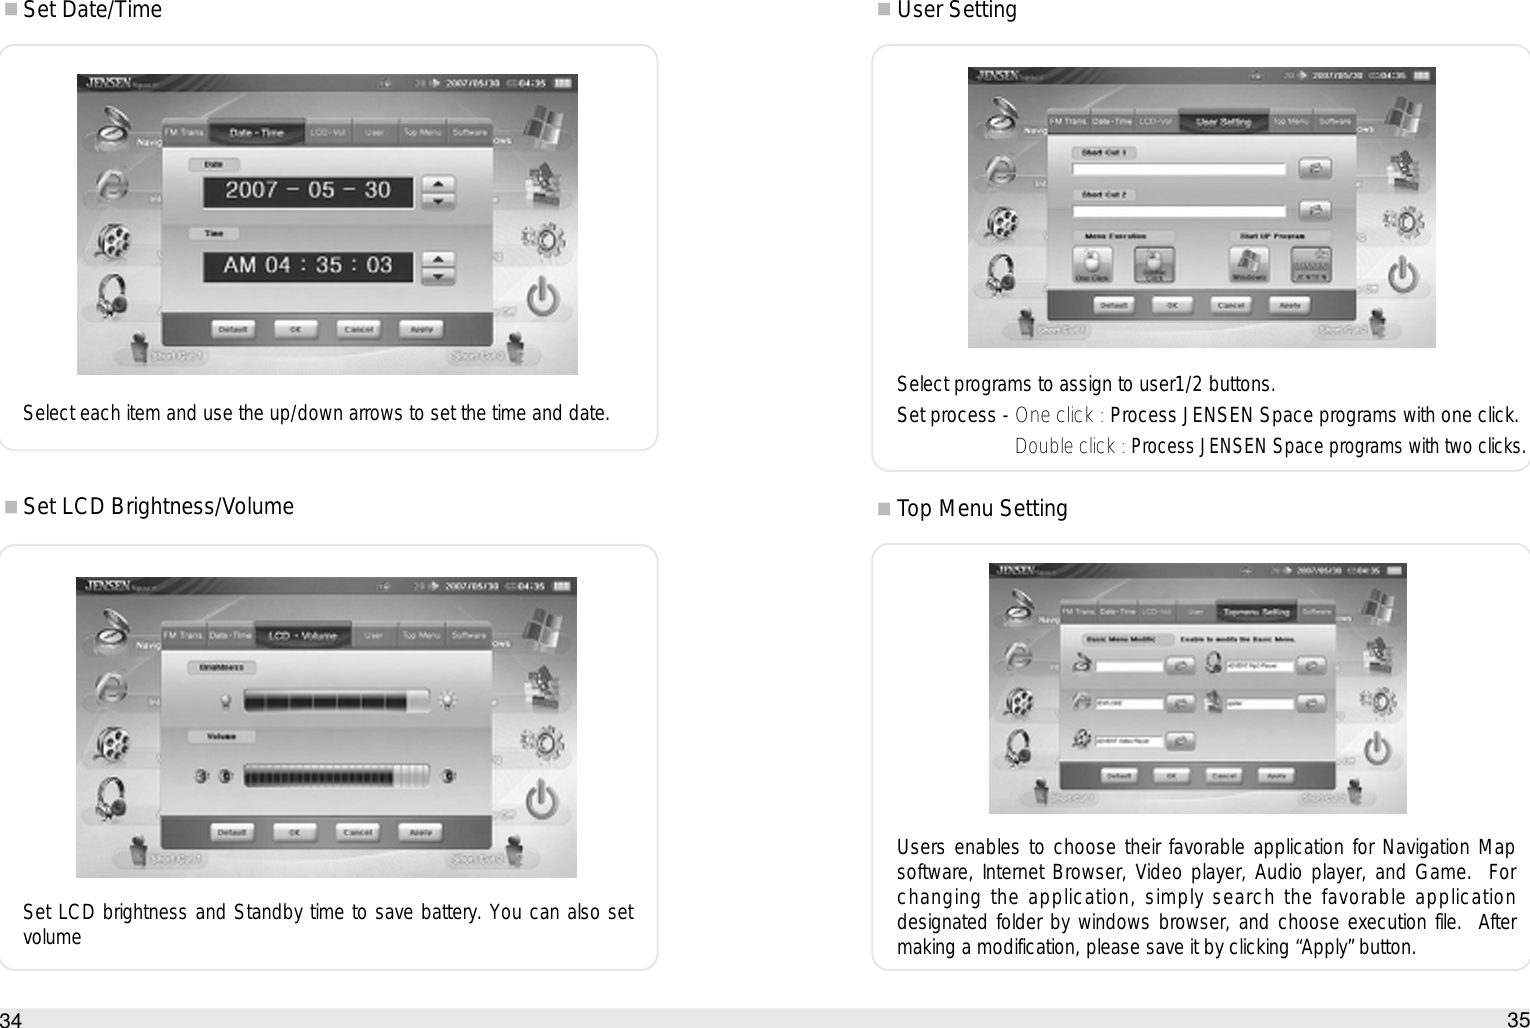
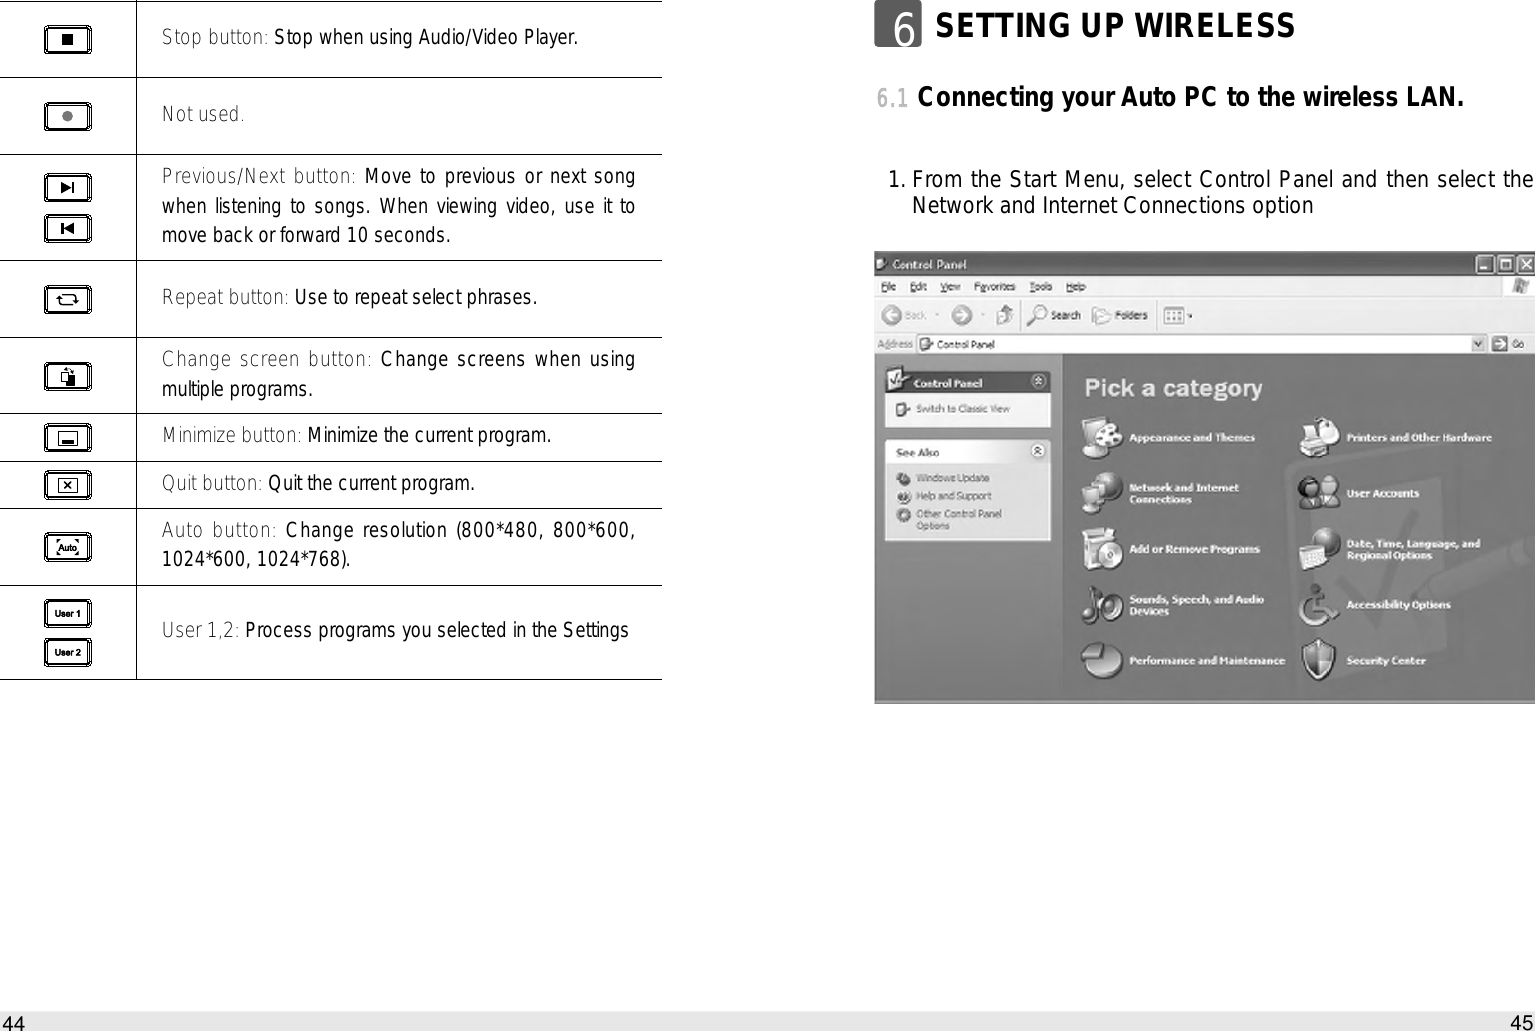
![Bluetooth ManagerThis program, which appears as a Taskbar icon, monitors and controlsthe power and operating status of BluetoothTM wireless technologydevices. It can be used to start the Bluetooth Setup Utility, add a newconnection, disconnect from a remote device, and perform other tasks. Related topics“Bluetooth Manager”Bluetooth Information ExchangerThis program enables you to easily transfer files and images to orexchange business card data with a wireless device by selecting theicon of the counterpart device, or using the right-click menu in Explorer.The wireless devices to which you are connecting must also support thesame service functions (FTP, OPP and BIP).67How to use the Auto PC7.4Contents of the BluetoothTMUtilityThe BluetoothTM Utility is a software tool used to configure a variety ofsettings once a connection has been established between the PC andthe BluetoothTM wireless technology device. It also facilitates the exchangeof files between devices having onboard BluetoothTM wireless technology. The BluetoothTM Utility comprises the following six tools. Descriptions areprovided for the functions and the supported profiles for the respectivetools. Bluetooth Settings Bluetooth Manager Bluetooth Information Exchanger Remote Camera Bluetooth Local COM Wireless File Transfer Bluetooth SettingsThis program enables you to easily configure settings when you connectto a BluetoothTM wireless technology device for the first time. The functionof a configured and registered device is displayed on the main windowas a connection icon.As a rule, the device will be connected automatically after having beenset up; however, a shortcut can be created for a manual connection, ifso required. Related topics“Bluetooth Settings”66We have some ways to open Bluetooth Information Exchanger as follows. Select the menu on [Bluetooth] from [Start] Select the [Bluetooth] menu on Explorer Select the menu from the BluetoothTMWireless Technology Icon in thetask tray Right-click on the icon in [Bluetooth Settings] by setting the shortcuton [Bluetooth Settings] Right-click on the icon in my network or desktop or the shortcut indesktop Related topics“Bluetooth Information Exchanger”!](https://usermanual.wiki/Innowell/URENV1/User-Guide-814294-Page-34.png)
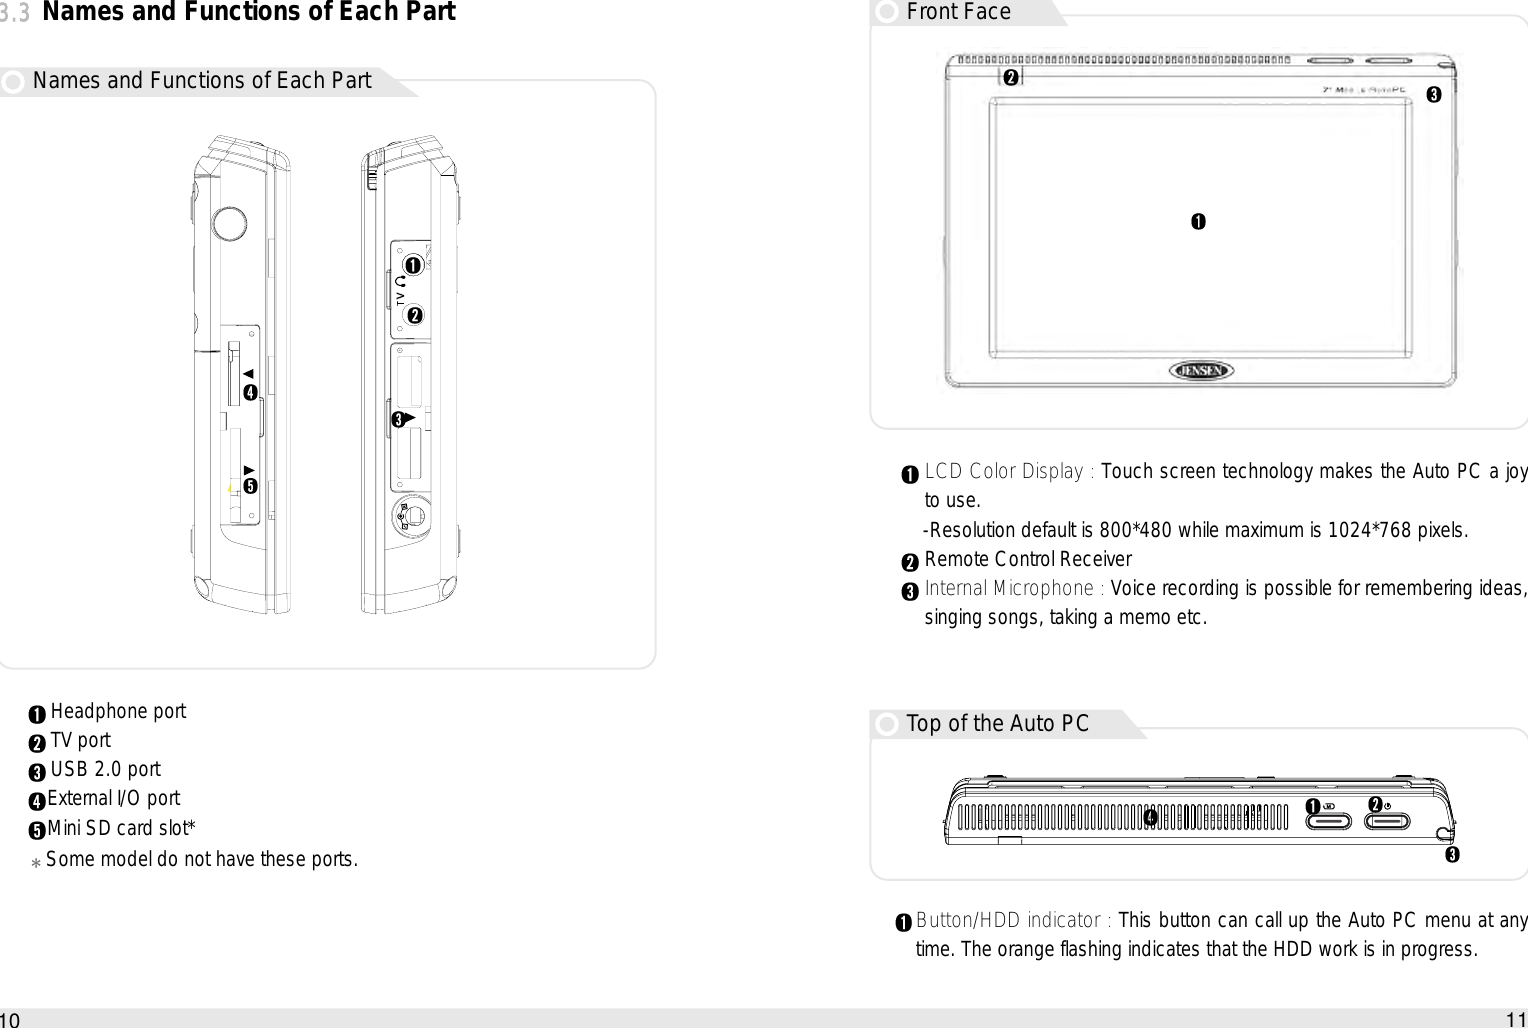
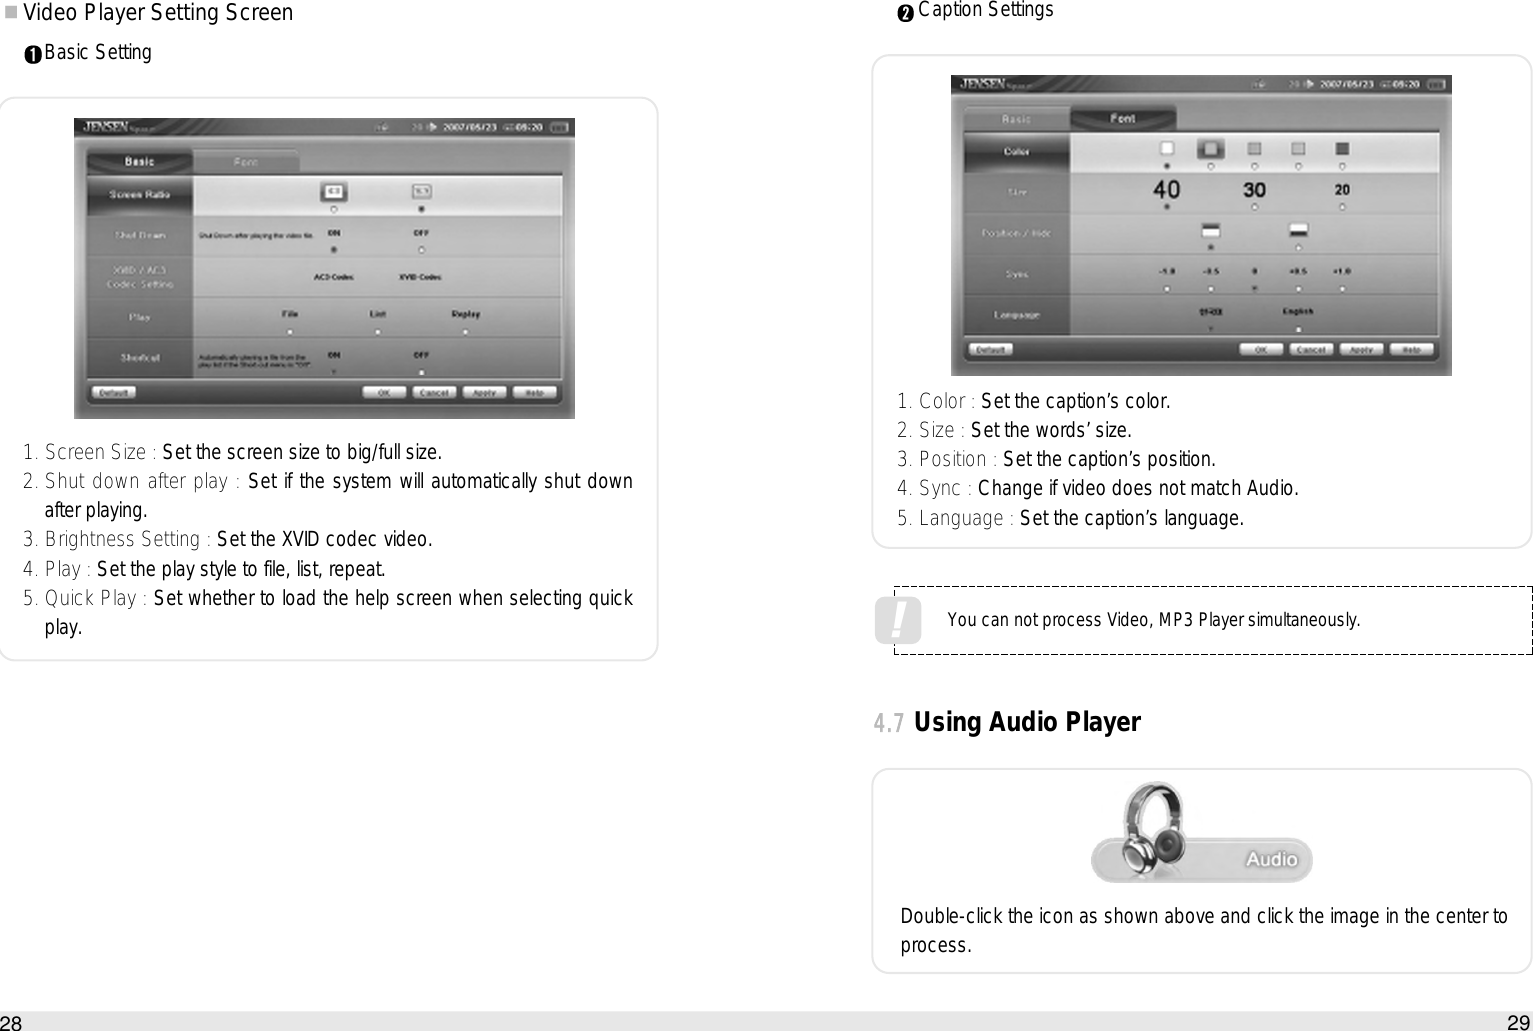
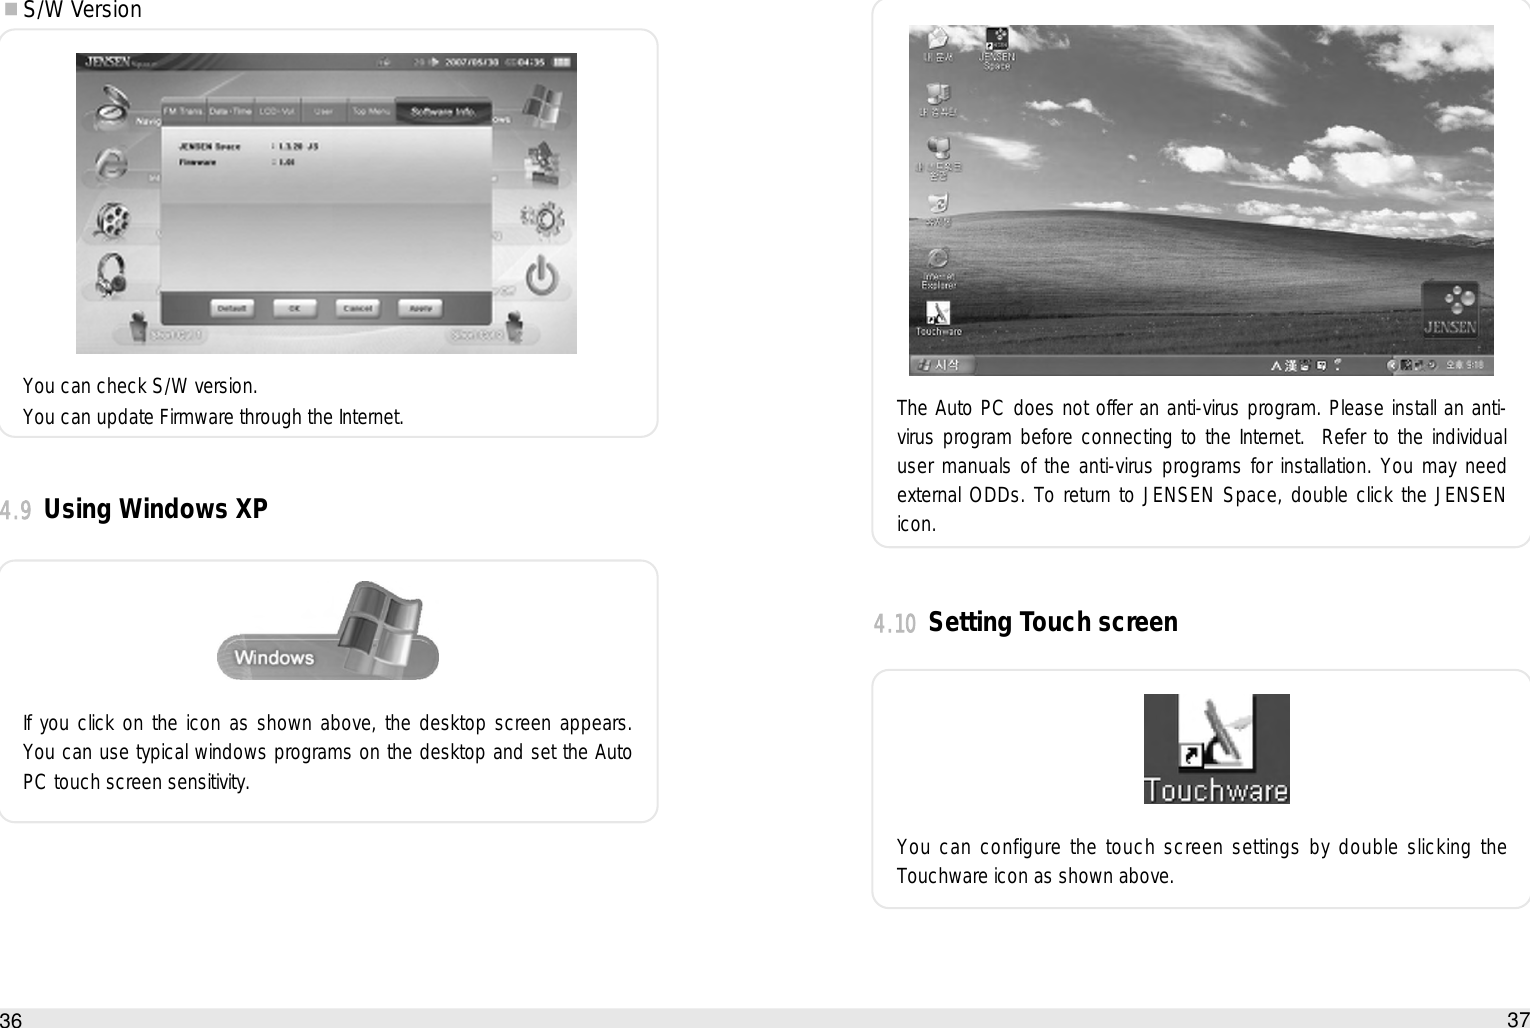
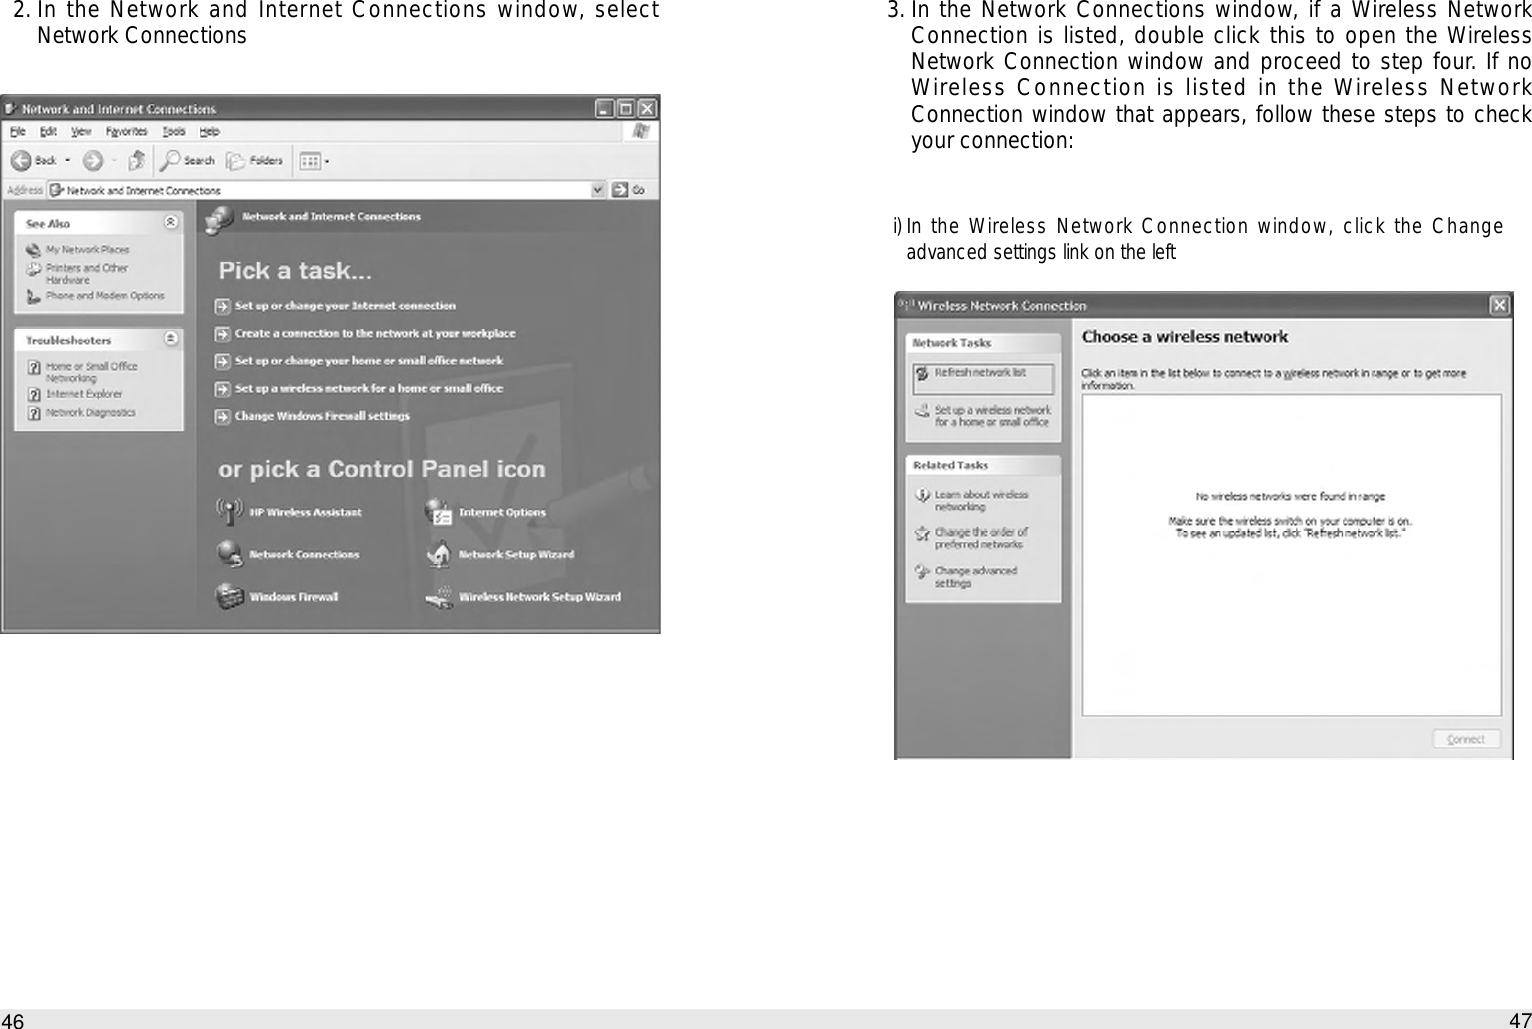
![7.7Basic settingsMethods for registering new devices using the BluetoothTM Utility shall nowbe described.As an example, a BluetoothTM wireless technology-compatible mouse shallbe connected and configured using [Bluetooth Settings].[Bluetooth Settings] provides two set-up methods: “Express Mode” and“Custom Mode.”Express Mode[Bluetooth Settings] will automatically detect and register services. Ifseveral services (profiles) are supported by the device, the service thathas been set to the highest priority shall be selected and registered.Express Mode is normally recommended for device set-up.Custom ModeAfter having been detected, the services supported by the device aredisplayed as a list, from which you can select the desired function(s).Custom Mode must be used to set up a device if, for example, you wishto use a modem station to send a fax (because in Express Mode, theDUN profile will be automatically selected since it has a higher prioritythan the FAX profile).The differences between setting up the same device (a BluetoothTMwireless technology-compatible mouse) using Express Mode and CustomMode are described on the following pages.Express Mode Set-upCustom Mode Set-up 71How to use the Auto PC7.6Flow of operationThe procedure below is used to set up BluetoothTM wireless technologydevices using the BluetoothTM Utility.70It is assumed that the set-up is performed from the [Bluetooth Settings]window. !: Enter Bluetooth passkey (PIN code), if required by thedevice.: During these stages of the set-up process, the BluetoothTMwireless technology device must be set to Connectabilitymode.* Simply turning the power on will activate Connectabilitymode in certain devices. Please refer to the deviceinstruction manual for further details.](https://usermanual.wiki/Innowell/URENV1/User-Guide-814294-Page-36.png)
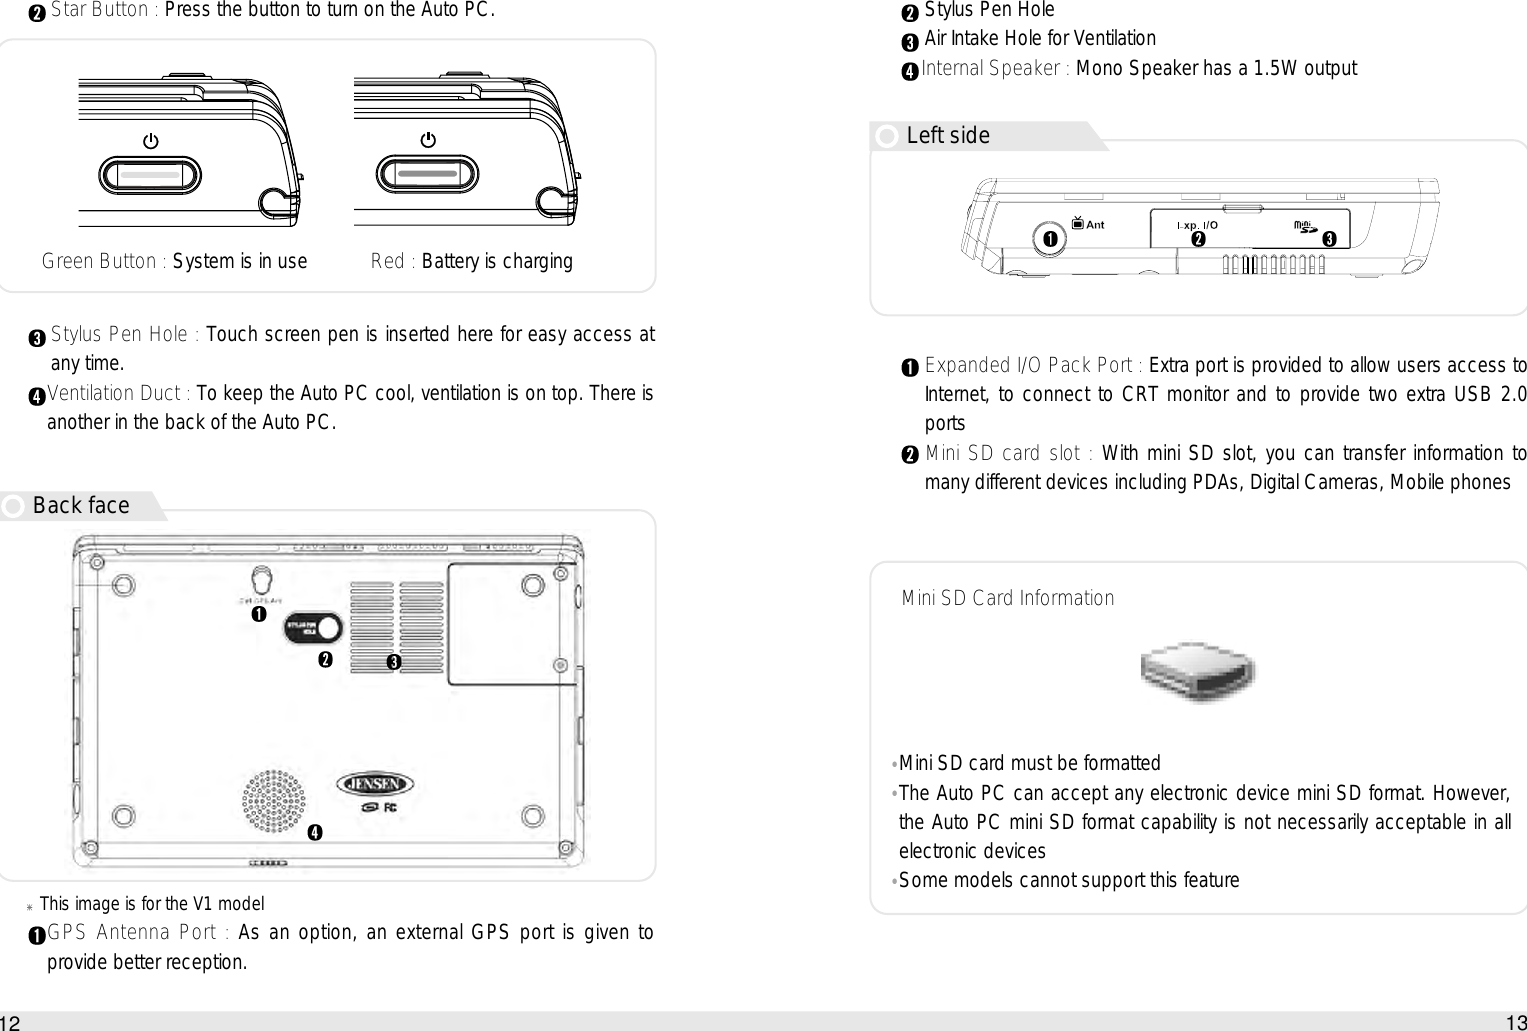
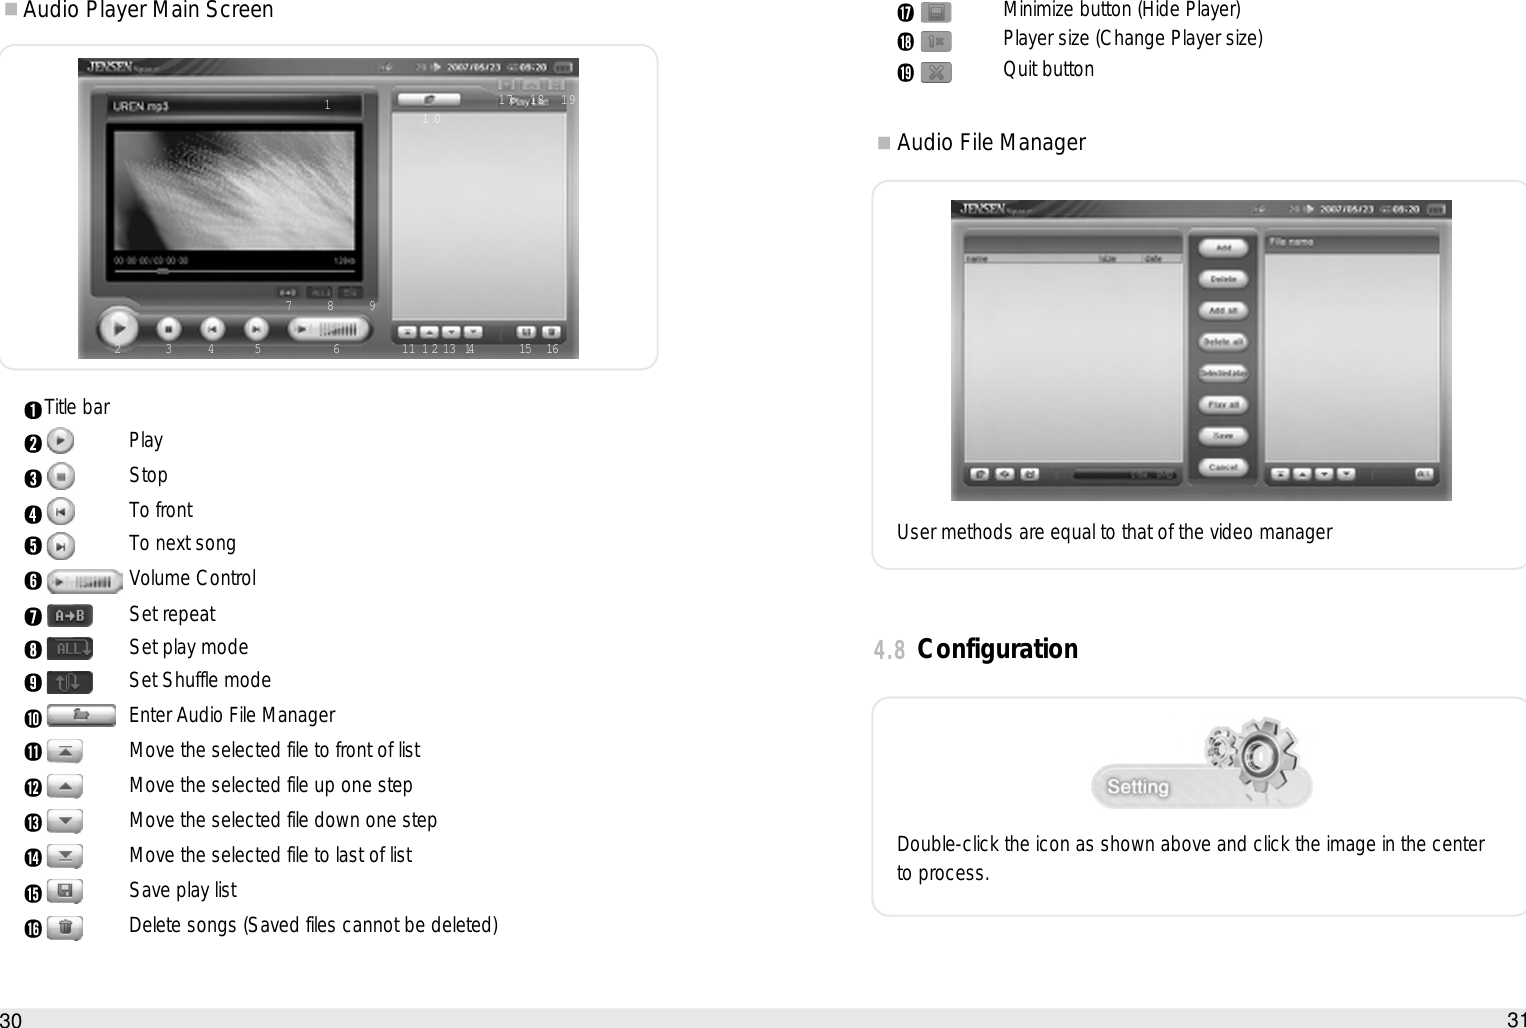
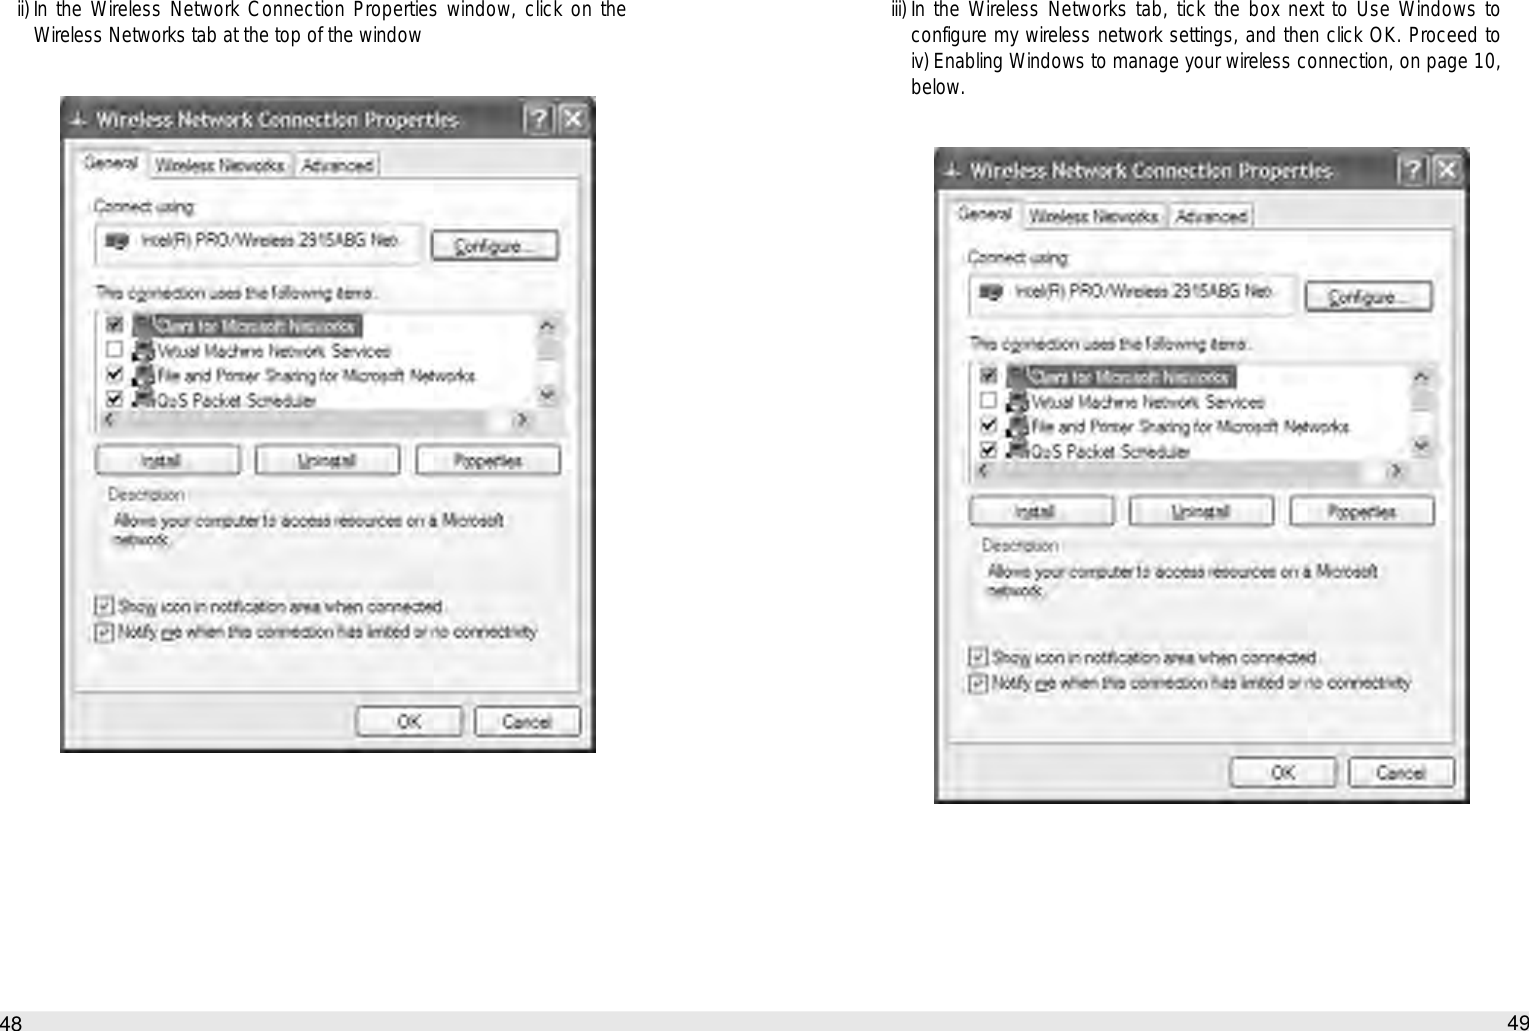
![Please click the [New Connection] button to open the [Add NewConnection Wizard] window. If no devices have been registered yet,please proceed directly to “Detecting BluetoothTM wireless technologyDevices.”2. Switch the mouse power ON to make it connectable.Please refer to the mouse instruction manual for details on this procedure.3. Confirm that [Express Mode] has been selected in the [Add NewConnection Wizard (This wizard will create the settings for Bluetoothdevice connection.)] window, and click on the [Next] button.73How to use the Auto PC727.8The procedure for setting up the device using Express Mode shall now bedescribed. In this case, a mouse device is used as sample device.Starting Bluetooth Settings Procedure 1. Right-click on the BluetoothTM wireless technology icon in the tasktray, and select [Bluetooth Settings] from the menu that appears.The [Bluetooth Settings] window will appear when other devices havealready been registered.Alternatively, click [Start] [All Programs] [Bluetooth] [Bluetooth Settings].(Under Windows 2000, click [Start] [Programs] [Bluetooth] [BluetoothSettings].)!](https://usermanual.wiki/Innowell/URENV1/User-Guide-814294-Page-37.png)
![75How to use the Auto PC744. Select the mouse device name from [Device List] and click on the[Next] button.Searching for services will start.Searching for devices will start.When the mouse has been detected, the name and address of thedevice will appear in the [Add New Connection Wizard (Select a Device)]window.If no device is found, please confirm that the device has been madeconnectable, and click on the [Refresh] button.A further device search will be performed.!](https://usermanual.wiki/Innowell/URENV1/User-Guide-814294-Page-38.png)
![77How to use the Auto PC5. Finally, the [Bluetooth Settings] window will automatically appear andthe icons of the registered devices will appear and the devices will beready to use.76If several services (profiles) are supported by the device, the service thathas been set to the highest priority shall be automatically selected and setup in Express Mode. Please use Custom Mode if you wish to selectdesired services manually. When a service has been detected, a window prompting you to enter theBluetooth passkey (PIN code) may appear. Please enter the passkey andclick on the [OK] button. Please refer to your device instruction manual forinformation on which passkey to use.If you have not entered your Bluetooth passkey after a certain amount oftime has passed, the connection process will be cancelled for securityreasons. Please perform the passkey entry process again.!The connection icons and icon names can be changed.Changing a connection icon name Changing a connection icon !](https://usermanual.wiki/Innowell/URENV1/User-Guide-814294-Page-39.png)
![Alternatively, click [Start] [All Programs] [Bluetooth] [Bluetooth Settings].(Under Windows 2000, click [Start] [Programs] [Bluetooth] [BluetoothSettings].)!79How to use the Auto PC787.9The procedure for setting up the device using Custom Mode shall now bedescribed. In this case, a mouse device is used as sample device.Starting Bluetooth Settings Procedure 1. Right-click on the BluetoothTM wireless technology icon in the tasktray, and select [Bluetooth Settings] from the menu that appears.The [Bluetooth Settings] window will appear when other devices havealready been registered.Please click the [New Connection] button to open the [Add NewConnection Wizard] window. If no devices have been registered yet,please proceed directly to “Detecting BluetoothTM wireless technologyDevices.”2. Switch the mouse power ON to make it connectable.Please refer to the mouse instruction manual for details on this procedure.3. Confirm that [Express Mode] has been selected in the [Add NewConnection Wizard (This wizard will create the settings for Bluetoothdevice connection.)] window, and click on the [Next] button.](https://usermanual.wiki/Innowell/URENV1/User-Guide-814294-Page-40.png)
![81How to use the Auto PC804. Select the mouse device name from [Device List] and click on the[Next] button.Searching for services will start.Searching for devices will start.When the mouse has been detected, the name and address of thedevice will appear in the [Add New Connection Wizard (Select a Device)]window.If no device is found, please confirm that the device has been madeconnectable, and click on the [Refresh] button.A further device search will be performed.!](https://usermanual.wiki/Innowell/URENV1/User-Guide-814294-Page-41.png)
![5. Select the desired service and click on the [Next] button6. Click on the [OK] button.83How to use the Auto PC82When a service has been detected, a window prompting you to enter theBluetooth passkey (PIN code) may appear. Please enter the passkey andclick on the [OK] button. Please refer to your device instruction manual forinformation on which passkey to use.If you have not entered your Bluetooth passkey after a certain amount oftime has passed, the connection process will be cancelled for securityreasons. Please perform the passkey entry process again.The services supported by the device will be displayed.!When a device supports several servicesIf the device supports several services, you can use Custom Mode tomanually select the services (profiles) you wish to use from the list thatappears under [Select Services].If Express Mode is used to perform the set-up, the highest-priority service inthe device will be automatically selected and configured. !](https://usermanual.wiki/Innowell/URENV1/User-Guide-814294-Page-42.png)
![8. Click on the [Finish] button85How to use the Auto PC7. Select the type and name of the icon to be displayed once thedevice has been registered, and click on the [Next] button.84When the settings information has been registered, a window promptingyou to enter the Bluetooth passkey (PIN code) may appear. Please enterthe passkey and click on the [OK] button.Please refer to your device instruction manual for information on whichpasskey to use.If you have not entered your Bluetooth passkey after a certain amount oftime has passed, the connection process will be cancelled for securityreasons. Please perform the passkey entry process again. The [Add New Connection Wizard (Connection Name Setup)] window willappear if a service has been properly detected.!If you wish to change the icon, please click on the [Change Icon] buttonand select your preferred icon from the list that appears.!](https://usermanual.wiki/Innowell/URENV1/User-Guide-814294-Page-43.png)
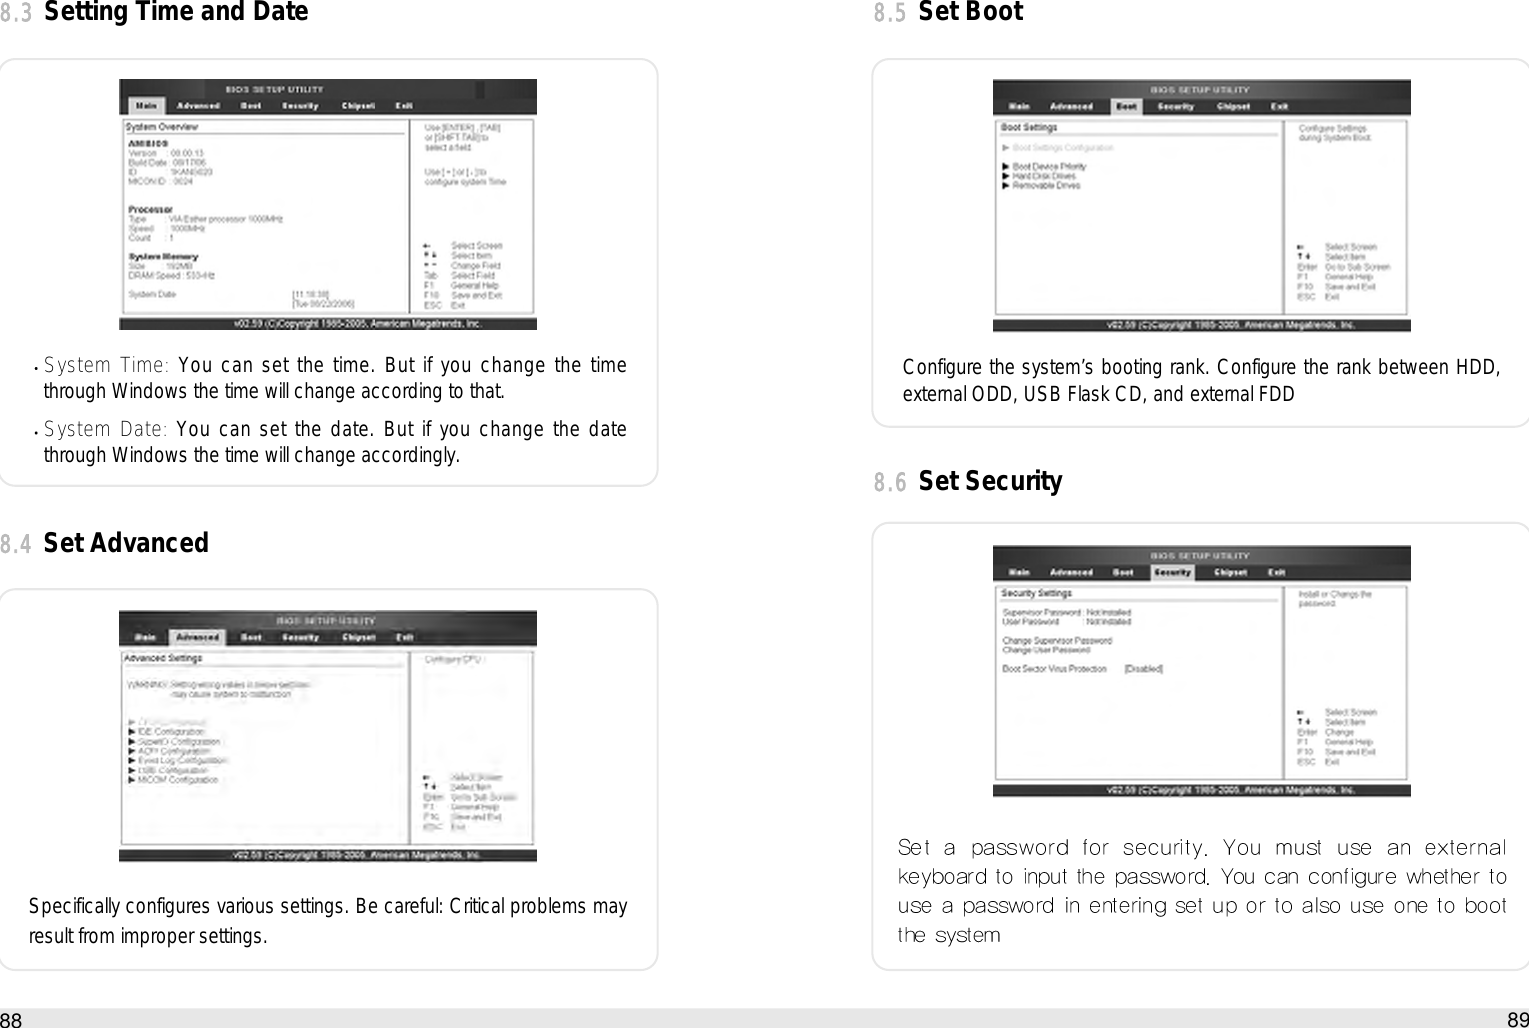
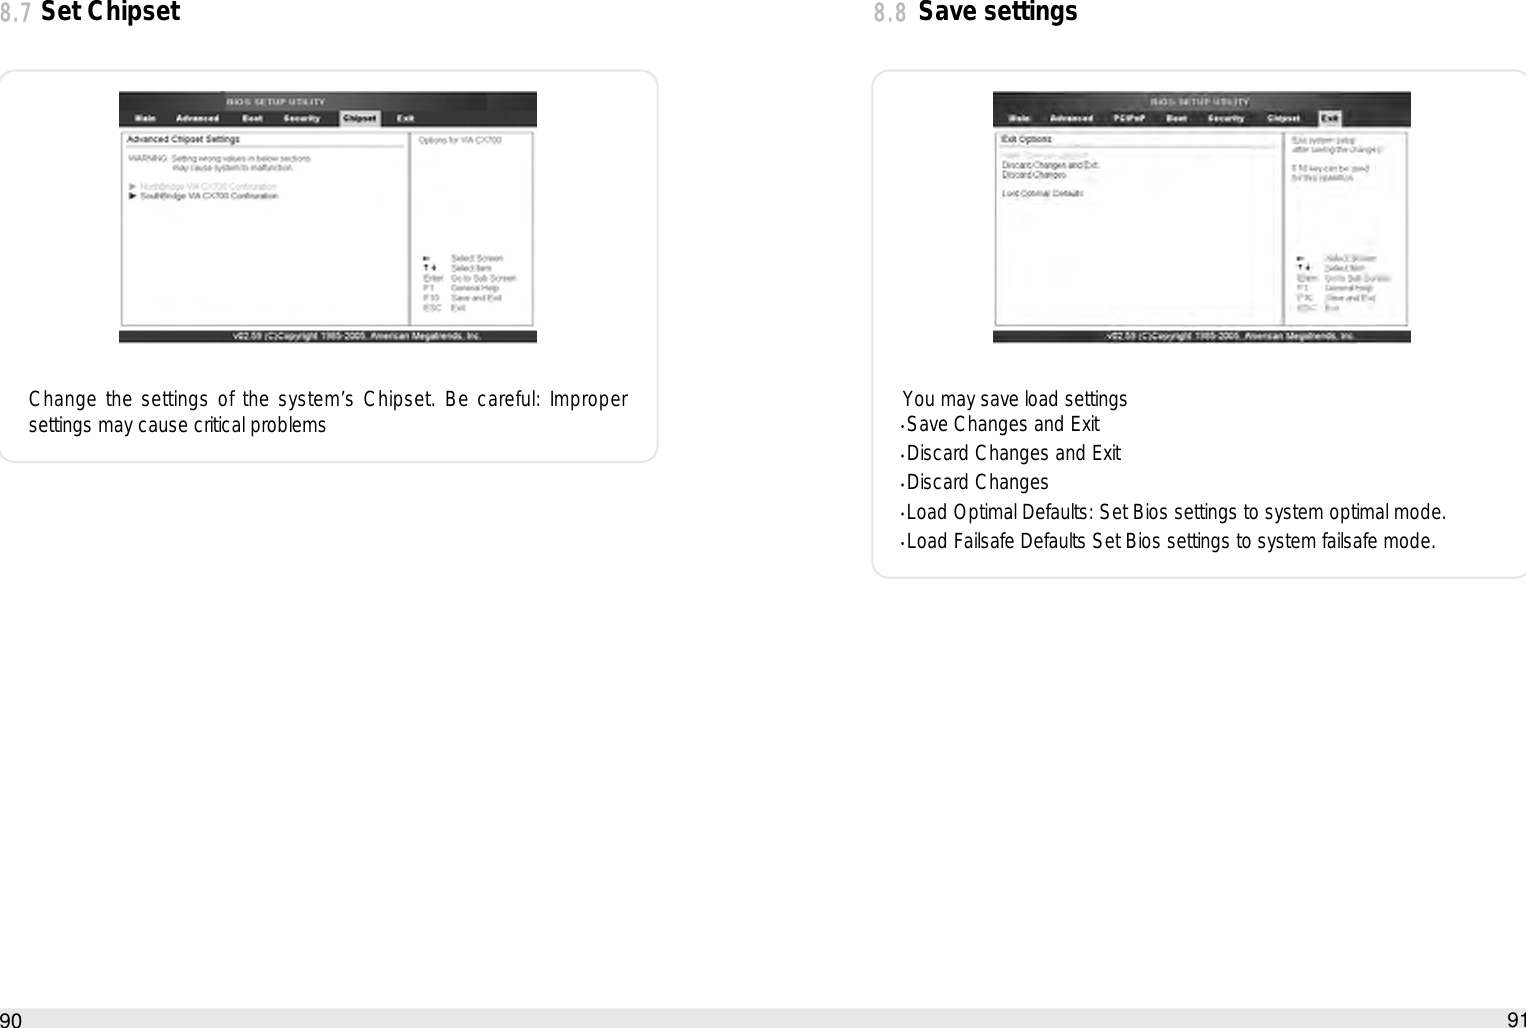
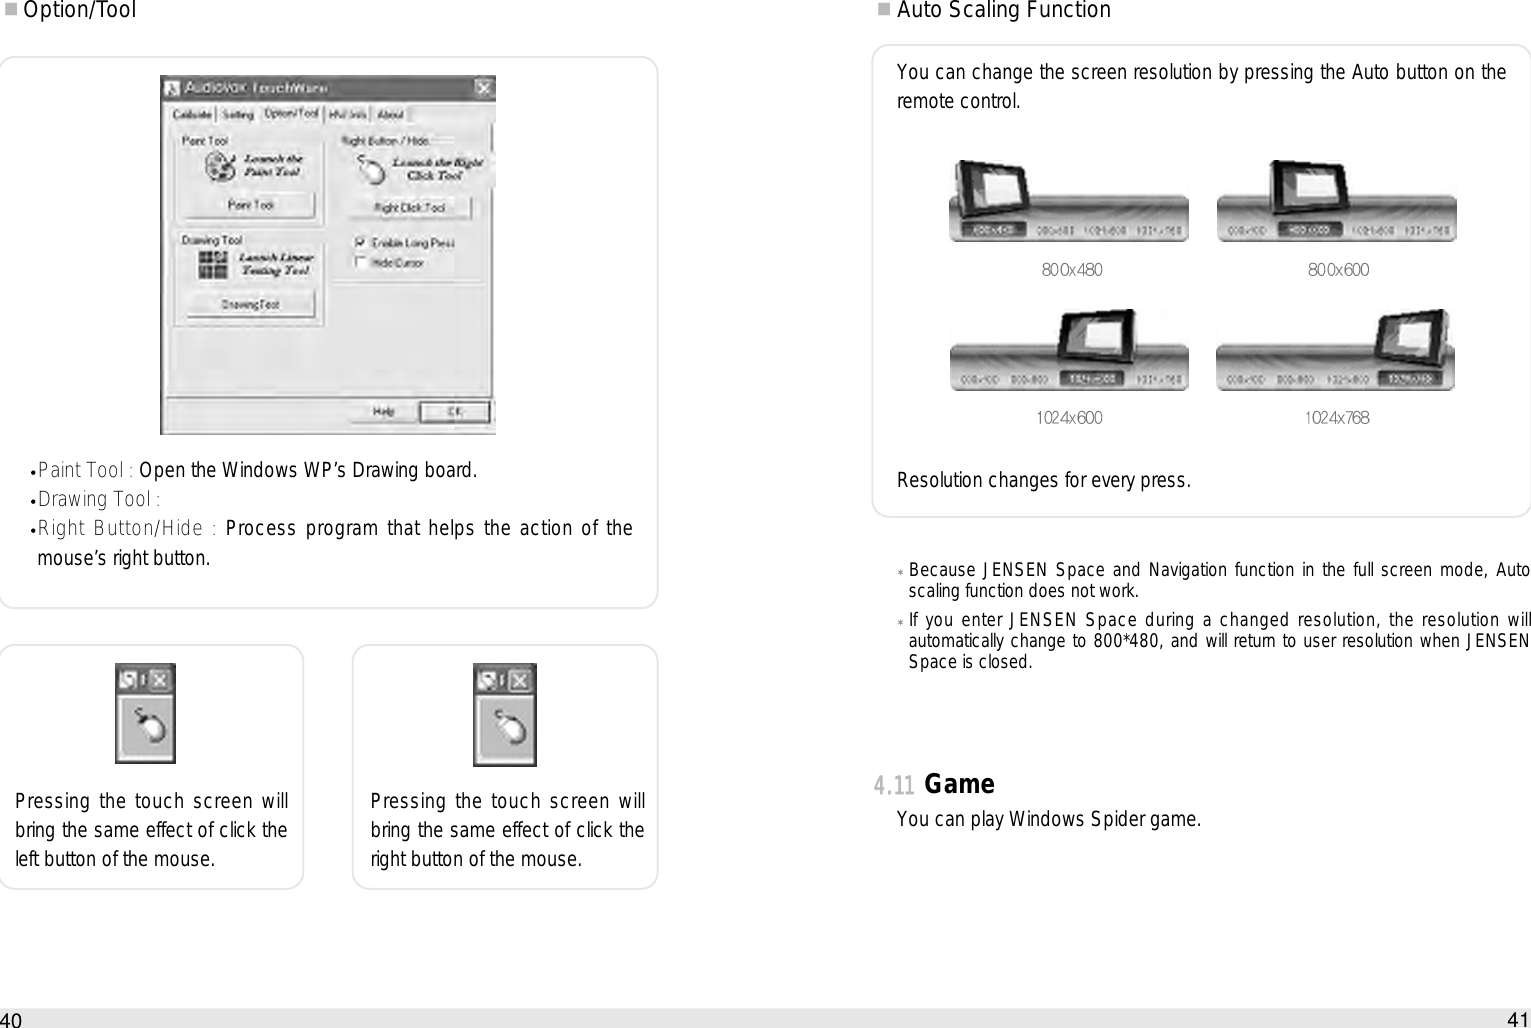
![87How to use the Auto PC8.1Bios SetupThis is a utility in which you can configure hardware to fit your uses.8.2Entering BIOS SetupConnect the USB keyboard to the USB port on the right of the system. Thenpress the power button for 2 seconds. Seeing the screen shown above, press“Del” on the keyboard and enter . Bios setup8System SetupBios setup is used to configure booting rank when a new hardware. Becareful: Improper configuration may result in critical problems. Set upcontents may change to the improvement of the product’s functions.!The [Bluetooth Settings] window will appear.The icons of the registered devices will appear, and the devices will beready to use.86The connection icons and icon names can be changed.Changing a connection icon name Changing a connection icon !](https://usermanual.wiki/Innowell/URENV1/User-Guide-814294-Page-44.png)