RDI Technology UBRC13 WIRELESS CAMERA User Manual UBRC13 FCC IC EN
RDI Technology (Shenzhen) Co., Ltd. WIRELESS CAMERA UBRC13 FCC IC EN
UserManual.wiki
>
RDI Technology
>
UBRC13 User Manual
>
User Manual
Contents
1.
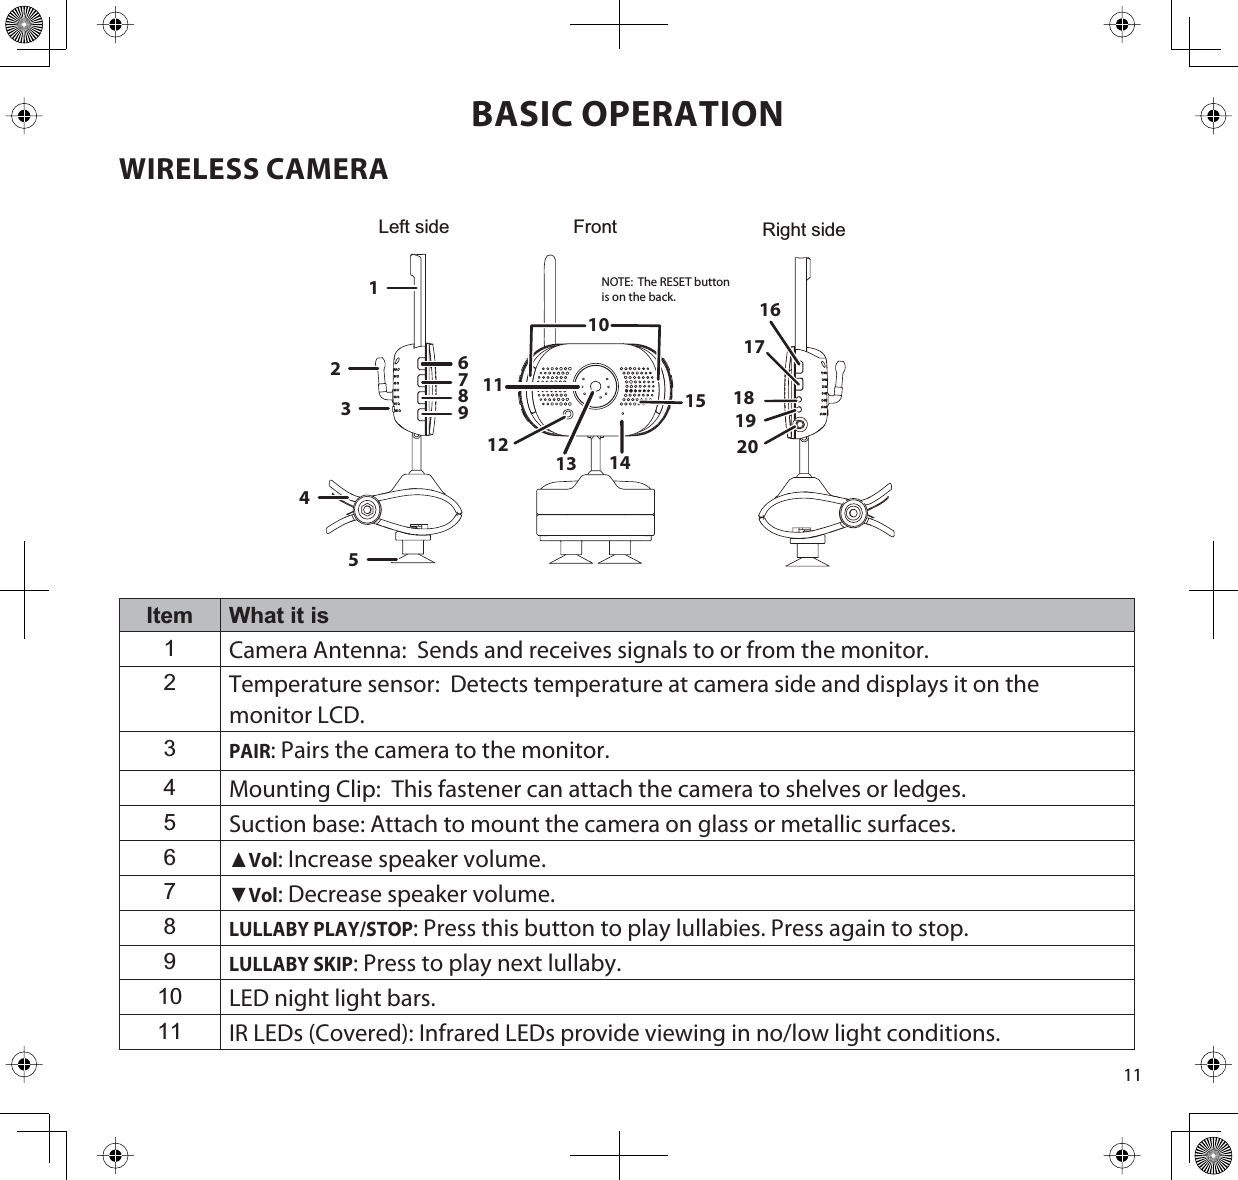
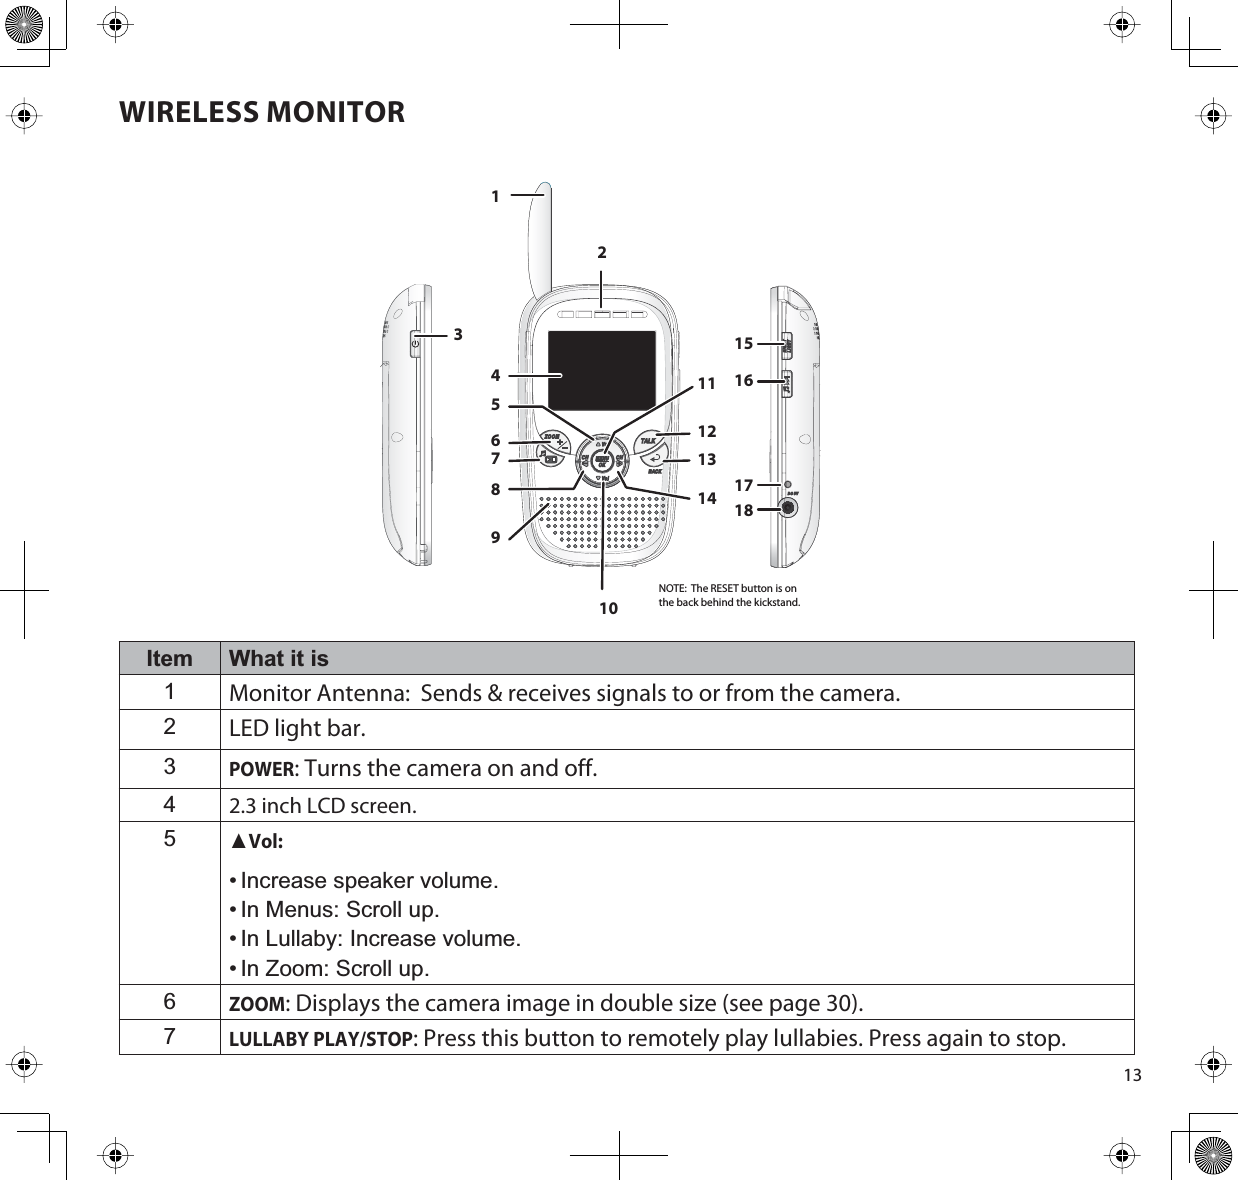
User Manual
2.
User Manual EN
3.
User Manual FR
User Manual
Navigation menu
Upload a User Manual
Namespaces
Wiki Guide
HTML
PDF
Info
Views
User Manual
Discussion / Help
Navigation


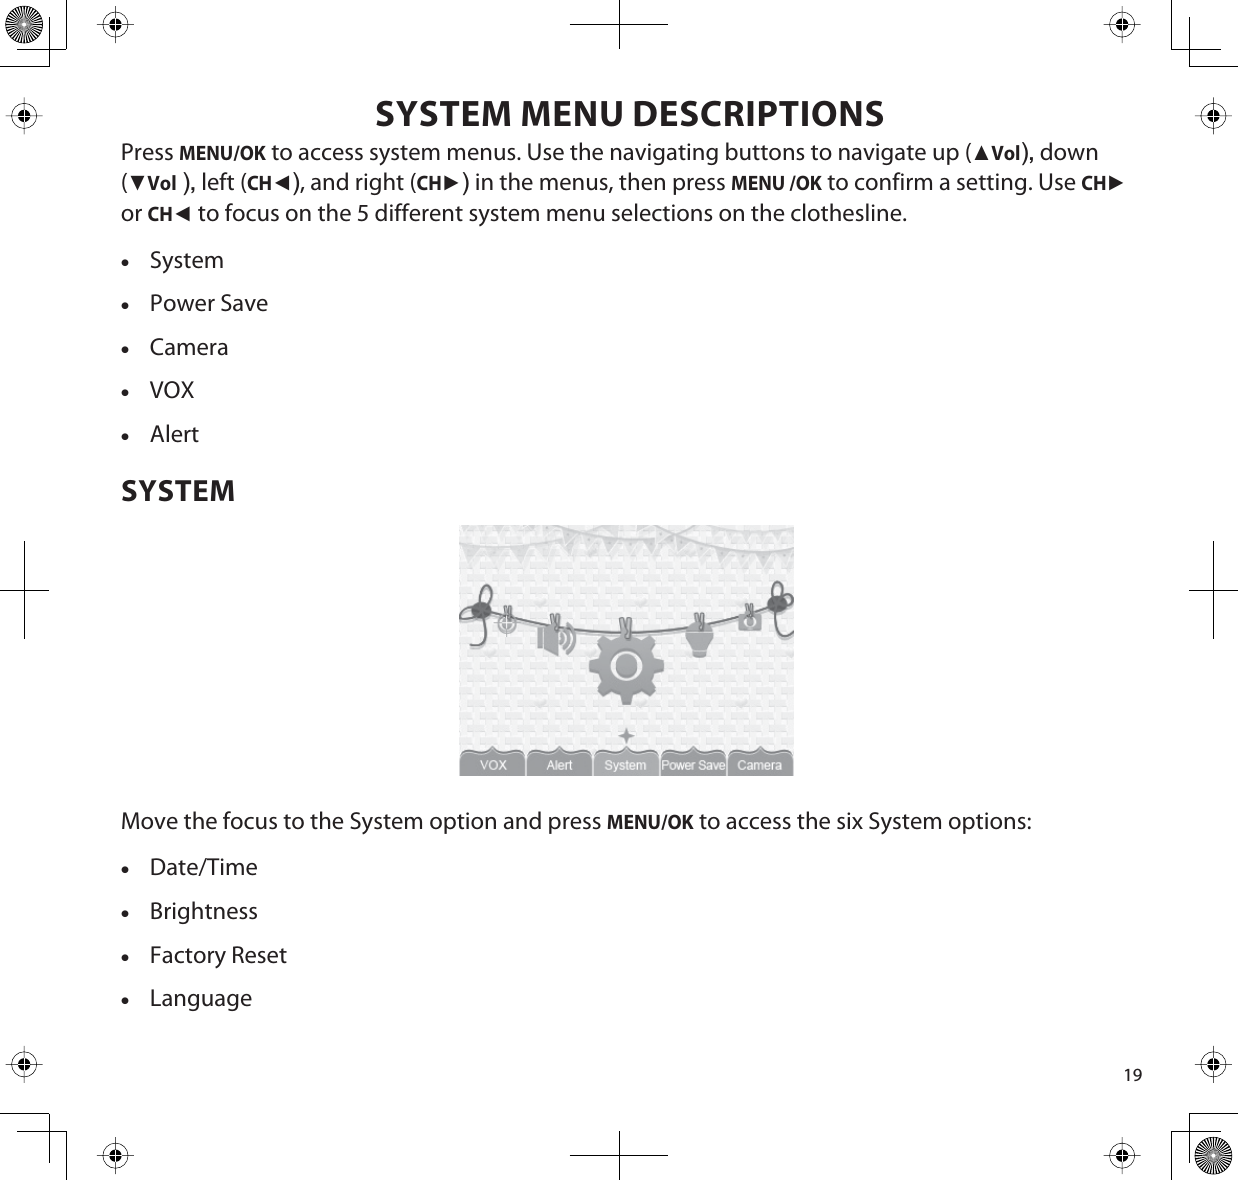
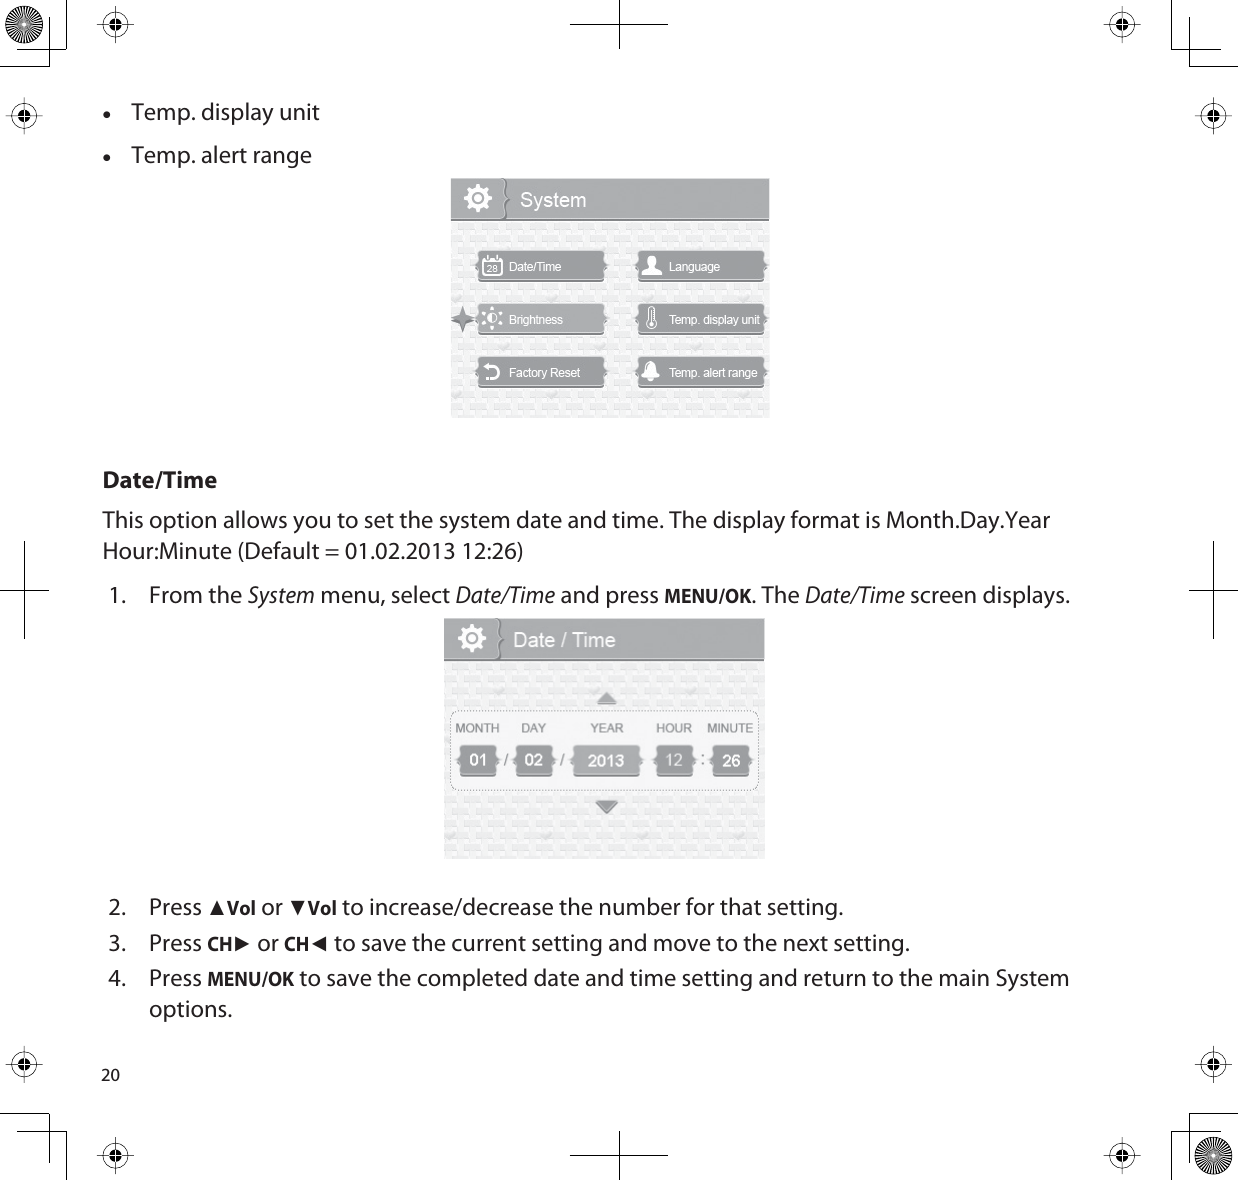
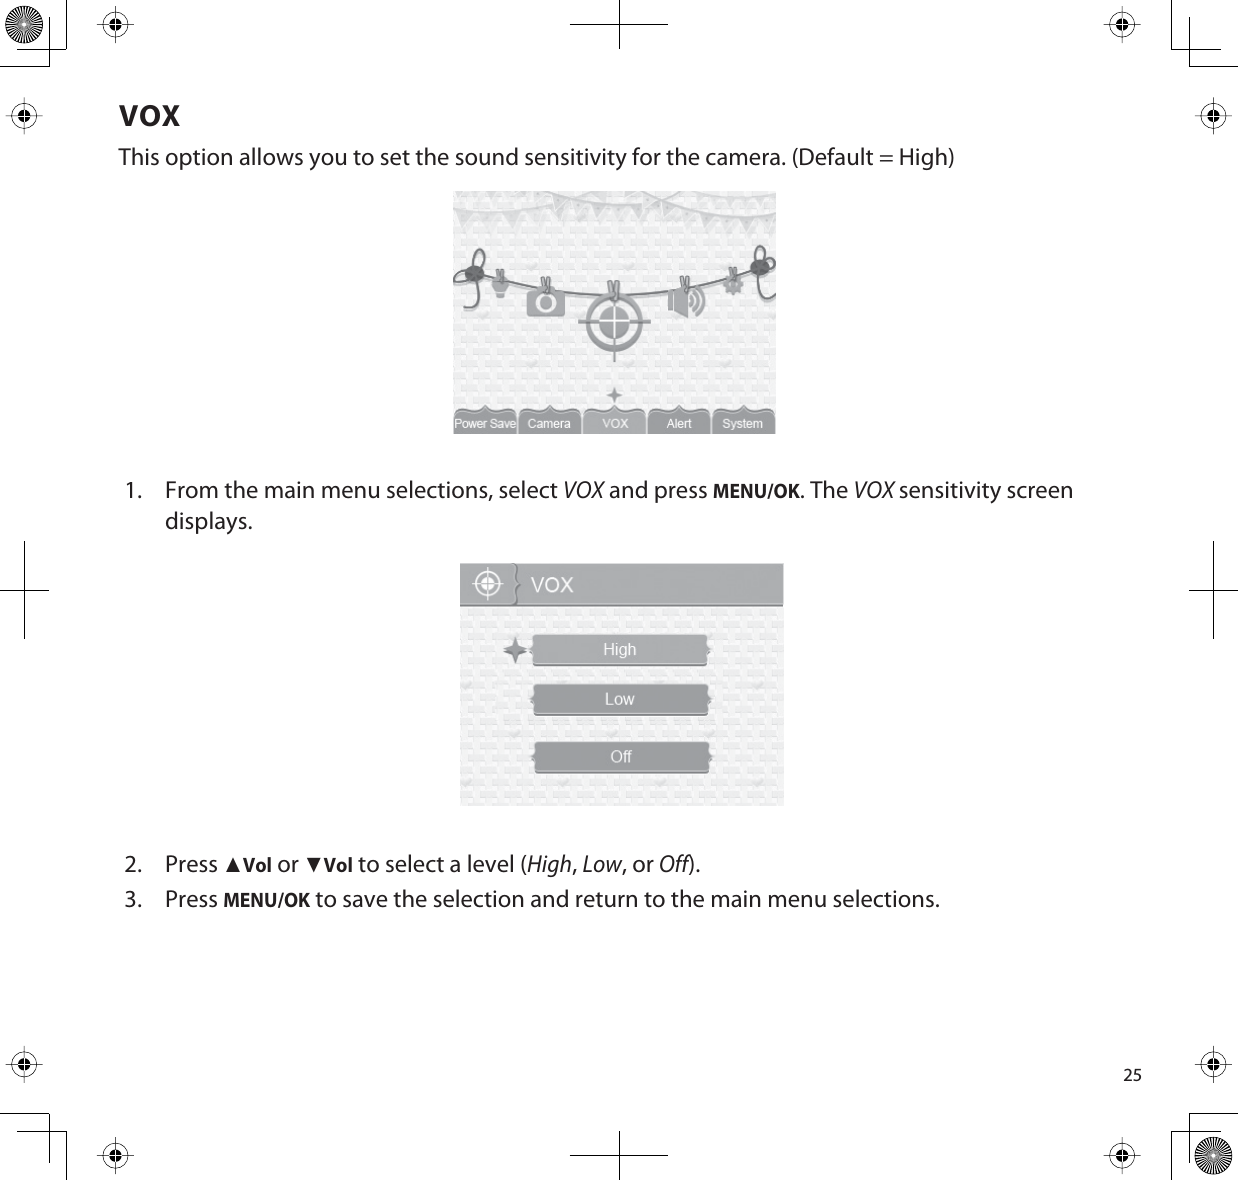
![232. PressŸVol or źVol to select °C or °F.3. PressMENU/OK to save the setting and return to the main System options.Temperature Alert RangeYour UBR223 measures the ambient room temperature where the camera is. If the temperature falls outside of a preset range, the system alerts you. Temp. alert range lets you set that range. [Default = Low Temperature: 61°F ; High Temperature; 77°F;Off]1. From the System menu, select Temp. alert range and press MENU/OK. The Temp. alert range screen displays.2. Press CHŹ or CHŻto select Low temperature or High temperature.3. PressŸVol or źVol to increase or decrease the temperature value. 4. After setting the temperature range, press CHŹ or CHŻto select the On/Off row.](https://usermanual.wiki/RDI-Technology/UBRC13.User-Manual/User-Guide-1965444-Page-23.png)
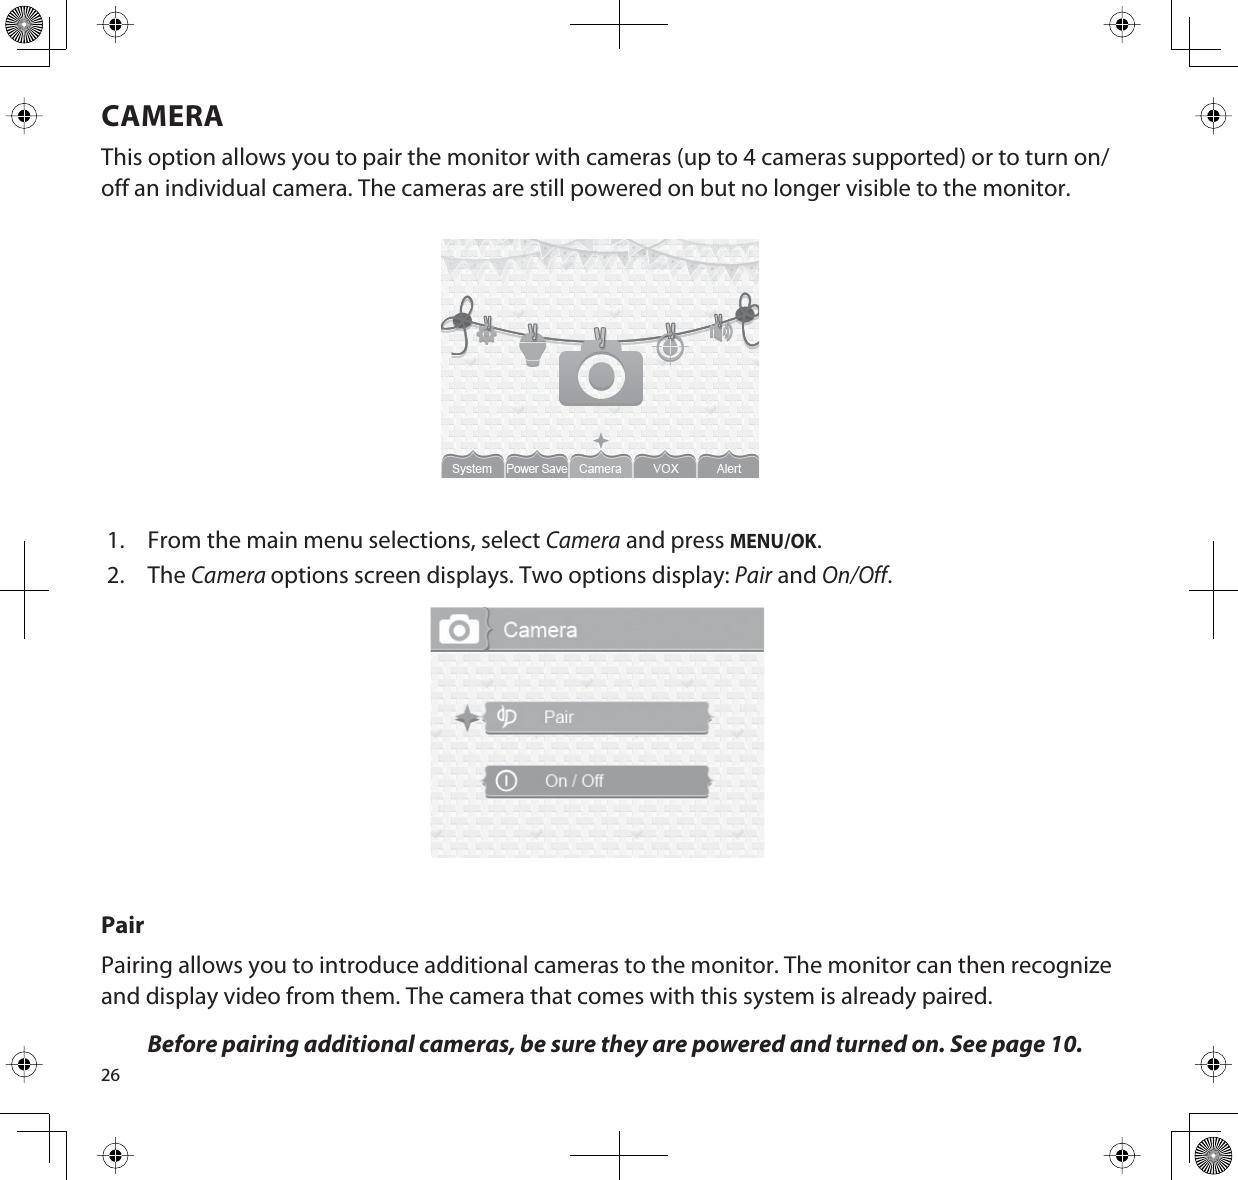
![245. PressCHŹ or CHŻ to toggle between On (Enable) or Off (disable). Either button will work.6. PressMENU/OK to save the settings and return to the main System options.ALERTTemperatures out of range or a camera out of range triggers alerts. This option allows you to set the alert volume. There are 6 levels available. [Default = Zero (Mute)]1. From the main menu selections, select Alert and press MENU/OK. The Alert screen displays.2. PressCHŹ or CHŻ to adjust the volume. 3. PressMENU/OK to save the selection and return to the main menu selections.](https://usermanual.wiki/RDI-Technology/UBRC13.User-Manual/User-Guide-1965444-Page-24.png)