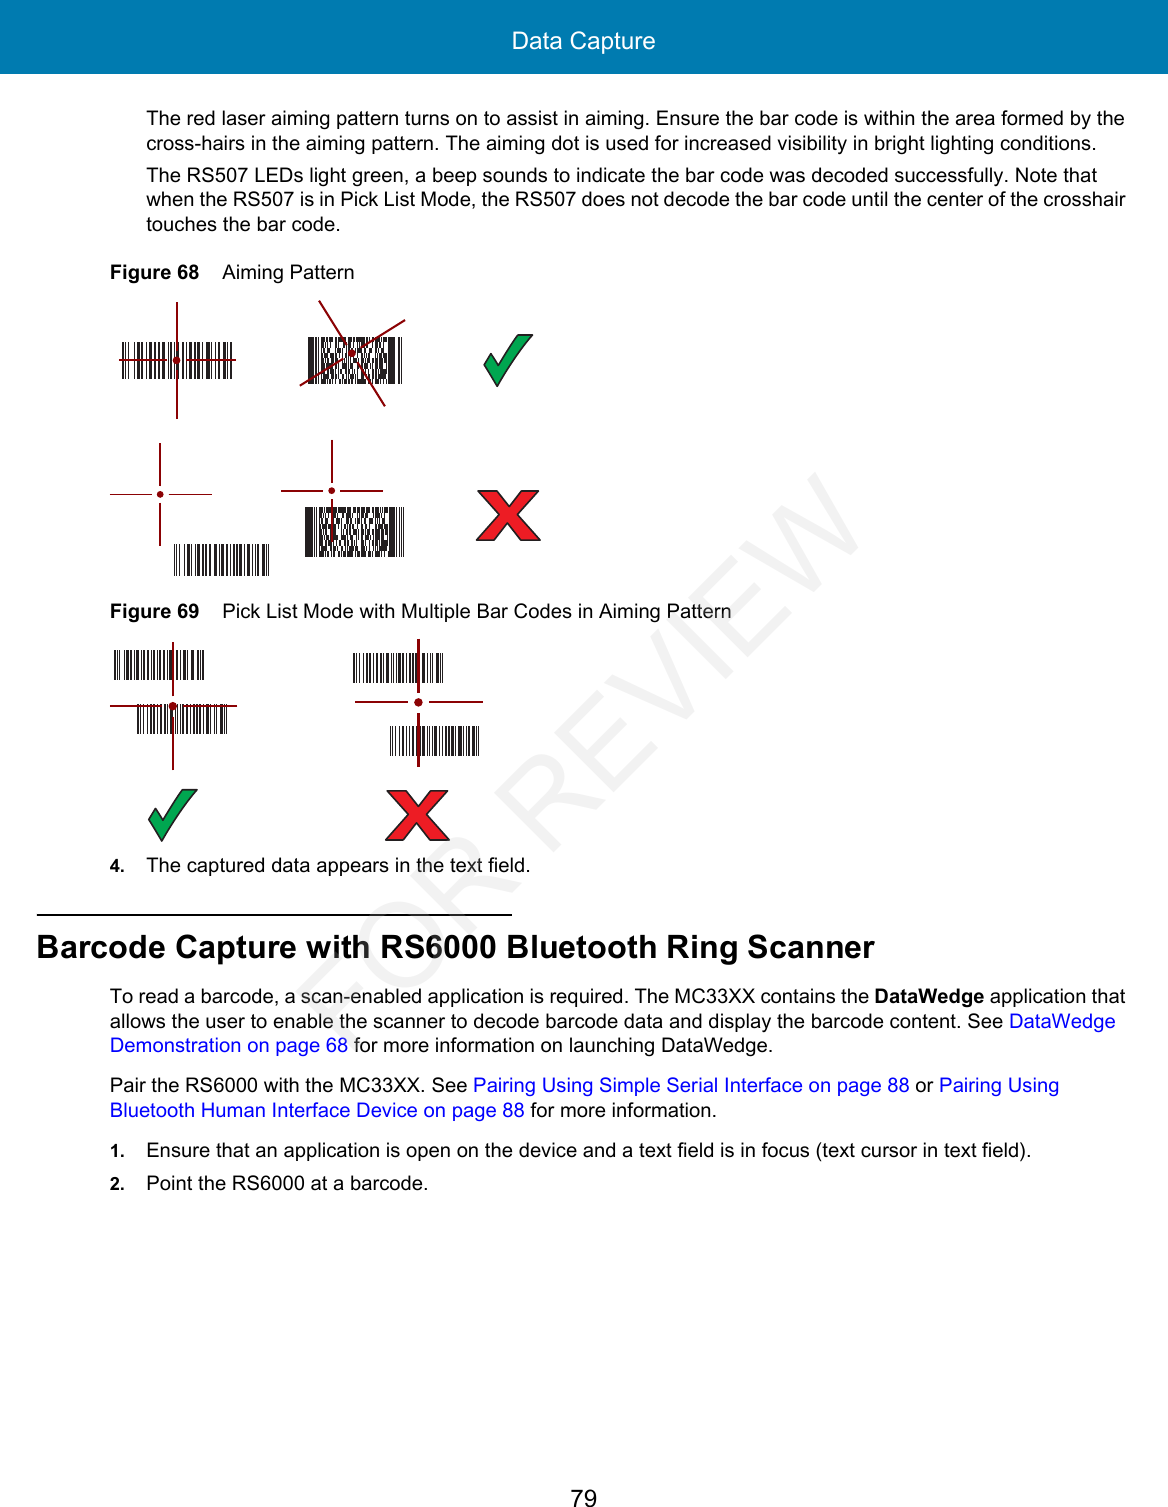
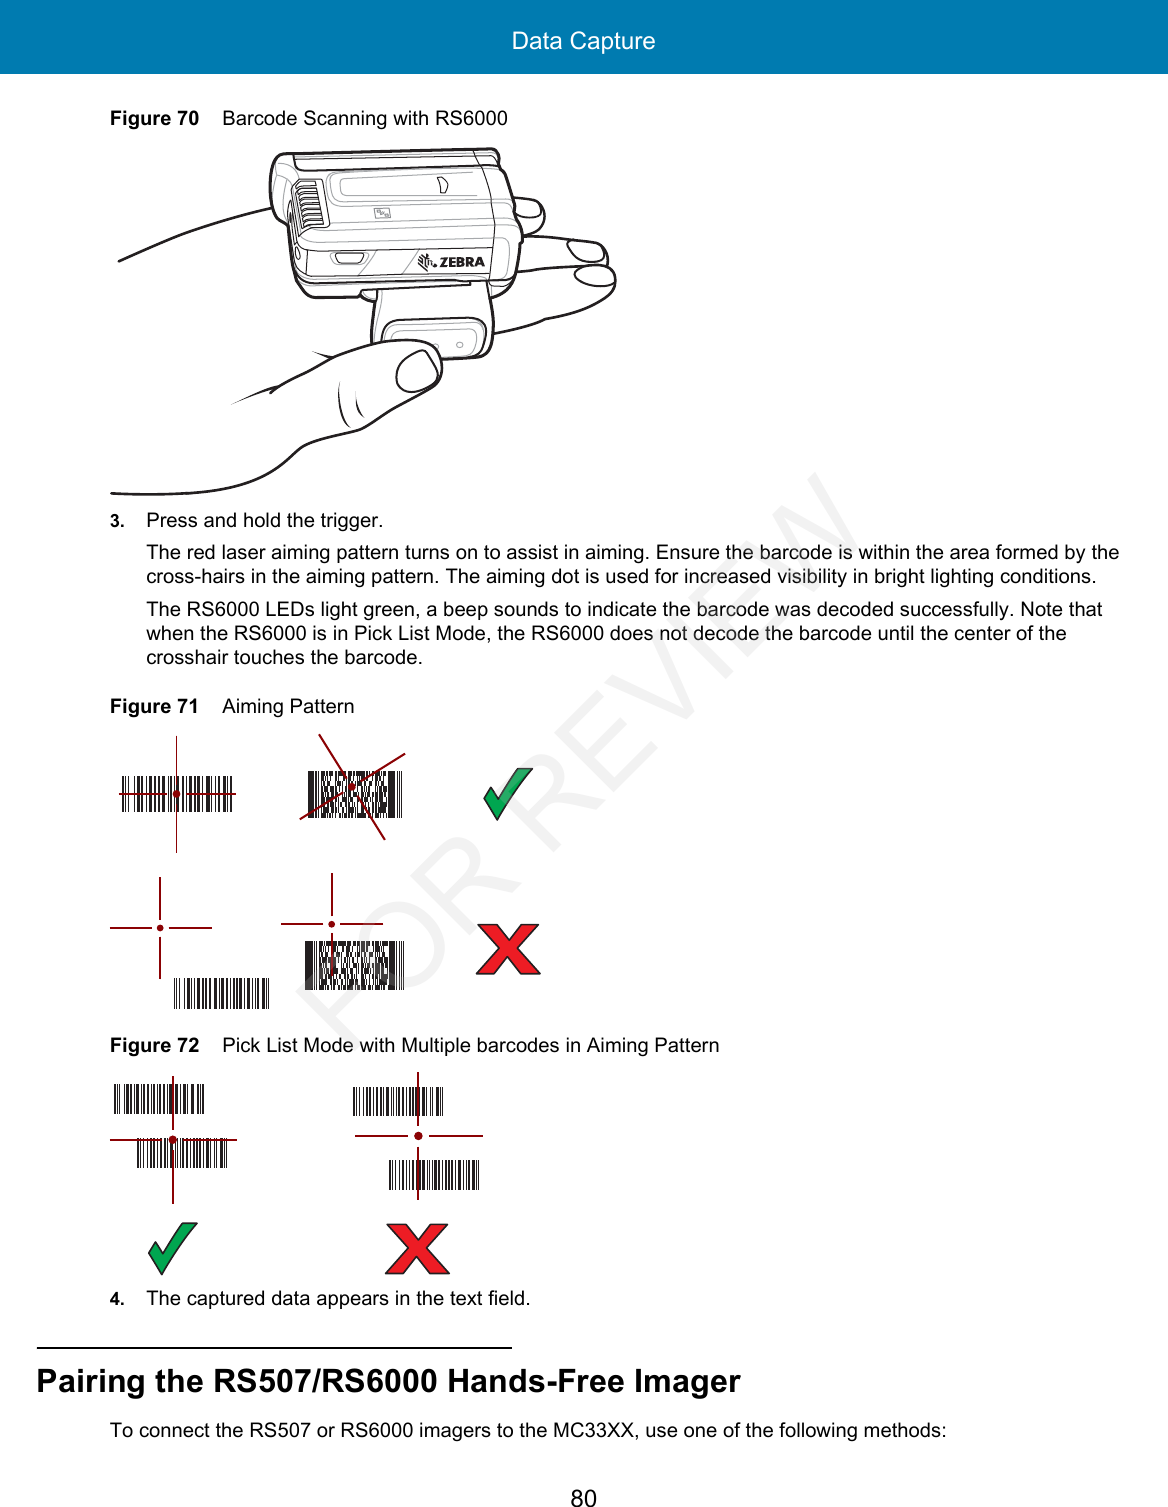
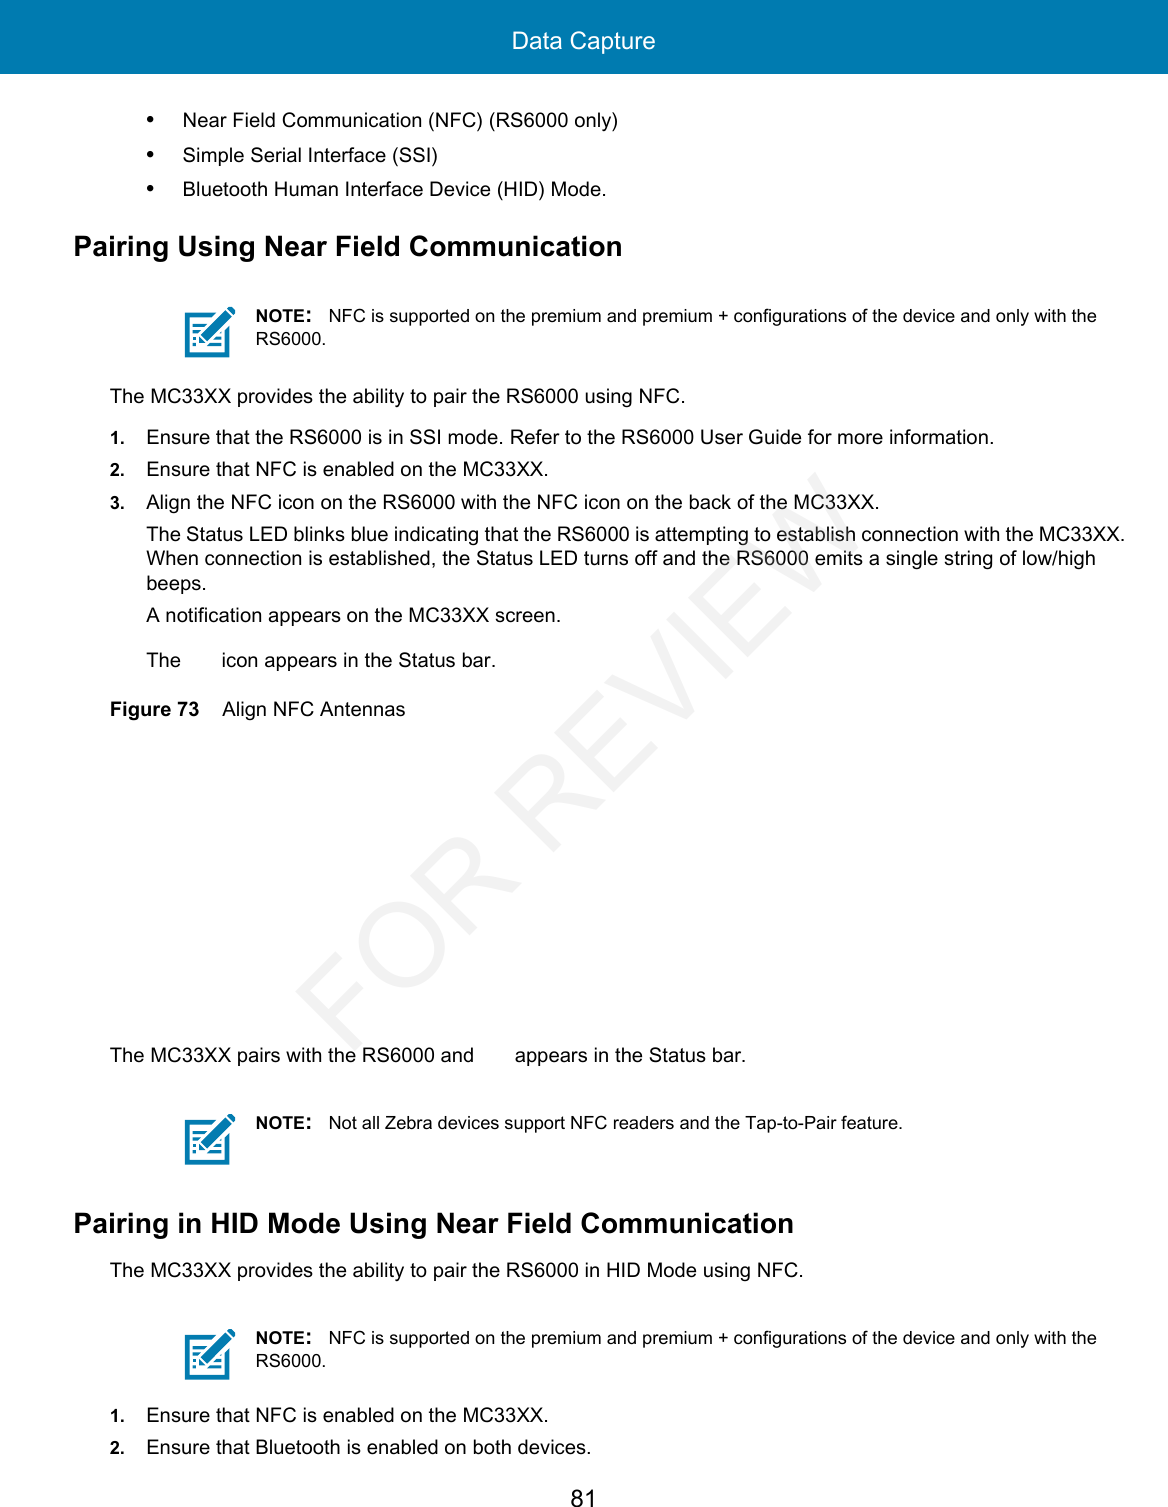
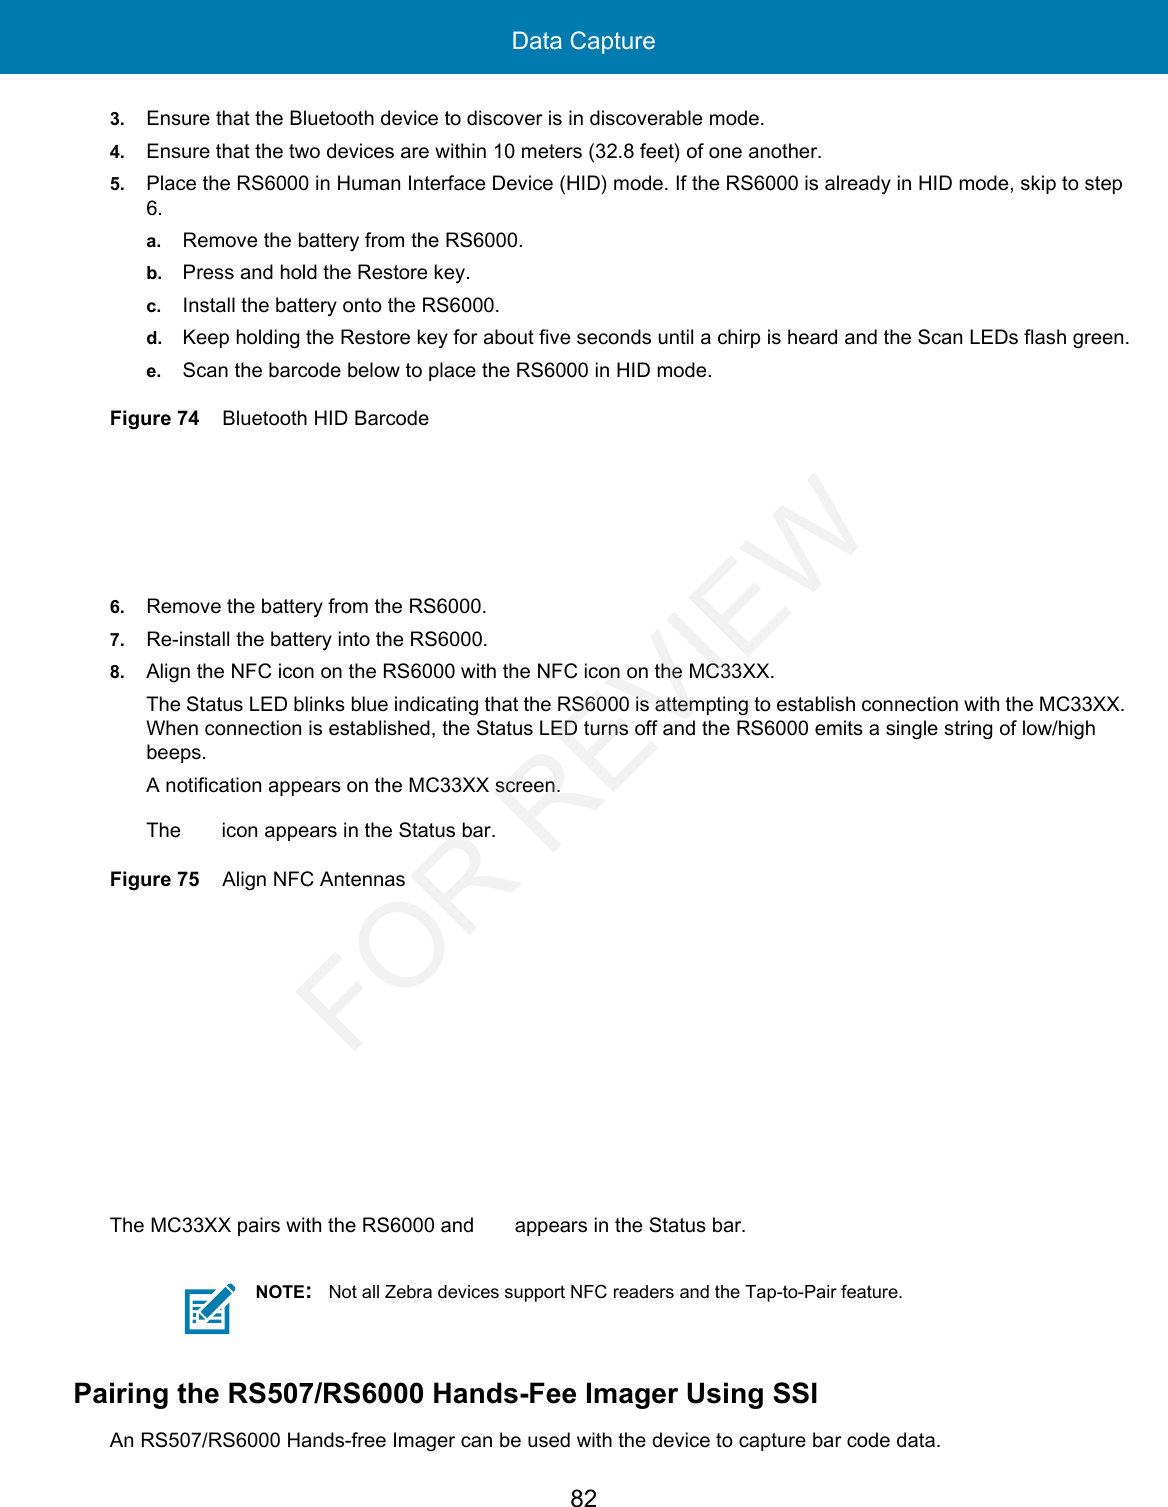
Zebra Technologies MC330K Mobile Computer User Manual mc33 01 about
Zebra Technologies Corporation Mobile Computer mc33 01 about
UserManual.wiki
>
Zebra Technologies
>
MC330K User Manual
>
User Manual
Contents
1.
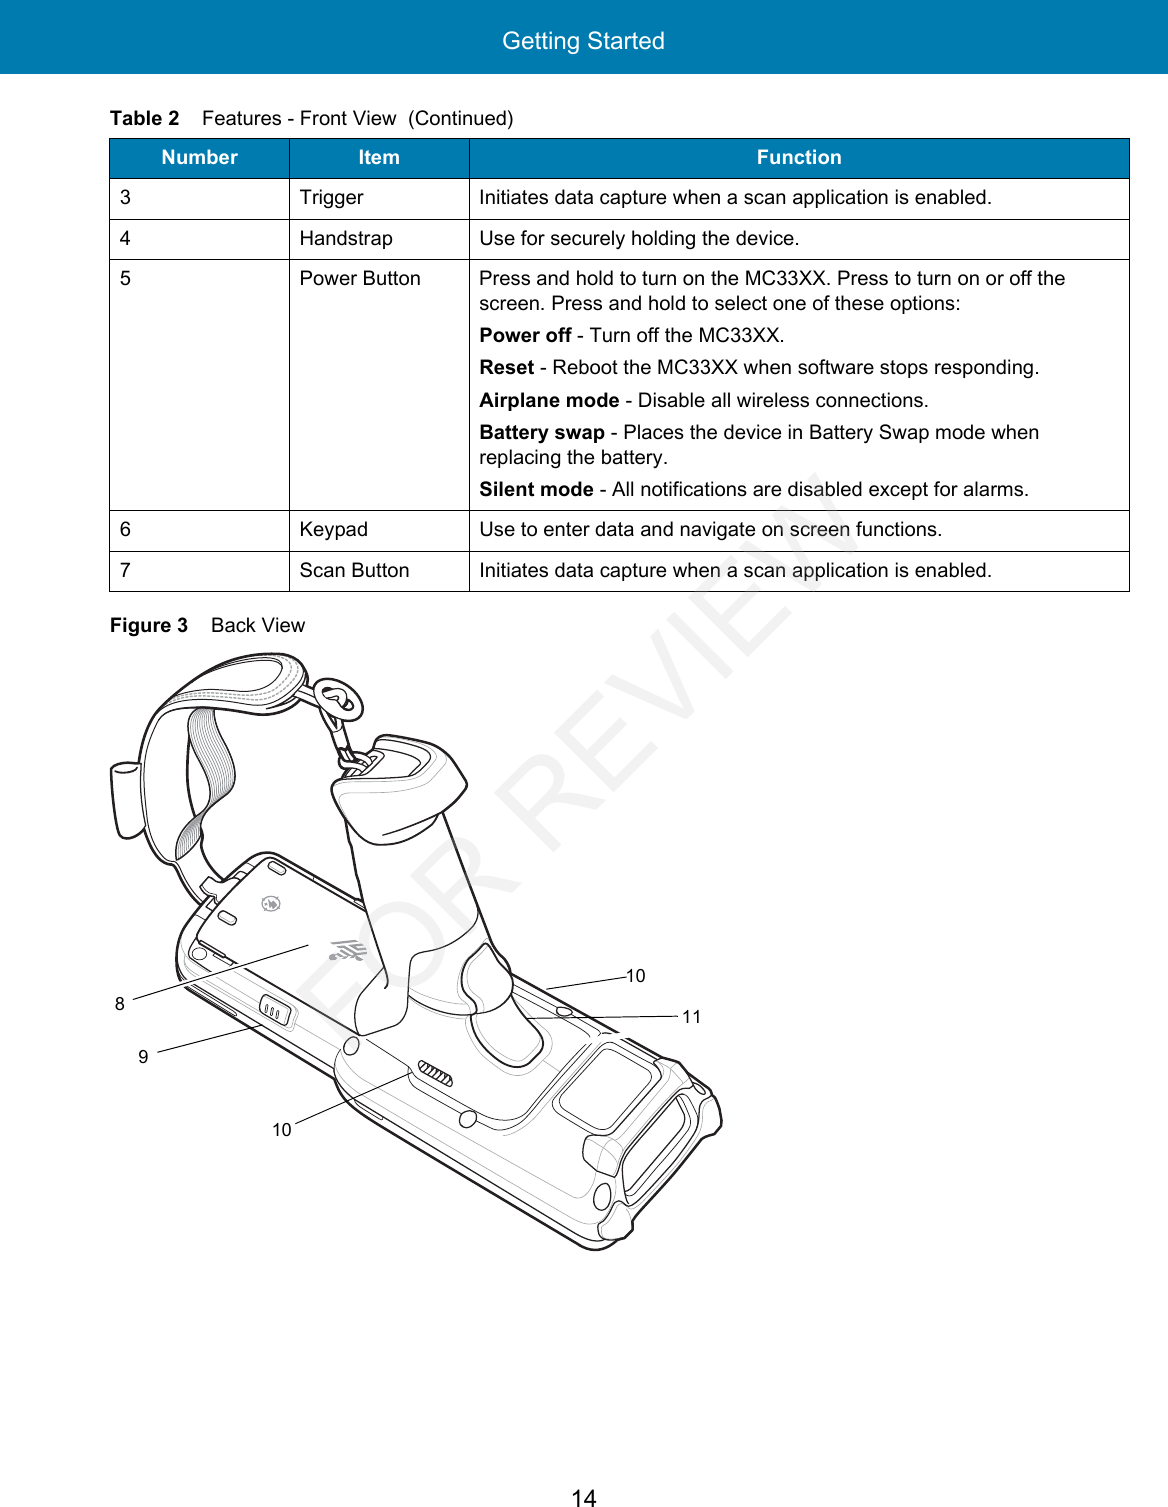
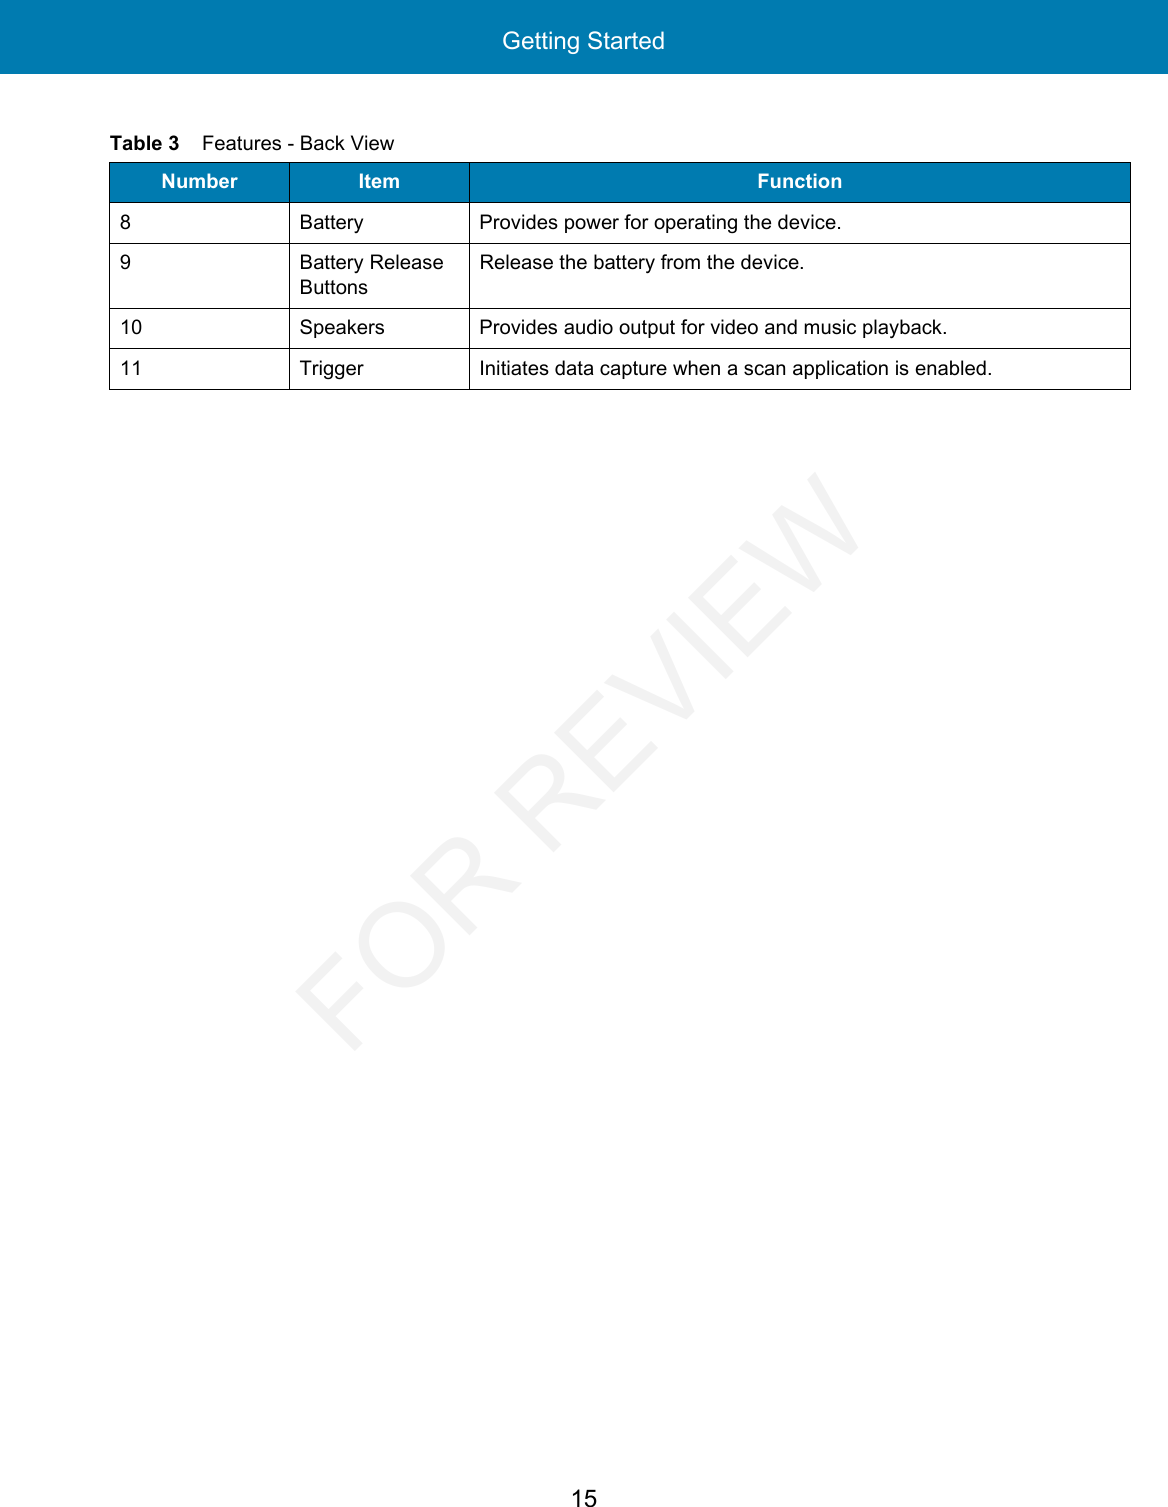
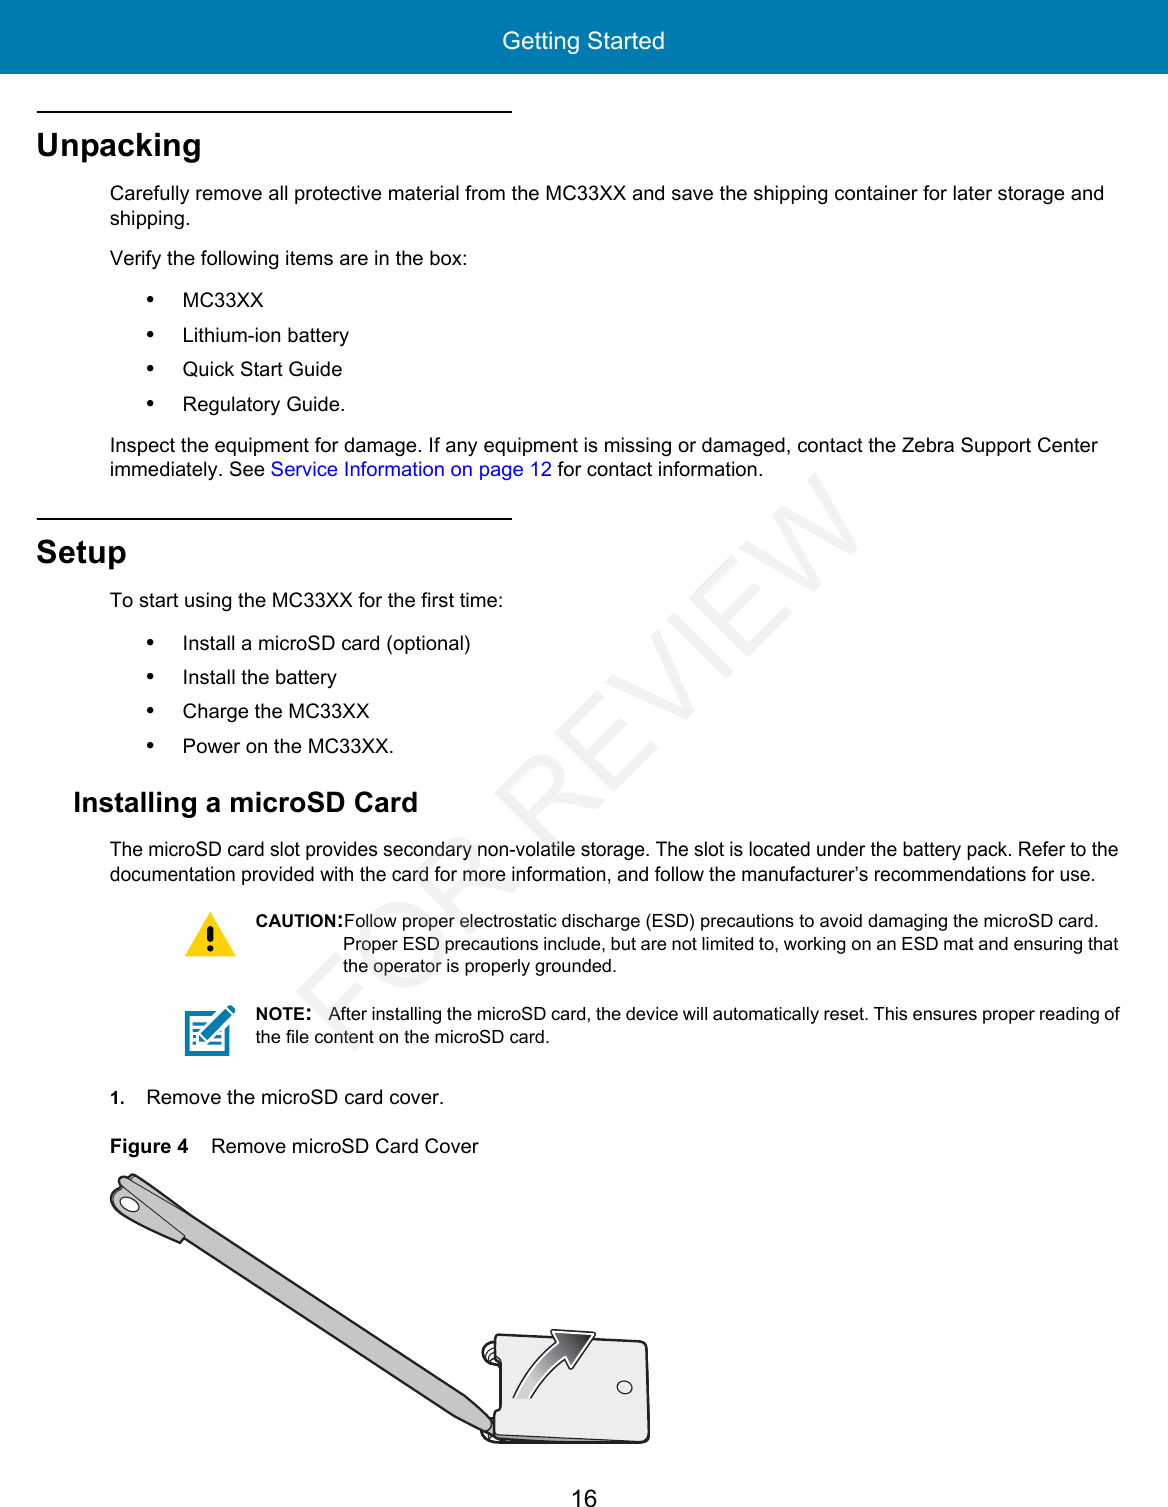
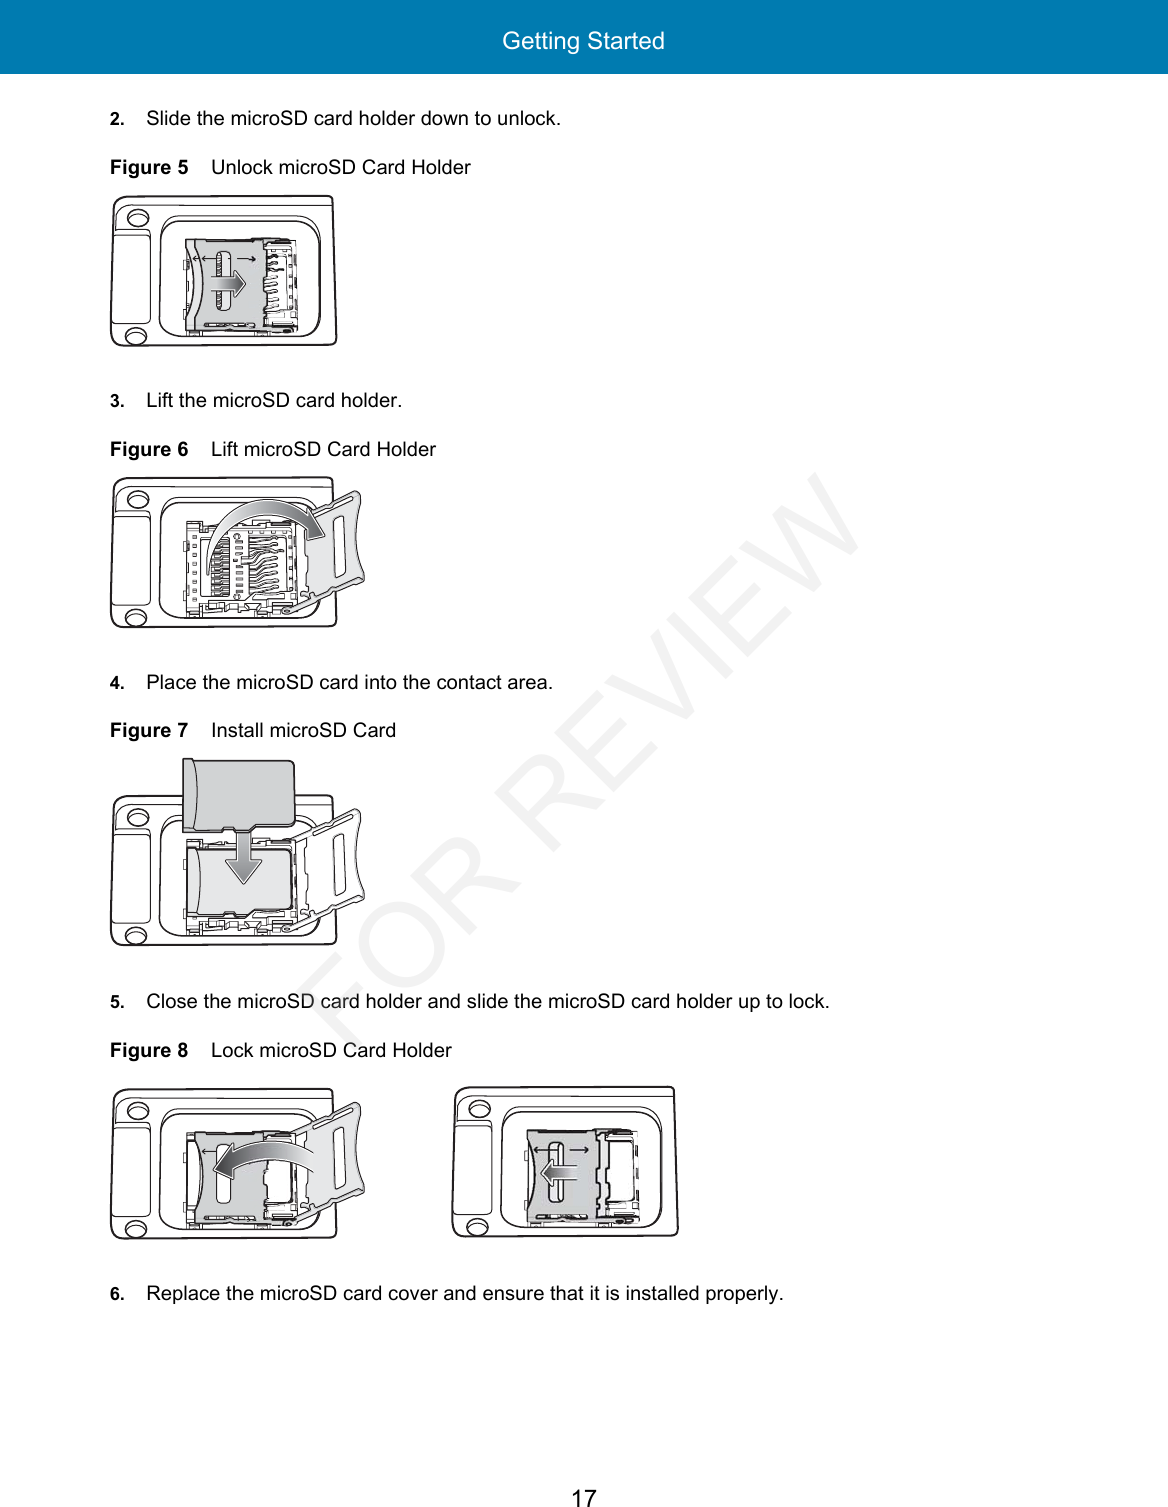
User Manual
2.
User Manual Regulatory
User Manual
Navigation menu
Upload a User Manual
Namespaces
Wiki Guide
HTML
PDF
Info
Views
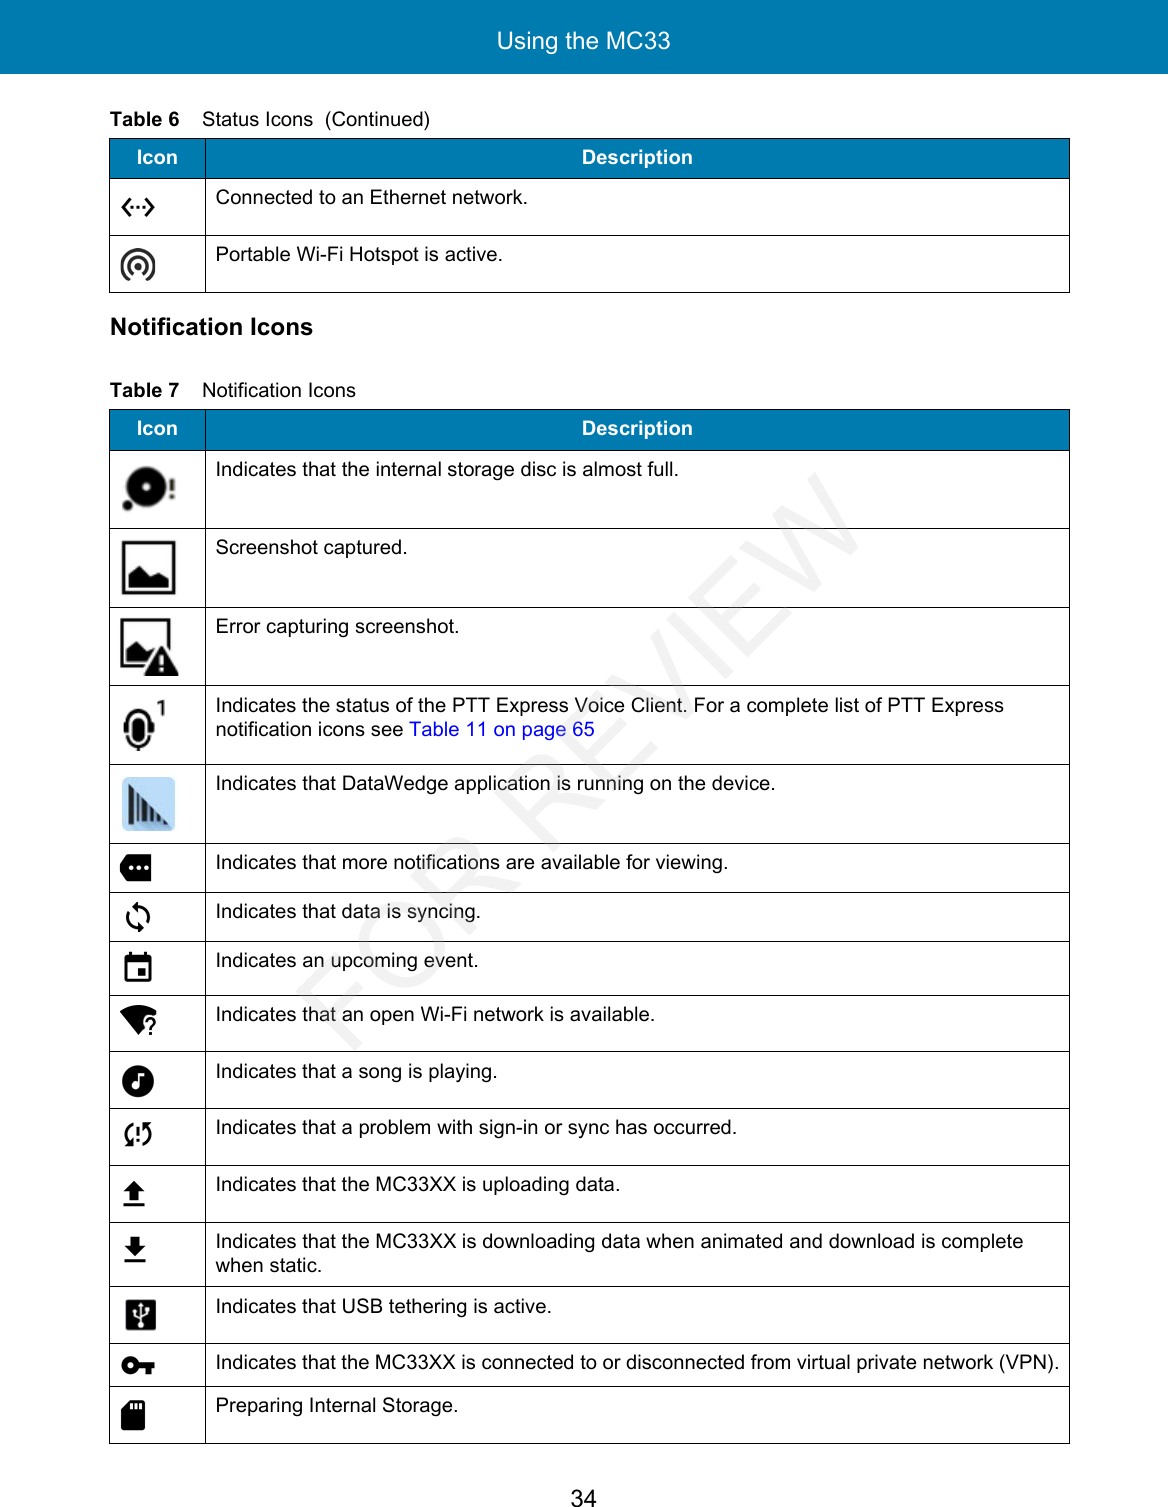
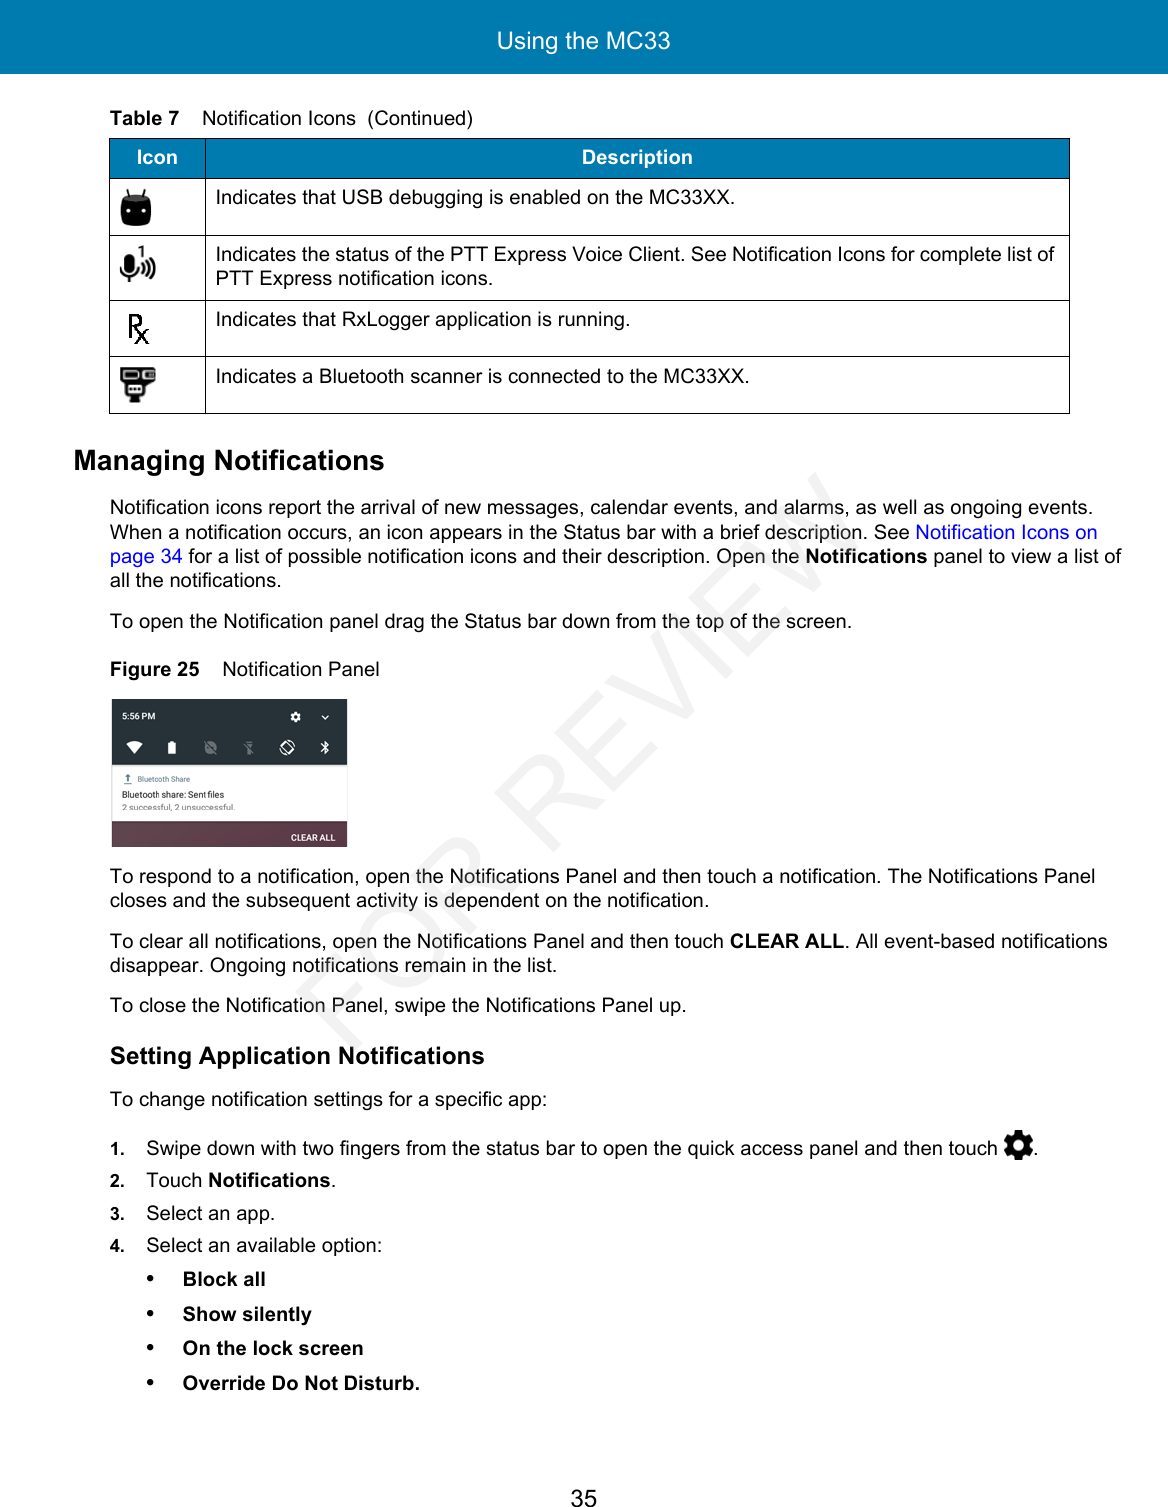
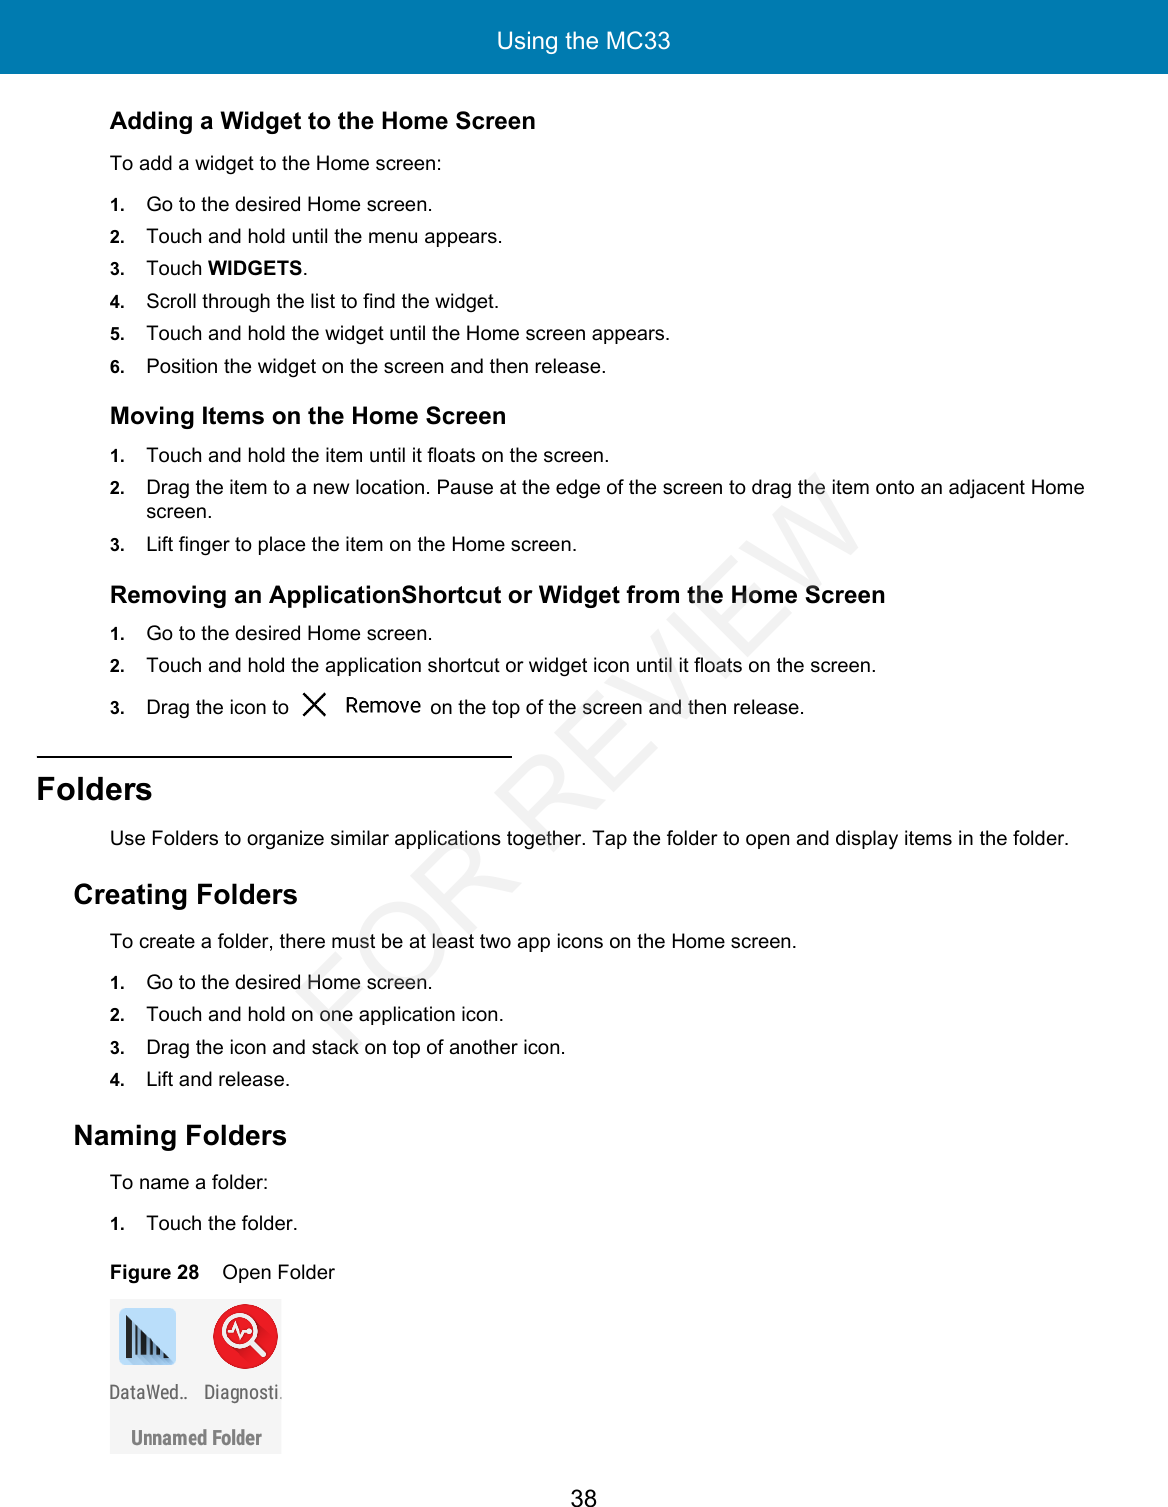
User Manual
Discussion / Help
Navigation


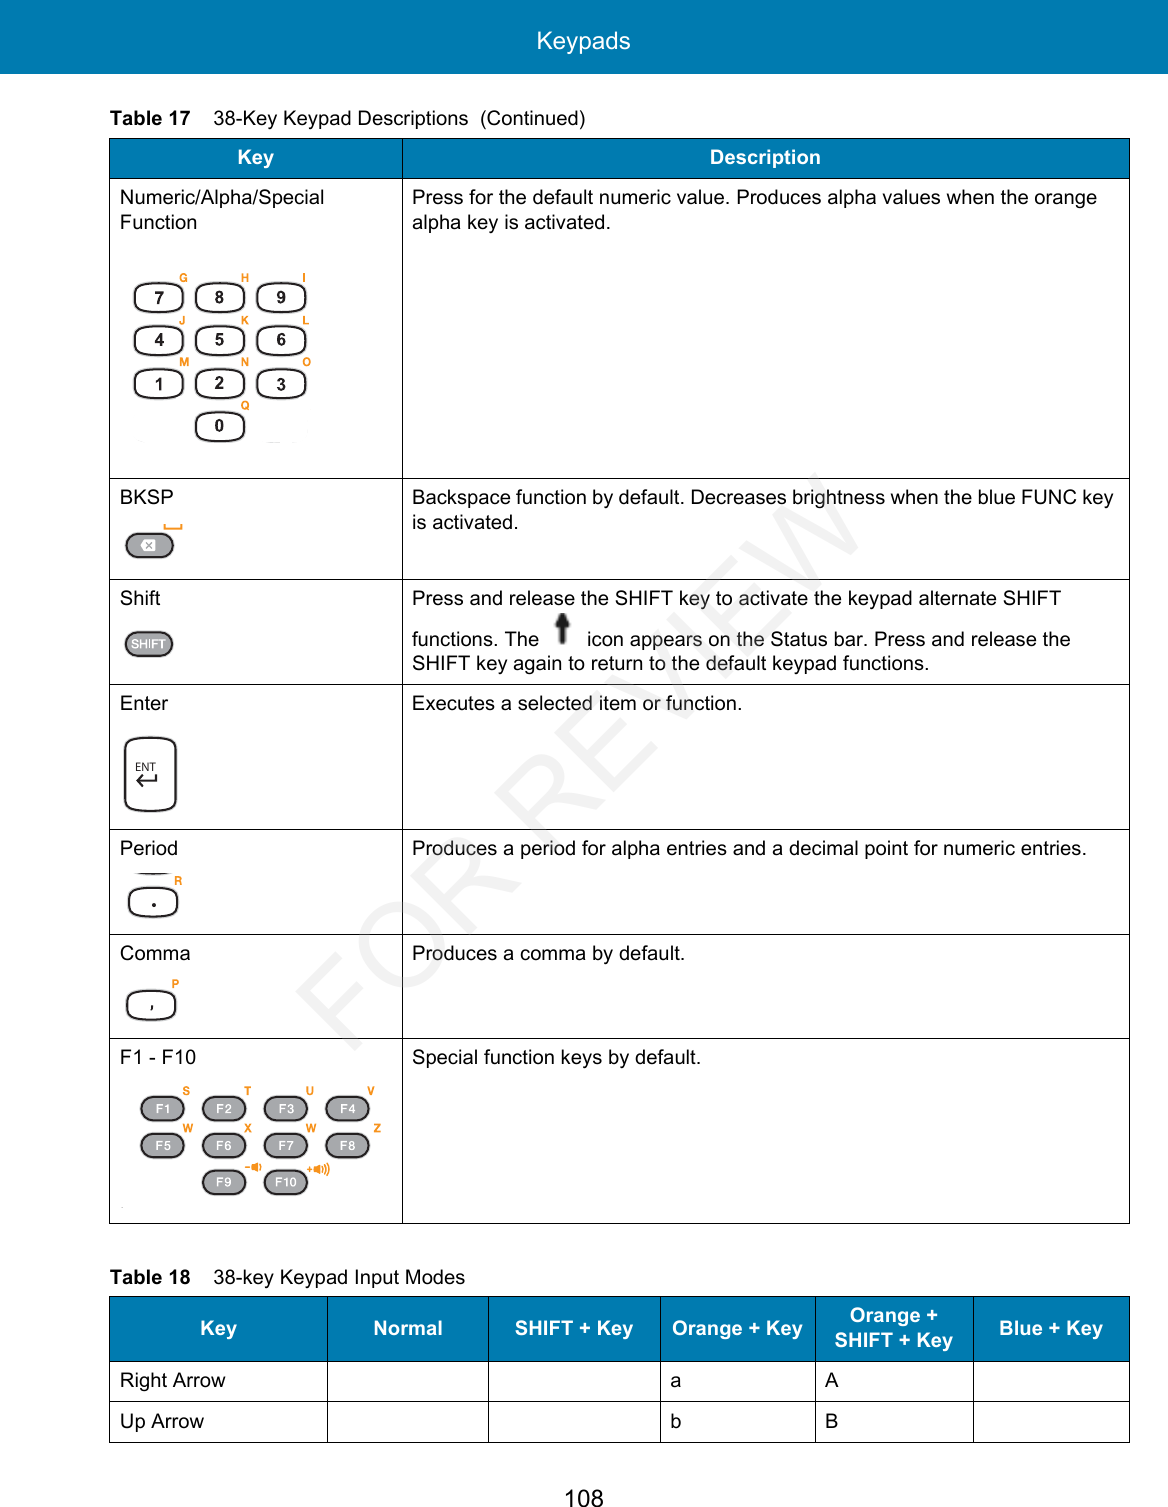
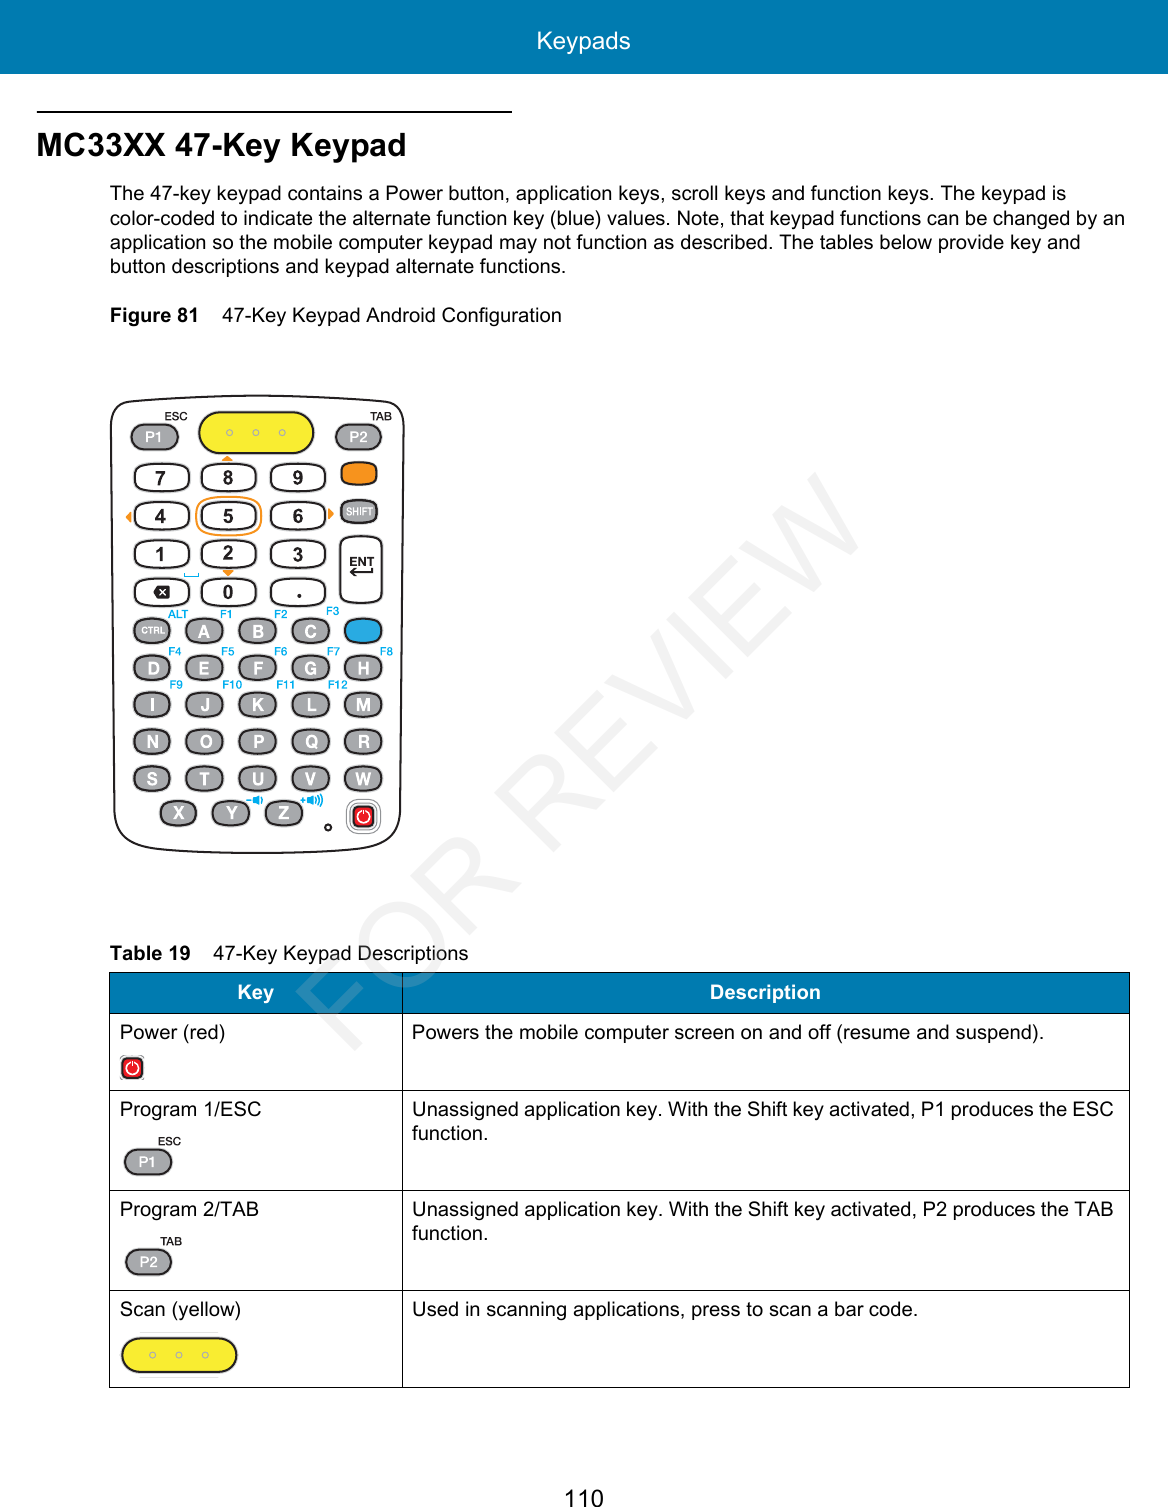
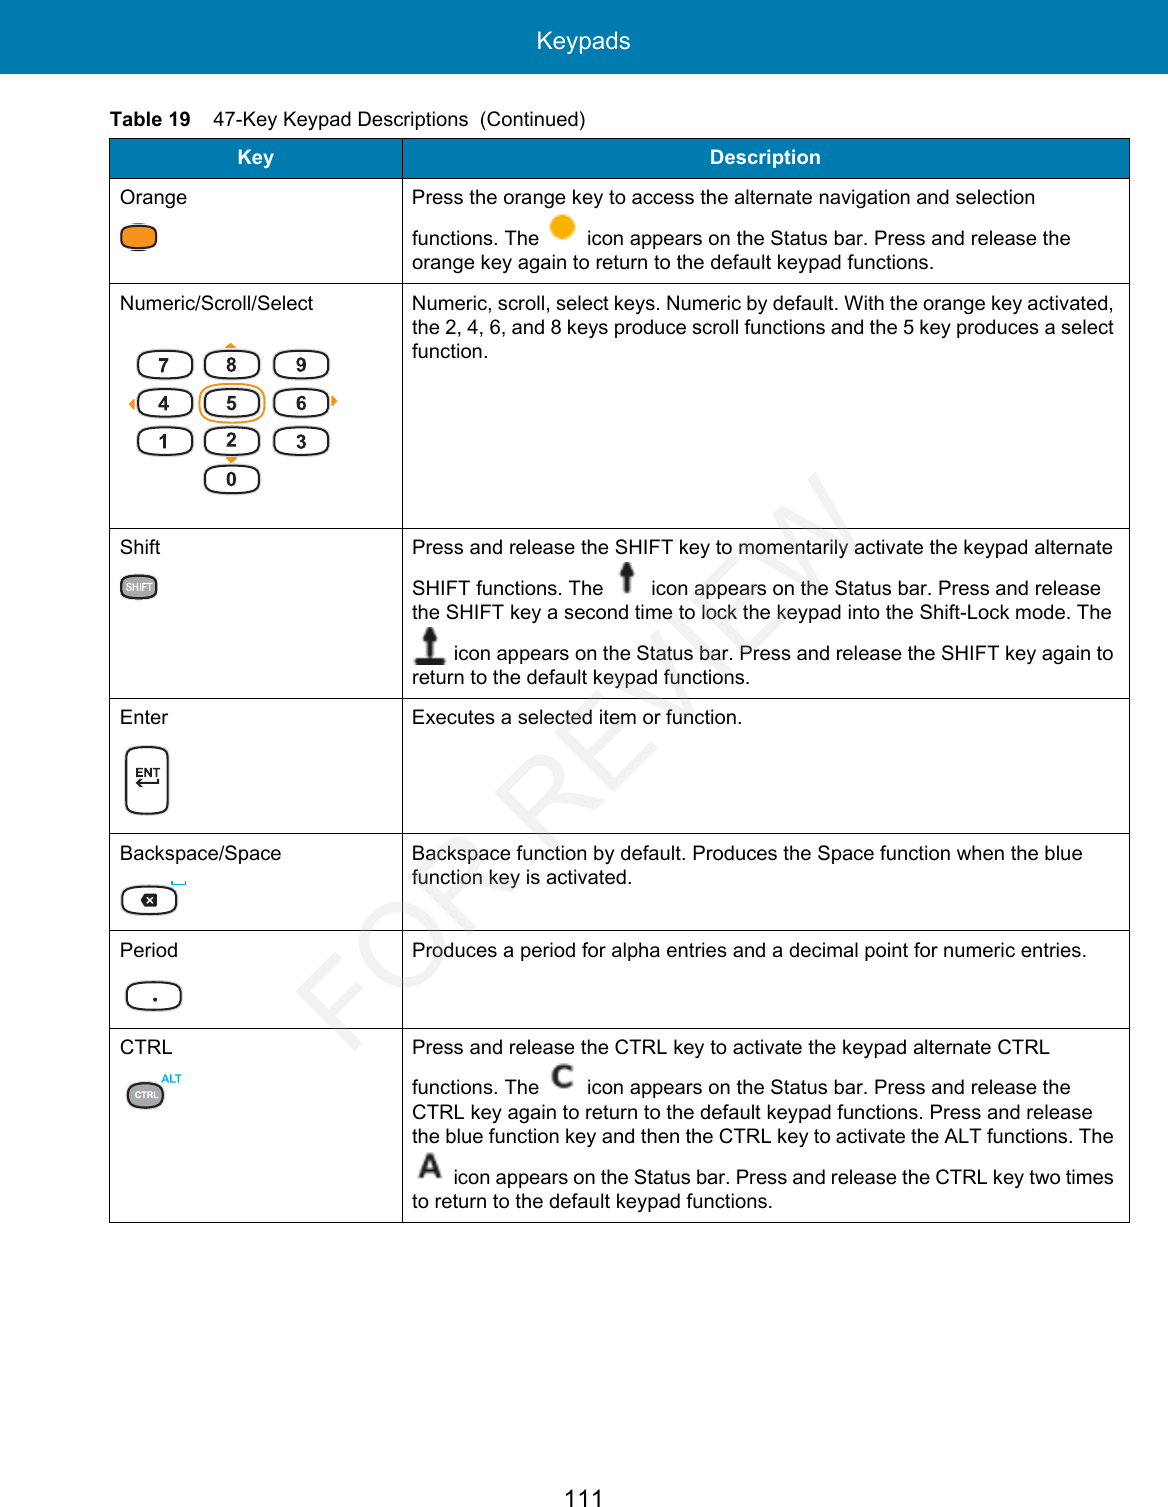
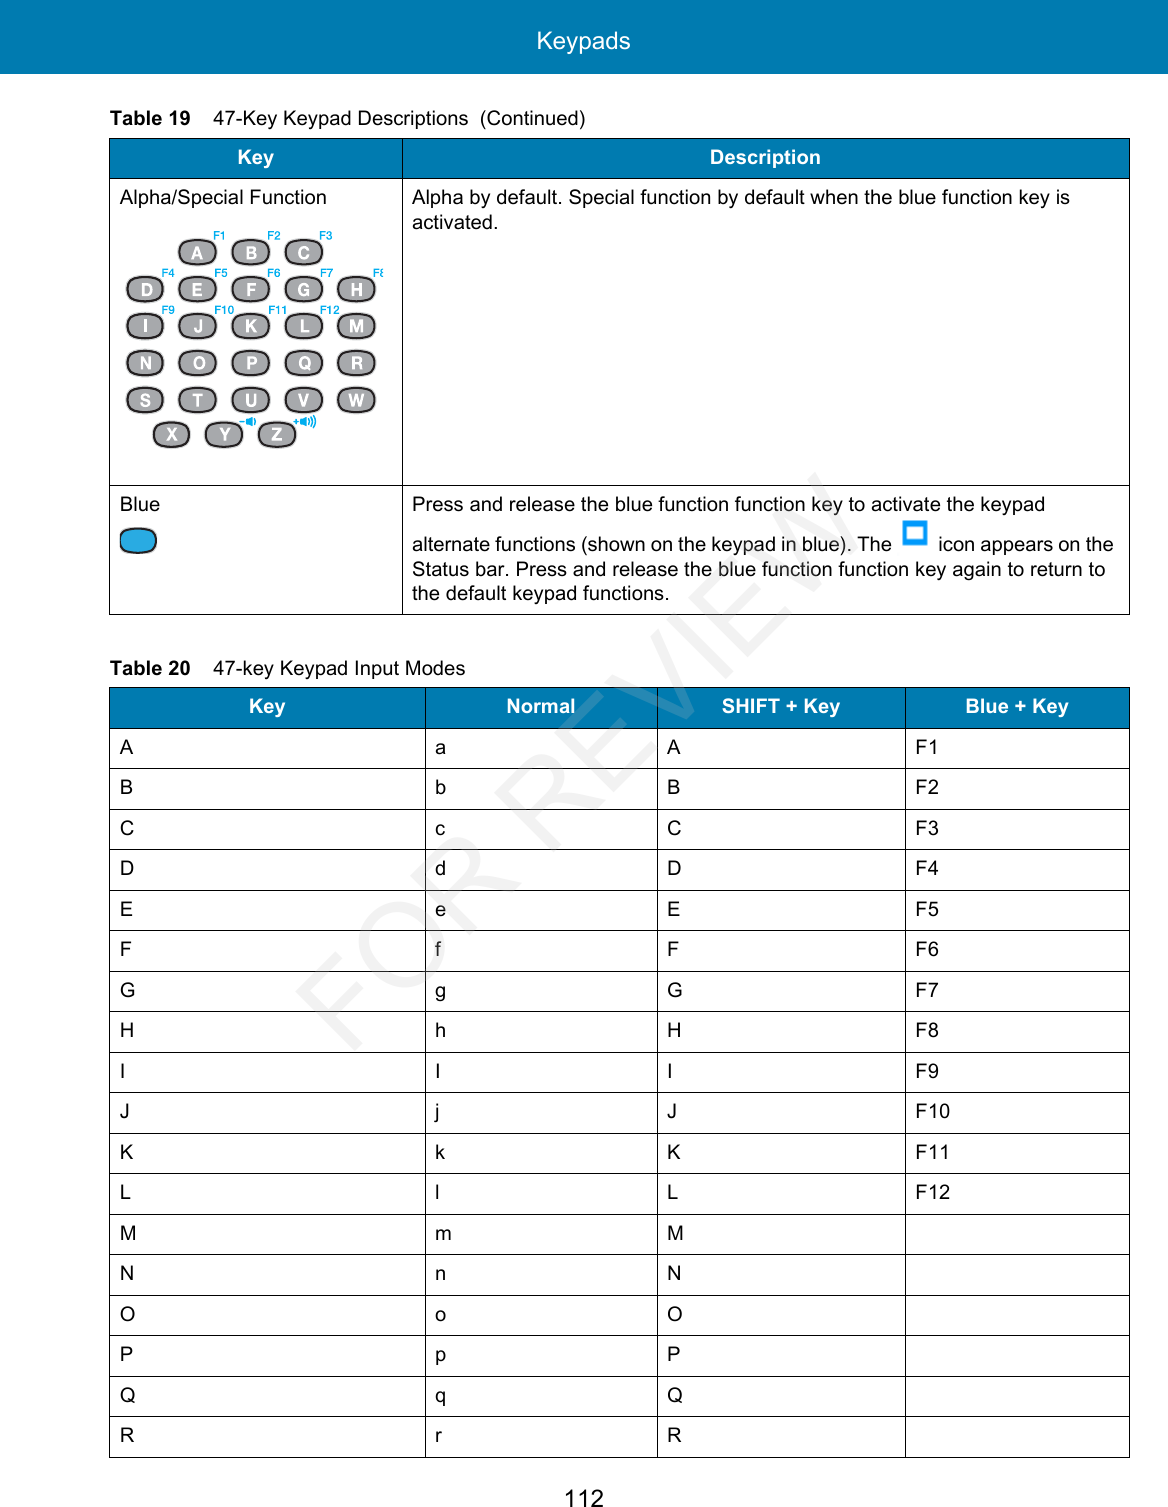
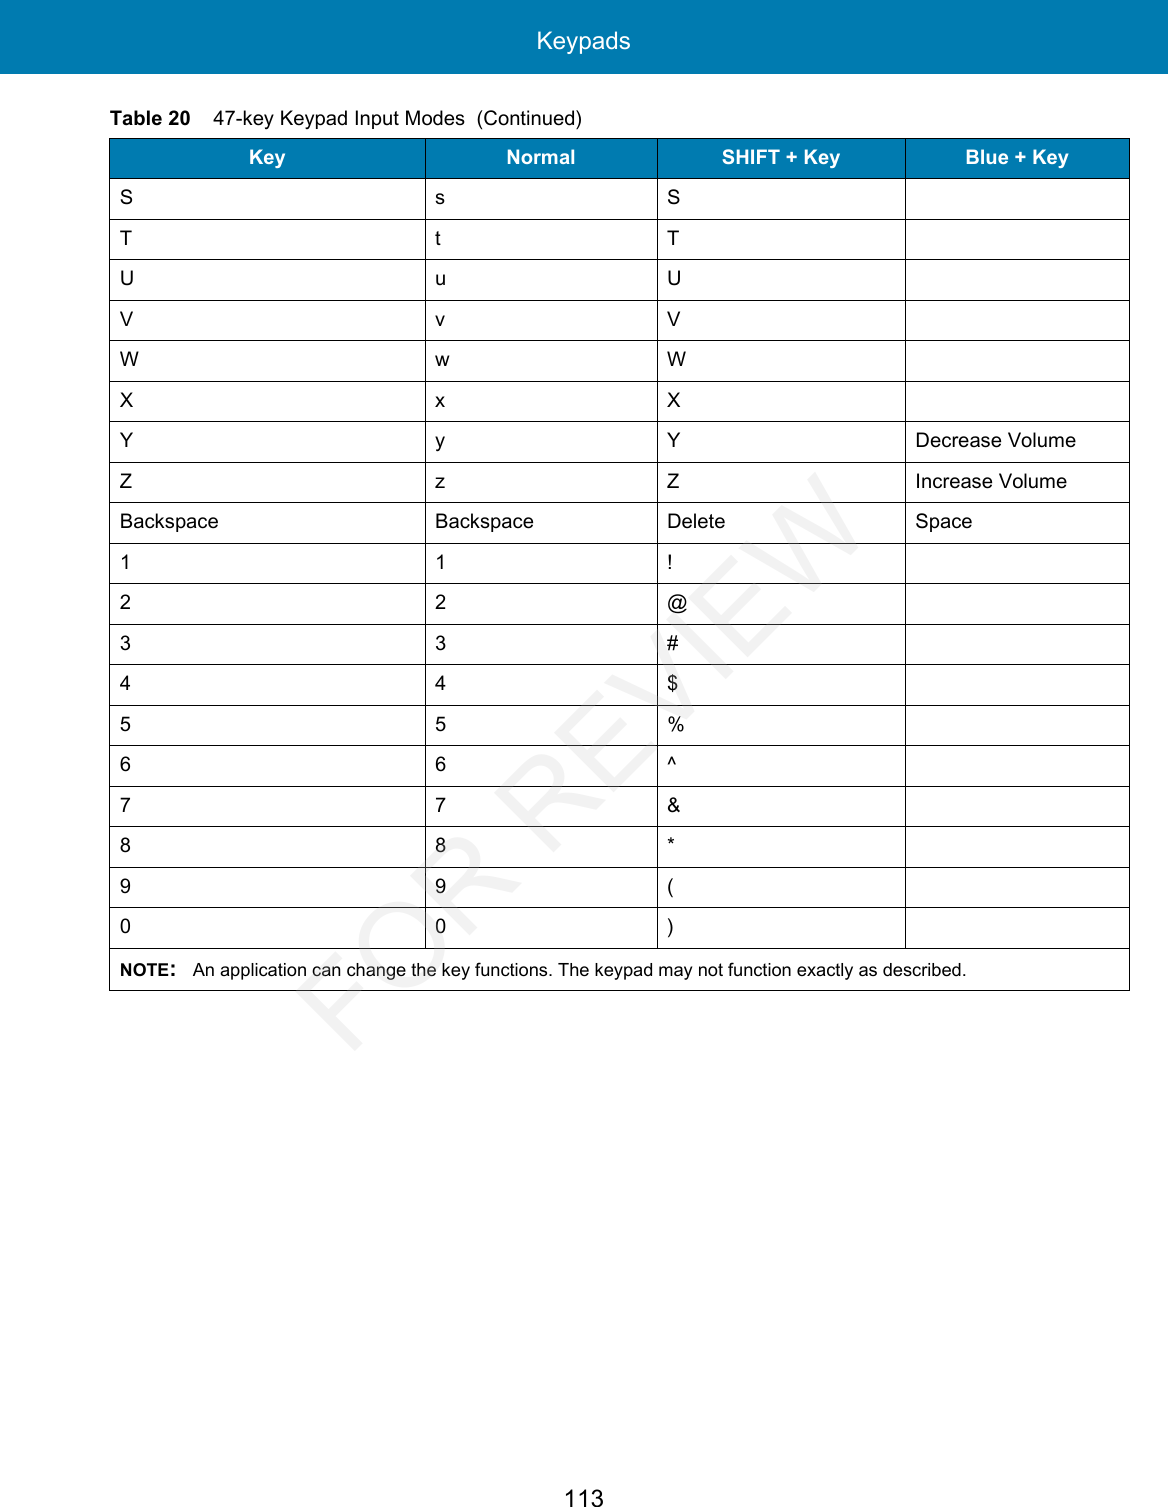
![Keypads109Down Arrow c CLeft Arrow d D TabCTRL e E CtrlESC f F77&gG-88*hH=99(II/BKSP Backspace Backspace Space Space Backspace44$jJ[55%kK]66^lL;11!mM‘22@nN‘33#oO\,,<pP,00)qQ0..>rR-F1 s S F11F2 t T F12F3 u U F13F4 v V F14F5 w WF6 x X Increase BrightnessF7 y Y Increase VolumeF8 z ZF9 Decrease BrightnessF10 *Decrease VolumeNOTE:An application can change the key functions. The keypad may not function exactly as described.Table 18 38-key Keypad Input Modes (Continued)Key Normal SHIFT + Key Orange + Key Orange + SHIFT + Key Blue + KeyFOR REVIEW](https://usermanual.wiki/Zebra-Technologies/MC330K.User-Manual/User-Guide-3635237-Page-104.png)