AISOLUTION KDC30 Barcode Scanner User Manual
AISOLUTION CO., LTD. Barcode Scanner
UserManual.wiki
>
AISOLUTION
>
KDC30 User Manual
User Manual
Navigation menu
Upload a User Manual
Namespaces
Wiki Guide
HTML
PDF
Info
Views
User Manual
Discussion / Help
Navigation
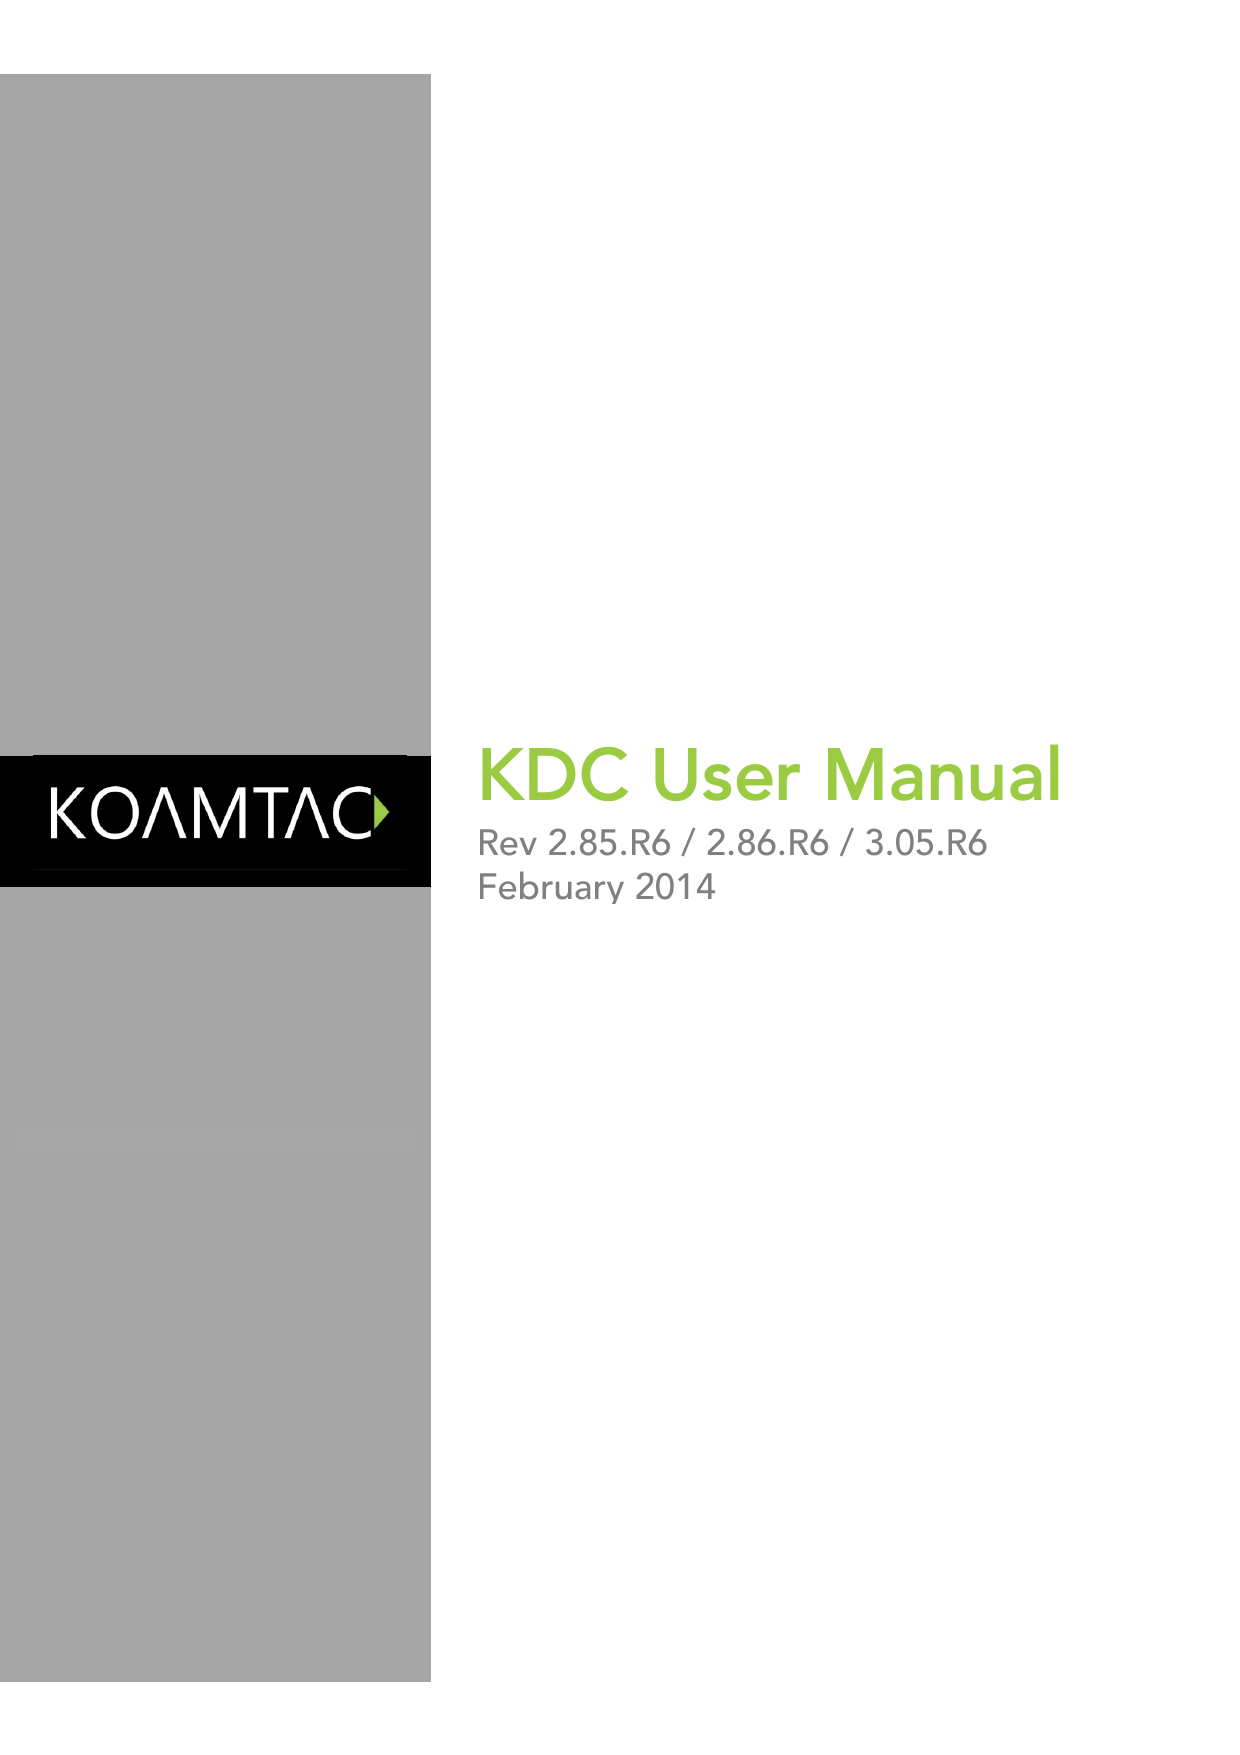

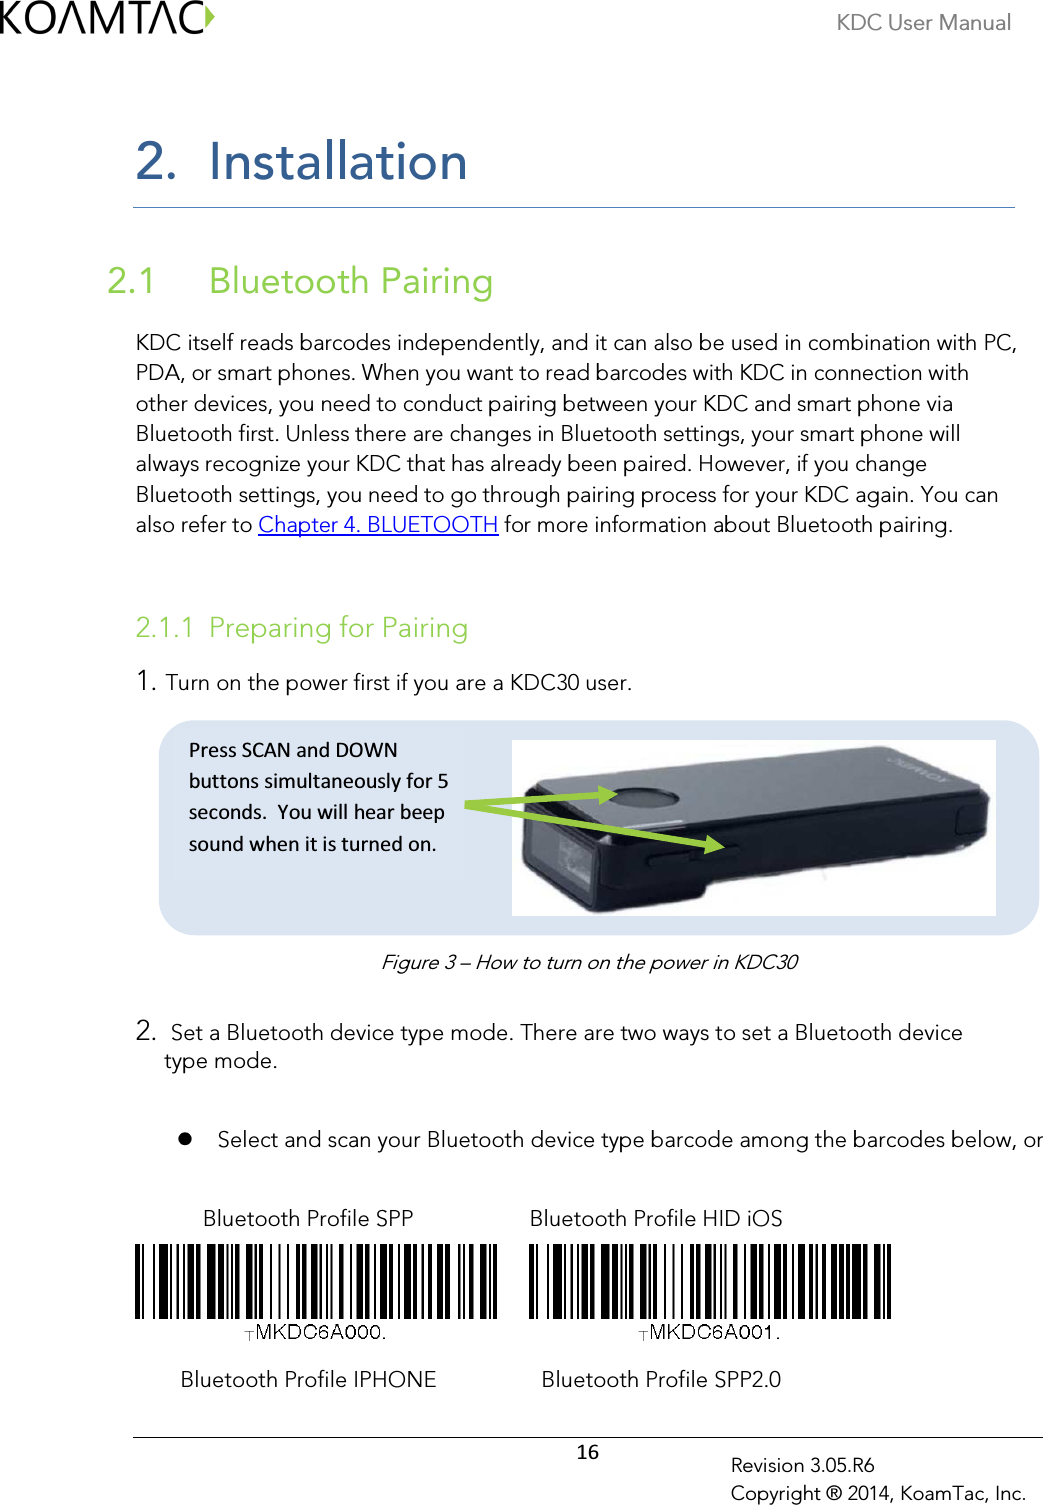
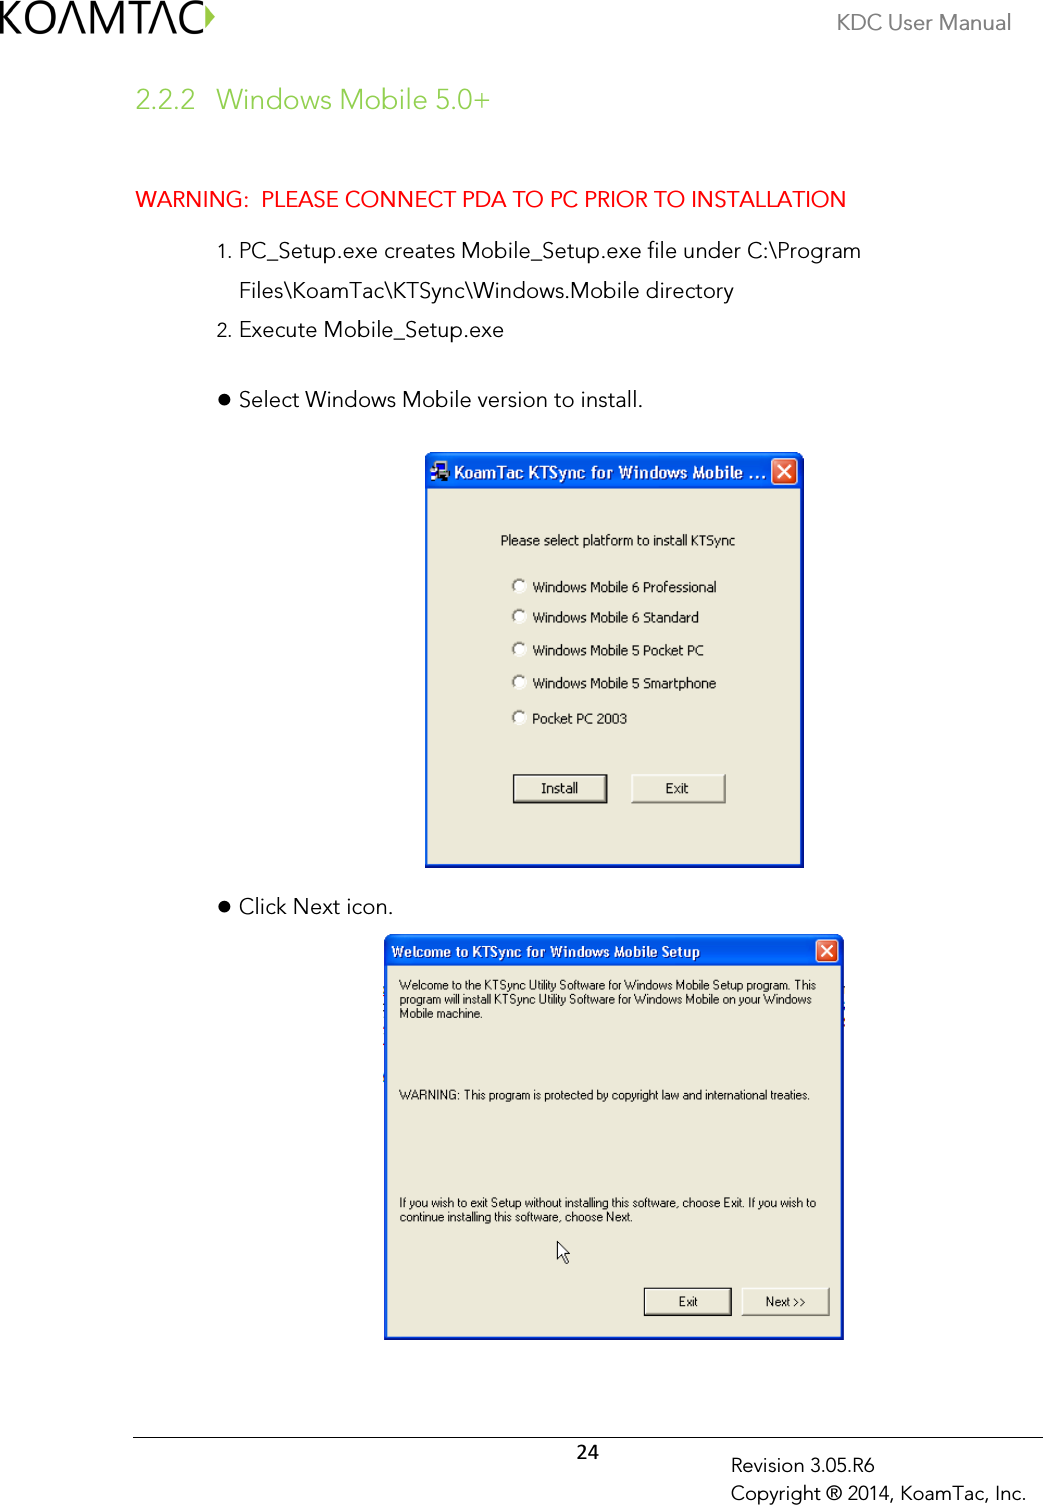
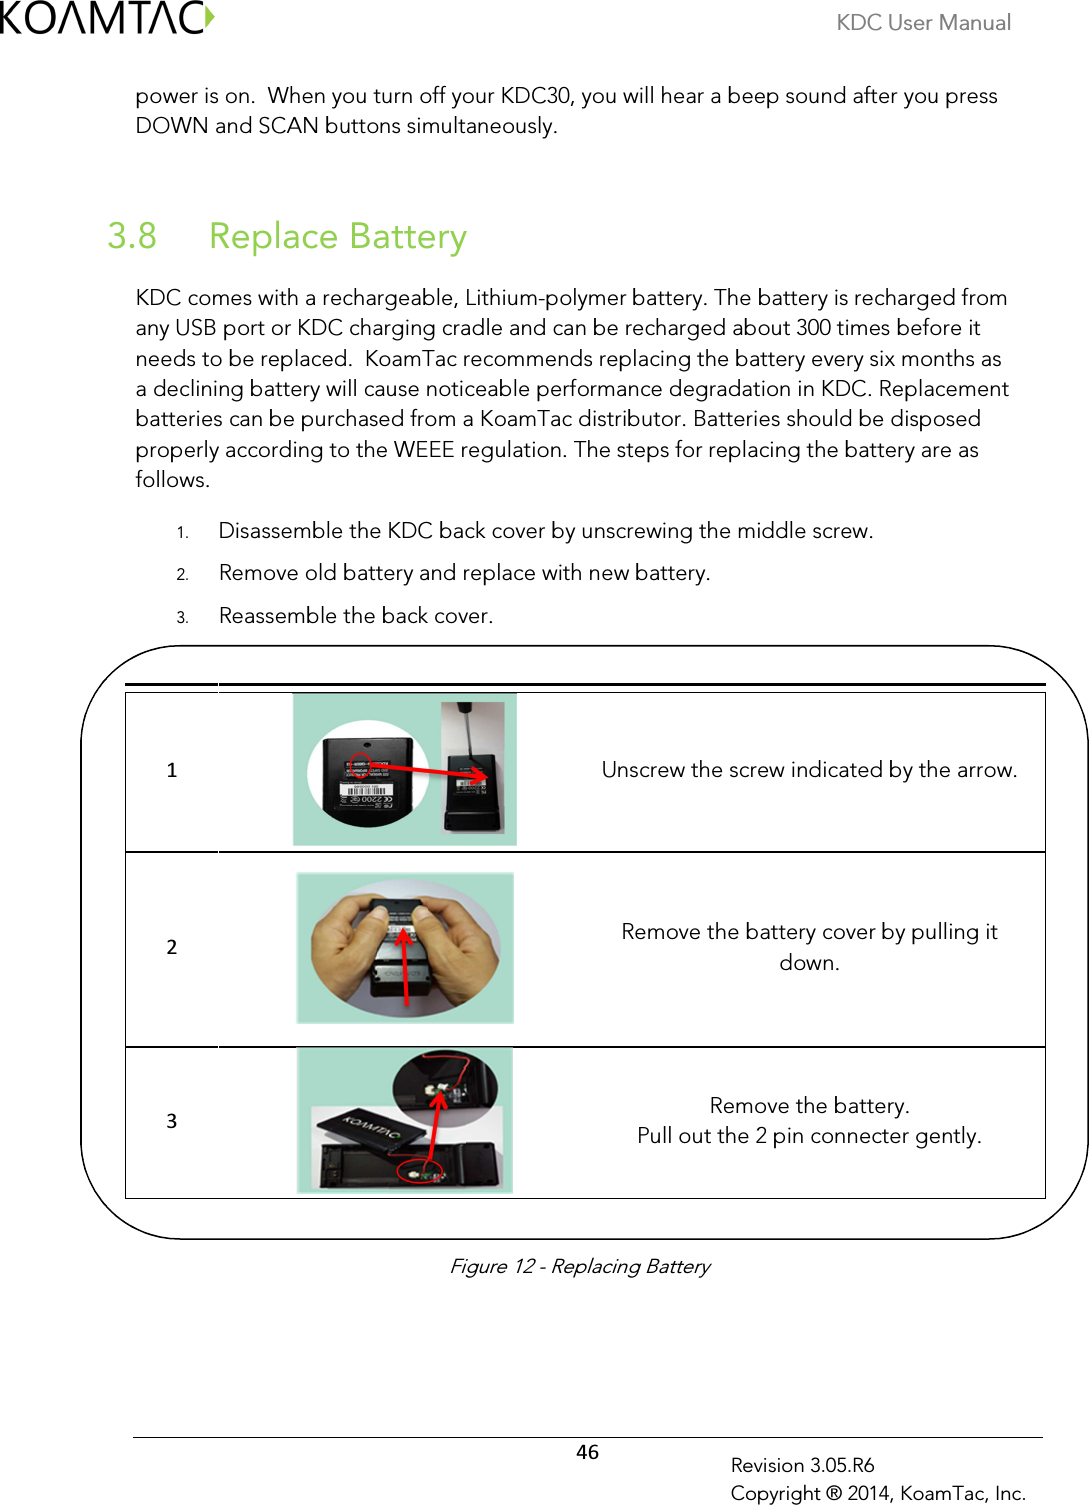
![KDC User Manual 14 Revision 3.05.R6 Copyright ® 2014, KoamTac, Inc. KDC Package 1.1 The standard KDC package contains: 1. One KDC Barcode Data Collector 2. One USB Cable 3. One Lanyard 4. KoamTac Installation CD with KTSync© for Microsoft Windows XP, Vista 7 and Mobile 5.0+ KDC Device Driver User Manual [NOTE]: Depending on your region or distributor, package contents may vary. Figure 1- KDC Package KDC30](https://usermanual.wiki/AISOLUTION/KDC30/User-Guide-2333665-Page-13.png)
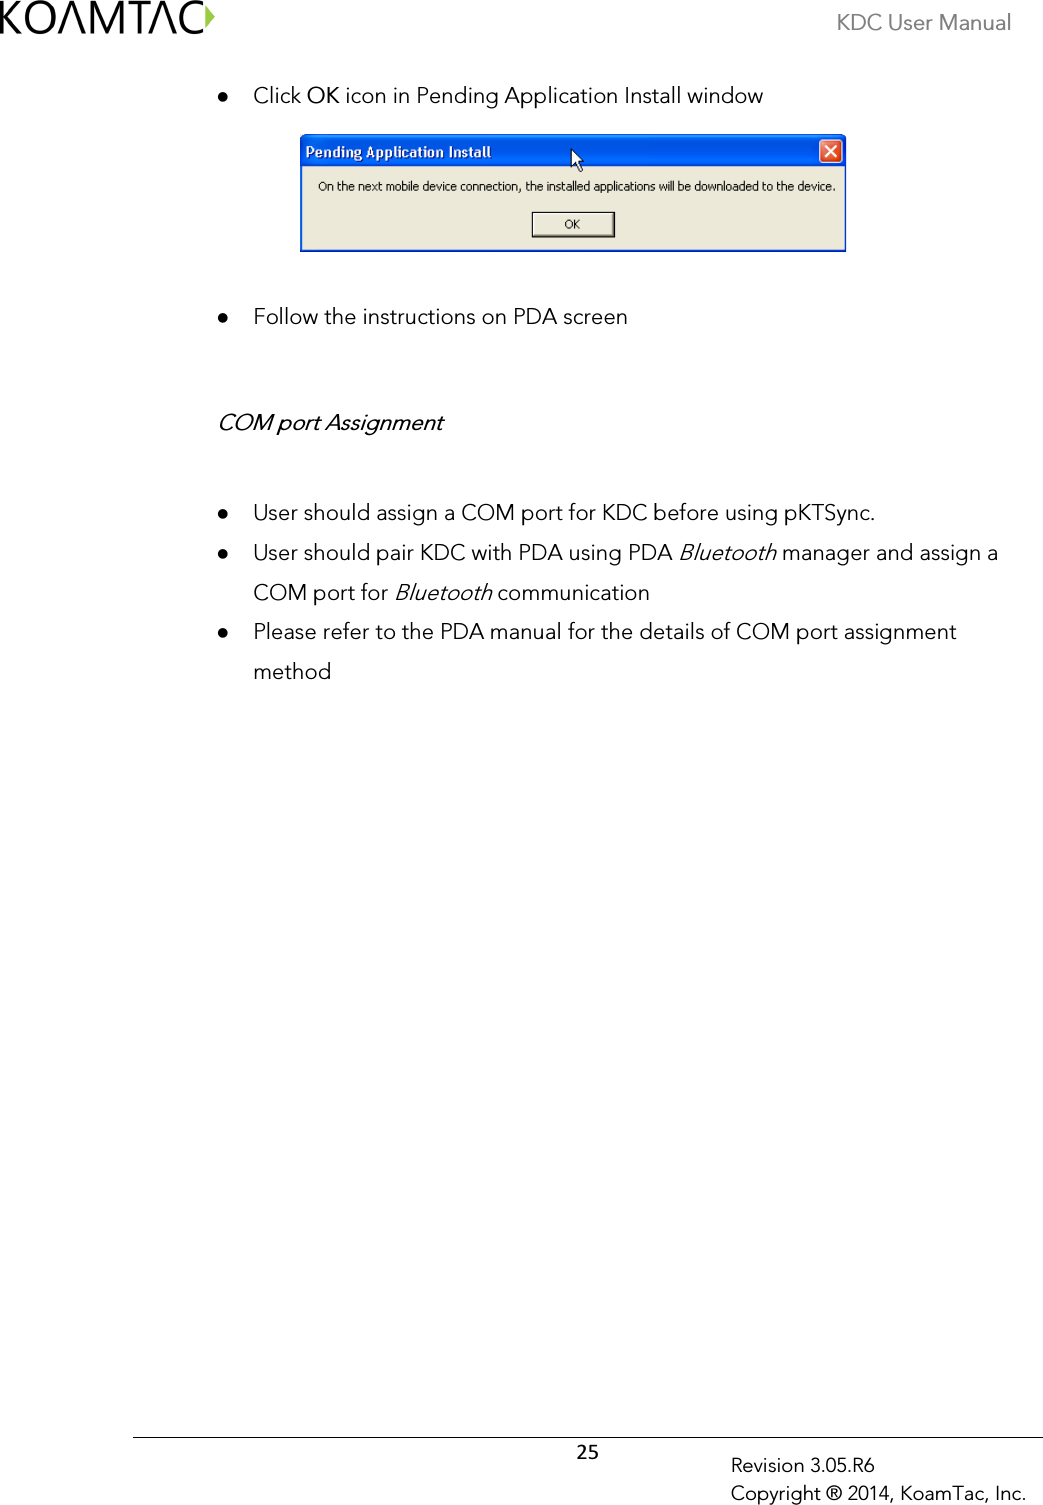

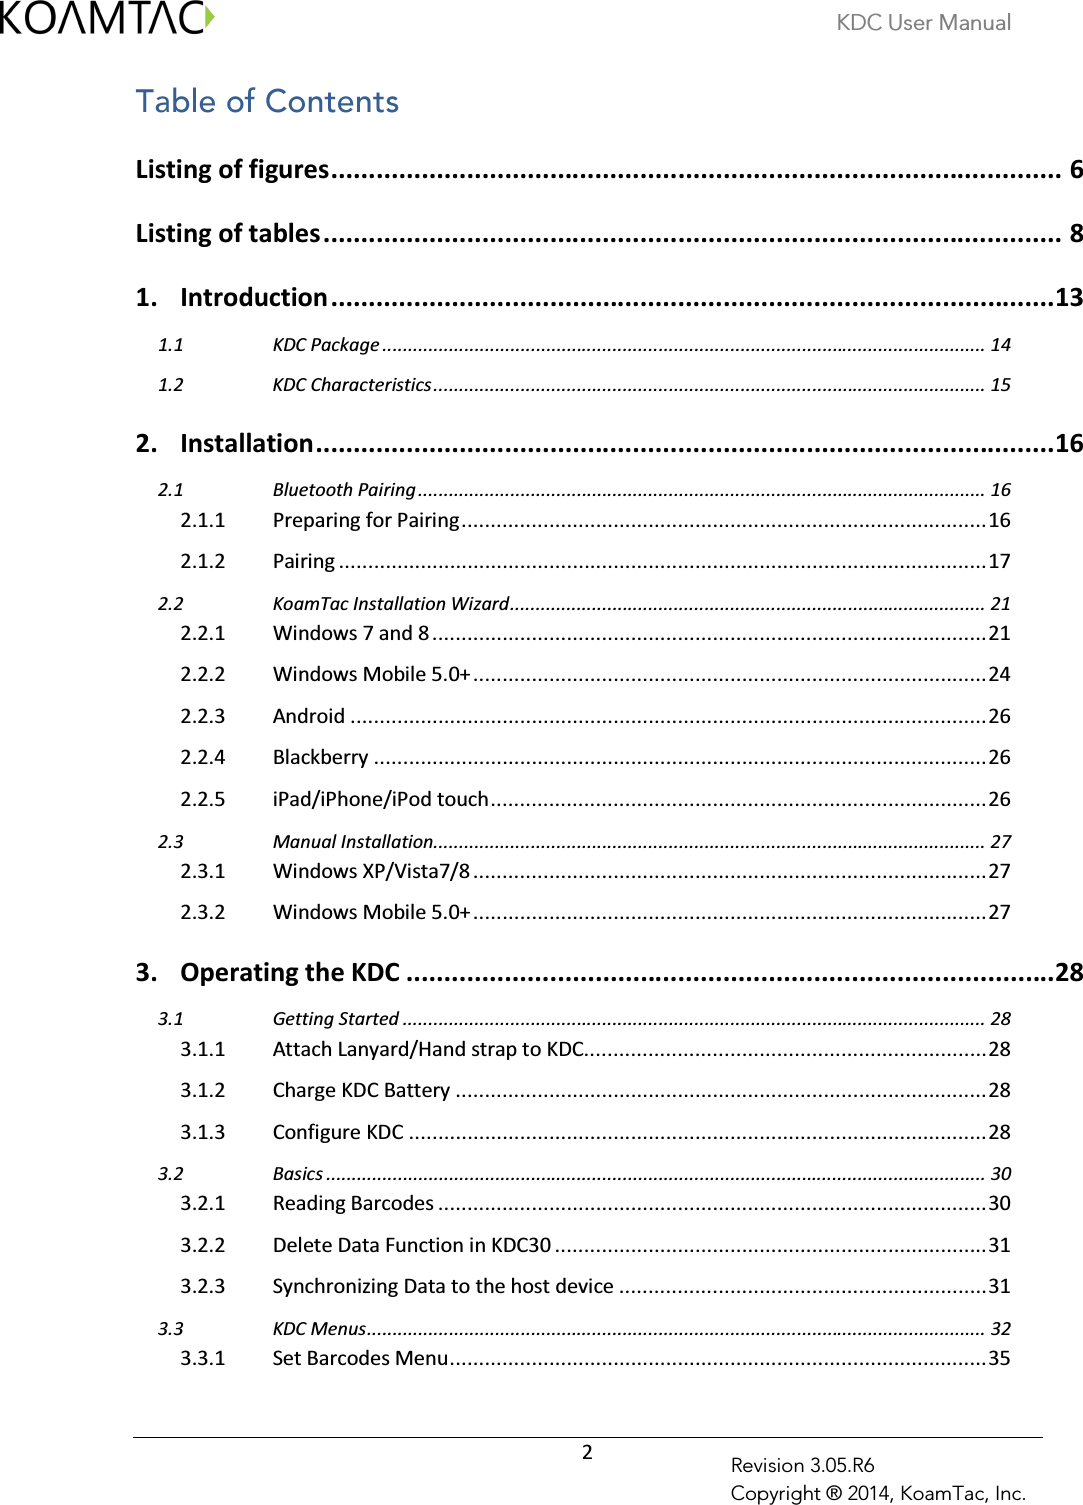
![KDC User Manual 38 Revision 3.05.R6 Copyright ® 2014, KoamTac, Inc. OCR SEMI Security Level: Allows you to ensure an accurate barcode reading by setting the number of times the KDC will read a barcode. Security Level is set from 1 up to 4. The higher security level means more reliable readings though some performance degradation is likely. For poor quality barcodes, we recommend increasing the security level. The default is 2. Auto Trigger: Allows users to scan a barcode automatically once Auto Trigger is enabled. User can adjust Reread delay from Continuous to Extra Long. Auto Trigger mode always enables duplicate check option. [Note1] USB cable insertion requirement is removed from FW2.85/86.O and FW 3.02. [Note2] Users can exit the auto trigger mode by pressing the scan button for 3 seconds. Reread Delay: Users can adjust Reread delay from Continuous to Extra Long. Auto Trigger mode always enables duplicate check option. Partial Display: Allows you to display partial data. User defines the start position and number of characters to be displayed. 3.3.4 Data Process Menu Wedge/Store - The KDC provides five modes of data transmission in keyboard wedging mode. Wedge Only: Barcode data is NOT stored in memory but transmitted to the host. Wedge & Store Only: Barcode data is stored in memory and transmitted to the host. Store Only: Barcode data is stored in memory but NOT transmitted to the host. Save if Sent: If data transmission is successful, barcode data is stored in memory. Save if Not Sent: If data transmission is NOT successful, barcode data is stored in memory. Data Format - The KDC provides two data formats, Barcode Only and Packet Data. Barcode Only: KDC transmits scanned barcodes only. User may incorporate](https://usermanual.wiki/AISOLUTION/KDC30/User-Guide-2333665-Page-37.png)
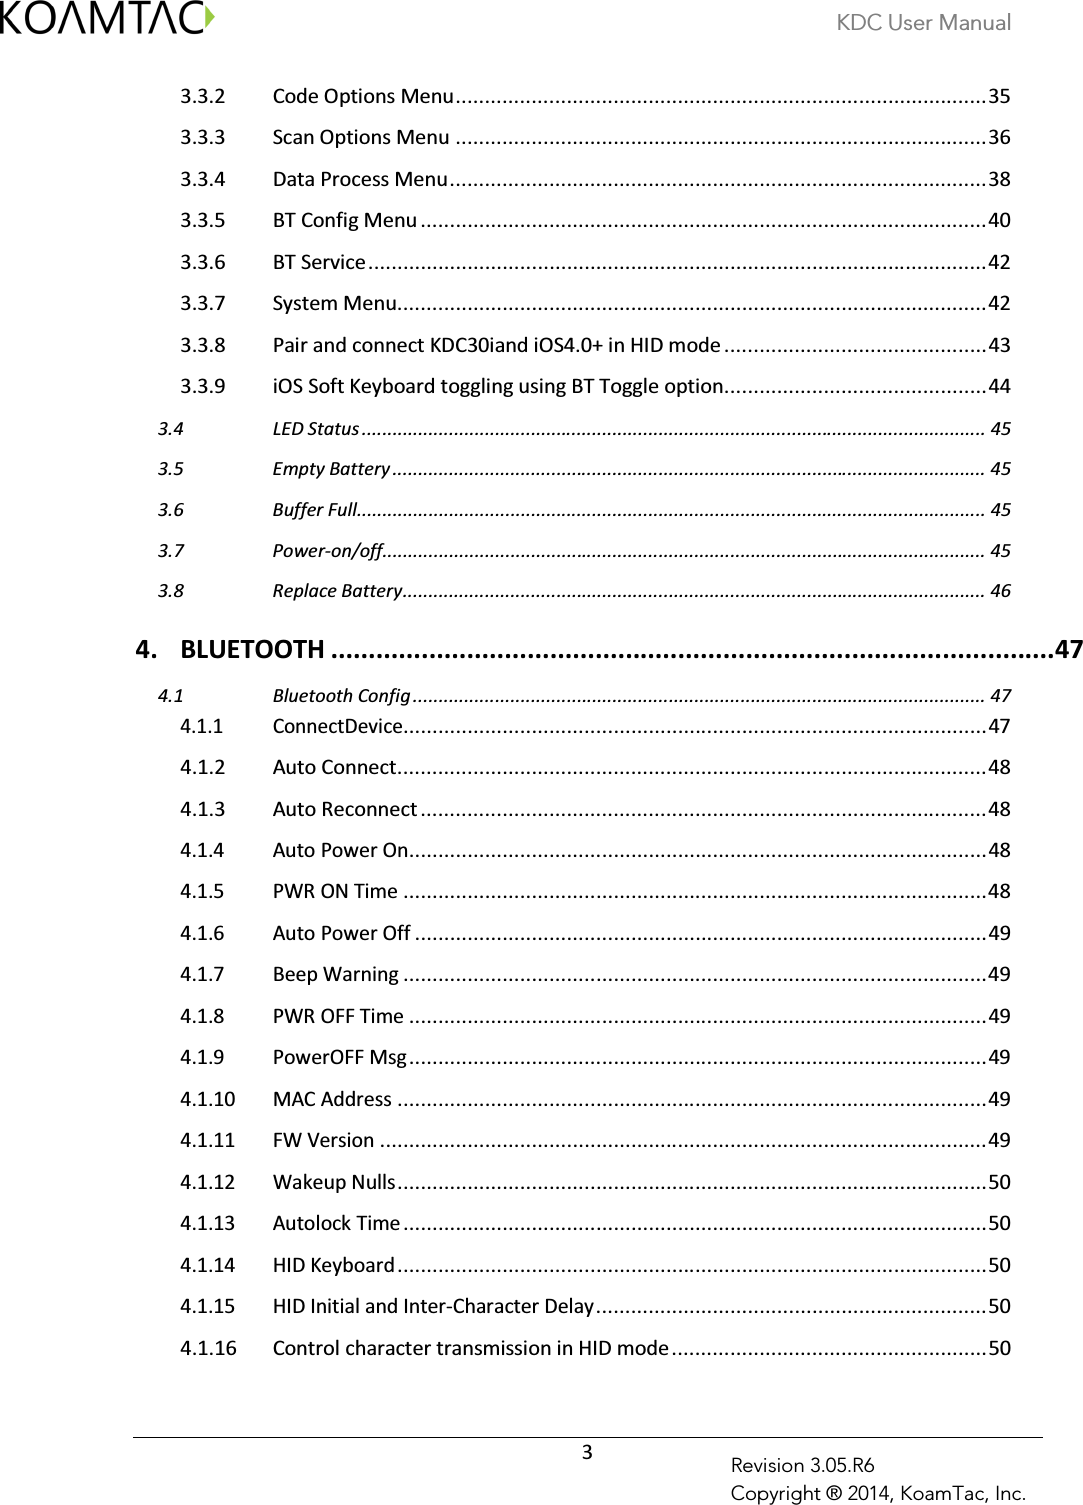
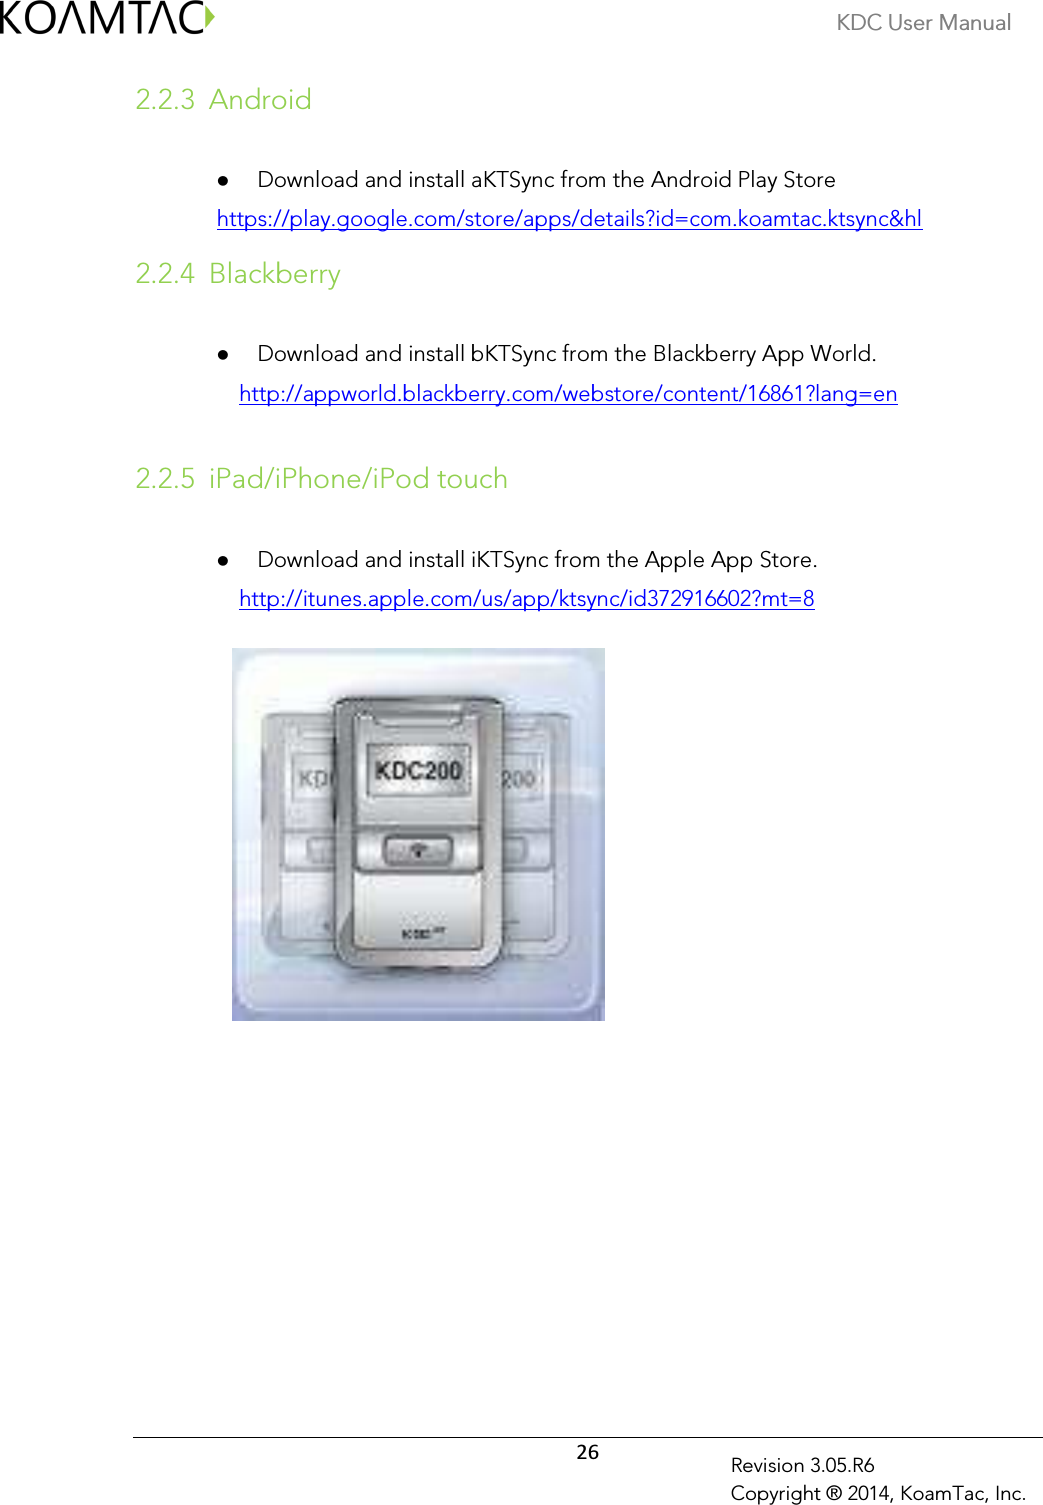
![KDC User Manual 48 Revision 3.05.R6 Copyright ® 2014, KoamTac, Inc. 4.1.2 Auto Connect This feature allows the KDC to connect automatically to the host device when the KDC is powered on. IMPORTANT: Until the host device and KDC have been fully tested, it is strongly recommended that this feature be set to Disable because a host device that does not support this feature can cause problems such as power loss or upload delays. [Note] KDC automatically tries to connect to the host 10 times during two minutes when Bluetooth power is ON, Bluetooth is disconnected, Auto Connect is enabled and system Sleep Timeout is set to 5 seconds 4.1.3 Auto Reconnect This feature allows the KDC to connect automatically to the host device when the KDC is disconnected from a host. IMPORTANT: This feature is available when KDC “Connect Device” options are “iPhone”,”HID iOS” and “HID Normal “. Note: • KDC tries to connect automatically to the host 10 times during two minutes if Bluetooth is disconnected. 4.1.4 Auto Power On The Auto Power On option allows the KDC to automatically power on Bluetooth when the SCAN button is depressed. The default setting is Disabled. NOTE: The host may have to open the COM port before reconnecting with the KDC. Power-on time determines the scan button pressing time to activate Auto Power On feature. 4.1.5 PWR ON Time The PWR On Time option works in conjunction with the Auto Power On option. Default value is Disabled. If KDC Bluetooth power is off, user can turn on Bluetooth power by pressing SCAN button for PWR On Time option value.](https://usermanual.wiki/AISOLUTION/KDC30/User-Guide-2333665-Page-47.png)
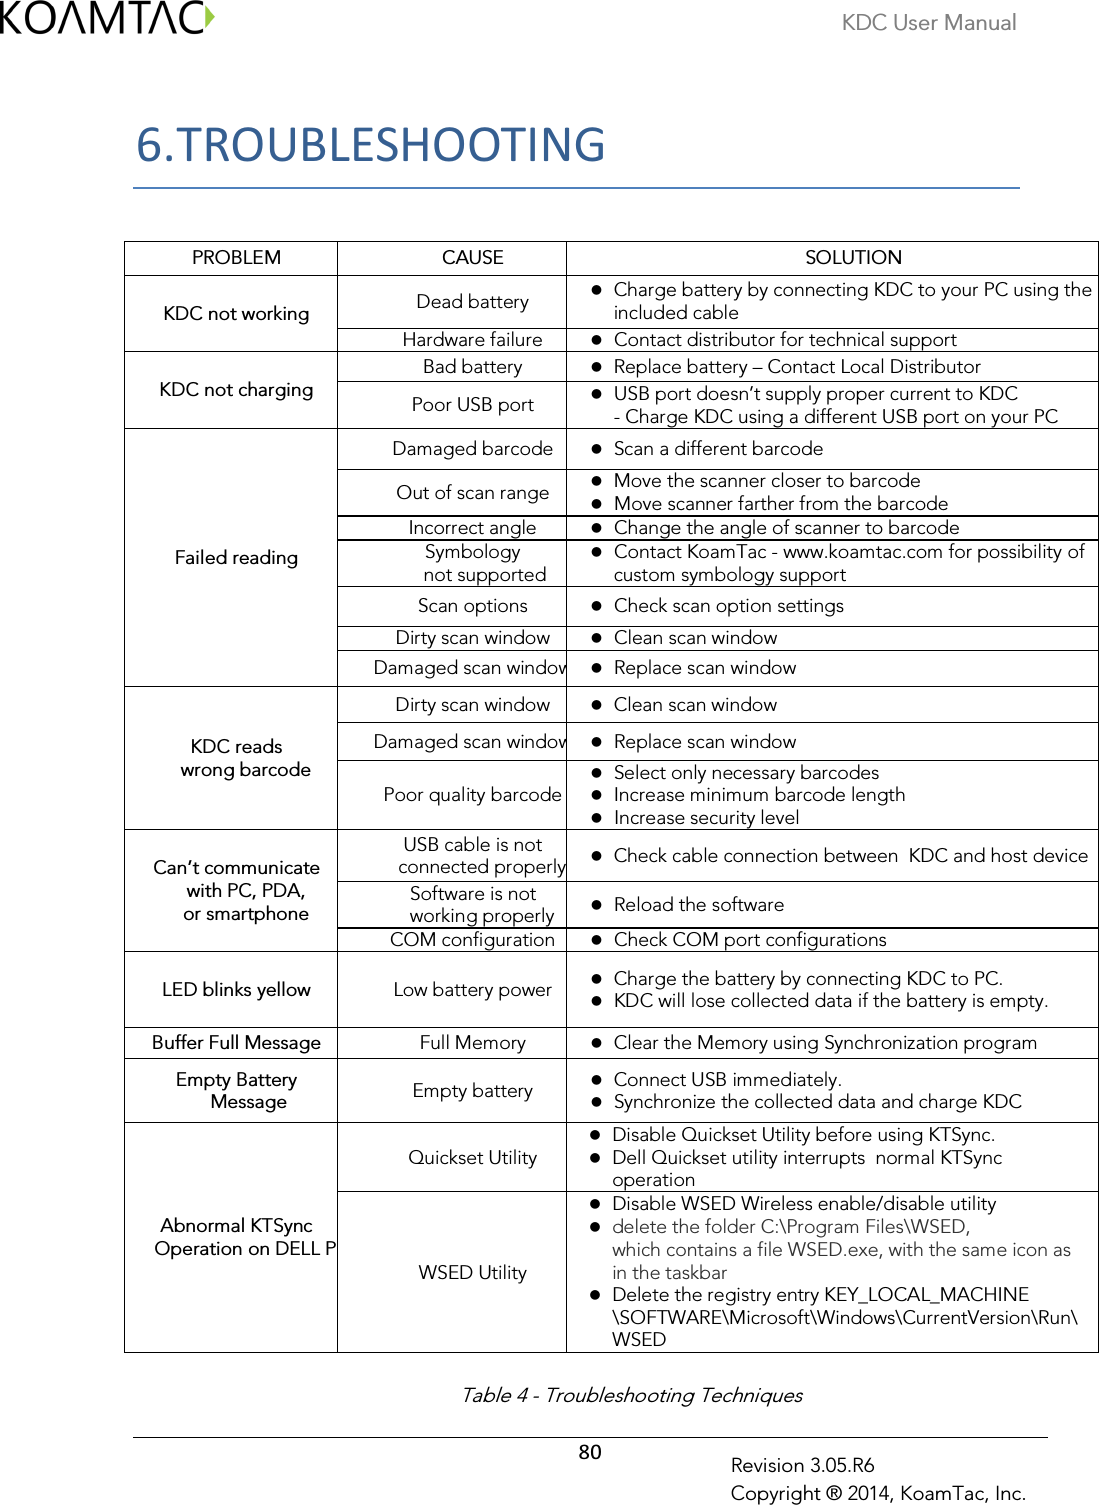
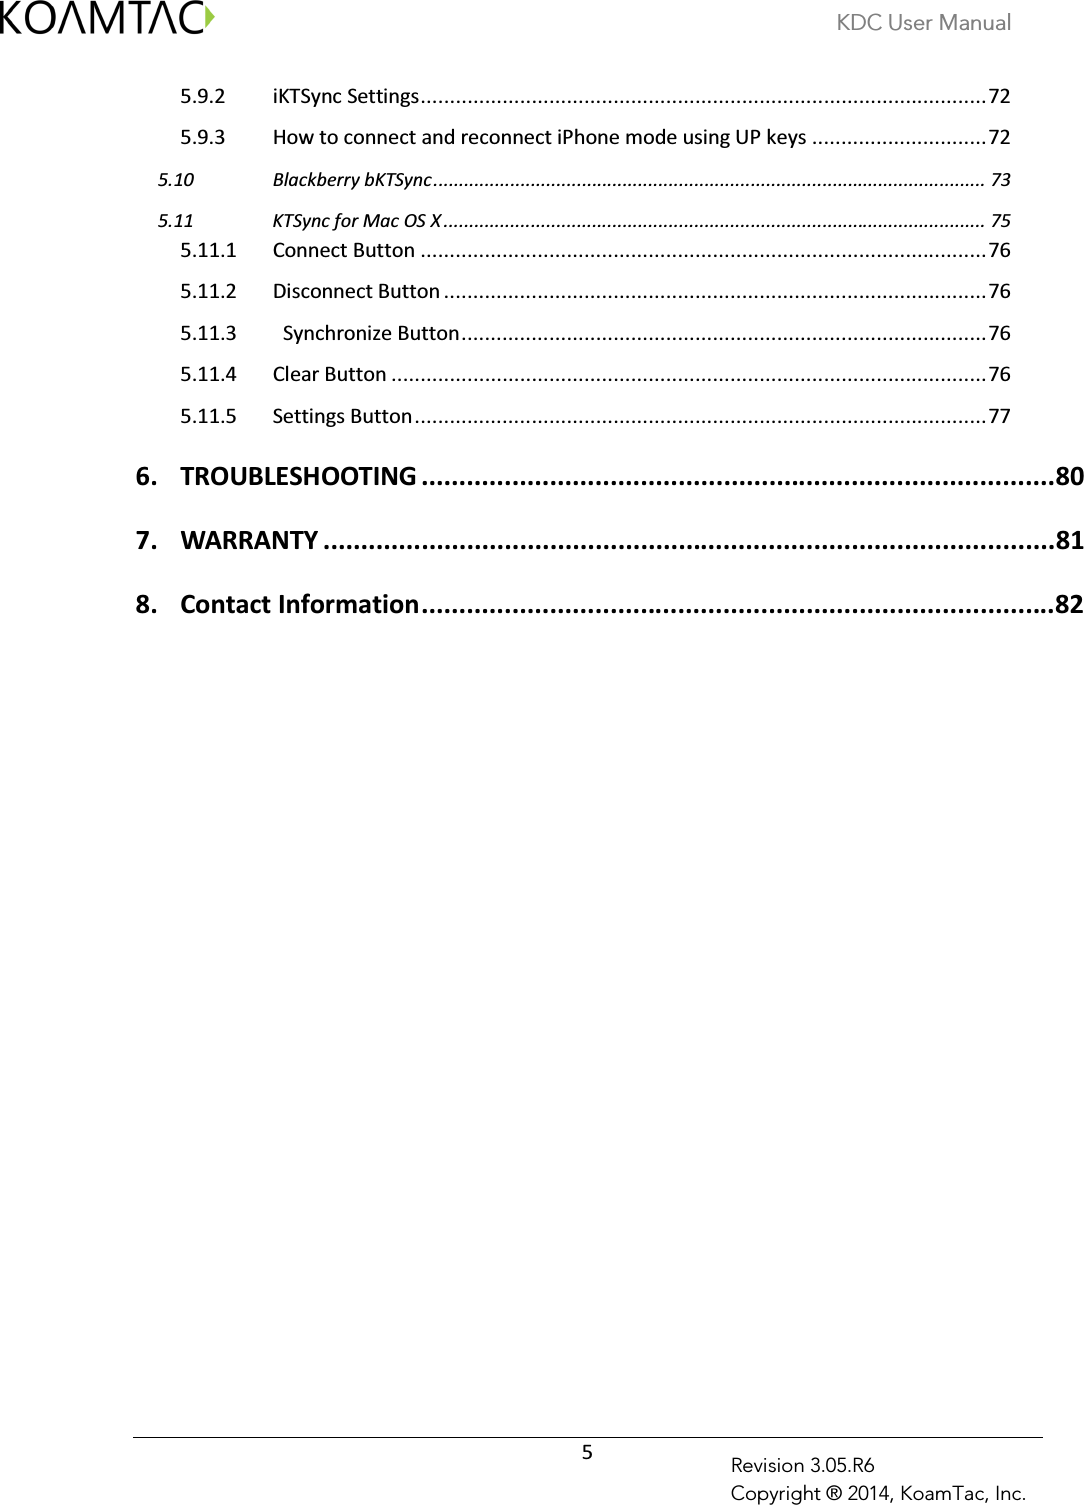
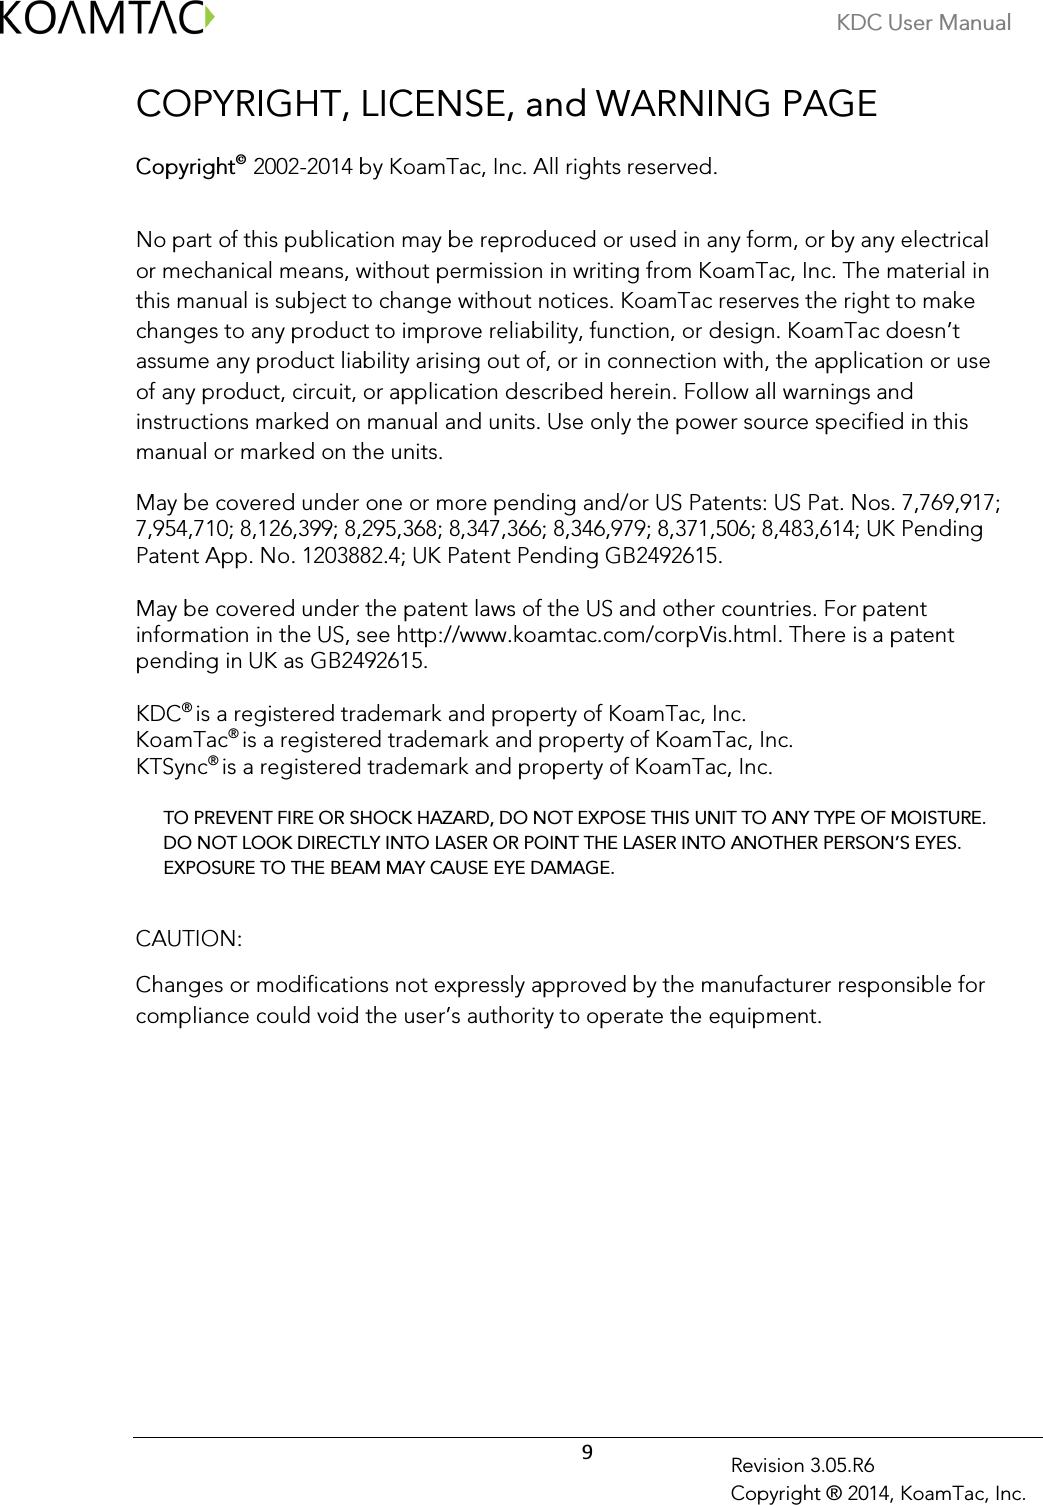
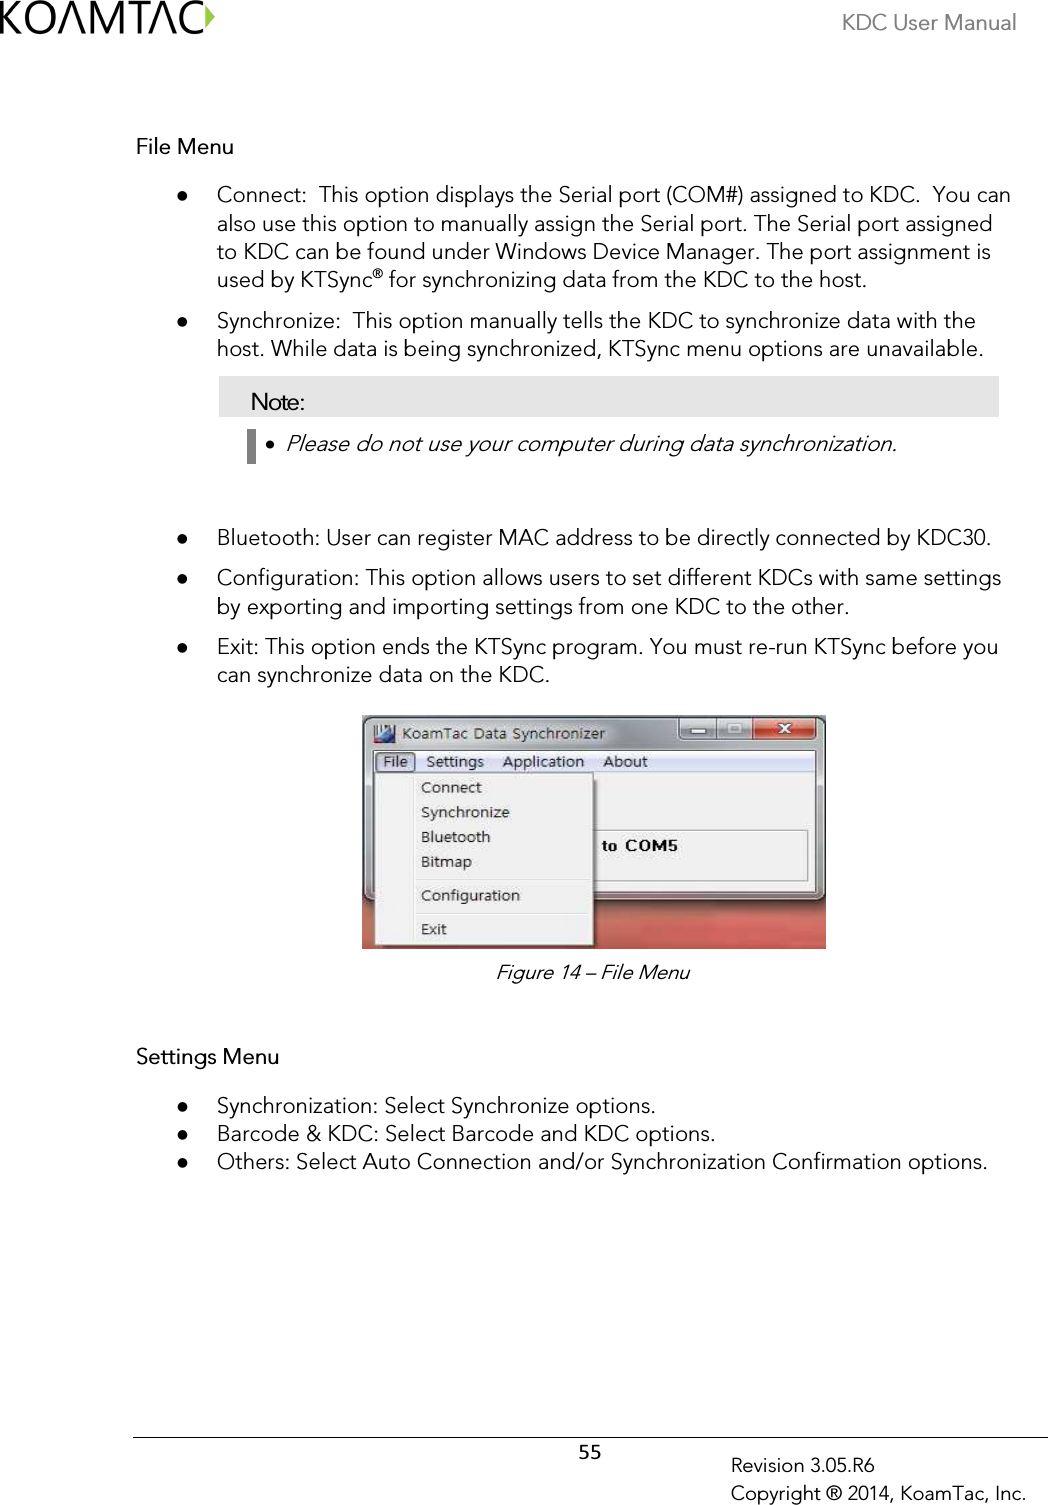
![KDC User Manual 51 Revision 3.05.R6 Copyright ® 2014, KoamTac, Inc. Control Char Transmit Chars Control Char Transmit Chars Control Char Transmit Chars Control Char Transmit Chars 0x01 ^A 0x0B ^K 0x14 ^T 0x1D ^] 0x02 ^B 0x0C ^L 0x15 ^U 0x1E ^^ 0x03 ^C 0x0E ^N 0x16 ^V 0x1F ^_ 0x04 ^D 0x0F ^O 0x17 ^W 0x05 ^E 0x10 ^P 0x18 ^X 0x06 ^F 0x11 ^Q 0x19 ^Y 0x07 ^G 0x12 ^R 0x1A ^Z 0x09 ^I 0x13 ^S 0x1C ^\ 4.1.17 Function key transmission in HID mode Users can send F1 to F12 function keys by scanning special barcodes in HID mode. 4.1.18 Disconnect/Reconnect/BT(HID) Toggle Users can disconnect or reconnect the Bluetooth connection or toggle soft keyboard using side buttons. Bluetooth Profile UP Key DOWN Key (DisconnectBTN disabled) DOWN Key (DisconnectBTN enabled) SPP Do nothing Do nothing Release BT connection HID iOS Reconnect Soft Keyboard Toggle if pressing less than 3sec, Soft Keyboard Toggle if pressing less than 3sec, Release BT connection iPhone Reconnect Do nothing Release BT connection SPP 2.0 Do nothing Do nothing Release BT connection HID normal Reconnect Do nothing Release BT connection](https://usermanual.wiki/AISOLUTION/KDC30/User-Guide-2333665-Page-50.png)


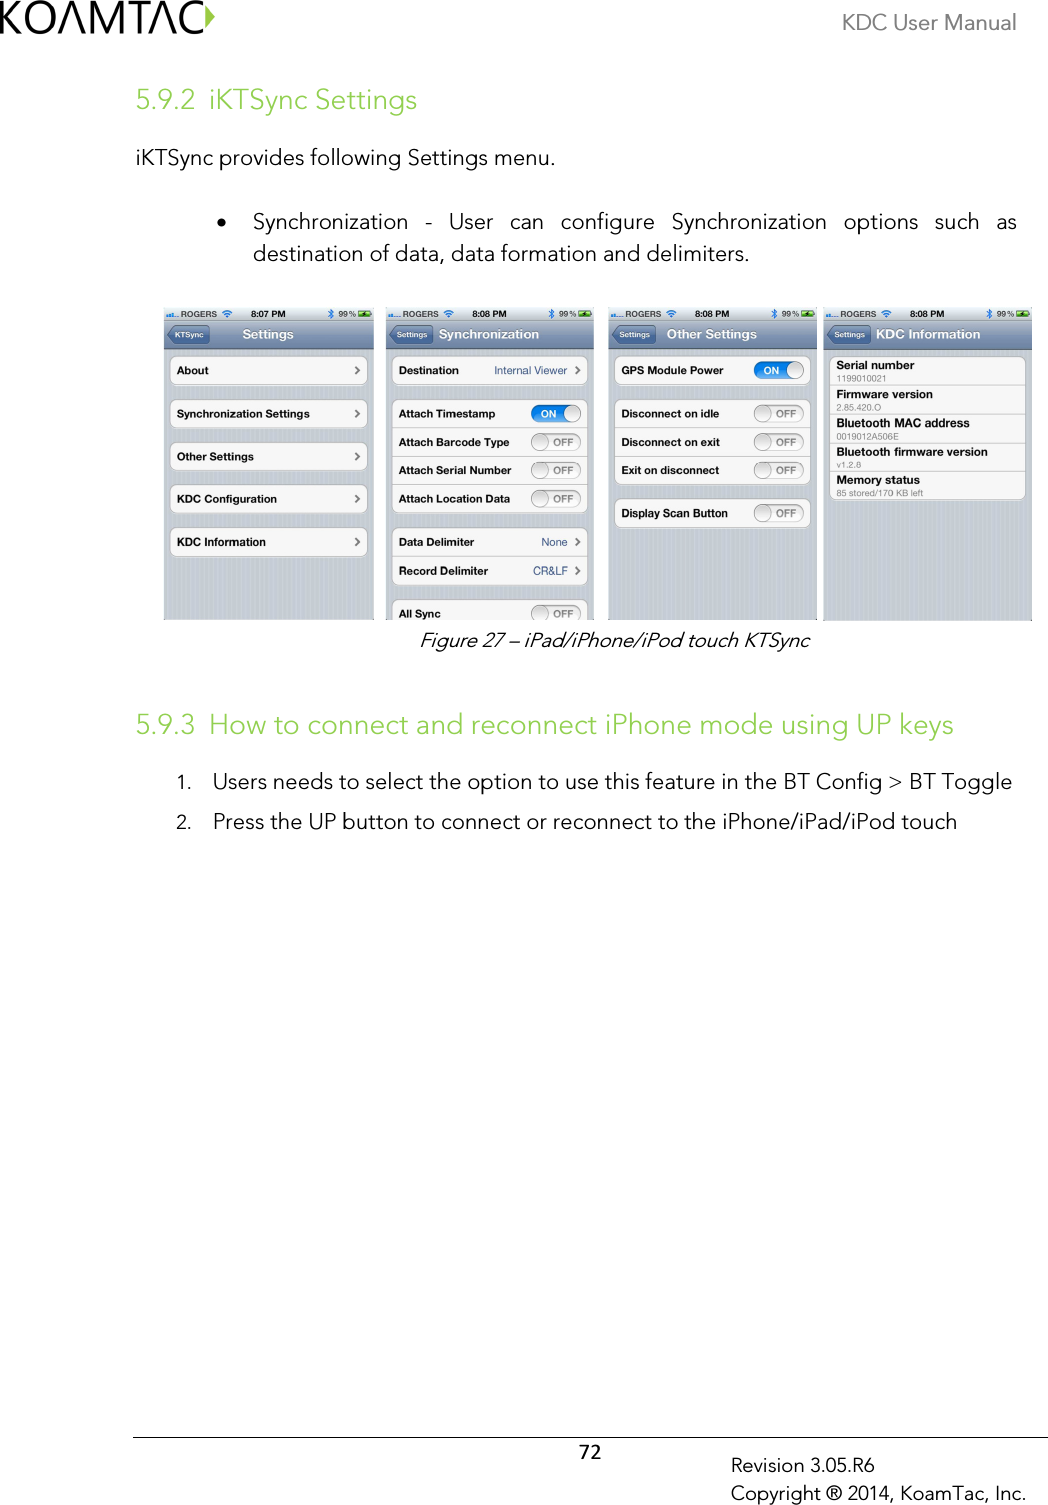
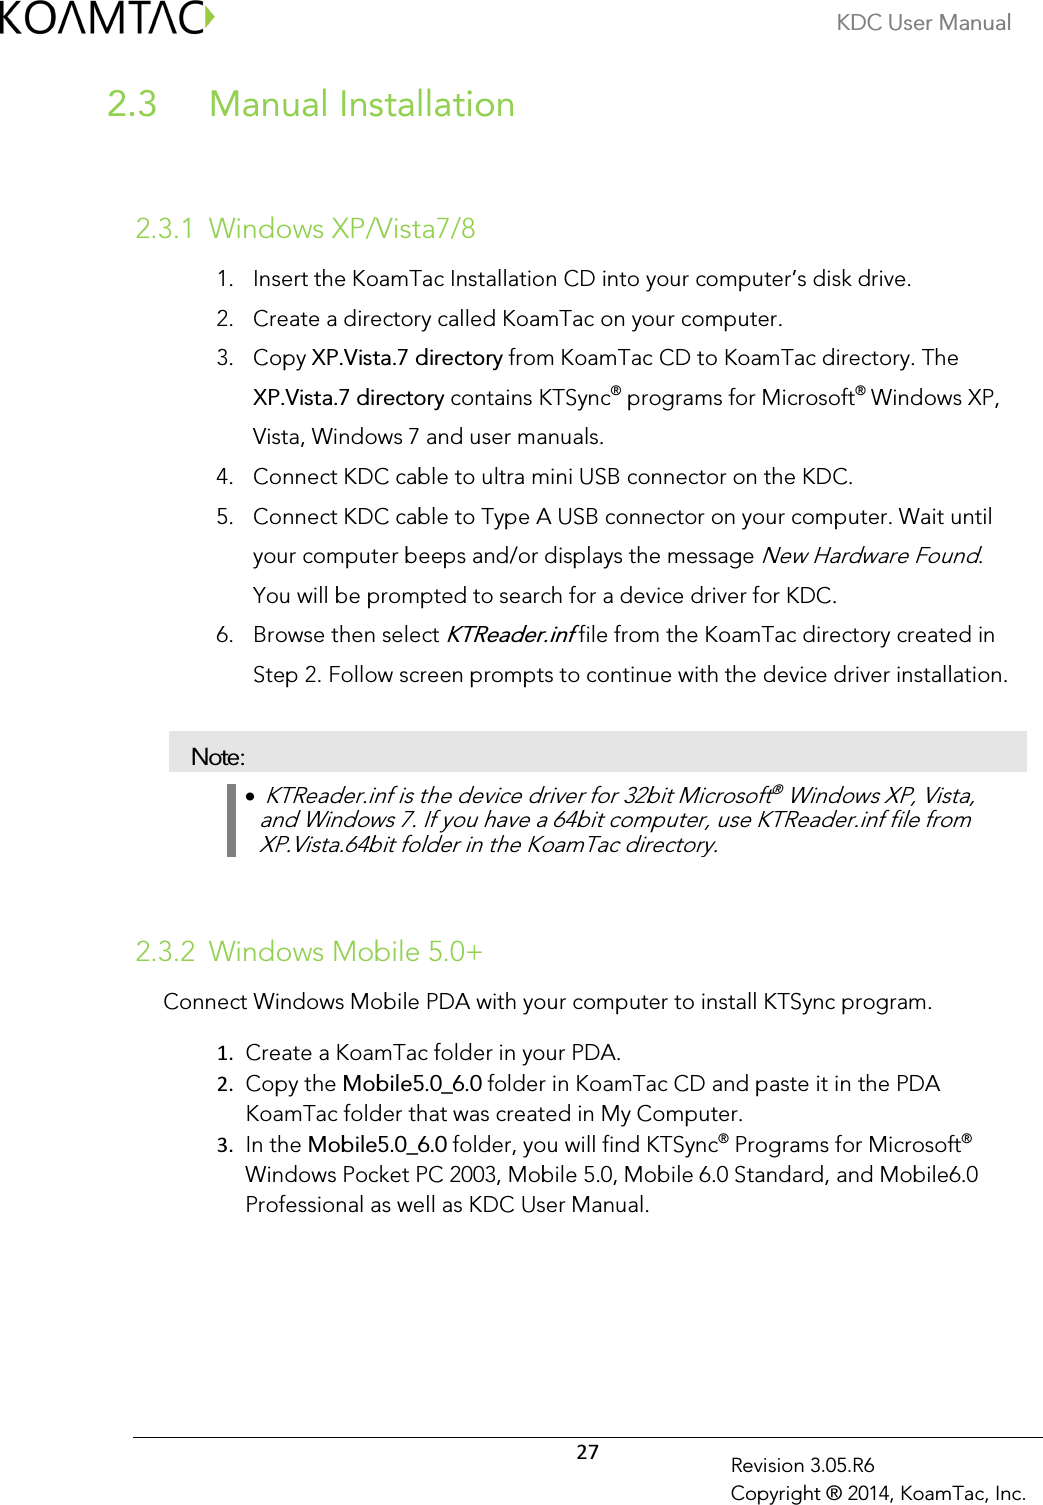
![KDC User Manual 71 Revision 3.05.R6 Copyright ® 2014, KoamTac, Inc. iPad/iPhone/iPod touch KTSync 5.9 The KTSync for iPad/iPhone/iPod touch provides limited functionality of PC KTSync for iPad, iPhone and iPod touch users. 1. The KDC supports SPP and iPhone Bluetooth profiles. 2. The iPhone/iPad/iPod touch should use iPhone Bluetooth profiles. iPhone is the default profile of KDCi models. 3. Download the KTSync program from the App Store. 4. Enable the iPhone/iPad/iPod touch Bluetooth power from the Setting > General > Bluetooth menu. Note: • Users have to disable MFi option in System > MFi menu to use HID Bluetooth profiles. • Users have to RESET the iPhone/iPad/iPod touch to change “HID to iPhone mode” or “vice versa” after removing previous KDC connection. • KDC with Bluetooth Spec2.1+EDR doesn’t prompt Pin code entry menu. 5.9.1 KDC30i connection using iPhone mode 1. Download and install iKTSync from the Apple App Store. http://itunes.apple.com/us/app/ktsync/id372916602?mt=8 2. Press the two KDC side buttons together to enter menu mode 3. Scroll down to Bluetooth menu using KDC Down button 4. Press the front middle scan button 5. Scroll down to Discovering and press the front middle scan button a. “Discovering Started …” message will be displayed on KDC screen b. Discovering will take about 30 seconds. 6. Select discovered iPhone/iPod touch device name and press the front middle scan button a. [Pin Code] User Default/Enter PinCode will be displayed b. Press the front middle scan button to select the Use Default option c. The message “Connecting to iPhone/iPod touch device name” will be displayed d. iPhone/iPad/iPod touch will ask for the PIN number. f. Please enter “0000” and hit “connect” icon g.“iPhone Connected” message will be displayed 7. Launch KTSync and configure Settings](https://usermanual.wiki/AISOLUTION/KDC30/User-Guide-2333665-Page-70.png)