ANHUI KONKA ELECTRONIC WD40FL2480 LCD TV User Manual
ANHUI KONKA ELECTRONIC CO., LTD LCD TV
UserManual.wiki
>
ANHUI KONKA ELECTRONIC
>
WD40FL2480 User Manual
>
User Manual 1
Contents
1.
User Manual 1
2.
User Manual 2
User Manual 1
Navigation menu
Upload a User Manual
Namespaces
Wiki Guide
HTML
PDF
Info
Views
User Manual
Discussion / Help
Navigation

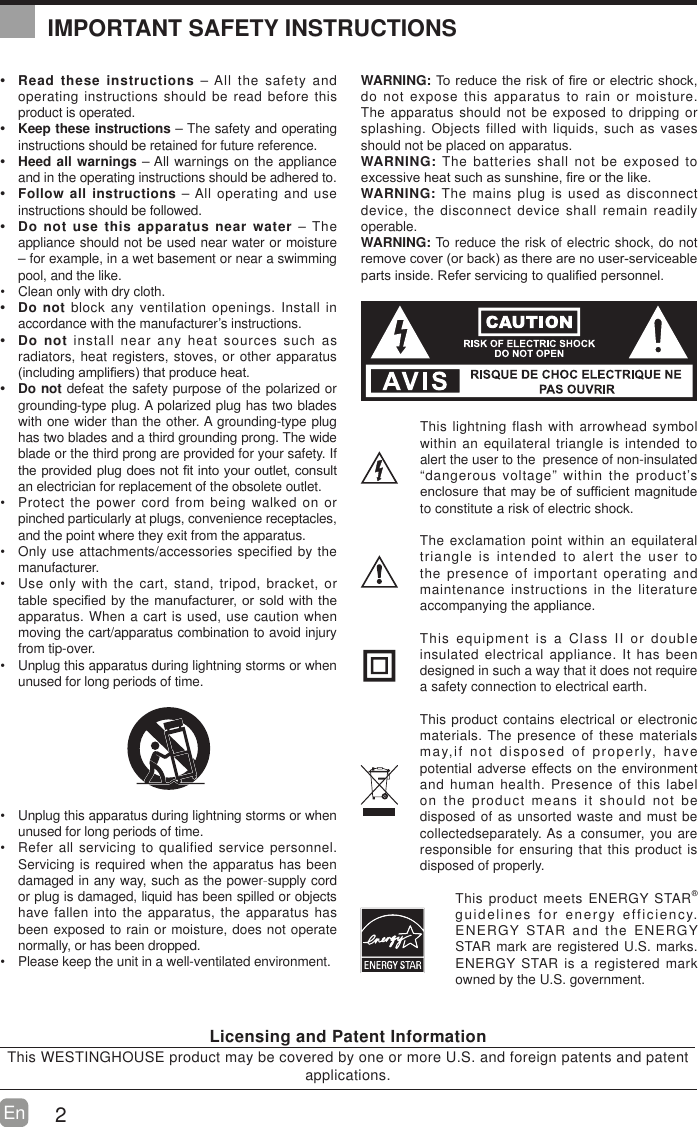

![2Fr CONSIGNES DE SÉCURITÉ IMPORTANTES Lisez ces consignes – Avant d’utiliser ce produit, vous devez lire toutes les consignes liées à la sécurité et au fonctionnement de l’appareil. Conservez ces consignes – Nous vous conseillons de conserver les consignes liées à sécurité et au fonctionnement de l’appareil pour consultation future. Observez toutes les mises en garde –Vous devez suivre toutes les consignes liées au fonctionnement et à l’utilisation de l’appareil. Suivez toutes les consignes – Vous devez suivre toutes les consignes liées au fonctionnement et à l’utilisation de l’appareil. N’utilisez pas cet appareil près de l’eau – L’appareil ne doit pas être utilisé près de l’eau ou dans un lieu humide, par exemple dans un sous-sol humide ou près d’une piscine et autres. Nettoyez uniquement à l’aide d’un chiffon sec. 1¶REVWUXH]SDVOHVRUL¿FHVGHYHQWLODWLRQ,QVWDOOH]O¶DSSDUHLOconformément aux consignes du fabriquant. N’installez pas l’appareil à proximité d’une source de chaleur comme un radiateur, une bouche de chaleur, une cuisinière ou d’autres appareils qui produisent de la FKDOHXU\FRPSULVOHVDPSOL¿FDWHXUV Ne contournez pas le dispositif de sécurité de la fiche polarisée ou de la fiche de mise à la terre. Une fiche polarisée comporte deux lames dont l’une est plus large TXHO¶DXWUH8QH¿FKHDYHFPLVHjODWHUUHFRPSRUWHGHX[lames, en plus d’une broche de masse. La lame plus large ou la broche de masse vise à assurer votre sécurité. 6LOD¿FKHIRXUQLHQ¶HVWSDVFRPSDWLEOHDYHFYRWUHSULVHadressez-vous à un électricien pour faire remplacer la prise, qui est probablement désuète.Protect the power cord from being walked on or pinched particularly at plugs, convenience receptacles, and the point where they exit from the apparatus. Placez le cordon d’alimentation de sorte qu’il ne risque pas d’être piétiné ou coincé, particulièrement au niveau de la ¿FKHHWGHODSULVHGHFRXUDQWDLQVLTX¶DXSRLQWGHVRUWLHde l’appareil. N’utilisez que les fixations et les accessoires recommandés par le fabricant. Utilisez l’appareil uniquement avec le chariot de manutention, le support, le trépied ou la table recommandé par le fabricant ou vendu avec l’appareil. Si vous utilisez XQFKDULRWGpSODFH]OHDYHFSUpFDXWLRQD¿QG¶pYLWHUGHOHrenverser et de vous blesser. Débranchez l’appareil en cas d’orage ou lorsqu’il reste inutilisé pendant une période prolongée. Confiez toute réparation à un technicien qualifié. Une réparation est nécessaire si l’appareil a été endommagé d’une manière ou d’une autre, par exemple lorsque le cordon d’alimentation ou la fiche est endommagé, si un liquide a été renversé sur l’appareil, ou si des objets sont tombés sur celui-ci, l'appareil a été exposé à la pluie ou à l'humidité, s’il fonctionne mal ou s’il est tombé.Please keep the unit in a well-ventilated environment. Veuillez installer l’appareil à un endroit bien aéré.MISE EN GARDE : pour réduire les risques d’incendie et de choc électrique, n’exposez pas cet appareil à la pluie ou à l’humidité. Ne l’exposez pas non plus aux égouttements ou aux éclaboussures. Ne placez pas d’objets remplis de liquide, par exemple un vase, sur le dessus de l’appareil. MISE EN GARDE : n’exposez pas les piles à une chaleur excessive comme celle induite par la lumière du soleil, un feu ou autrement.MISE EN GARDE :la prise secteur sert de dispositif de désaccouplage; elle doit demeurer facilement accessible.MISE EN GARDE : afin de réduire les risques d’électrocution, retirez pas le couvercle (ou le panneau DUULqUHFDULOQ¶\DDXFXQHSLqFHUpSDUDEOHSDUl’utilisateur à l’intérieur. Confiez les réparations à un WHFKQLFLHQTXDOL¿pLe symbole représentant un éclair terminé par une flèche à l’intérieur d’un triangle équilatéral vise à avertir l’utilisateur du danger de la présence d’une«tension dangereuse »présentée pardes pièces non isolées à l’intérieur de l’appareil, éventuellement suffisante pour constituer un risque d’électrocution.Le symbole de point d’exclamation à l’intérieur un triangle équilatéral, vise à informer l’utilisateur de la présence de consignes de fonctionnement et de maintenance importantes dans la documentation qui accompagne l’appareil. Cet équipement est un appareil électrique de classe II ou à double isolation. Il a été conçu desorte àne pas nécessiter une connexion de sécurité mise à la terre.Ce produit contient des composants électriques ou électroniques. S’ils ne sont pas mis auxrebuts adéquatement, ces composants pourraient nuire à l’environnement ou à la santé des humains.La présence de cette étiquette sur le produit VLJQL¿HTX¶LOQHGRLWSDVrWUHPLVDX[UHEXWVHQtantque déchet non trié, mais faire l’objet d’une collecte sélective. Comme consommateur, vous devez vous assurer que ce produit est mis aux rebuts de la bonne manière.Ce produit est conforme aux directives ENERGY STAR® pour l'efficacité énergétique. ENERGY STAR et la marque ENERGY STAR sont des marques américaines déposées. ENERGY STAR est une marque déposée appartenant au gouvernement des États-Unis.Licences et brevets informationCe produit WESTINGHOUSE peut être couvert par un ou plusieurs brevets américains et étrangers et des brevetsapplications.](https://usermanual.wiki/ANHUI-KONKA-ELECTRONIC/WD40FL2480.User-Manual-1/User-Guide-2914861-Page-31.png)
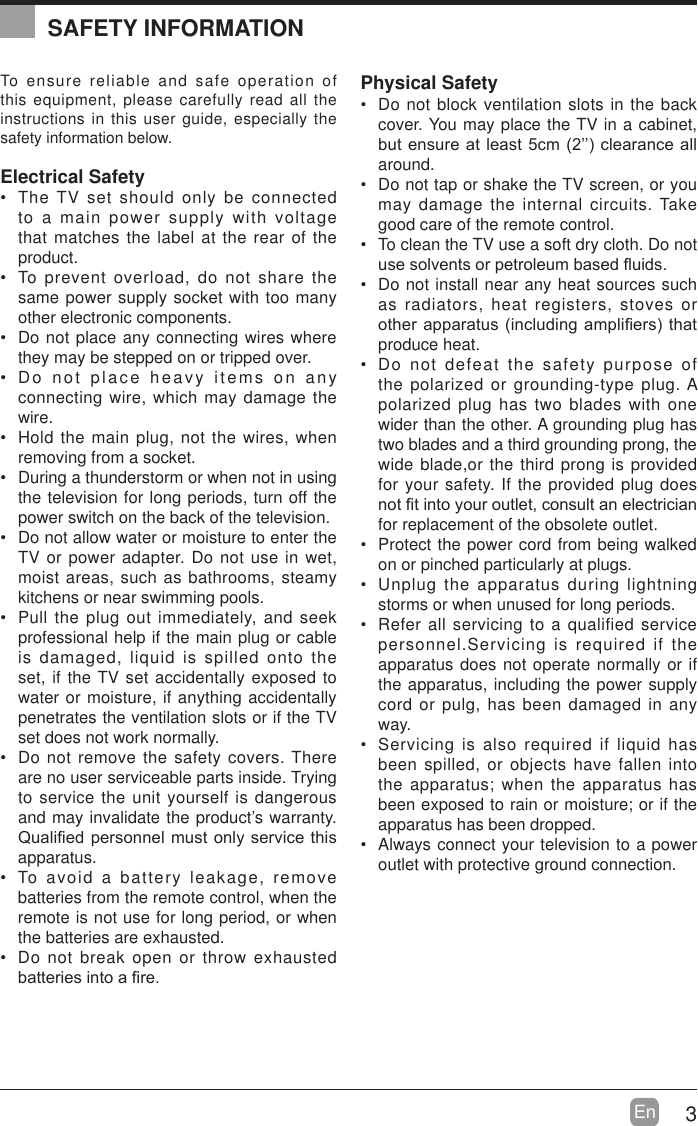
![3Fr Pour vous assurer du fonctionnement fiable et sécuritaire de cet équipement, veuillez lire avec attention les consignes de ce guide d’utilisation, et plus particulièrement les renseignements ci-dessous portant sur la sécurité.Sécurité électrique Le téléviseur ne doit être raccordé qu’à l’alimentation principale, à une tension correspondant à celle indiquée sur l’étiquette à l’arrière de l’appareil. Pour éviter les surcharges, ne branchez pas plusieurs autres appareils électroniques sur la prise utilisée pour le téléviseu. Pour éviter le piétinement et les chutes, ne placez pas les câbles de connexion à des endroits où les gens circulent. Pour éviter d’endommager les câbles de connexion, ne posez pas d’objets lourds sur ceux-ci. /RUVGXGpVDFFRXSOHPHQWGHOD¿FKHG¶XQHSULVHWLUH]VXUOD¿FKHHWQRQVXUOHFkEOH En cas d’orage ou lorsque le téléviseur reste inutilisé pendant une période prolongée, fermez l’interrupteur d’alimentation à l’arrière de l’appareil. Évitez de laisser de l’eau ou de l’humidité pénétrer à l’intérieur du téléviseur ou de l’adaptateur de courant. N’utilisez PAS l’appareil dans une pièce mouillée ou humide, comme une salle de bain ou une cuisine pleine de vapeur, ou près d’une piscine. Débranchez immédiatement l’appareil et demandez l’aide d’un professionnel si la fiche ou le câble est endommagé, si du liquide a été renversé sur le téléviseur, si celui-ci est exposé accidentellement à de l’eau ou de l’humidité, si un objet quelconque pénètre dans les orifices de ventilation par inadvertance ou si le téléviseur ne fonctionne pas normalement. Laissez les couvercles de sécurité en place. Il n’y a aucune pièce réparable par l’utilisateur à l’intérieur. Il est dangereux de tenter par vous-même de réparer l’appareil; en outre, cela pourrait annuler la garantie GXSURGXLW6HXOVGHVWHFKQLFLHQVTXDOL¿pVpeuvent réparer cet appareil. Pour éviter qu’elles fuient, retirez les piles de la télécommande si vous ne l’utilisez pas pendant une période prolongée ou si les piles sont épuisées. N’ouvrez pas les piles et ne les jetez pas au feu lorsqu’elles sont épuisées.Sécurité physique N’obstruez pas les orifices de ventilation sur le panneau arrière. Vous pouvez placer le téléviseur dans un meuble, mais assurez-vous de . laisser un espace de GpJDJHPHQWG¶DXPRLQVFPSRWRXWautour. Ne tapez sur l’écran du téléviseur et ne le secouez pas; vous risqueriez d’endommager les circuits à l’intérieur. Prenez bien soin de la télécommande. Pour nettoyer le téléviseur, utilisez un chiffon doux sec. N’utilisez pas de solvants, ni de liquides à base de pétrole.. N’installez pas l’appareil à proximité d’une source de chaleur comme un radiateur, une bouche de chaleur, une cuisinière ou d’autres appareils .quiproduisent de la FKDOHXU\FRPSULVOHVDPSOL¿FDWHXUV Ne contournez pas le dispositif de sécurité de la fiche polarisée ou de la fiche de type mise à la terre. Une fiche polarisée comporte deux lames dont l’une est plus ODUJHTXHO¶DXWUH8QH¿FKHDYHFPLVHjODterre comporte deux lames, en plus d’une broche de masse. La lame plus large ou la broche de masse vise à assurer votre sécurité. Si la fiche fournie n’est pas compatible avec votre prise, adressez-vous à un électricien pour faire remplacer la prise, qui est probablement désuète. Placez le cordon d’alimentation de sorte qu’il ne risque pas d’être piétiné ou coincé, SDUWLFXOLqUHPHQWDXQLYHDXGHOD¿FKH Confiez toute réparation à un technicien qualifié. Une réparation est nécessaire si l’appareil fonctionne mal ou s’il a été endommagé d’une manière ou d’une autre (y compris le cordon d’alimentation ou la ¿FKH Une réparation est aussi nécessaire lorsqu’un liquide a été renversé sur l’appareil ou que des objets sont tombés sur celui-ci, si l’appareil a été exposé à la pluie ou à l’humidité, ou s’il est tombé Raccordez toujours votre téléviseur à une prise de courant protégée par une connexion de masse. RENSEIGNEMENTS SUR LA SÉCURITÉ](https://usermanual.wiki/ANHUI-KONKA-ELECTRONIC/WD40FL2480.User-Manual-1/User-Guide-2914861-Page-32.png)