ASOKA USA PL9760-ETH PLUGLINK HD AV SMART BRIDGE User Manual PL9760UG v1 1 0
ASOKA USA Corporation PLUGLINK HD AV SMART BRIDGE PL9760UG v1 1 0
UserManual.wiki
>
ASOKA USA
>
PL9760 ETH User Manual
Users Manual
Navigation menu
Upload a User Manual
Namespaces
Wiki Guide
HTML
PDF
Info
Views
User Manual
Discussion / Help
Navigation
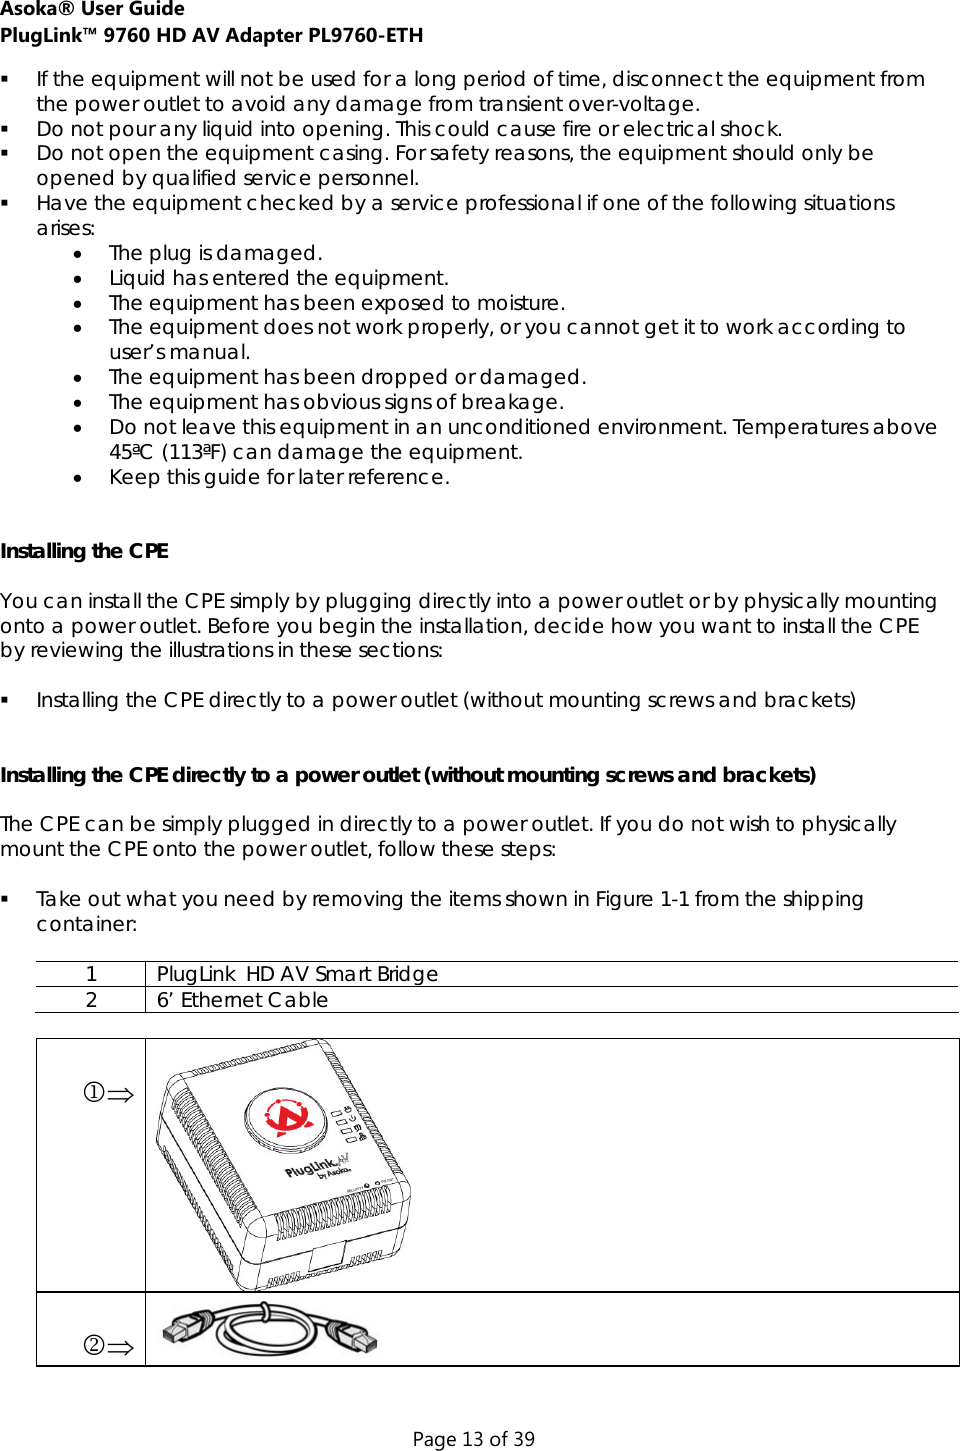
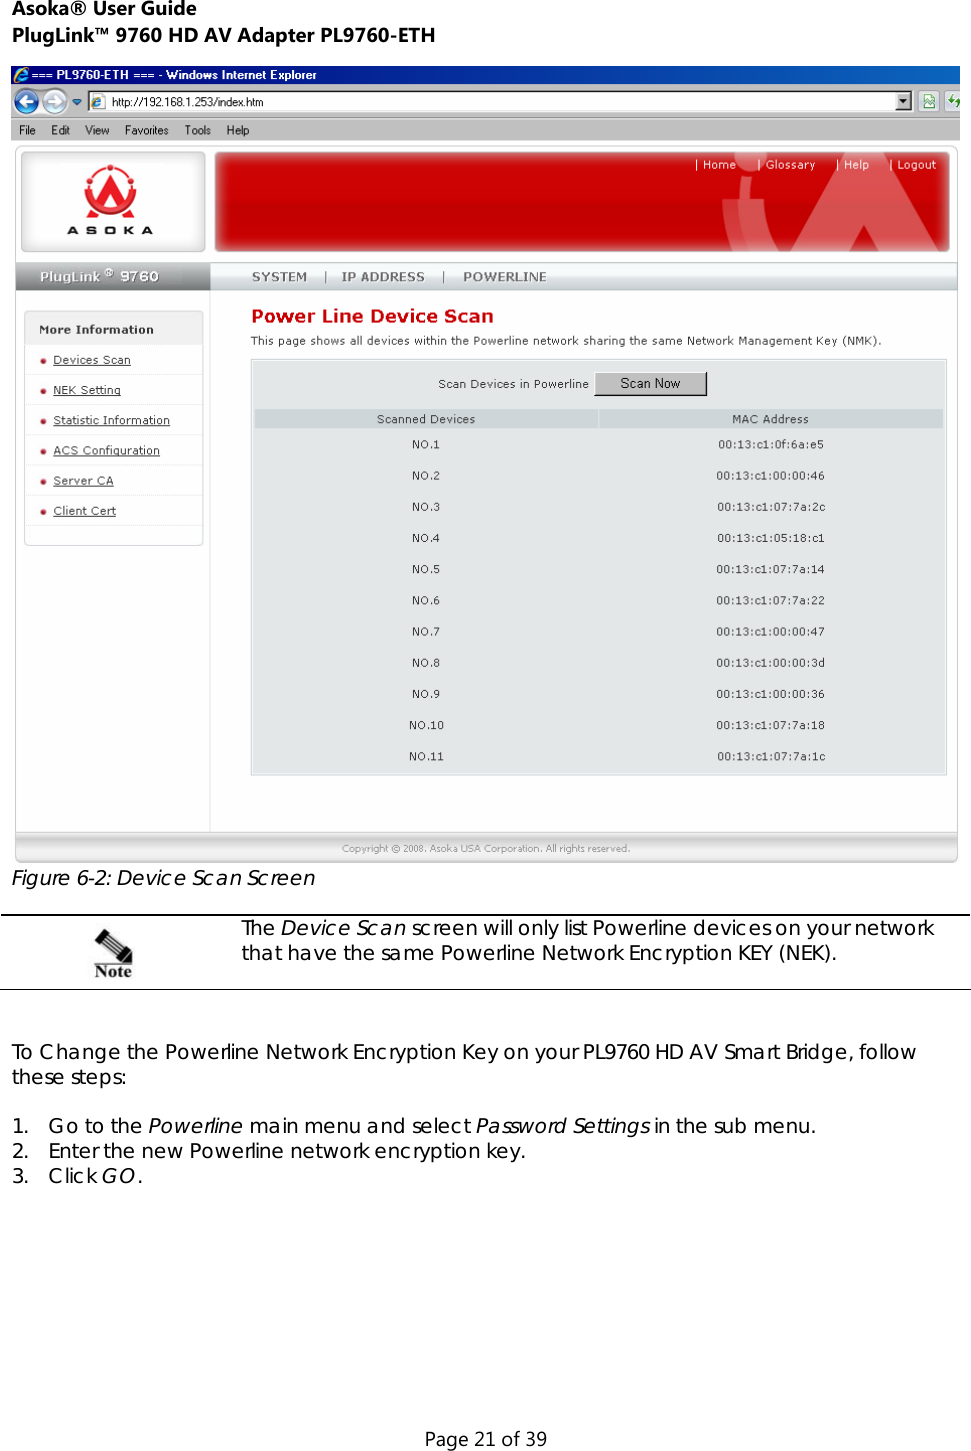
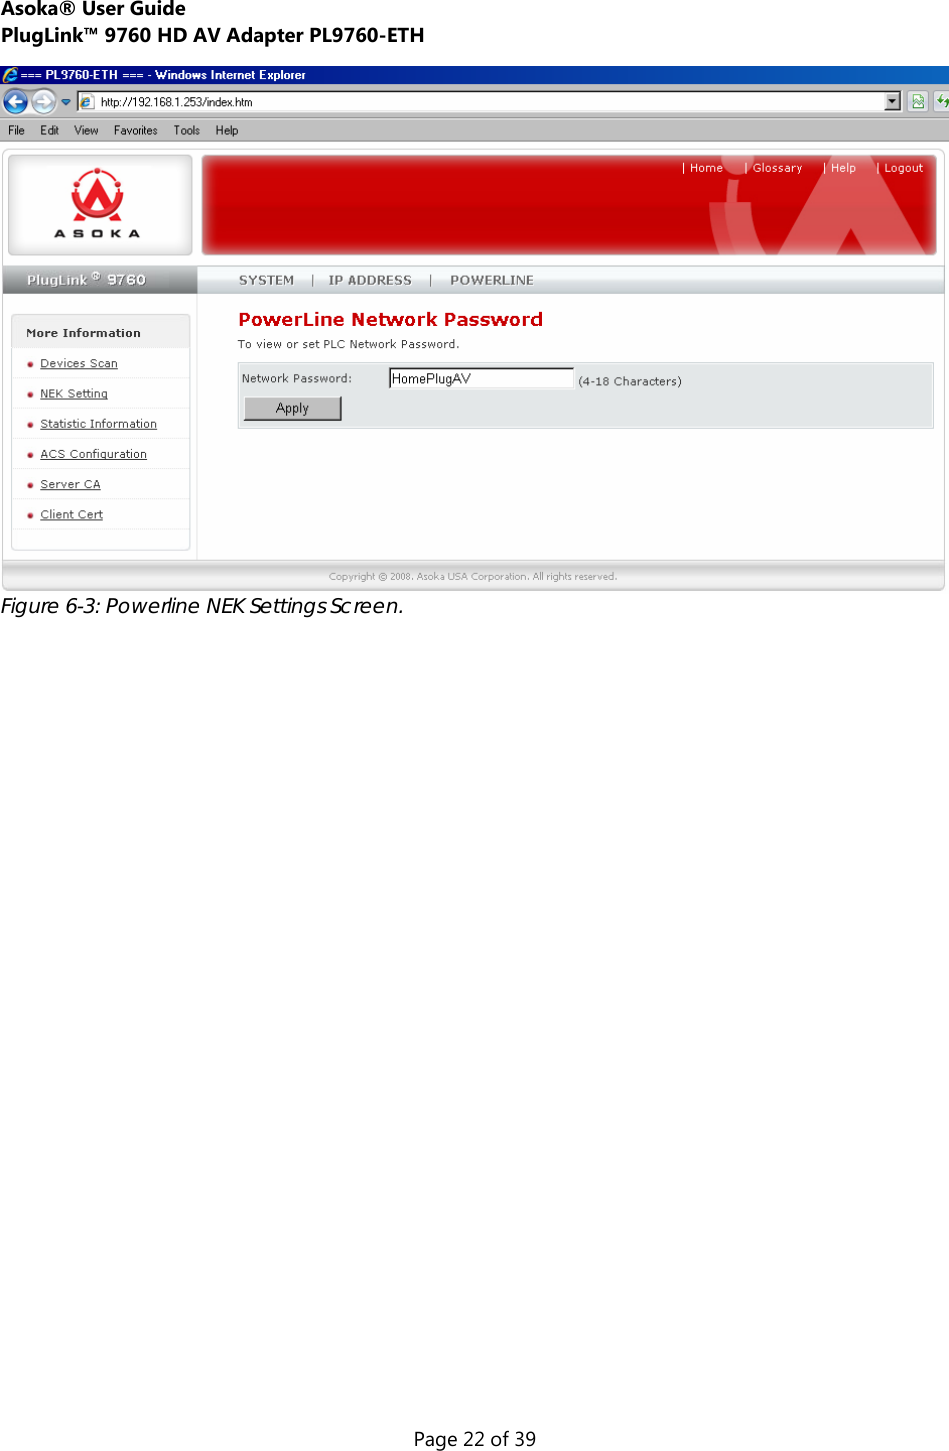
![Asoka® User Guide PlugLink™ 9760 HD AV Adapter PL9760-ETH Page 4 of 39 Chapter 1 Audience This guide is designed as a reference for the networking or computer technician responsible for installing a PlugLink HD AV Smart Bridge, hereafter referred to as the gateway. It is assumed that you are familiar with and have a working knowledge of the concepts and terminology associated with Ethernet and local area networking. Purpose This guide describes the hardware and software features of the PlugLink HD AV Smart Bridge. It describes the physical and performance characteristics of the HD AV Smart Bridge, explains how to install and configure the HD AV Smart Bridge, and provides troubleshooting information and specifications. Conventions This guide employs the conventions described below to convey instructions and information. Command descriptions use the following conventions: Commands and keywords are in italic text. Arguments for which you supply values are in bold. Square brackets ([ ]) indicate optional elements. Braces ({ }) group require choices and vertical bars (|) separate the alternative elements. Braces and vertical bars within square brackets ([{|}]) indicate a required choice within an optional element. Interactive examples use the following conventions: Terminal sessions and system displays are in normal screen font. Information to be entered in is in bold text. Notes, cautions and tips use these conventions and symbols: Means reader take note. Notes contain helpful suggestions or references to materials not contained in this manual. Means reader be careful. In this situation, you might do something that could result in equipment damage or loss of data. Means the following will help you solve a problem. The tips information might not be troubleshooting or even an action, but could be useful information.](https://usermanual.wiki/ASOKA-USA/PL9760-ETH/User-Guide-1197225-Page-4.png)