ASUSTeK Computer BRCM1058 Broadcom 802.11a/b/g/n WLAN + Bluetooth PCI-E Mini Card User Manual Unlocked
ASUSTeK Computer Inc Broadcom 802.11a/b/g/n WLAN + Bluetooth PCI-E Mini Card Unlocked
Contents
- 1. (BCM943228HMB) UserMan_20121023
- 2. (BCM943228HMB) UserMan-Part 1
- 3. (BCM943228HMB) UserMan-Part 2
(BCM943228HMB) UserMan-Part 2
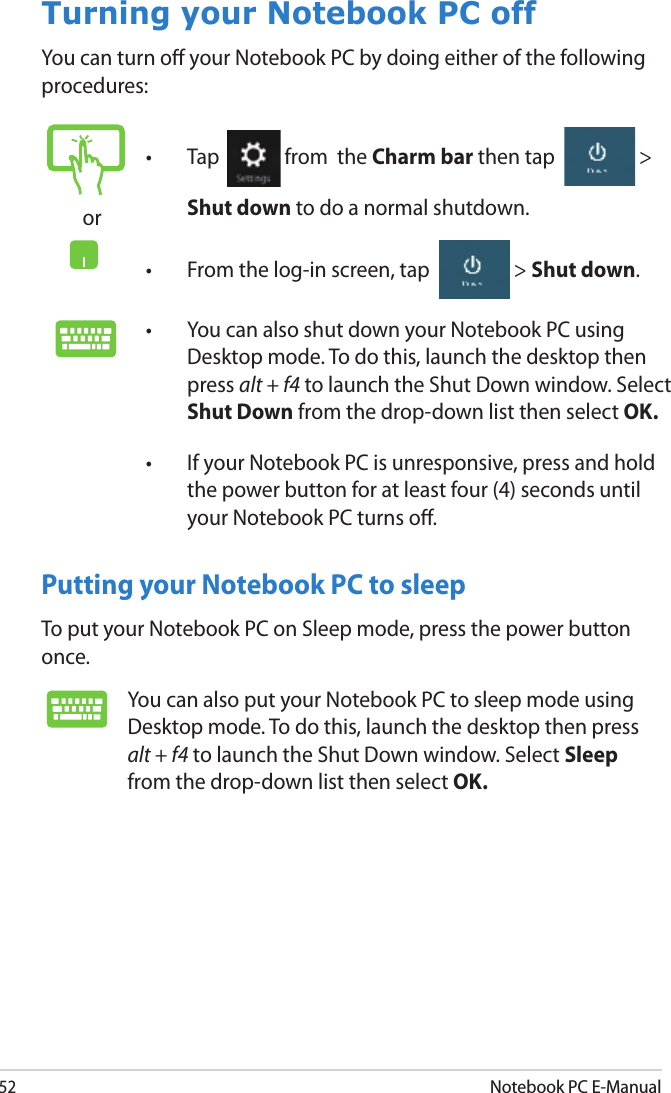

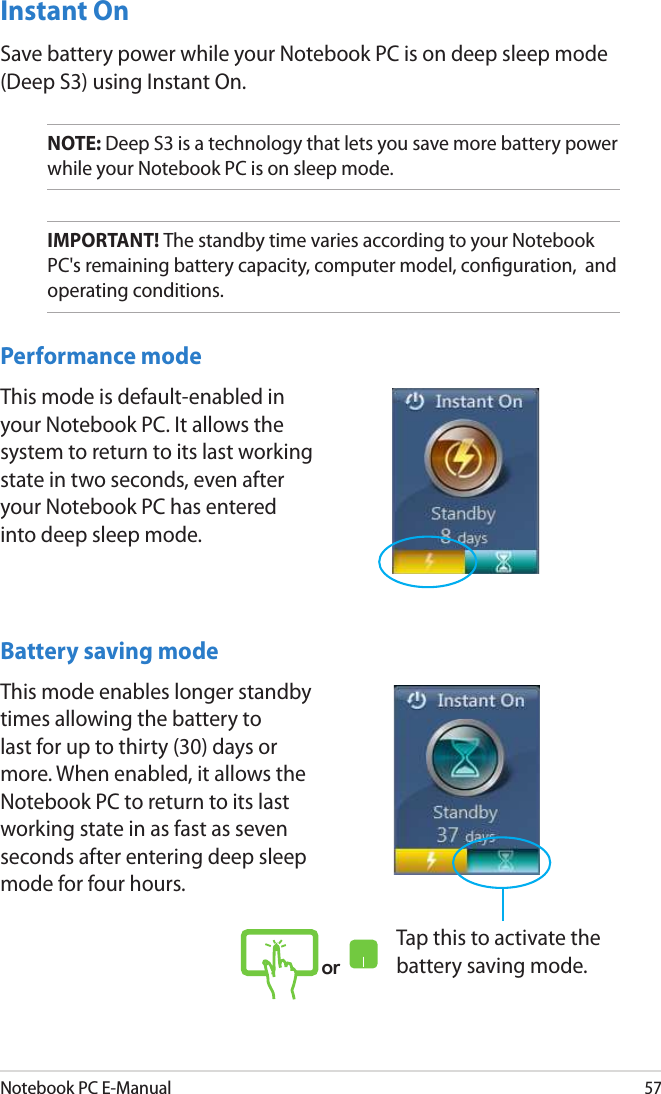

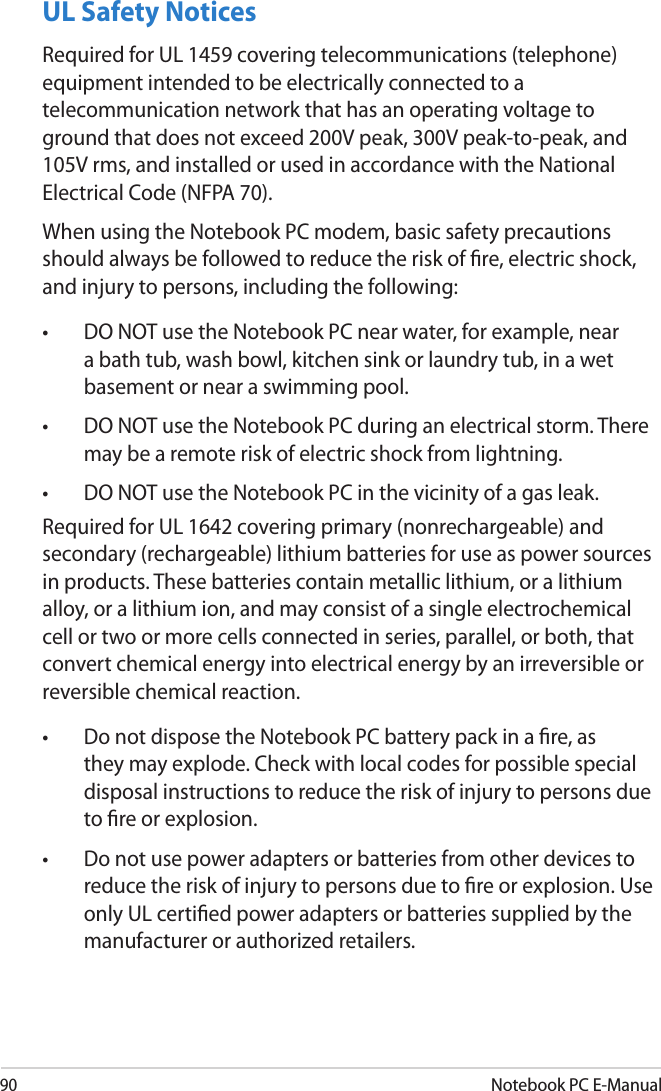
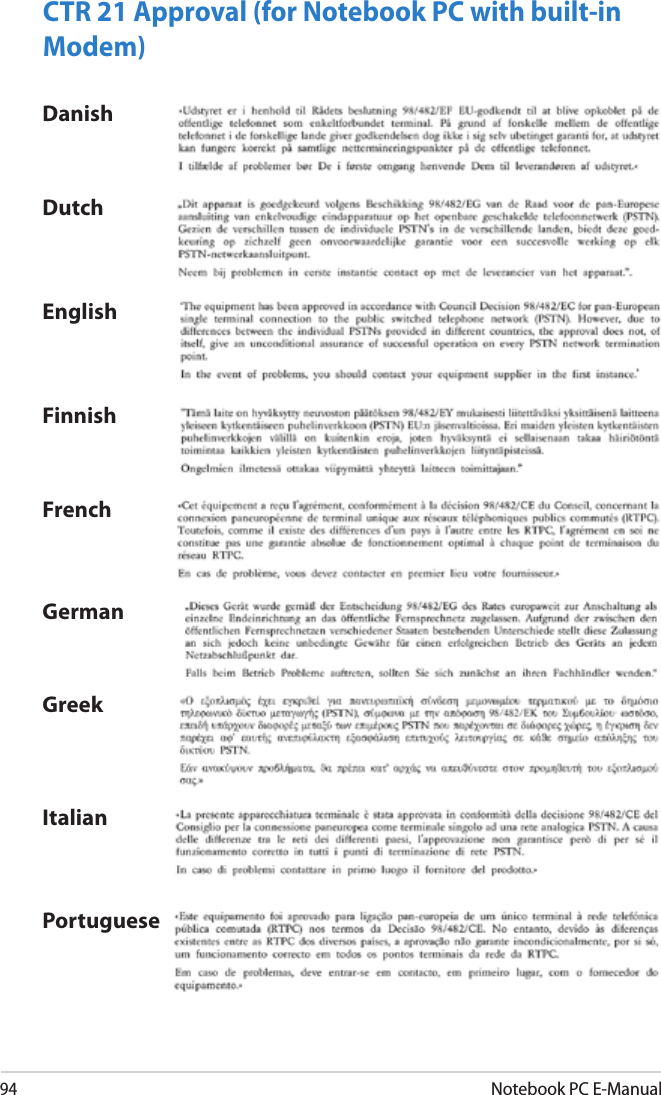
![Notebook PC E-Manual63BIOS SettingsNOTE: The BIOS screens in this section are for reference only. The actual screens may dier by model and territory.BootThis menu allows you to set your boot option priorities. You may refer to the following procedures when setting your boot priority.1. On the Boot screen, select Boot Option #1.2. Press and select a device as the Boot Option #1. Version 2.14.1219. Copyright (C) 2011 American Megatrends, Inc.→← : Select Screen ↑↓ : Select Item Enter: Select +/— : Change Opt. F1 : General Help F9 : Optimized Defaults F10 : Save & Exit ESC : Exit Fast Boot [Enabled]Launch CSM [Disabled]Driver Option PrioritiesBoot Option PrioritiesBoot Option #1 [Windows Boot Manager]Add New Boot OptionDelete Boot OptionSets the system boot orderAptio Setup Utility - Copyright (C) 2012 American Megatrends, Inc.Main Advance Boot Security Save & ExitVersion 2.15.1226. Copyright (C) 2012 American Megatrends, Inc.Version 2.14.1219. Copyright (C) 2011 American Megatrends, Inc.→← : Select Screen ↑↓ : Select Item Enter: Select +/— : Change Opt. F1 : General Help F9 : Optimized Defaults F10 : Save & Exit ESC : Exit Sets the system boot orderAptio Setup Utility - Copyright (C) 2012 American Megatrends, Inc.Main Advance Boot Security Save & ExitVersion 2.15.1226. Copyright (C) 2012 American Megatrends, Inc.Fast Boot [Disabled]Launch CSM [Disabled]Driver Option PrioritiesBoot Option PrioritiesBoot Option #1 [Windows Boot Manager]Add New Boot OptionDelete Boot OptionBoot Option #1Windows Boot ManagerDisabled](https://usermanual.wiki/ASUSTeK-Computer/BRCM1058.BCM943228HMB-UserMan-Part-2/User-Guide-1833939-Page-13.png)
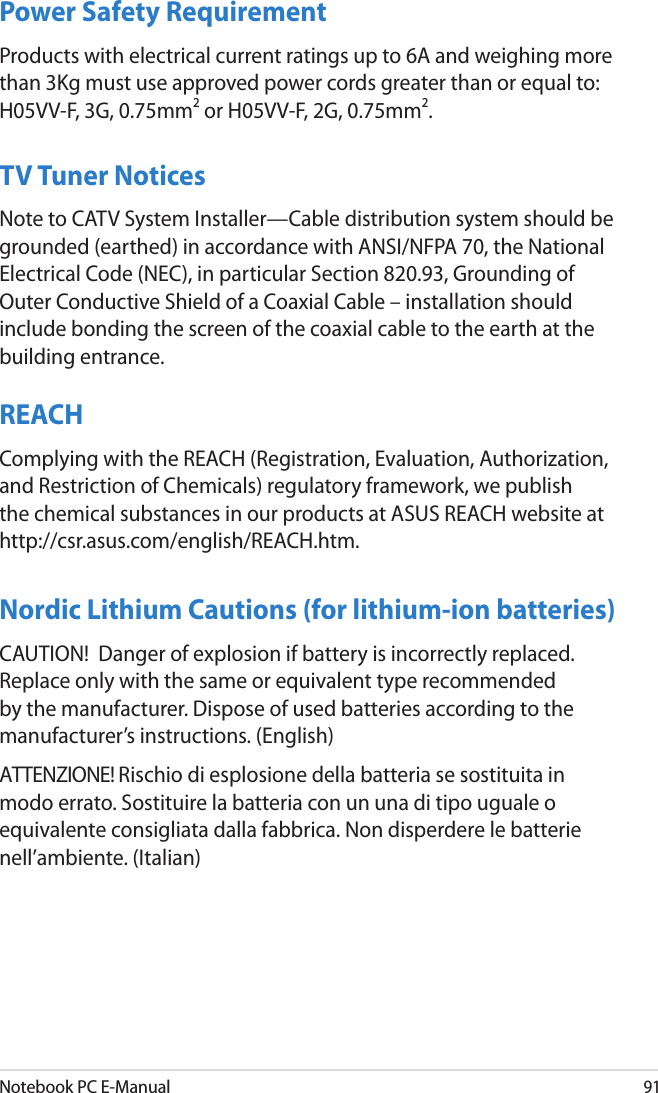
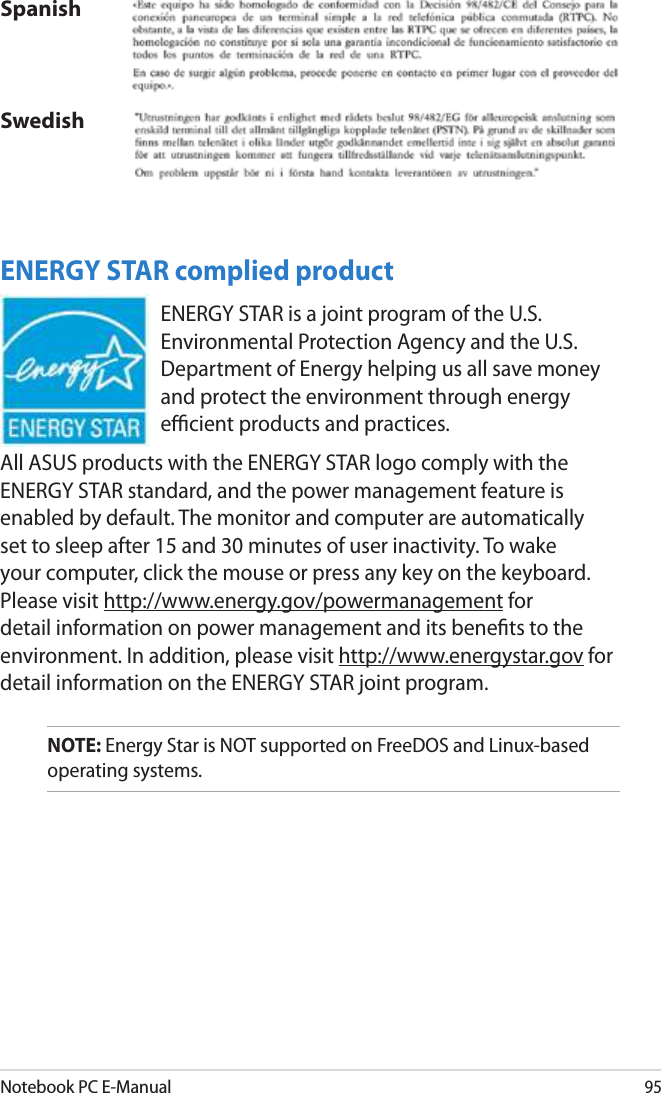
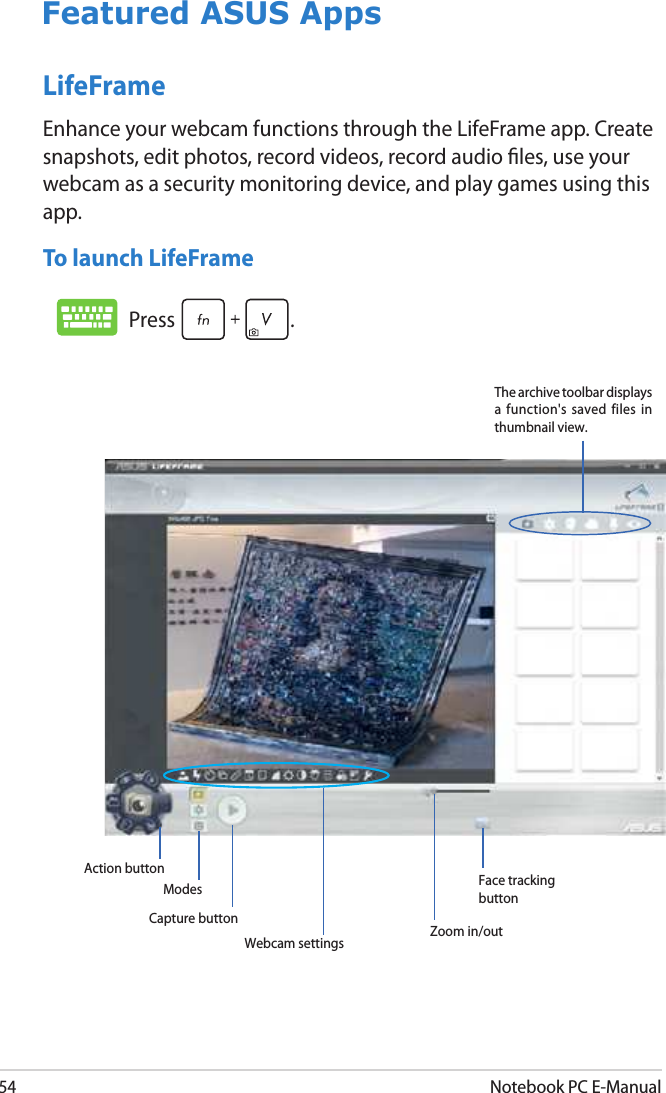
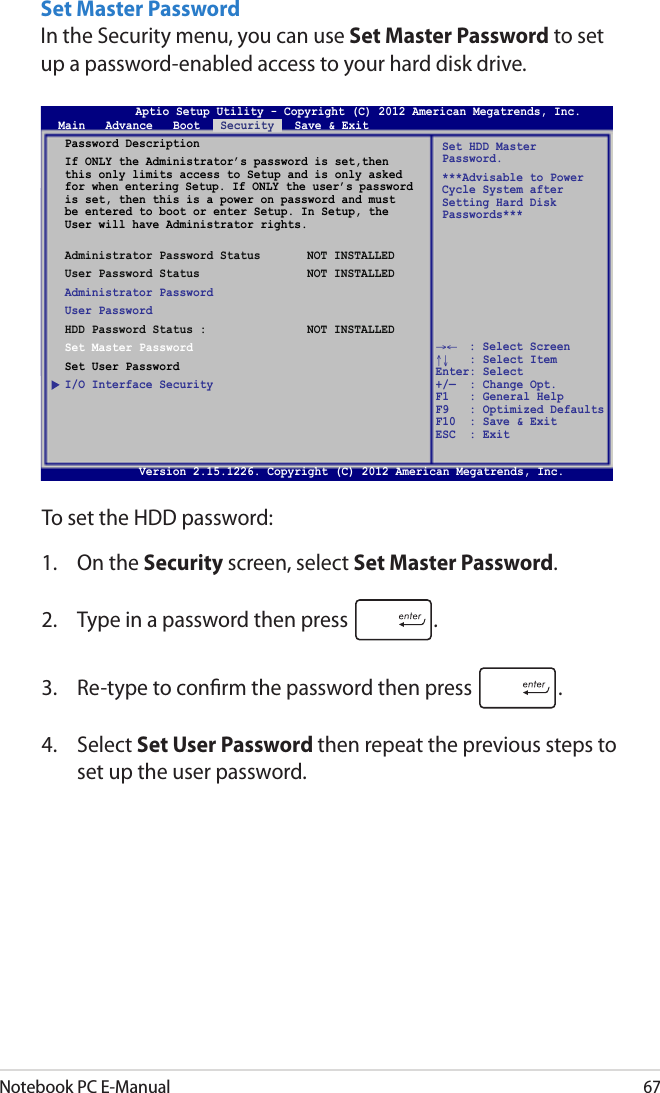
![64Notebook PC E-ManualSecurityThis menu allows you to set up the administrator and user password of your Notebook PC. It also allows you to control the access to your Notebook PC’s hard disk drive, input/output (I/O) interface, and USB interface.To set the password:1. On the Security screen, select Administrator Password or User Password.2. Type in a password then press .3. Re-type to conrm the password then press .Password DescriptionIf ONLY the Administrator’s password is set,then this only limits access to Setup and is only asked for when entering Setup. If ONLY the user’s password is set, then this is a power on password and must be entered to boot or enter Setup. In Setup, the User will have Administrator rights. Administrator Password Status NOT INSTALLEDUser Password Status NOT INSTALLEDAdministrator PasswordUser PasswordHDD Password Status : NOT INSTALLEDSet Master PasswordSet User PasswordI/O Interface SecuritySystem Mode state UserSecure Boot state DisabledSecure Boot Control [Disabled]Set Administrator Password. The password length must be in the following range: Minimum length 3Maximum length 20Aptio Setup Utility - Copyright (C) 2012 American Megatrends, Inc.Main Advance Boot Security Save & Exit→← : Select Screen ↑↓ : Select Item Enter: Select +/— : Change Opt. F1 : General Help F9 : Optimized Defaults F10 : Save & Exit ESC : Exit Version 2.15.1226. Copyright (C) 2012 American Megatrends, Inc.NOTE: • If you install a User Password, you will be prompted to input this before entering your Notebook PC's operating system. • If you install an Administrator Password, you will be prompted to input this before entering BIOS.](https://usermanual.wiki/ASUSTeK-Computer/BRCM1058.BCM943228HMB-UserMan-Part-2/User-Guide-1833939-Page-14.png)
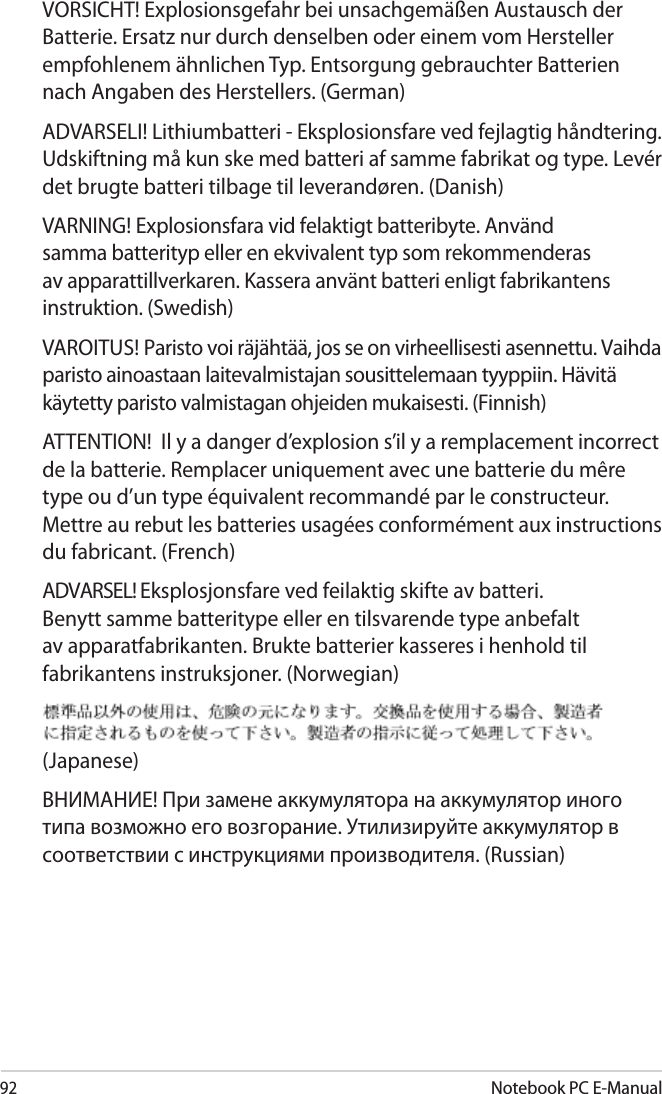
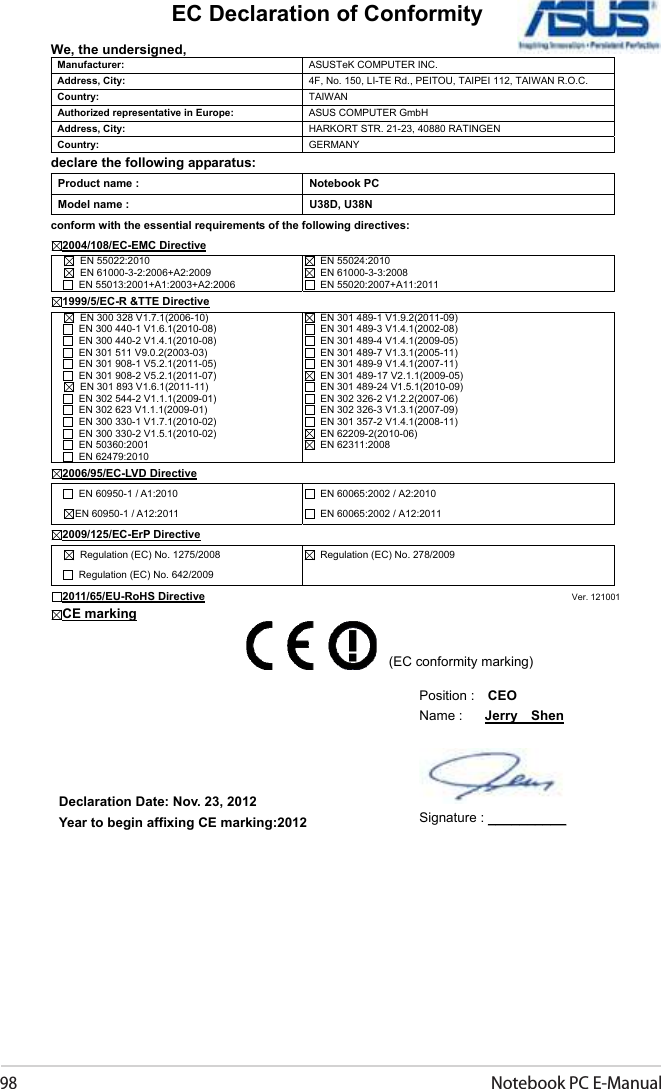
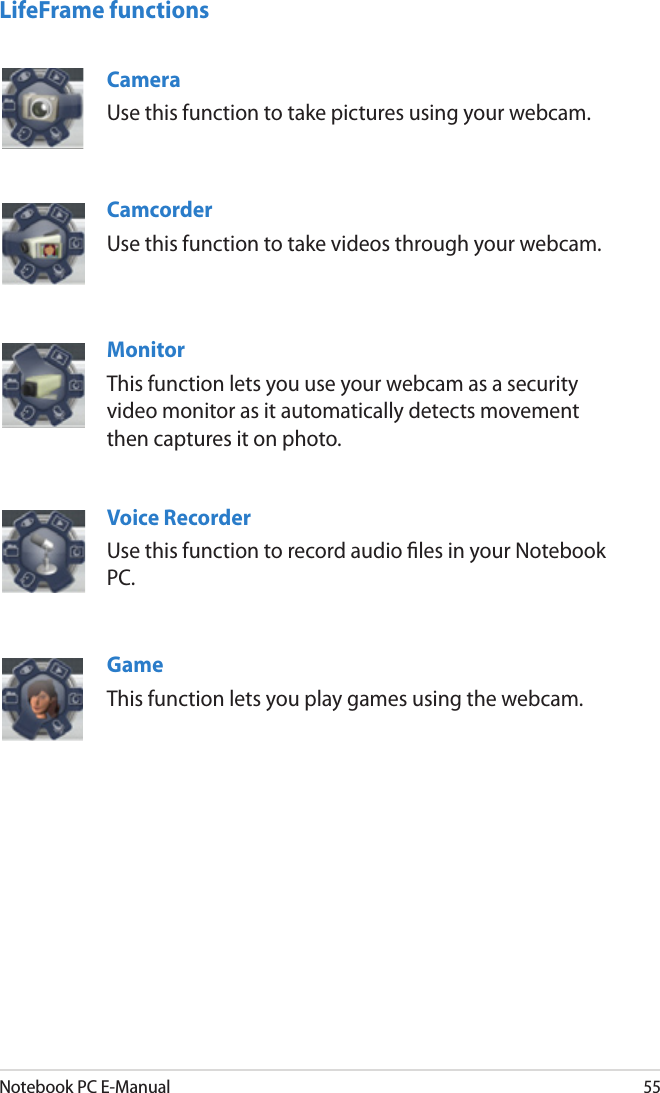
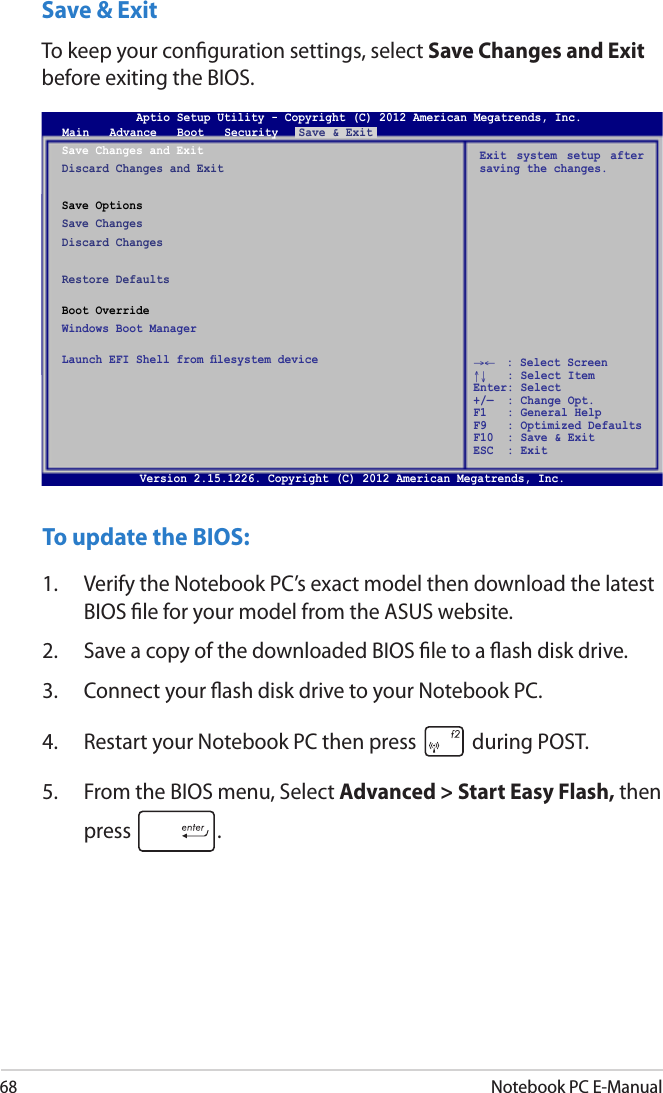
![Notebook PC E-Manual65I/O Interface SecurityIn the Security menu, you can access I/O Interface Security to lock or unlock some interface functions of your Notebook PC.To lock an interface:1. On the Security screen, select I/O Interface Security.2. Select an interface you would like to lock then press .3. Select Lock.I/O Interface SecurityLAN Network Interface [UnLock]Wireless Network Interface [UnLock]HD AUDIO Interface [UnLock]SATA 2nd HDD Interface [UnLock]USB Interface SecurityIf Locked, LAN controller will be disabled.Aptio Setup Utility - Copyright (C) 2012 American Megatrends, Inc.Security→← : Select Screen ↑↓ : Select Item Enter: Select +/— : Change Opt. F1 : General Help F9 : Optimized Defaults F10 : Save & Exit ESC : Exit Version 2.15.1226. Copyright (C) 2012 American Megatrends, Inc.To clear the password:1. On the Security screen, select Administrator Password or User Password.2. Type in the current password then press .3. Leave the Create New Password eld blank then press .4. Select Yes in the conrmation box then press .LAN Network InterfaceLockUnLock](https://usermanual.wiki/ASUSTeK-Computer/BRCM1058.BCM943228HMB-UserMan-Part-2/User-Guide-1833939-Page-15.png)
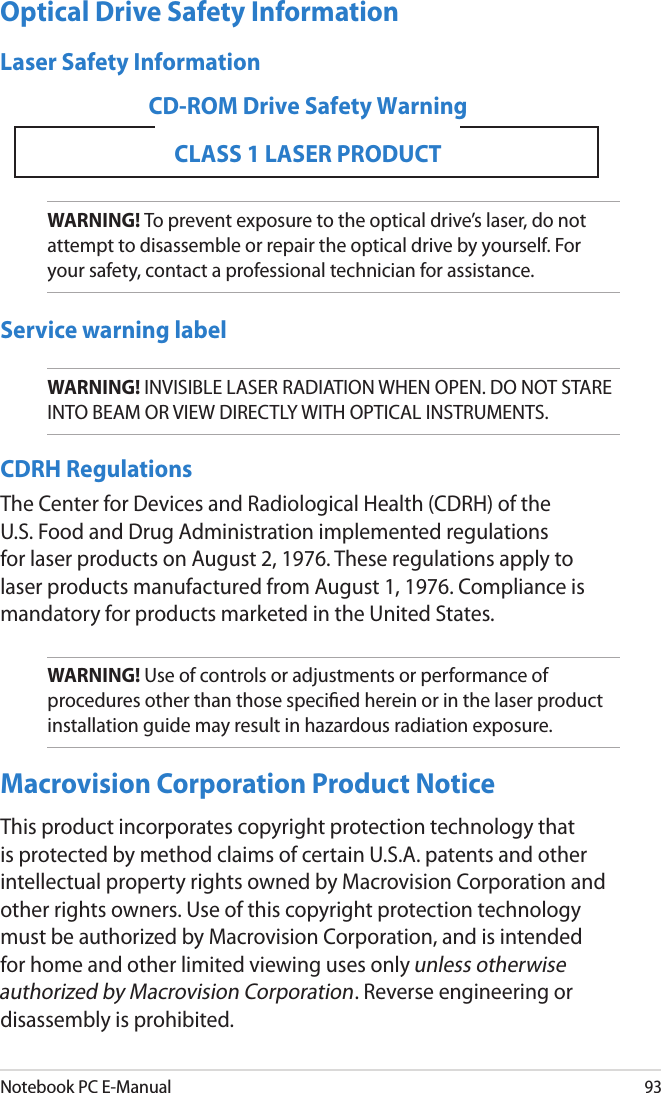
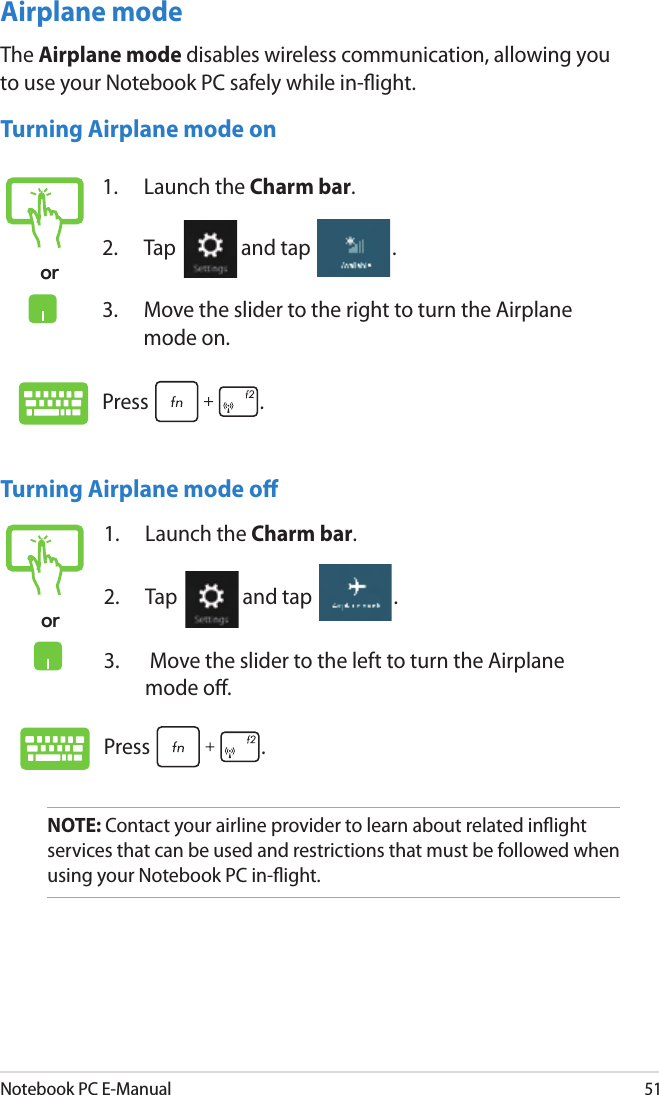
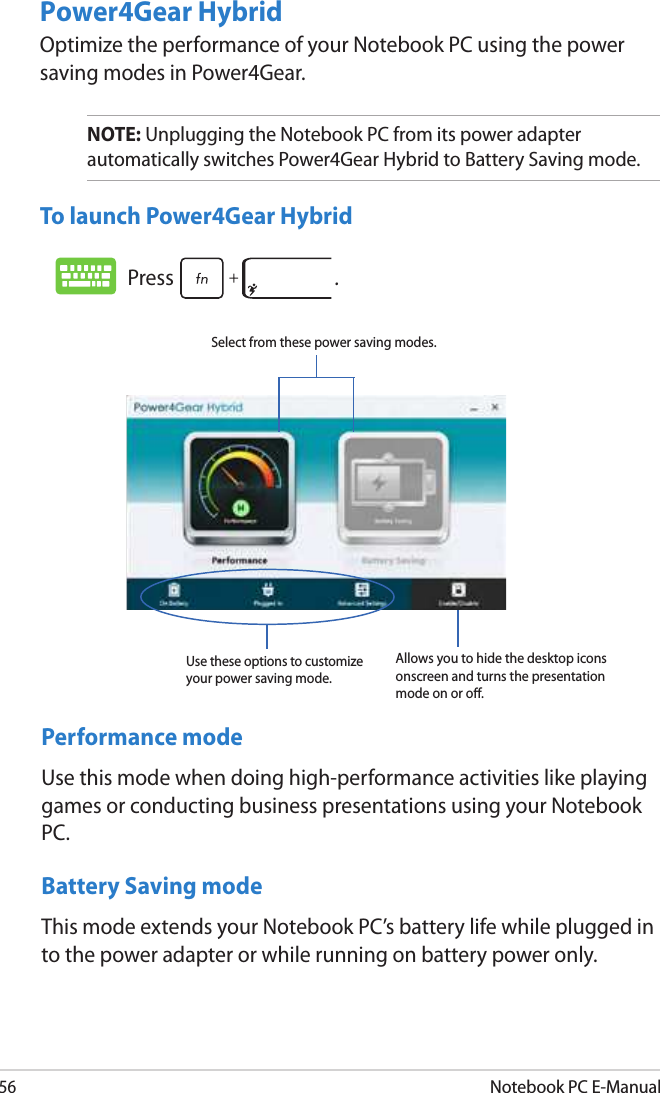
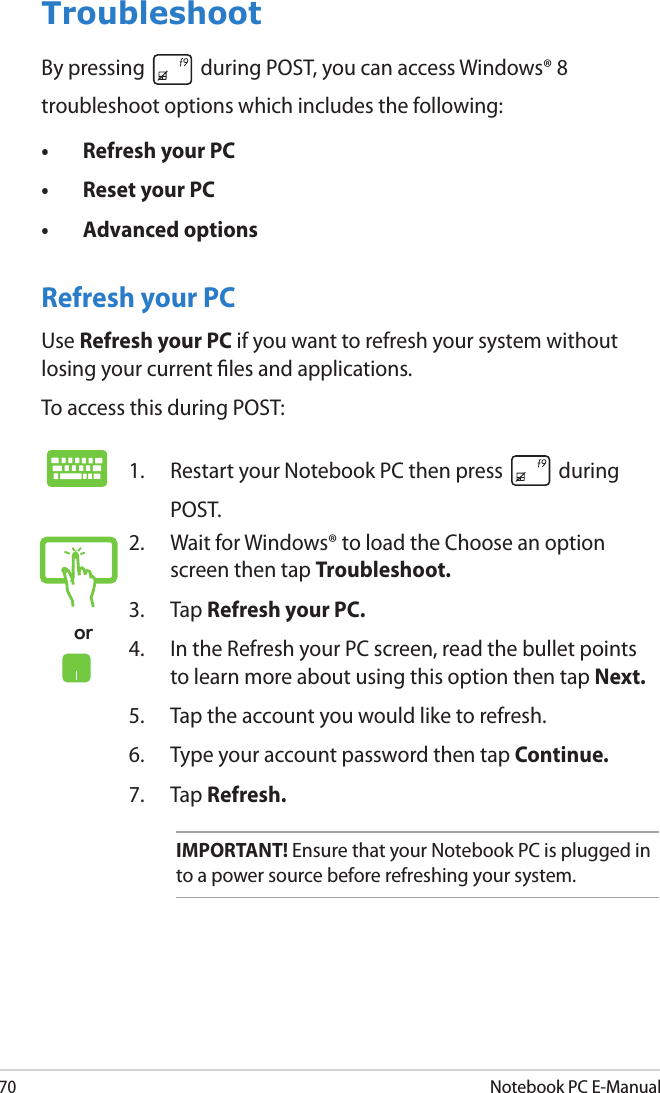
![66Notebook PC E-ManualUSB Interface SecurityThrough the I/O Interface Security menu, you can also access USB Interface Security to lock or unlock ports and devices.Version 2.15.1226. Copyright (C) 2012 American Megatrends, Inc.USB Interface SecurityUSB Interface [UnLock]External Ports [UnLock]CMOS Camera [UnLock]Card Reader [UnLock] If LOCKED, all USB devices will be disabledAptio Setup Utility - Copyright (C) 2012 American Megatrends, Inc.Security→← : Select Screen ↑↓ : Select Item Enter: Select +/— : Change Opt. F1 : General Help F9 : Optimized Defaults F10 : Save & Exit ESC : Exit To lock the USB interface:1. On the Security screen, select I/O Interface Security > USB Interface Security.2. Select an interface that you would like to lock then select Lock.NOTE: Setting the USB Interface to Lock also locks and hides the External Ports and other devices included under USB Interface Security.USB InterfaceLockUnLock](https://usermanual.wiki/ASUSTeK-Computer/BRCM1058.BCM943228HMB-UserMan-Part-2/User-Guide-1833939-Page-16.png)
![Notebook PC E-Manual696. Locate your downloaded BIOS le in the ash disk drive then press . 7. After the BIOS update process, select Exit > Restore Defaults to restore the system to its default settings. ASUSTek Easy Flash UtilityFSOFS1FS2FS30 EFI <DIR>[←→]: Switch [↑↓]: Choose [q]: ExitCurrent BIOSPlatform: U38NVersion: 102.T95Build Date: Sep 5 2012Build Time: 09:16:51New BIOSPlatform: UnknownVersion: UnknownBuild Date: UnknownBuild Time: UnknownFLASH TYPE: Winbond 25X/Q SeriesAptio Setup Utility - Copyright (C) 2011 American Megatrends, Inc.POST Logo Type [Static]Start Easy FlashPlay POST Sound [No]Speaker Volume [4]Internal Pointing Device [Enabled]Wake On Lid Open [Enabled]Power Off Energy Saving [Enabled]Legacy USB Support [Enabled]USB 3.0 Support [Enabled]ASUS USB Charger+ in battery mode [Disabled]Trusted ComputingNetwork StackPress Enter to run the utility to select and update BIOS.Aptio Setup Utility - Copyright (C) 2012 American Megatrends, Inc.Main Advance Boot Security Save & Exit→← : Select Screen ↑↓ : Select Item Enter: Select +/— : Change Opt. F1 : General Help F9 : Optimized Defaults F10 : Save & Exit ESC : Exit Version 2.15.1226. Copyright (C) 2012 American Megatrends, Inc.](https://usermanual.wiki/ASUSTeK-Computer/BRCM1058.BCM943228HMB-UserMan-Part-2/User-Guide-1833939-Page-19.png)


![Notebook PC E-Manual85FCC Radio Frequency (RF) Exposure Caution StatementWARNING! Any changes or modications not expressly approved by the party responsible for compliance could void the user’s authority to operate this equipment. “The manufacture declares that this device is limited to Channels 1 through 11 in the 2.4GHz frequency by specied rmware controlled in the USA.”This equipment complies with FCC radiation exposure limits set forth for an uncontrolled environment. To maintain compliance with FCC RF exposure compliance requirements, please avoid direct contact to the transmitting antenna during transmitting. End users must follow the specic operating instructions for satisfying RF exposure compliance. This device operates within a 5.15-5.25 GHz frequency range and is restricted for indoor use only. Outdoor operation within 5150-5250MHz is prohibited.Declaration of Conformity (R&TTE directive 1999/5/EC)The following items were completed and are considered relevant and sucient:• Essential requirements as in [Article 3]• Protection requirements for health and safety as in [Article 3.1a]• Testing for electric safety according to [EN 60950]• Protection requirements for electromagnetic compatibility in [Article 3.1b]• Testing for electromagnetic compatibility in [EN 301 489-1] & [EN 301 489-17]• Eective use of the radio spectrum as in [Article 3.2]• Radio test suites according to [EN 300 328-2]](https://usermanual.wiki/ASUSTeK-Computer/BRCM1058.BCM943228HMB-UserMan-Part-2/User-Guide-1833939-Page-35.png)