ASUSTeK Computer E202S Notebook PC User Manual E202S UserMan
ASUSTeK Computer Inc Notebook PC E202S UserMan
UserManual.wiki
>
ASUSTeK Computer
>
E202S User Manual
(E202S) UserMan
Navigation menu
Upload a User Manual
Namespaces
Wiki Guide
HTML
PDF
Info
Views
User Manual
Discussion / Help
Navigation
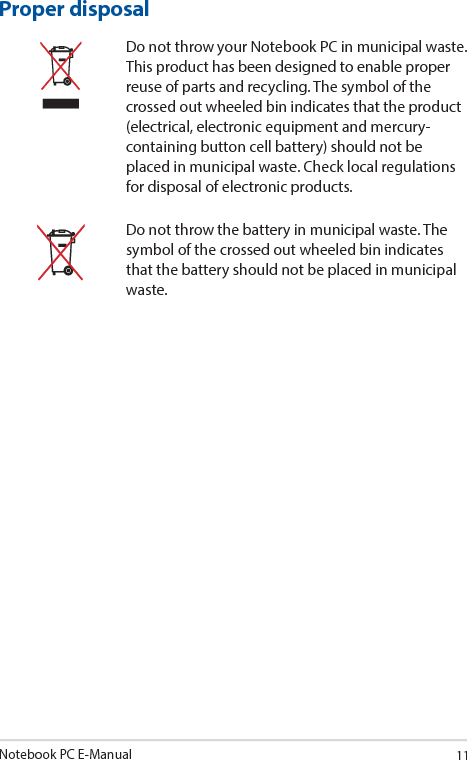

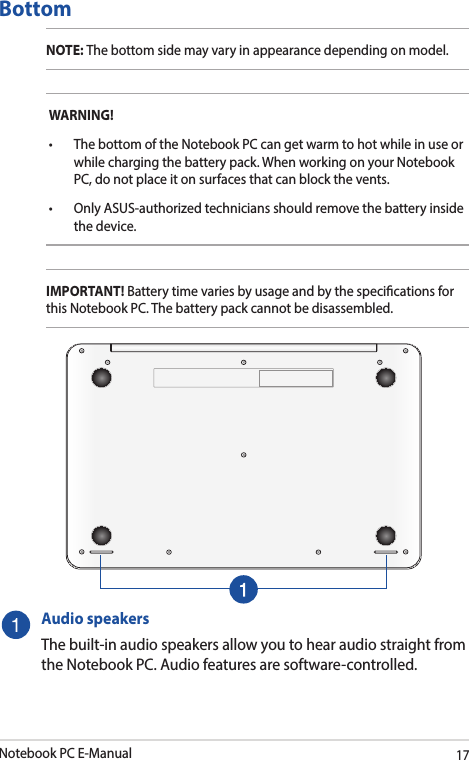
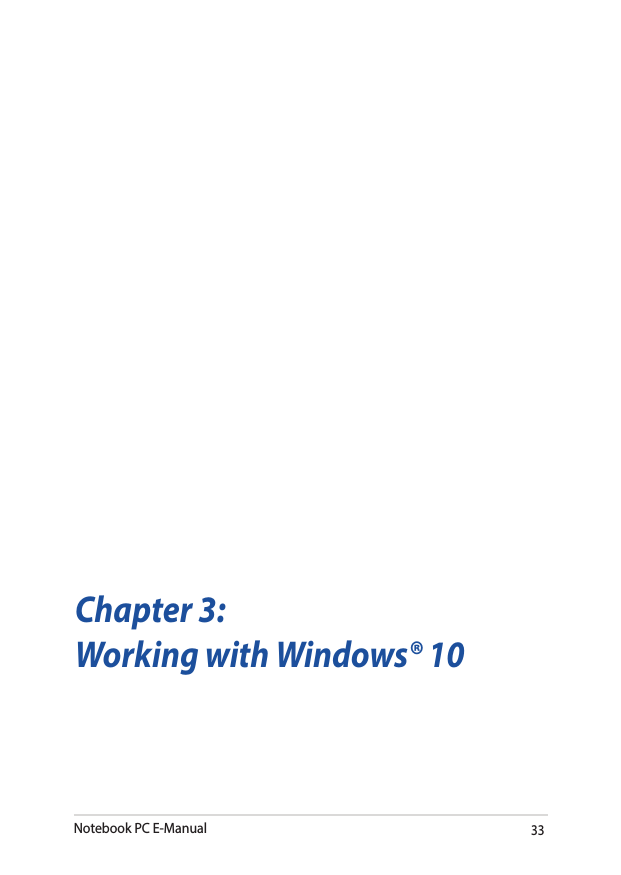

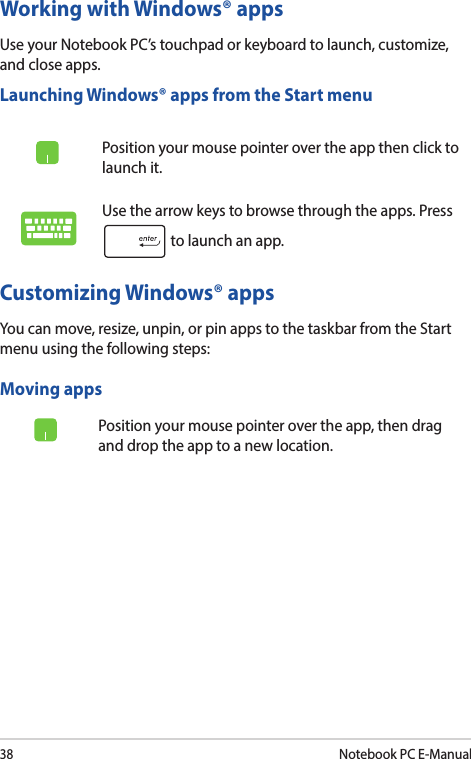
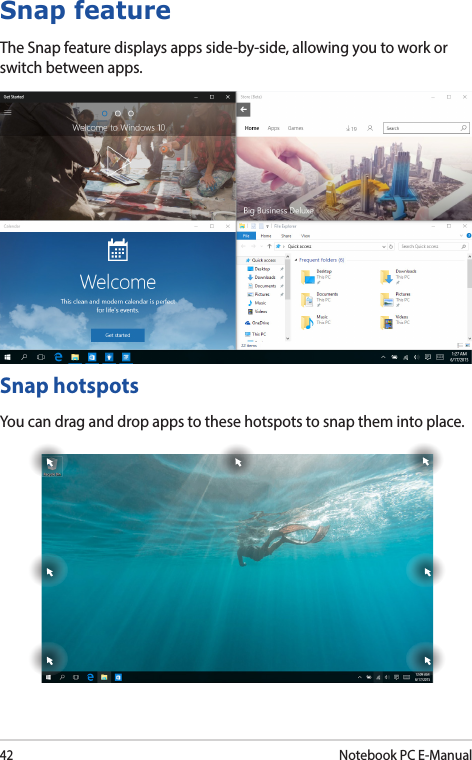


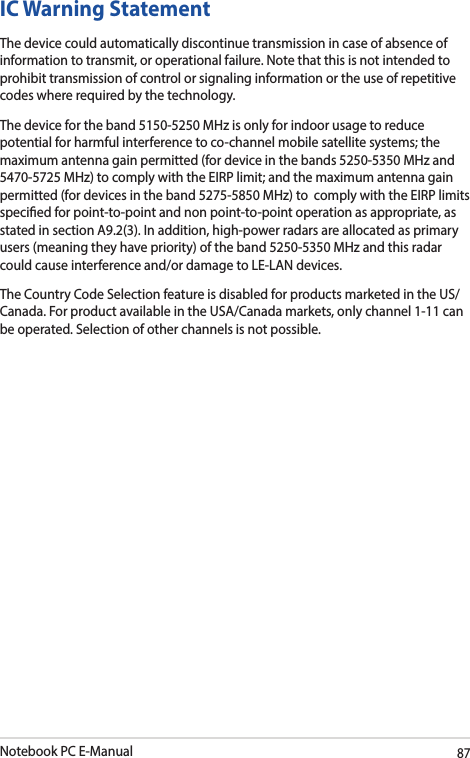
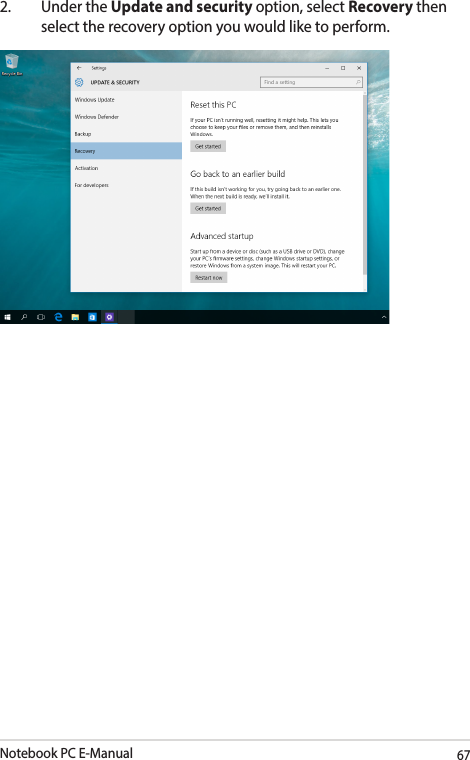
![Notebook PC E-Manual55BIOS SettingsNOTE: The BIOS screens in this section are for reference only. The actual screens may dier by model and territory.BootThis menu allows you to set your boot option priorities. You may refer to the following procedures when setting your boot priority.1. On the Boot screen, select Boot Option #1.→← : Select Screen ↑↓ : Select Item Enter: Select +/— : Change Opt. F1 : General Help F9 : Optimized Defaults F10 : Save & Exit ESC : Exit Boot CongurationFast Boot [Enabled]Launch CSM [Disabled]Driver Option PrioritiesBoot Option PrioritiesBoot Option #1 [Windows Boot Manager]Add New Boot OptionDelete Boot OptionSets the system boot orderAptio Setup Utility - Copyright (C) 2015 American Megatrends, Inc.Main Advanced Boot Security Save & ExitVersion 2.15.1226. Copyright (C) 2015 American Megatrends, Inc.](https://usermanual.wiki/ASUSTeK-Computer/E202S/User-Guide-2710057-Page-55.png)
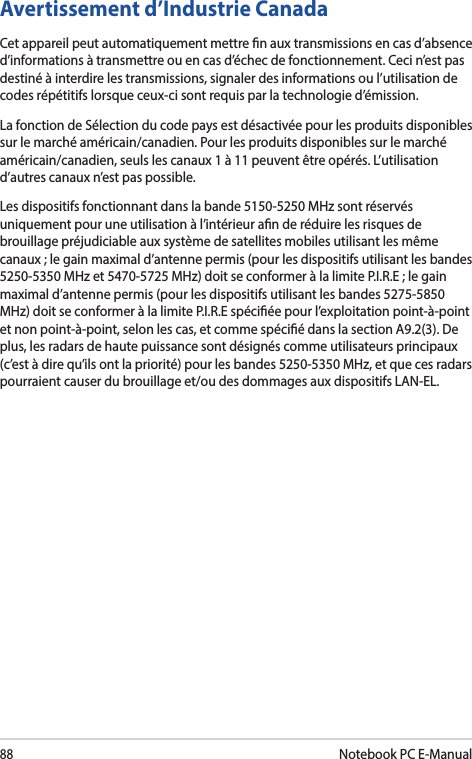
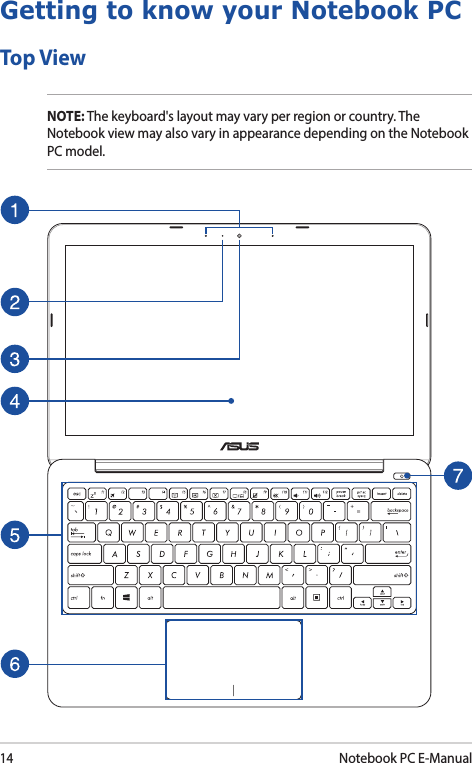
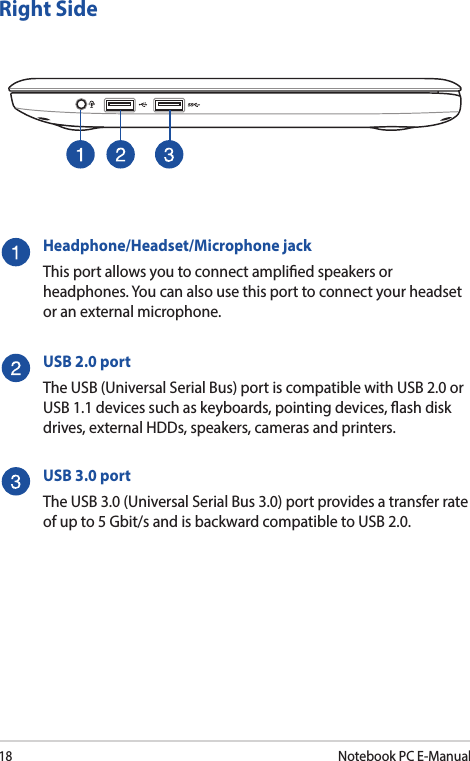
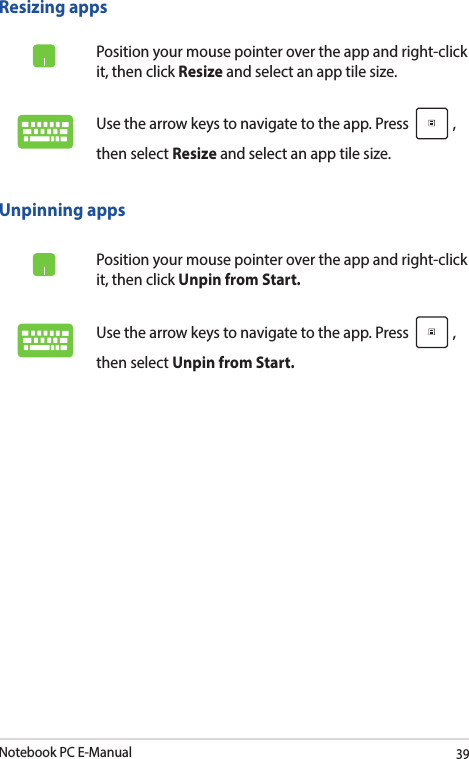
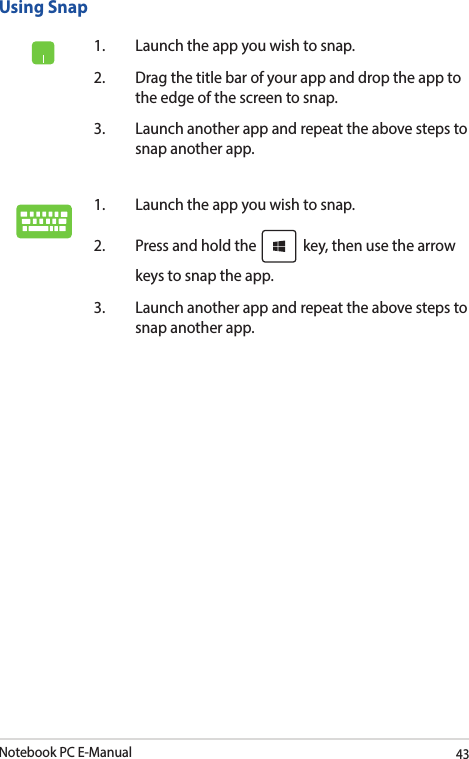
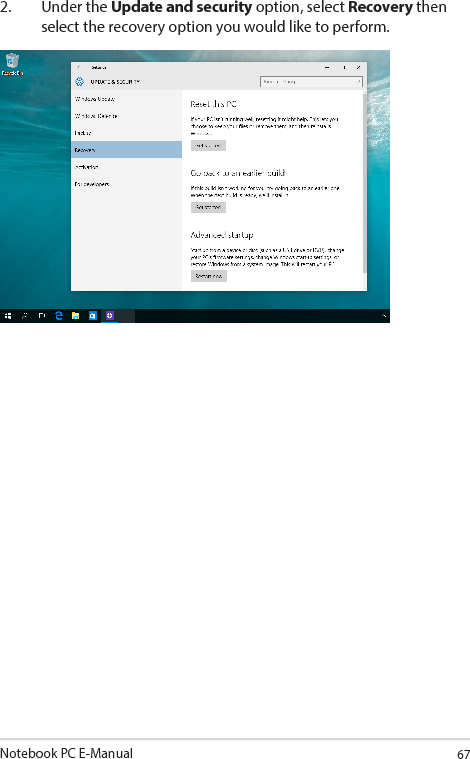
![56Notebook PC E-Manual2. Press and select a device as the Boot Option #1.→← : Select Screen ↑↓ : Select Item Enter: Select +/— : Change Opt. F1 : General Help F9 : Optimized Defaults F10 : Save & Exit ESC : Exit Sets the system boot orderAptio Setup Utility - Copyright (C) 2015 American Megatrends, Inc.Main Advanced Boot Security Save & ExitVersion 2.15.1226. Copyright (C) 2015 American Megatrends, Inc.Boot CongurationFast Boot [Enabled]Launch CSM [Disabled]Driver Option PrioritiesBoot Option PrioritiesBoot Option #1 [Windows Boot Manager]Add New Boot OptionDelete Boot OptionBoot Option #1Windows Boot ManagerDisabled](https://usermanual.wiki/ASUSTeK-Computer/E202S/User-Guide-2710057-Page-56.png)
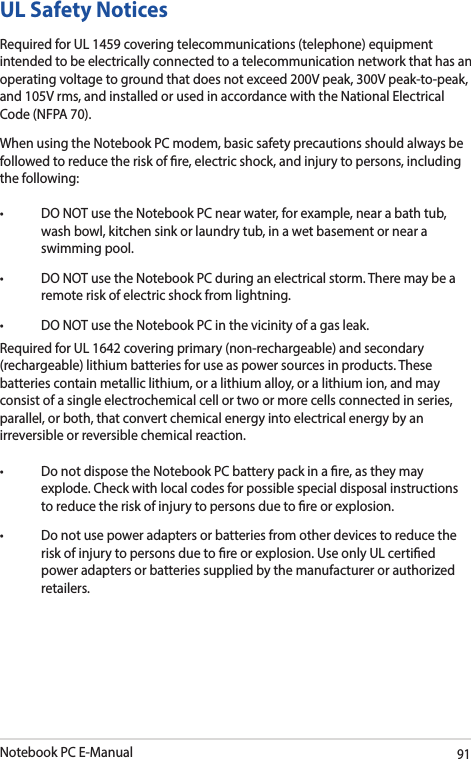
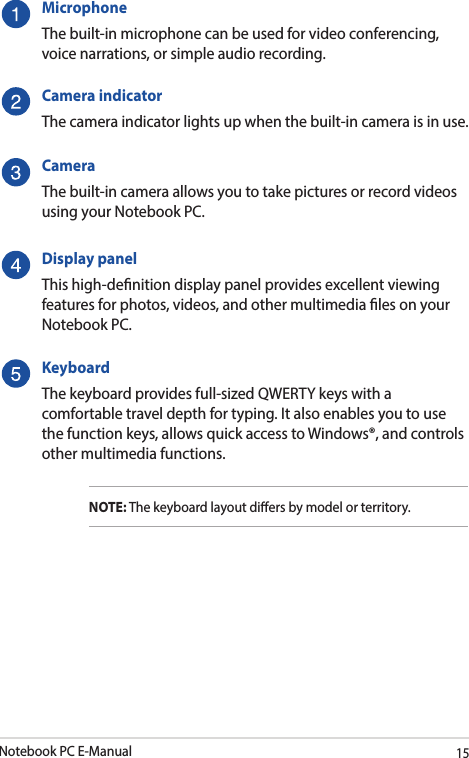
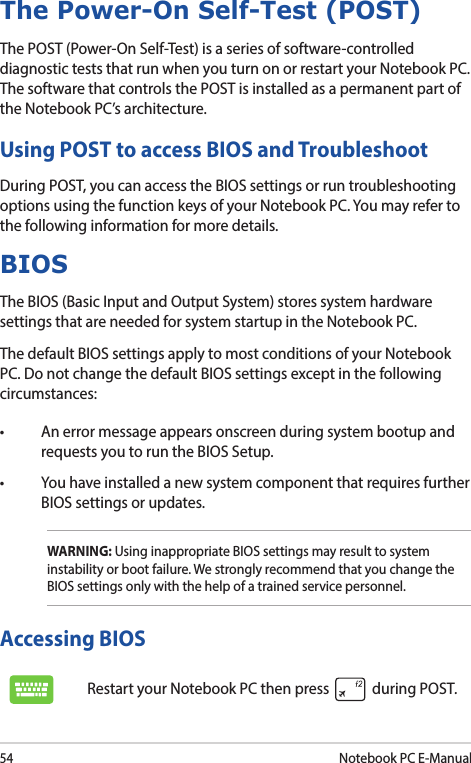
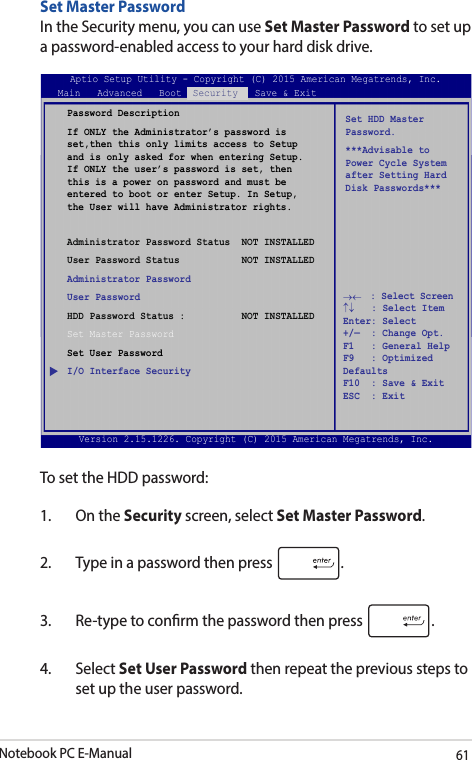
![Notebook PC E-Manual57SecurityThis menu allows you to set up the administrator and user password of your Notebook PC. It also allows you to control the access to your Notebook PC’s hard disk drive, input/output (I/O) interface, and USB interface.NOTE: • IfyouinstallaUser Password, you will be prompted to input this before entering your Notebook PC's operating system.• IfyouinstallanAdministrator Password, you will be prompted to input this before entering BIOS.Password DescriptionIf ONLY the Administrator’s password is set, then this only limits access to Setup and is only asked for when entering Setup. If ONLY the user’s password is set, then this is a power on password and must be entered to boot or enter Setup. In Setup, the User will have Administrator rights.Administrator Password Status NOT INSTALLEDUser Password Status NOT INSTALLEDAdministrator PasswordUser PasswordHDD Password Status : NOT INSTALLEDSet Master PasswordSet User PasswordI/O Interface SecuritySystem Mode state UserSecure Boot state EnabledSecure Boot Control [Enabled]Key ManagementSet Administrator Password. The password length must be in the following range: Minimum length 3Maximum length 20Aptio Setup Utility - Copyright (C) 2015 American Megatrends, Inc.Main Advanced Boot Security Save & Exit→← : Select Screen ↑↓ : Select Item Enter: Select +/— : Change Opt. F1 : General Help F9 : Optimized Defaults F10 : Save & Exit ESC : Exit Version 2.15.1226. Copyright (C) 2015 American Megatrends, Inc.](https://usermanual.wiki/ASUSTeK-Computer/E202S/User-Guide-2710057-Page-57.png)
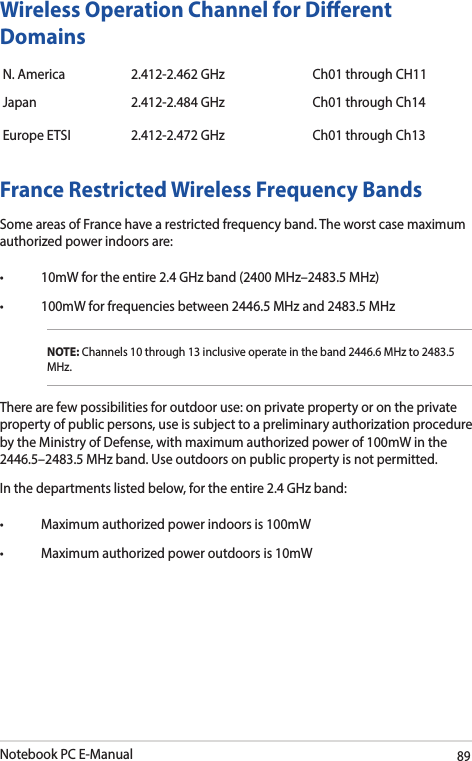
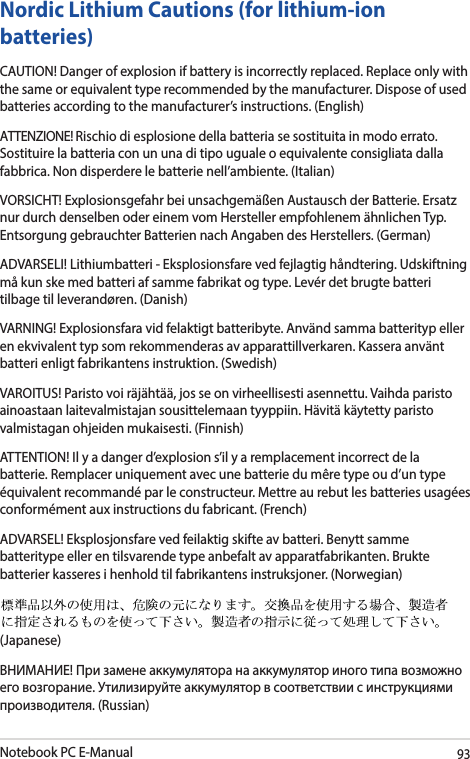
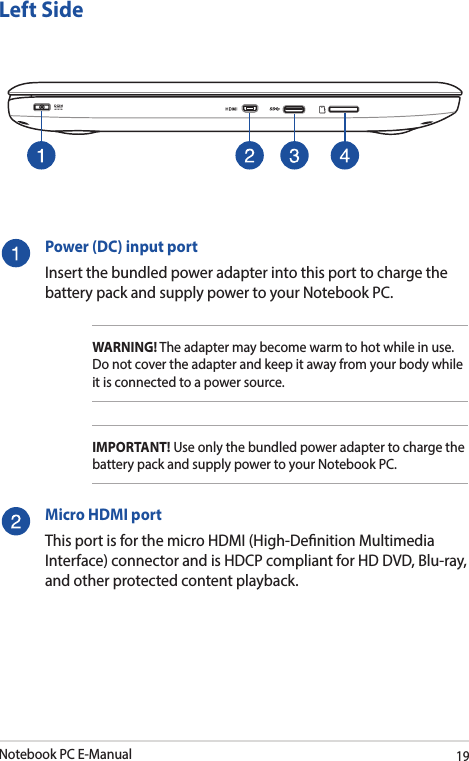
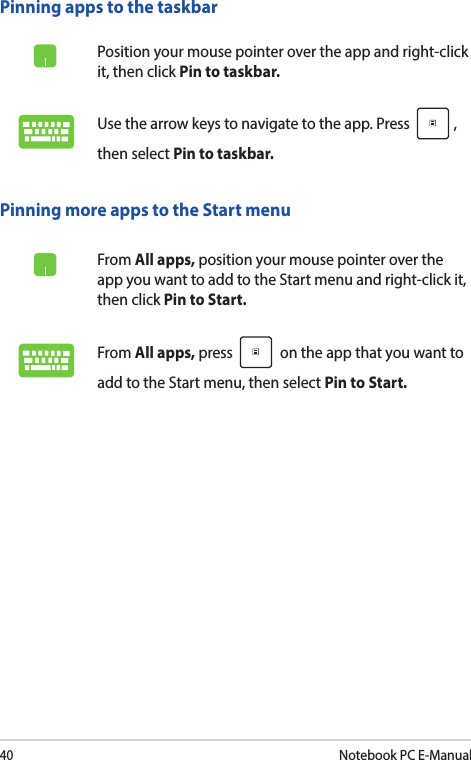
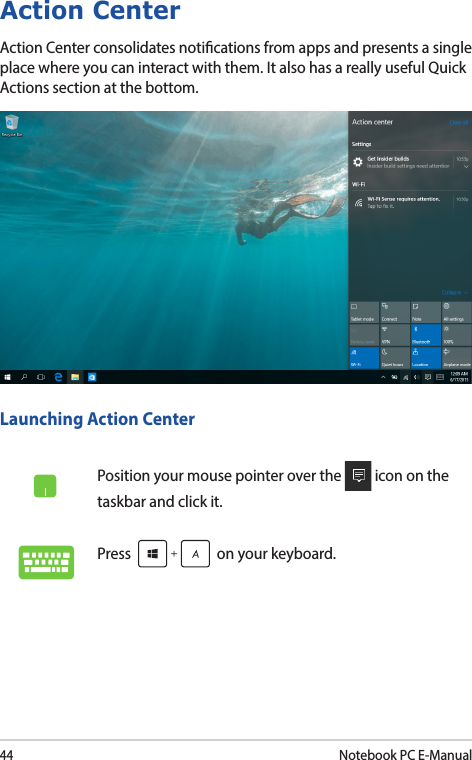
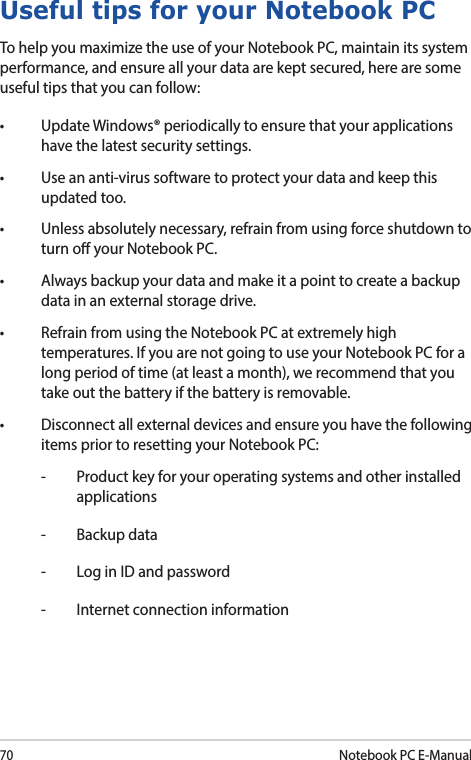
![Notebook PC E-Manual59I/O Interface SecurityIn the Security menu, you can access I/O Interface Security to lock or unlock some interface functions of your Notebook PC.I/O Interface SecurityLAN Network Interface [UnLock]Wireless Network Interface [UnLock]HD AUDIO Interface [UnLock]USB Interface SecurityIf Locked, LAN controller will be disabled.Aptio Setup Utility - Copyright (C) 2015 American Megatrends, Inc.Security→← : Select Screen ↑↓ : Select Item Enter: Select +/— : Change Opt. F1 : General Help F9 : Optimized Defaults F10 : Save & Exit ESC : Exit Version 2.15.1226. Copyright (C) 2015 American Megatrends, Inc.LAN Network InterfaceLockUnLockTo lock an interface:1. On the Security screen, select I/O Interface Security.2. Select an interface you would like to lock then press .3. Select Lock.](https://usermanual.wiki/ASUSTeK-Computer/E202S/User-Guide-2710057-Page-59.png)
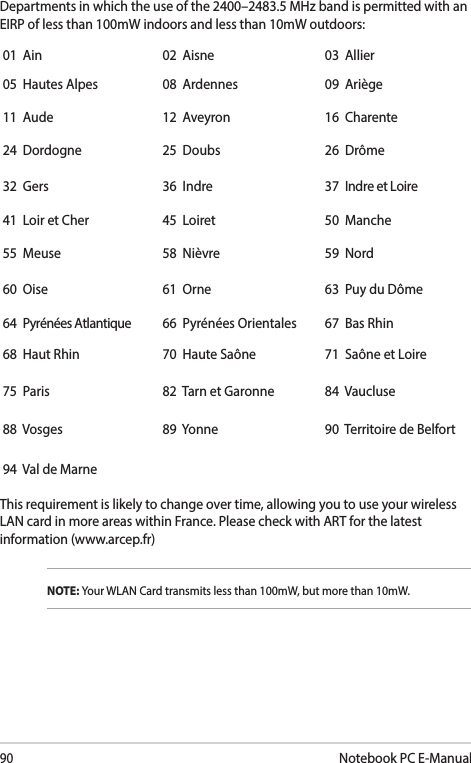
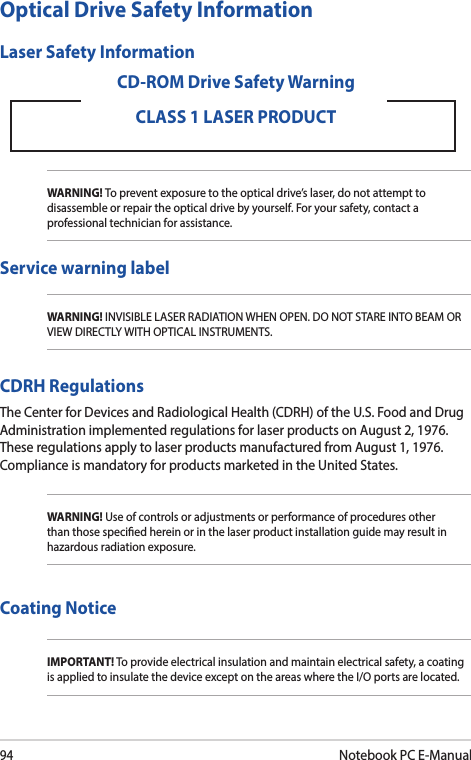
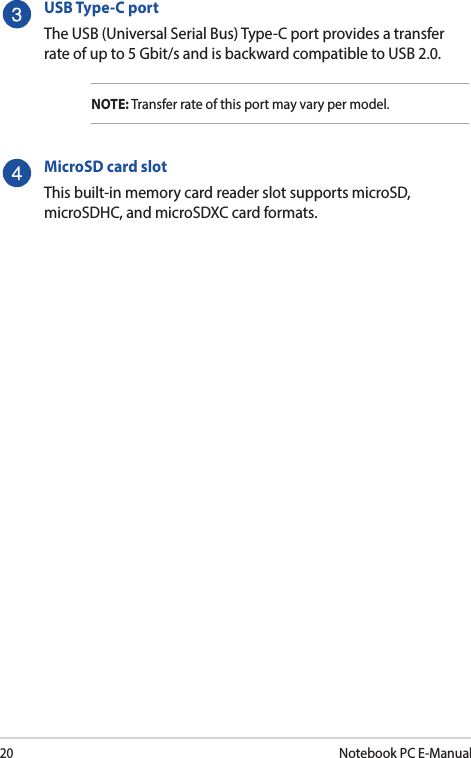
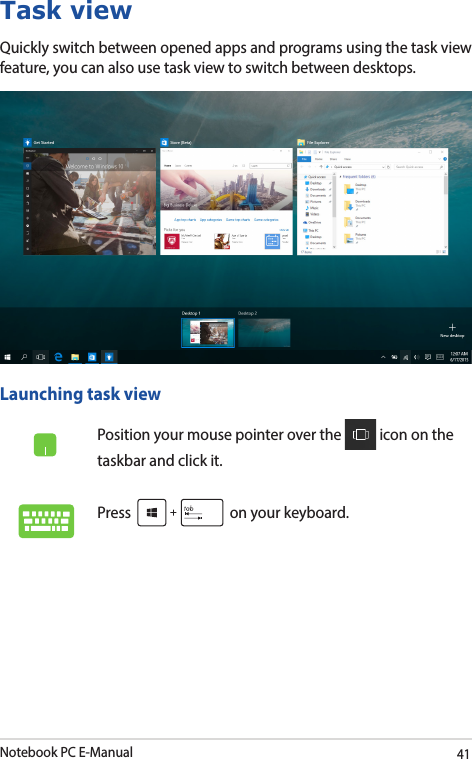
![60Notebook PC E-ManualUSB Interface SecurityThrough the I/O Interface Security menu, you can also access USB Interface Security to lock or unlock ports and devices.Version 2.15.1226. Copyright (C) 2015 American Megatrends, Inc.USB Interface SecurityUSB Interface [UnLock]External Ports [UnLock]CMOS Camera [UnLock]Card Reader [UnLock] If Locked, all USB device will be disabledAptio Setup Utility - Copyright (C) 2015 American Megatrends, Inc.Security→← : Select Screen ↑↓ : Select Item Enter: Select +/— : Change Opt. F1 : General Help F9 : Optimized Defaults F10 : Save & Exit ESC : Exit USB InterfaceLockUnLockTo lock the USB interface:1. On the Security screen, select I/O Interface Security > USB Interface Security.2. Select an interface that you would like to lock then select Lock.NOTE: Setting the USB Interface to Lock also locks and hides the External Ports and other devices included under USB Interface Security.](https://usermanual.wiki/ASUSTeK-Computer/E202S/User-Guide-2710057-Page-60.png)
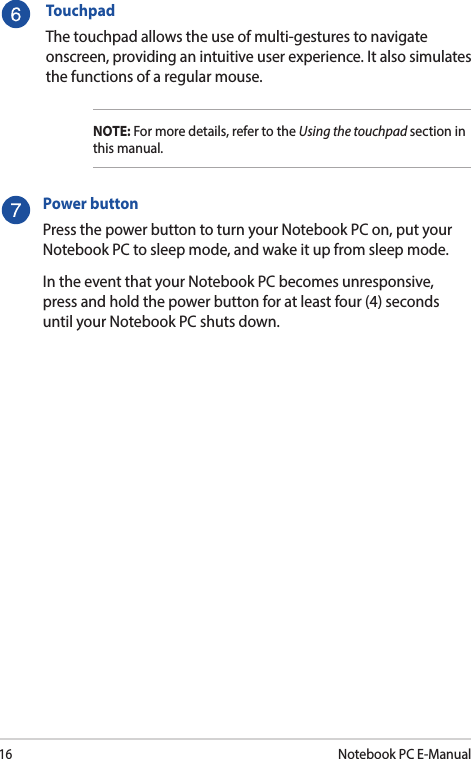
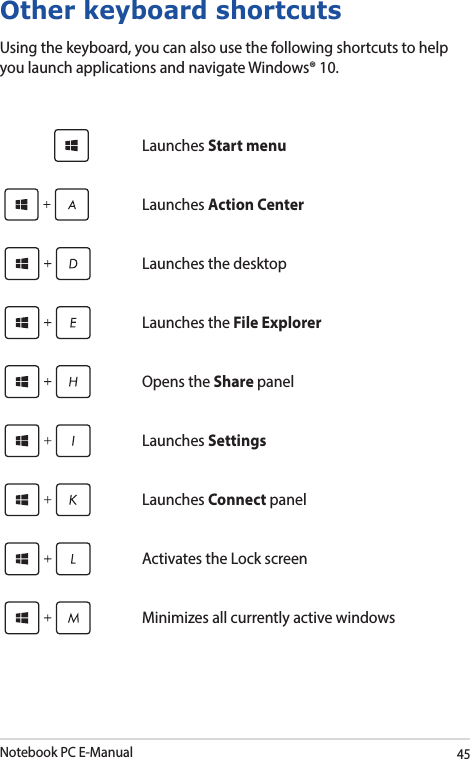
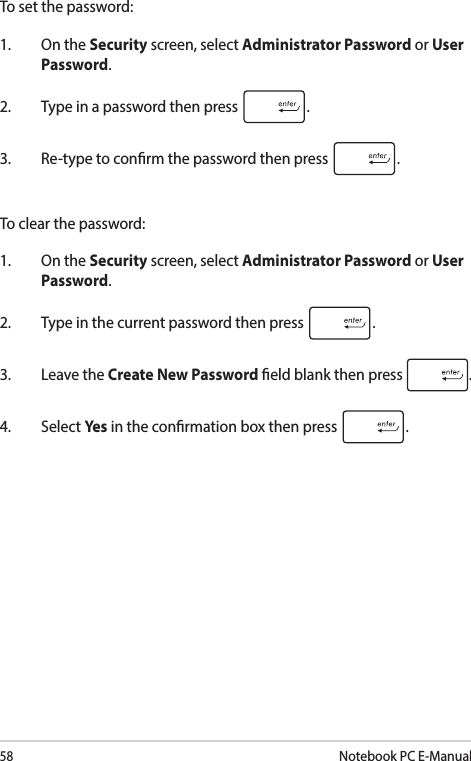
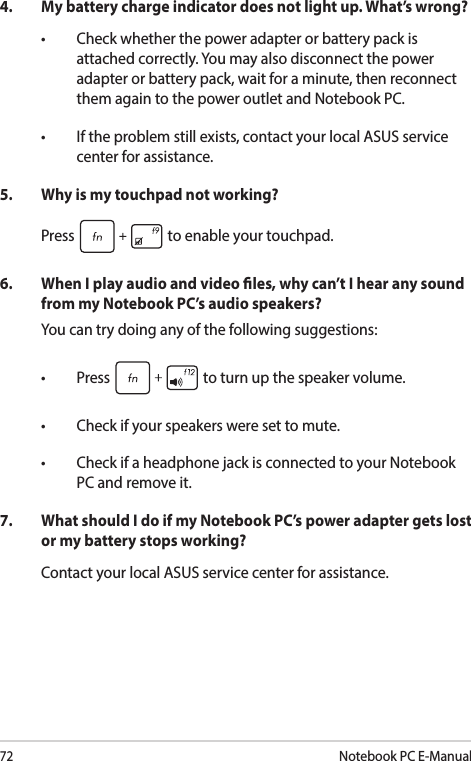
![Notebook PC E-Manual63To update the BIOS:1. Verify the Notebook PC’s exact model then download the latest BIOS le for your model from the ASUS website.2. Save a copy of the downloaded BIOS le to a ash disk drive.3. Connect your ash disk drive to your Notebook PC.4. Restart your Notebook PC then press during POST.5. From the BIOS menu, Select Advanced > Start Easy Flash, then press .Aptio Setup Utility - Copyright (C) 2011 American Megatrends, Inc.Start Easy FlashInternal Pointing Device [Enabled]Wake on Lid Open [Enabled]Power Off Energy Saving [Enabled]SATA CongurationGraphics CongurationIntel (R) Anti-Theft Technology CorporationUSB CongurationNetwork StackPress Enter to run the utility to select and update BIOS.Aptio Setup Utility - Copyright (C) 2015 American Megatrends, Inc.Main Advanced Boot Security Save & Exit→← : Select Screen ↑↓ : Select Item Enter: Select +/— : Change Opt. F1 : General Help F9 : Optimized Defaults F10 : Save & Exit ESC : Exit Version 2.15.1226. Copyright (C) 2015 American Megatrends, Inc.](https://usermanual.wiki/ASUSTeK-Computer/E202S/User-Guide-2710057-Page-63.png)
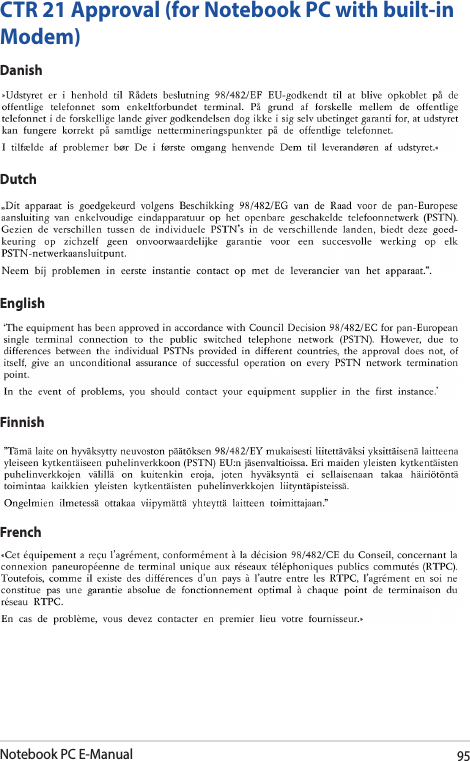
![64Notebook PC E-ManualFSOFS1FS2FS3FS40 EFI <DIR>ASUSTek Easy Flash Utility[←→]: Switch [↑↓]: Choose [q]: Exit [Enter]: Enter/ExecuteCurrent BIOSPlatform: E202SAVersion: 101Build Date: Apr 26 2015Build Time: 11:51:05New BIOSPlatform: UnknownVersion: UnknownBuild Date: UnknownBuild Time: UnknownFLASH TYPE: Generic Flash Type6. Locate your downloaded BIOS le in the ash disk drive then press . 7. After the BIOS update process, select Exit > Restore Defaults to restore the system to its default settings.](https://usermanual.wiki/ASUSTeK-Computer/E202S/User-Guide-2710057-Page-64.png)


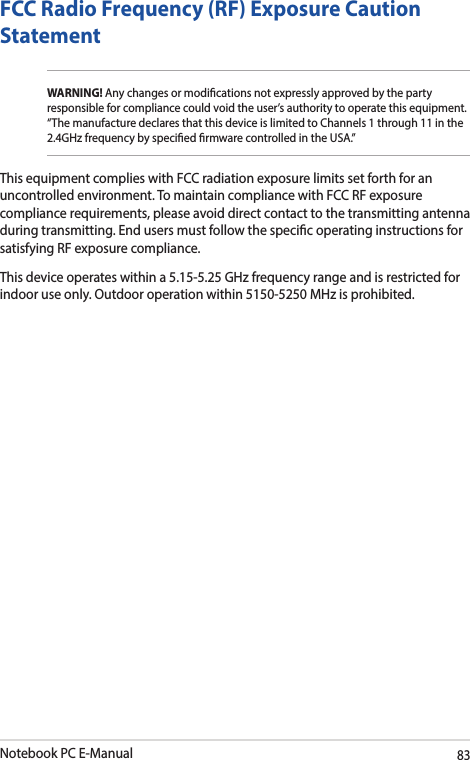
![82Notebook PC E-Manual• Connecttheequipmentintoanoutletonacircuitdierentfromthattowhich the receiver is connected. • Consultthedealeroranexperiencedradio/TVtechnicianforhelp.WARNING! The use of a shielded-type power cord is required in order to meet FCC emission limits and to prevent interference to the nearby radio and television reception. It is essential that only the supplied power cord be used. Use only shielded cables to connect I/O devices to this equipment. You are cautioned that changes or modications not expressly approved by the party responsible for compliance could void your authority to operate the equipment.(Reprinted from the Code of Federal Regulations #47, part 15.193, 1993. Washington DC: Oce of the Federal Register, National Archives and Records Administration, U.S. Government Printing Oce.)Declaration of Conformity (R&TTE directive 1999/5/EC)The following items were completed and are considered relevant and sucient:• Essentialrequirementsasin[Article3]• Protectionrequirementsforhealthandsafetyasin[Article3.1a]• Testingforelectricsafetyaccordingto[EN60950]• Protectionrequirementsforelectromagneticcompatibilityin[Article3.1b]• Testingforelectromagneticcompatibilityin[EN301489-1]&[EN301489-17]• Eectiveuseoftheradiospectrumasin[Article3.2]• Radiotestsuitesaccordingto[EN300328-2]](https://usermanual.wiki/ASUSTeK-Computer/E202S/User-Guide-2710057-Page-82.png)