ASUSTeK Computer EP12NE771 Eee PC User Manual MSQEP12NE766 UserMan
ASUSTeK Computer Inc Eee PC MSQEP12NE766 UserMan
UserManual.wiki
>
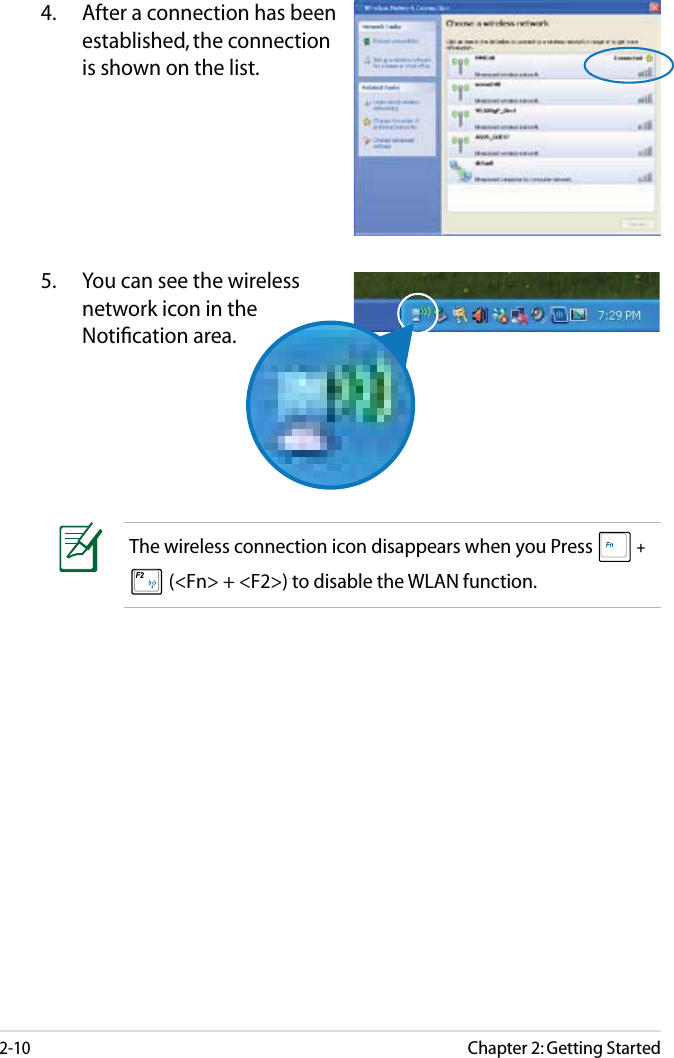
ASUSTeK Computer
>
EP12NE771 User Manual
Users Manual
Navigation menu
Upload a User Manual
Namespaces
Wiki Guide
HTML
PDF
Info
Views
User Manual
Discussion / Help
Navigation


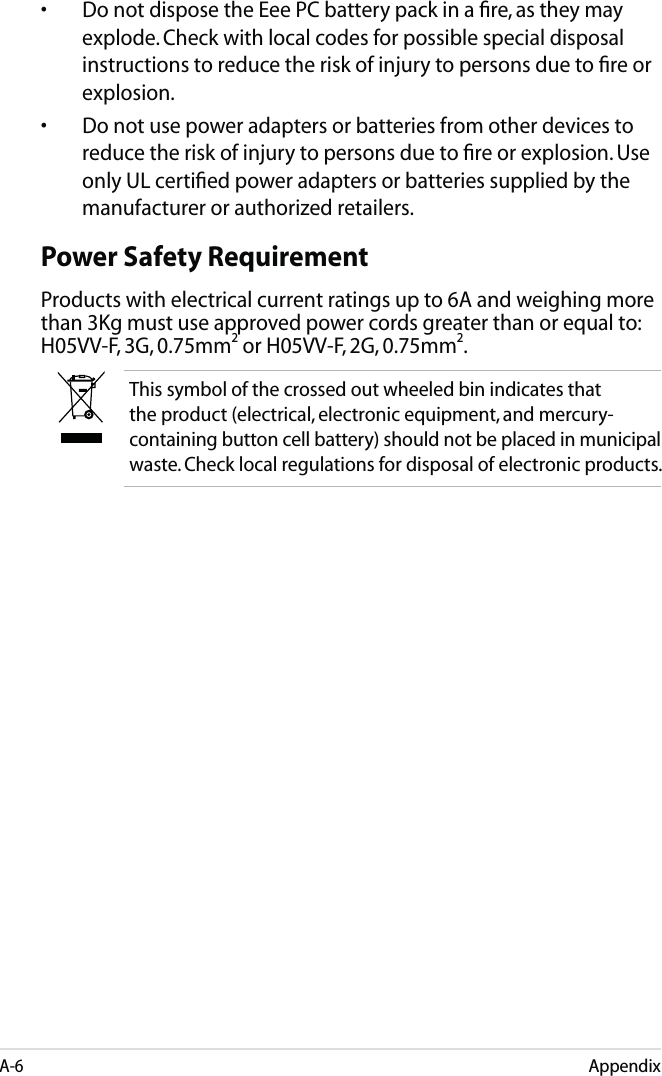
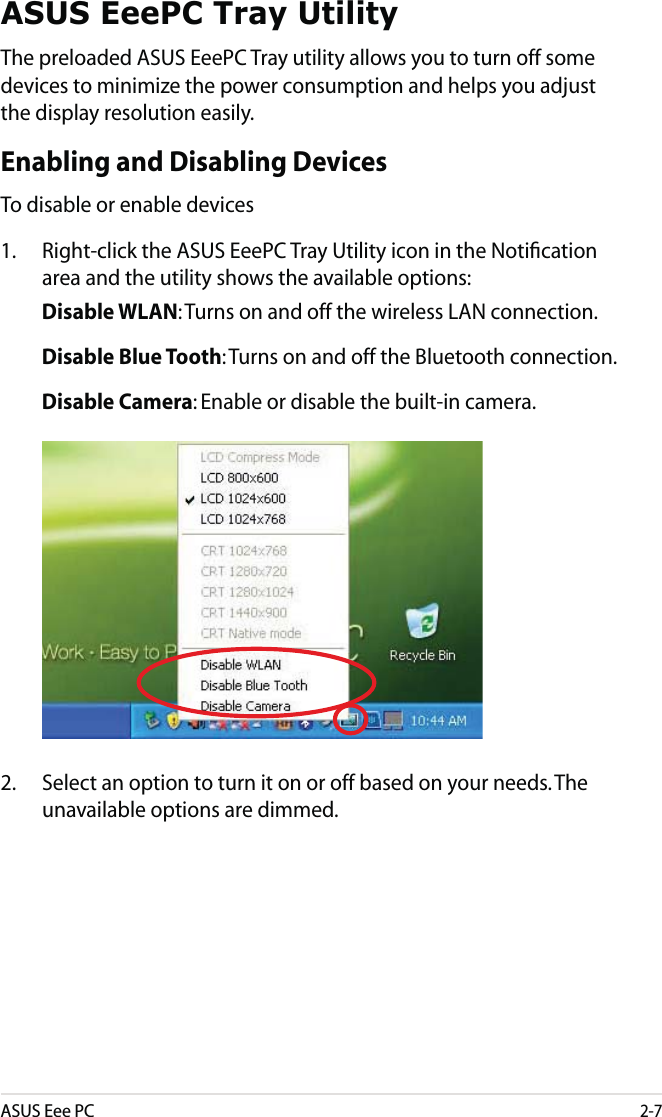
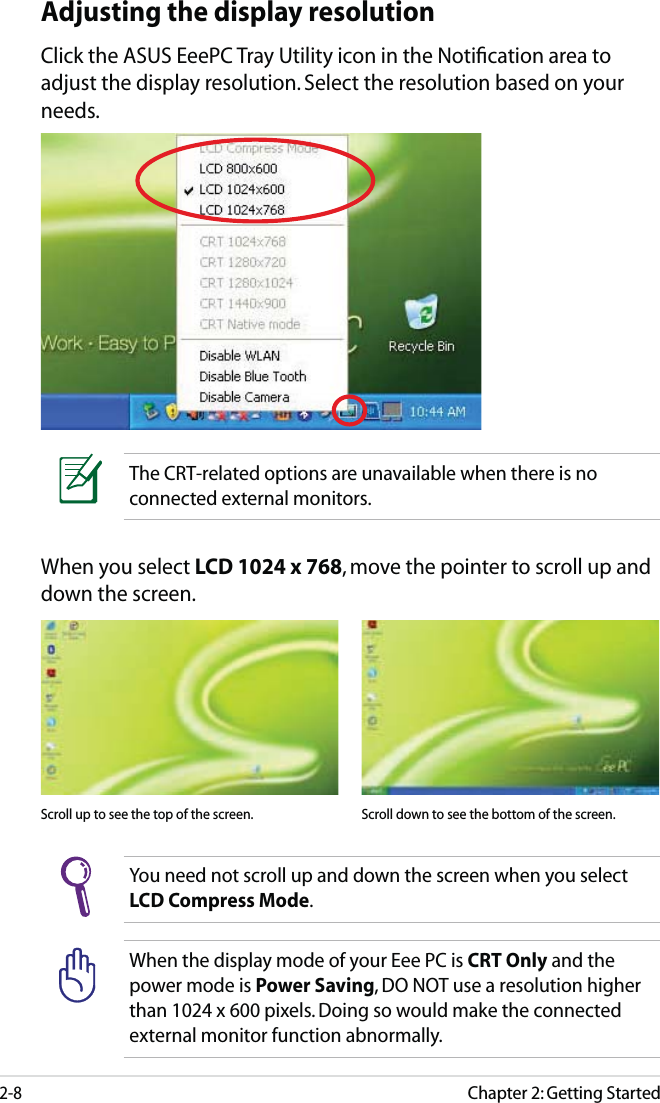
![1-4Chapter 1: Knowing the Parts78 Standby Mode / Powered OFFAC Mode Battery ModeBattery charge is 95%–100% Green ON OffBattery charge is between 11%–94% Orange Blinking OffBattery charge is less than 0%–10% Orange Blinking OffThe Battery Charge Indicator will not light when the battery is removed from your Eee PC. Hard Disk Drive (HDD) Indicator The hard disk drive indicator blinks when data is written to or read from the disk drive. Capital Lock Indicator Indicates that capital lock [Caps Lock] is activated when lighted. Wireless/Bluetooth Indicator This is only applicable on models with built-in wireless LAN/Bluetooth. When the built-in wireless LAN/Bluetooth is enabled, this indicator lights. Keyboard Touchpad and Buttons The touchpad and its buttons comprises a pointing device that provides the same functions as a desktop mouse. Multi-finger gesture input is available to allow easy web and document navigation.](https://usermanual.wiki/ASUSTeK-Computer/EP12NE771/User-Guide-1025207-Page-10.png)


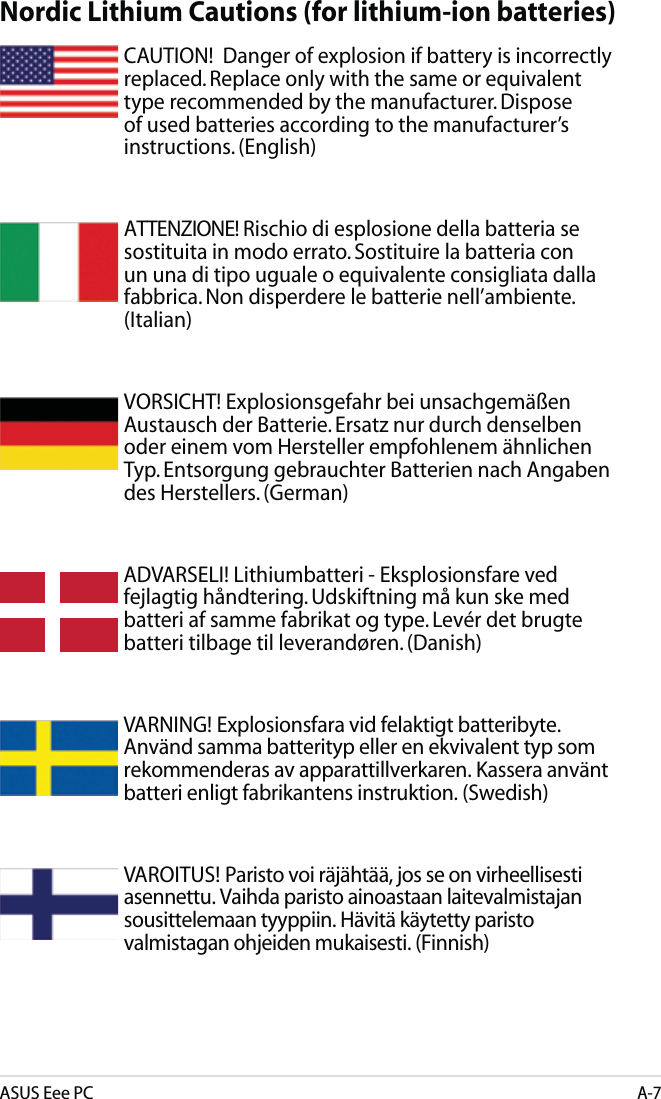
![ASUS Eee PCA-3(Reprinted from the Code of Federal Regulations #47, part 15.193, 1993. Washington DC: Office of the Federal Register, National Archives and Records Administration, U.S. Government Printing Office.)Declaration of Conformity (R&TTE directive 1999/5/EC)The following items were completed and are considered relevant and sufficient:• Essential requirements as in [Article 3]• Protection requirements for health and safety as in [Article 3.1a]• Testing for electric safety according to [EN 60950]• Protection requirements for electromagnetic compatibility in [Article 3.1b]• Testing for electromagnetic compatibility in [EN 301 489-1] & [EN 301]• Testing according to [489-17]• Effective use of the radio spectrum as in [Article 3.2]• Radio test suites according to [EN 300 328-2]CE Mark WarningThis is a Class B product, in a domestic environment, this product may cause radio interference, in which case the user may be required to take adequate measures.Wireless Operation Channel for Different DomainsN. America 2.412-2.462 GHz Ch01 through CH11Japan 2.412-2.484 GHz Ch01 through Ch14Europe ETSI 2.412-2.472 GHz Ch01 through Ch13](https://usermanual.wiki/ASUSTeK-Computer/EP12NE771/User-Guide-1025207-Page-35.png)