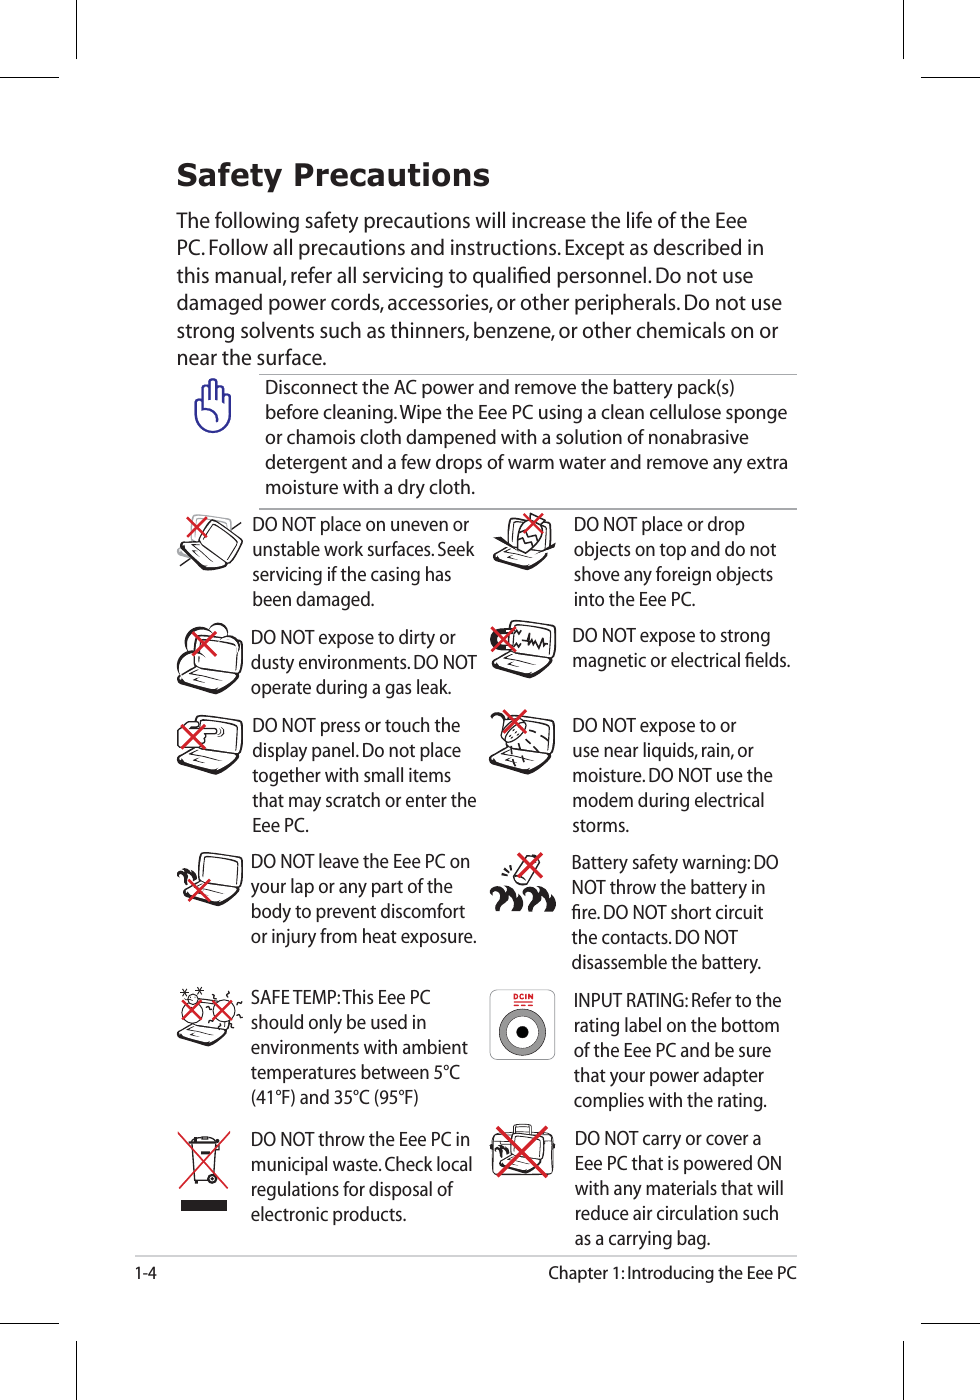
ASUSTeK Computer EPC9HD780 Eee PC User Manual
ASUSTeK Computer Inc Eee PC Users Manual
UserManual.wiki
>
ASUSTeK Computer
>
EPC9HD780 User Manual
Users manual
Navigation menu
Upload a User Manual
Namespaces
Wiki Guide
HTML
PDF
Info
Views
User Manual
Discussion / Help
Navigation
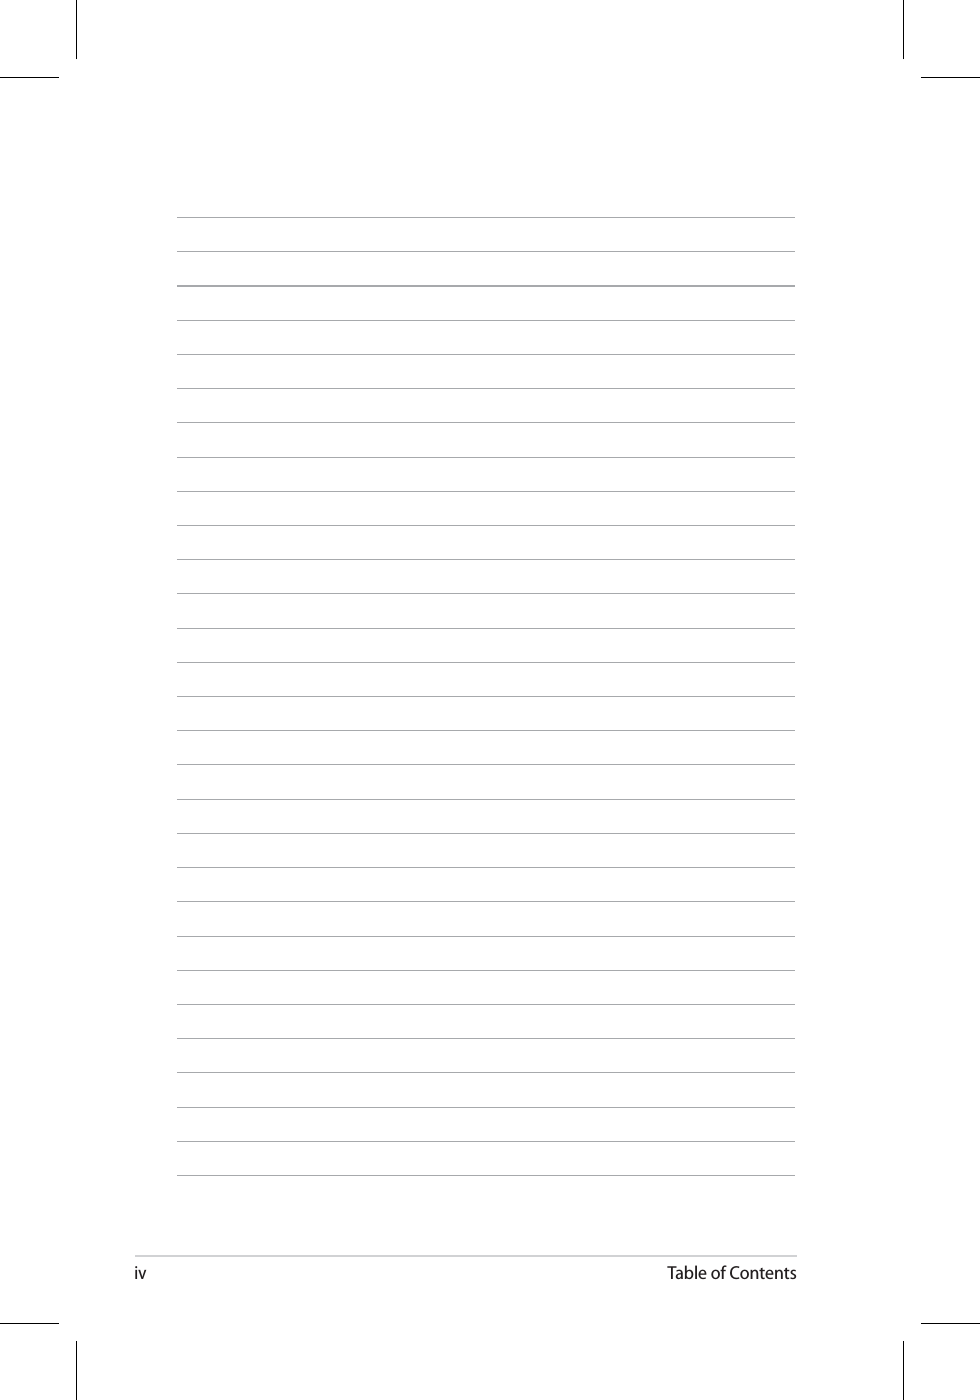
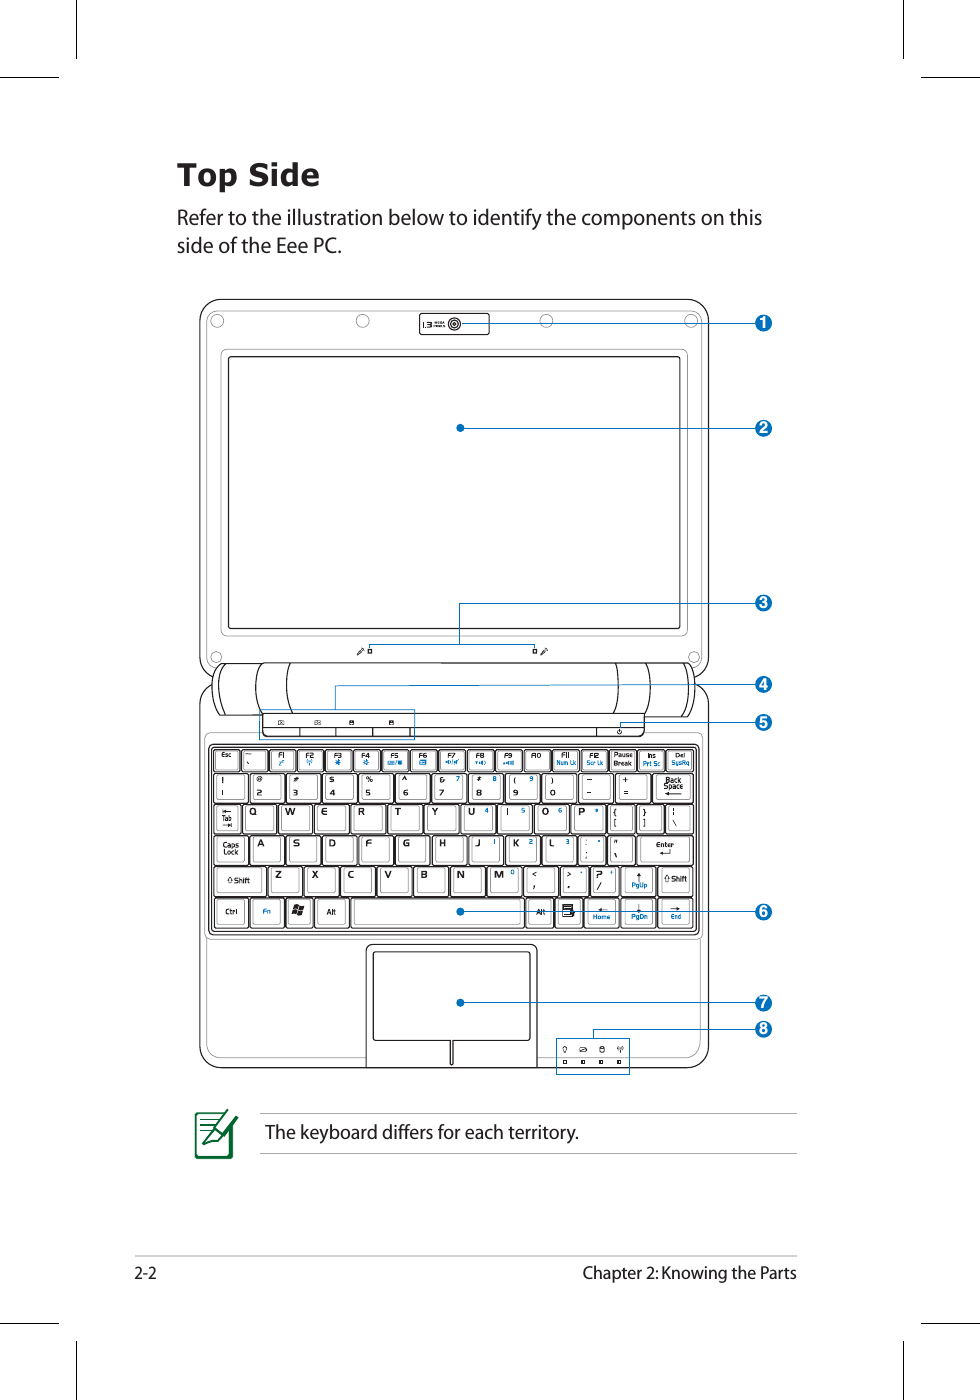


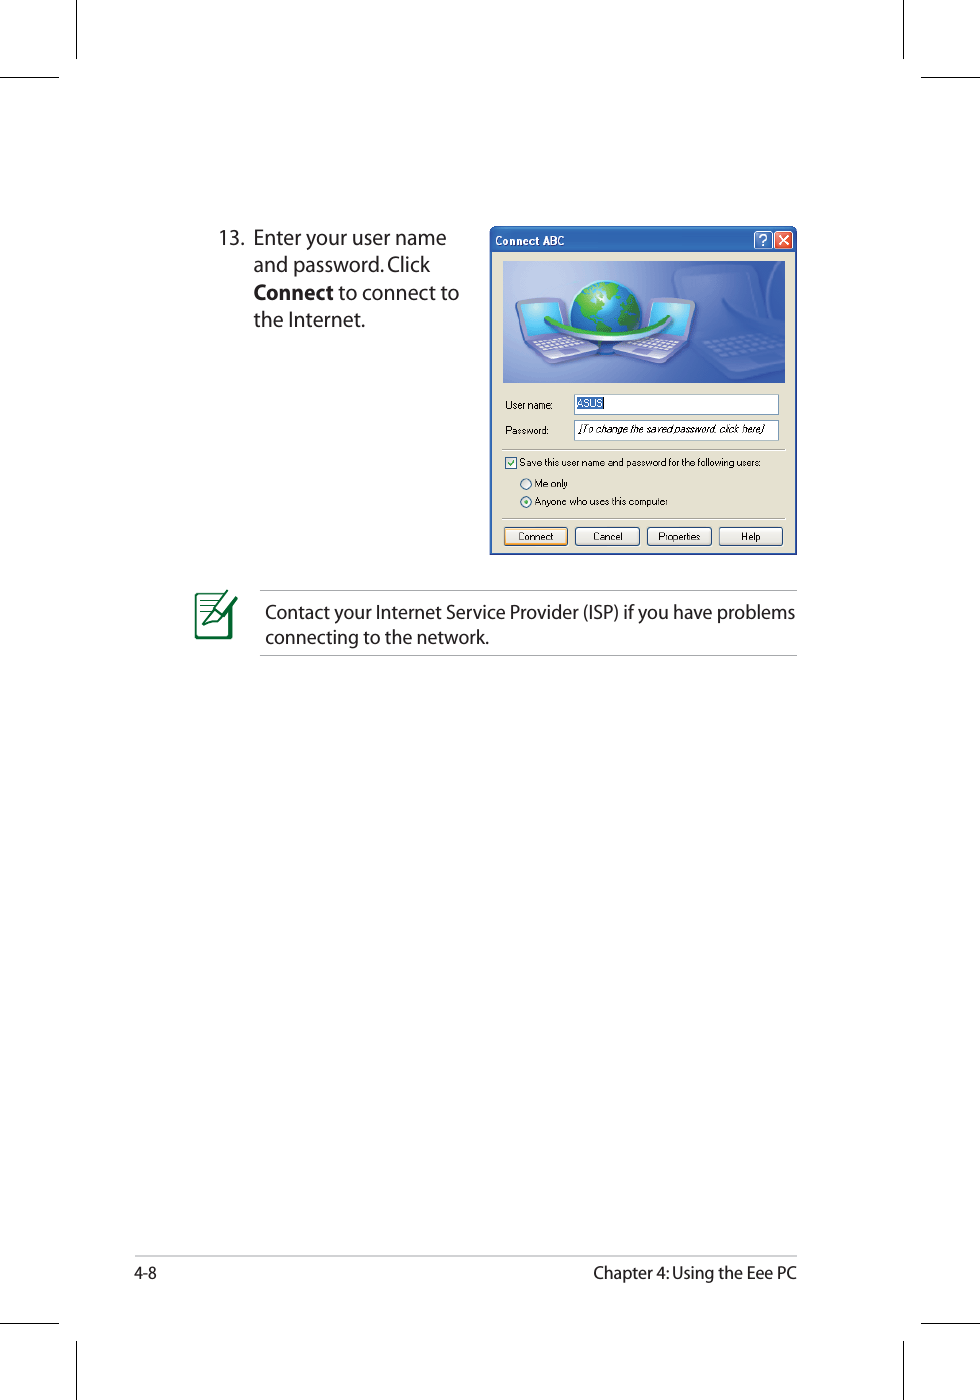
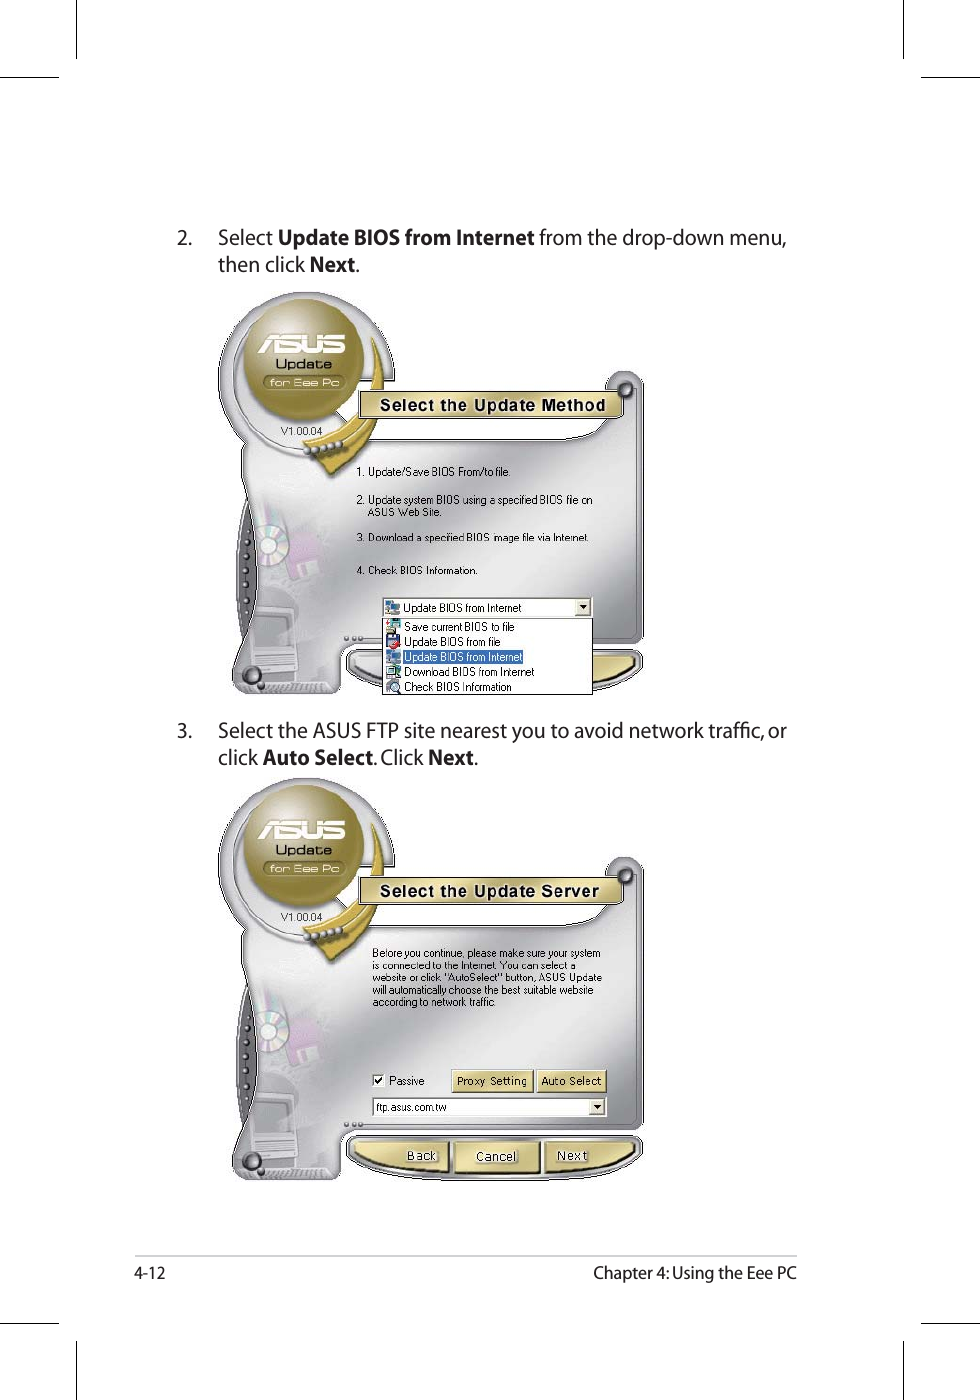

![ASUS Eee PC5-7System RecoveryUsing the Support DVDThe Support DVD includes an image of the operating system, installed on your system at the factory. The Support DVD provides a comprehensive recovery solution that quickly restores your system to its original working state, provided that your system drive is in good working order. Before using the Support DVD, copy your data files (such as Outlook PST files) to floppy disks or to a network drive and make note of any customized configuration settings (such as network settings).1. Connect an external optical drive to your Eee PC and insert the Support DVD into the optical drive (System needs to be powered ON).2. Start the system and press <F2> on bootup to enter the BIOS setup. Go to Advanced, set OS Installation to [Start], and then enable all the items in Onboard Devices Configuration.Please select boot device:Band ?to move selectionENTER to select boot deviceHDD:SM-ASUS_PHISON_OB SSDHDD:SM-ASUS_PHISON SSDUSB:Slimtype DVDEnsure that you have set OS Installation to [Start] before installing Windows® XP service pack 2, otherwise it may cause the system malfunction.3. Press <F10> to save the configuration and reboot the system.4. Press <ESC> on bootup and the Please select boot device screen appears. Select USB:XXXXXX (may be labled as the ODD brand name) to boot from the optical drive.](https://usermanual.wiki/ASUSTeK-Computer/EPC9HD780/User-Guide-969835-Page-63.png)
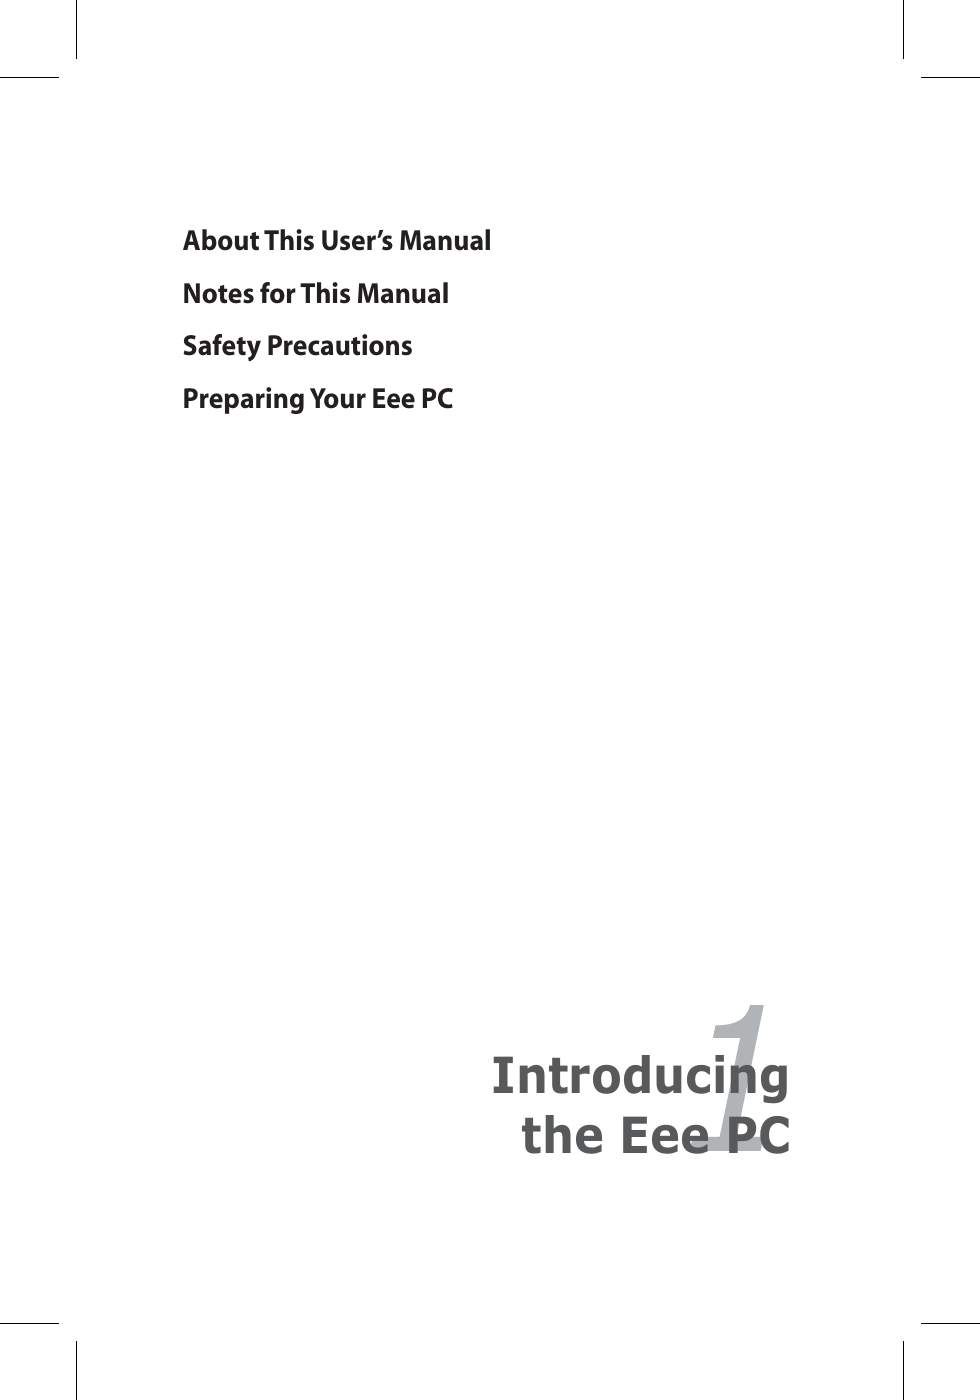
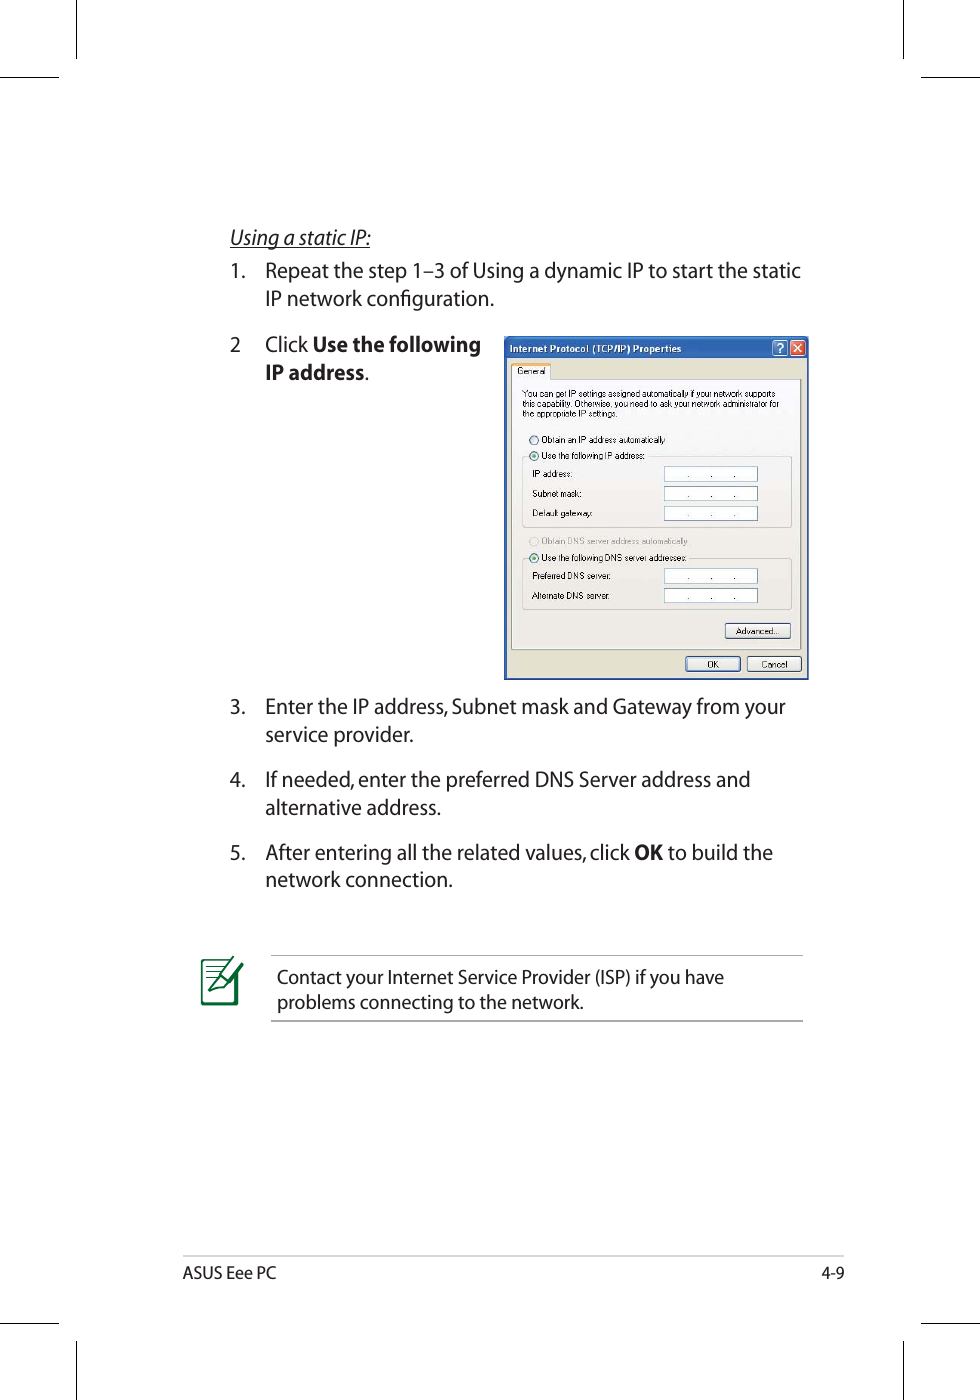
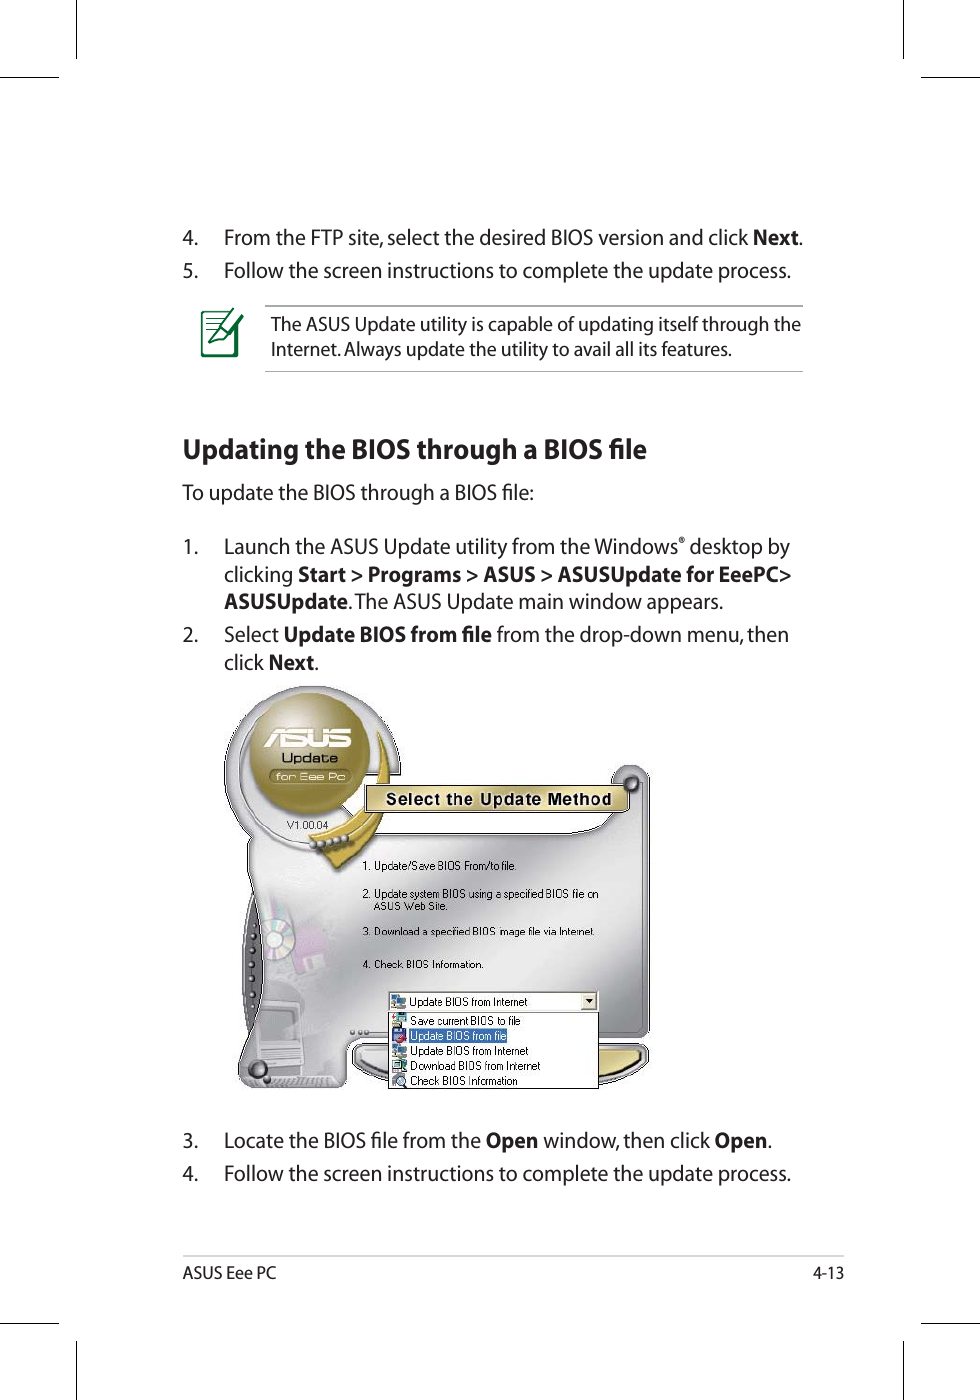
![ASUS Eee PC5-98. After the system recovery is completed, eject the the Support DVD from the optical drive and click OK to restart the Eee PC.9. After the Windows® XP recovery is completed. Restart the system and press <F2> on bootup to enter the BIOS setup. Go to Advanced and set OS Installation back to [Finished].10. Press <F10> to save the configuration and reboot the system.](https://usermanual.wiki/ASUSTeK-Computer/EPC9HD780/User-Guide-969835-Page-65.png)
![A-4AppendixDeclaration of Conformity(R&TTE directive 1999/5/EC)The following items were completed and are considered relevant and sufficient:• Essential requirements as in [Article 3]• Protection requirements for health and safety as in [Article 3.1a]• Testing for electric safety according to [EN 60950]• Protection requirements for electromagnetic compatibility in [Article 3.1b]• Testing for electromagnetic compatibility in [EN 301 489-1] & [EN 301]• Testing according to [489-17]• Effective use of the radio spectrum as in [Article 3.2]• Radio test suites according to [EN 300 328-2]CE Mark WarningThis is a Class B product, in a domestic environment, this product may cause radio interference, in which case the user may be required to take adequate measures.IC Radiation Exposure Statement for CanadaThis equipment complies with IC radiation exposure limits set forth for an uncontrolled environment. To maintain compliance with IC RF exposure compliance requirements, please avoid direct contact to the transmitting antenna during transmitting. End users must follow the specific operating instructions for satisfying RF exposure compliance.Operation is subject to the following two conditions: • This device may not cause interference and • This device must accept any interference, including interference that may cause undesired operation of the device.](https://usermanual.wiki/ASUSTeK-Computer/EPC9HD780/User-Guide-969835-Page-70.png)