ASUSTeK Computer EPCS1N771 EEE PC User Manual
ASUSTeK Computer Inc EEE PC Users Manual
UserManual.wiki
>
ASUSTeK Computer
>
EPCS1N771 User Manual
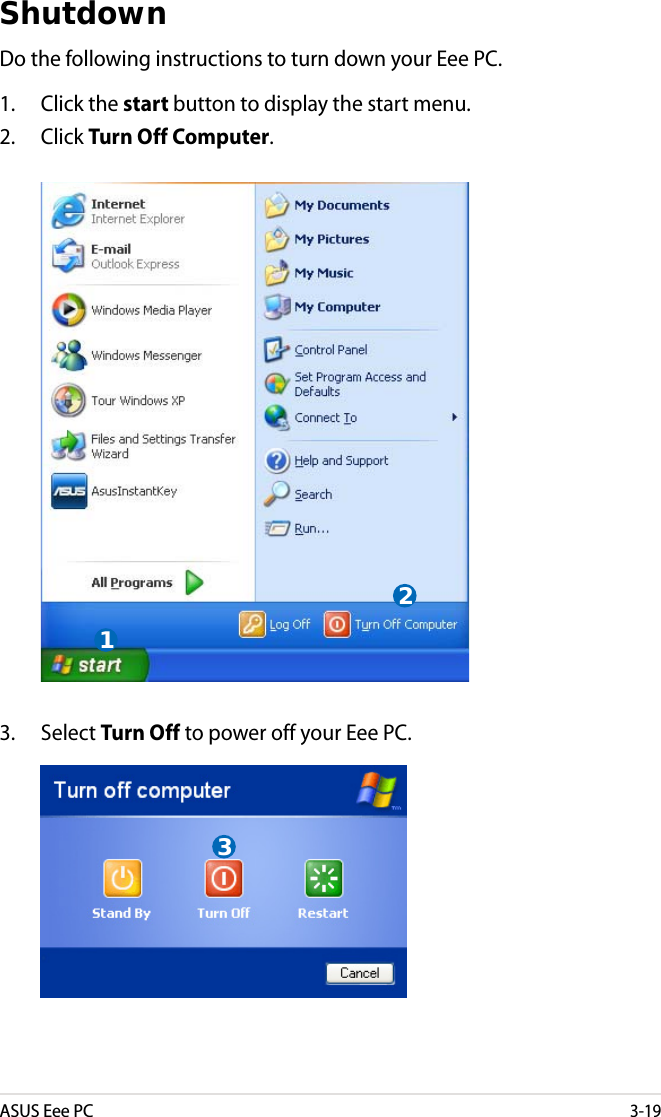
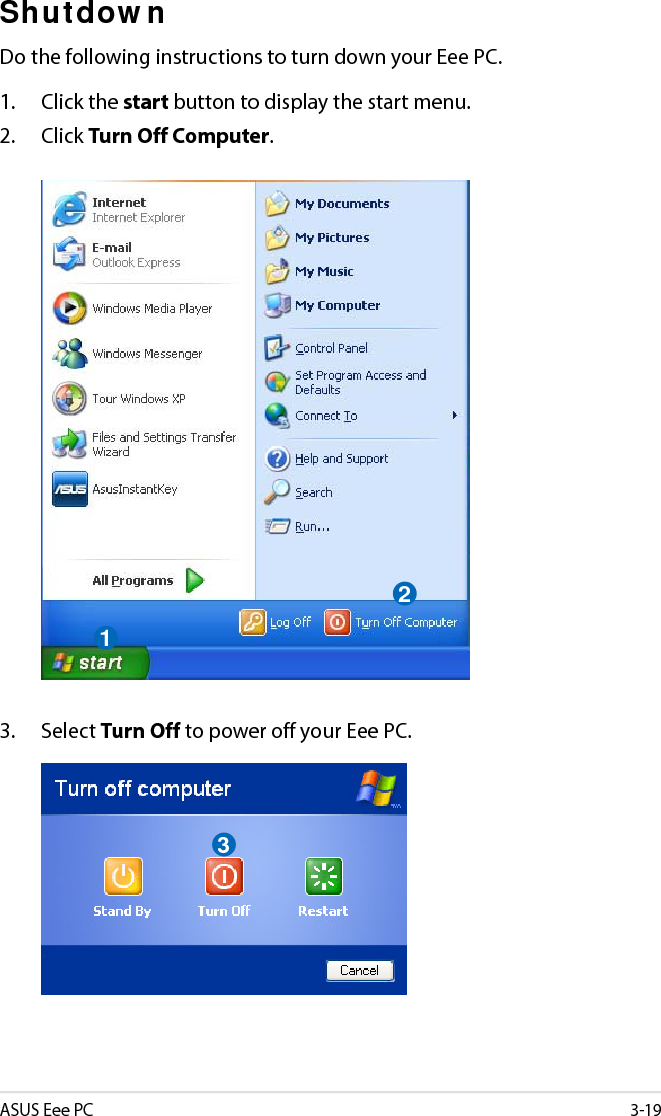
USERS MANUAL
Navigation menu
Upload a User Manual
Namespaces
Wiki Guide
HTML
PDF
Info
Views
User Manual
Discussion / Help
Navigation
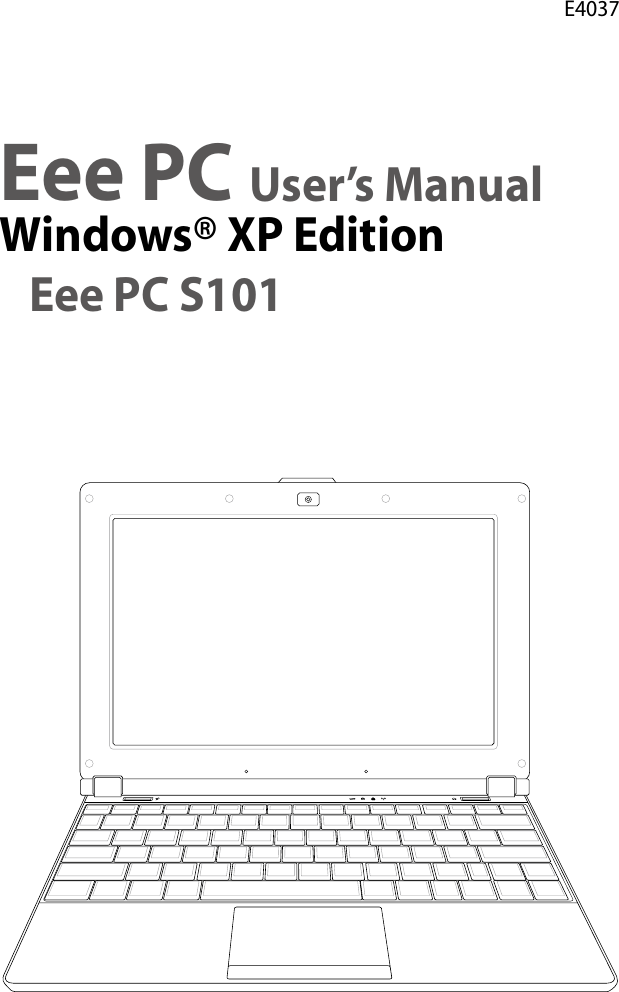

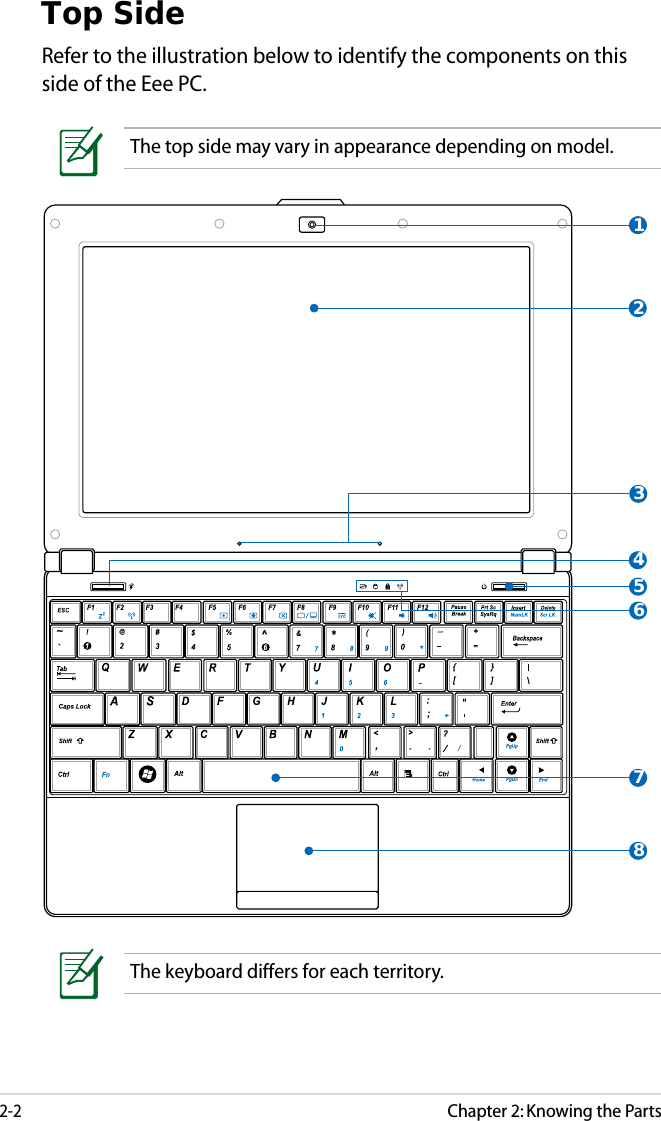
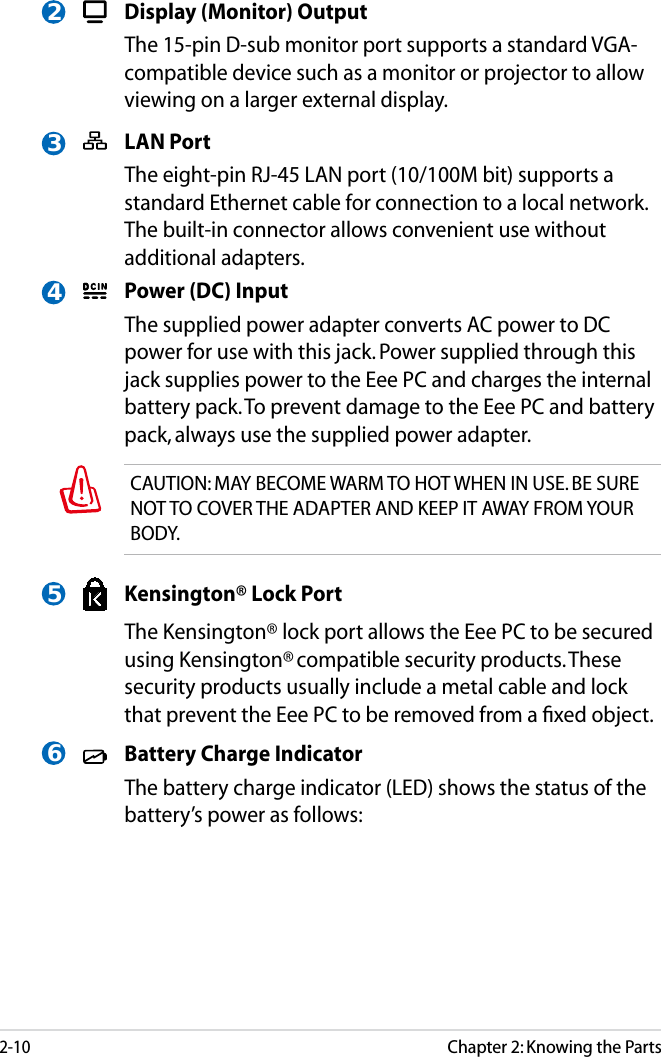
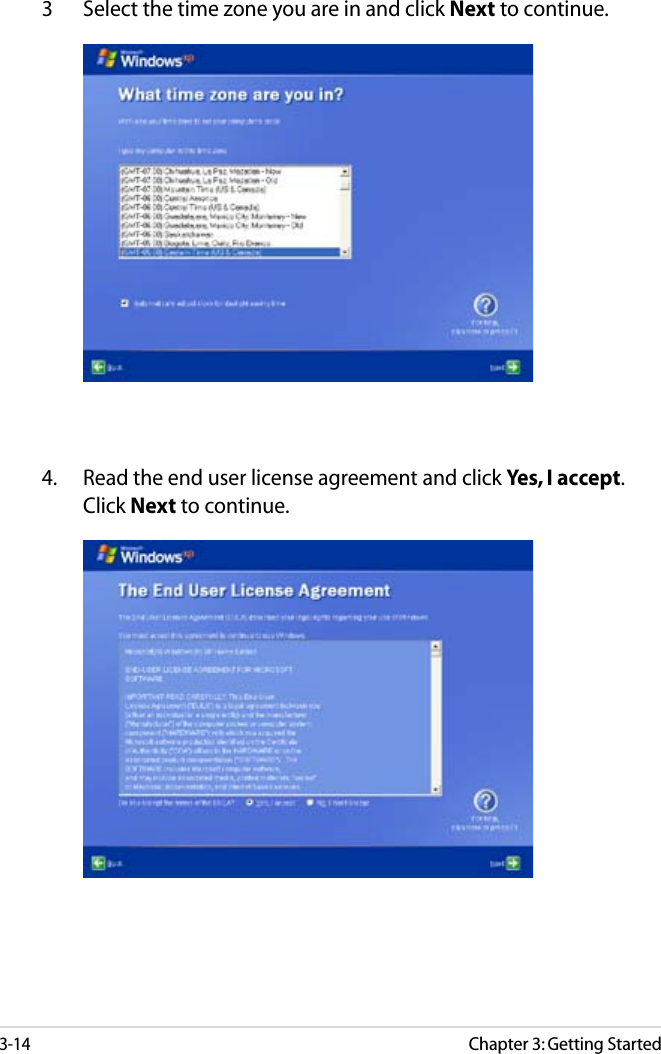
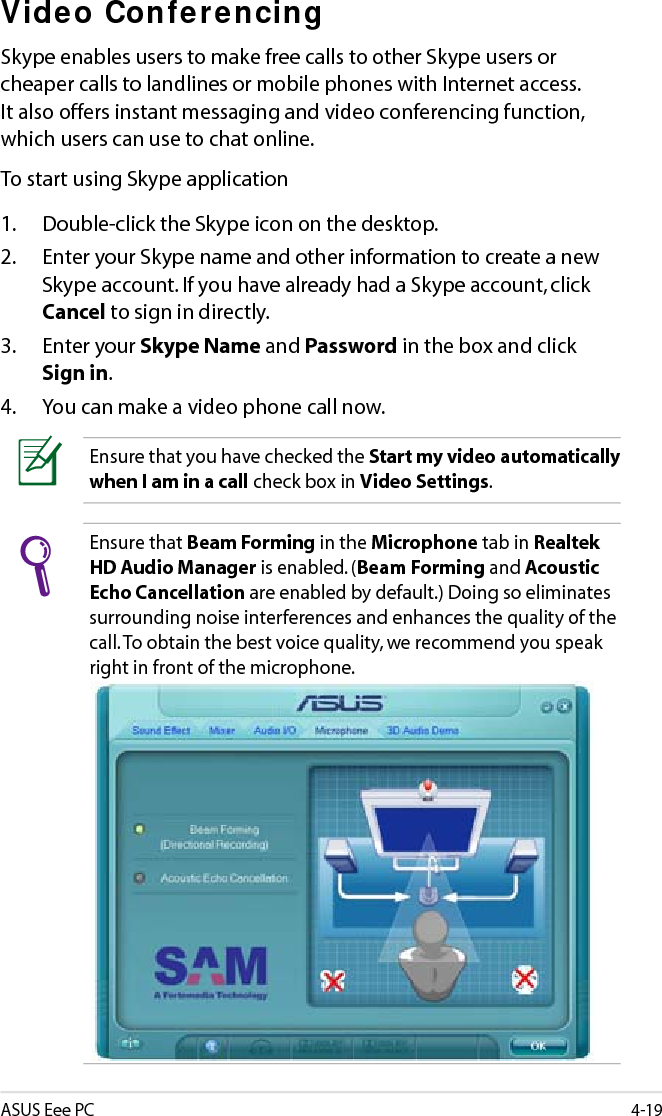
![2-4Chapter 2: Knowing the PartsPowered ONAC Mode Battery ModeBattery charge is between 100%–80% Orange ON Green ONBattery charge is between 80%–10% Orange Blinking Slowly Green Blinking SlowlyBattery charge is less than 10% Orange Blinking Quickly Green Blinking QuicklyStandby Mode / Powered OFFAC Mode Battery ModeBattery charge is between 100%–80% Orange ON OffBattery charge is between 80%–10% Orange Blinking Slowly OffBattery charge is less than 10% Orange Blinking Quickly OffThe Battery Charge Indicator will not light when the battery is removed from your Eee PC.Solid-State Drive (SSD) IndicatorThe solid-state drive indicator blinks when data is written to or read from the disk drive.Capital Lock IndicatorIndicates that capital lock [Caps Lock] is activated when lighted. Capital lock allows some of the keyboard letters to type using capitalized letters (e.g. A, B, C). When the capital lock light is OFF, the typed letters will be in the lower case form (e.g. a,b,c).Wireless/Bluetooth IndicatorThis is only applicable on models with built-in wireless LAN/Bluetooth. When the built-in wireless LAN/Bluetooth is enabled, this indicator lights.](https://usermanual.wiki/ASUSTeK-Computer/EPCS1N771/User-Guide-992916-Page-16.png)
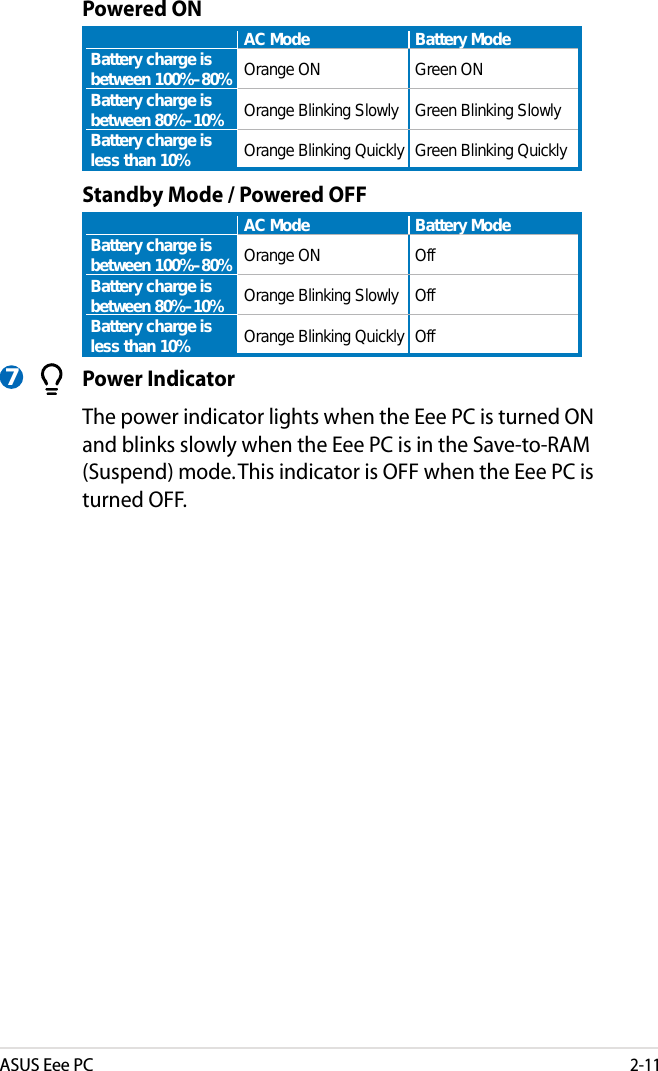


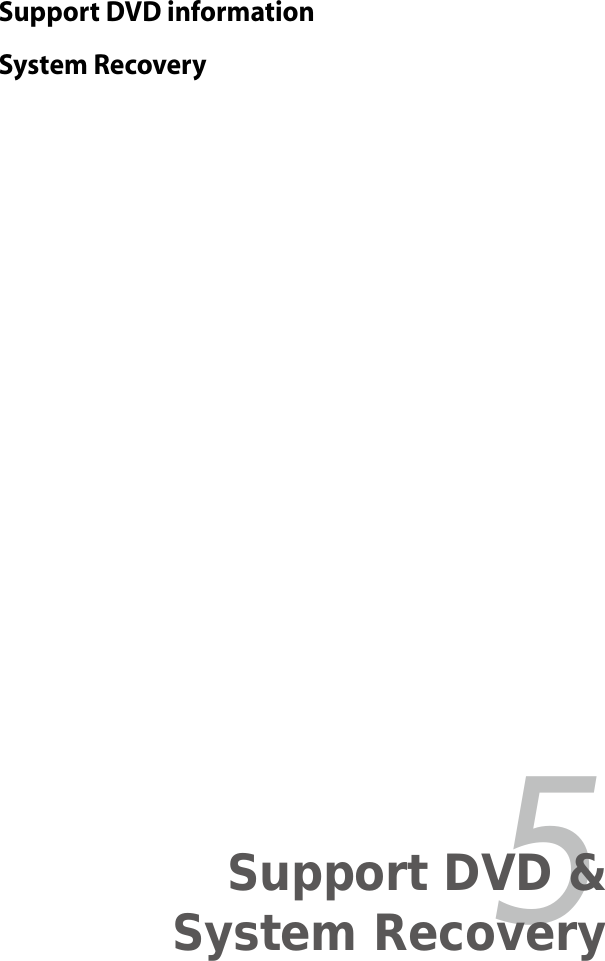
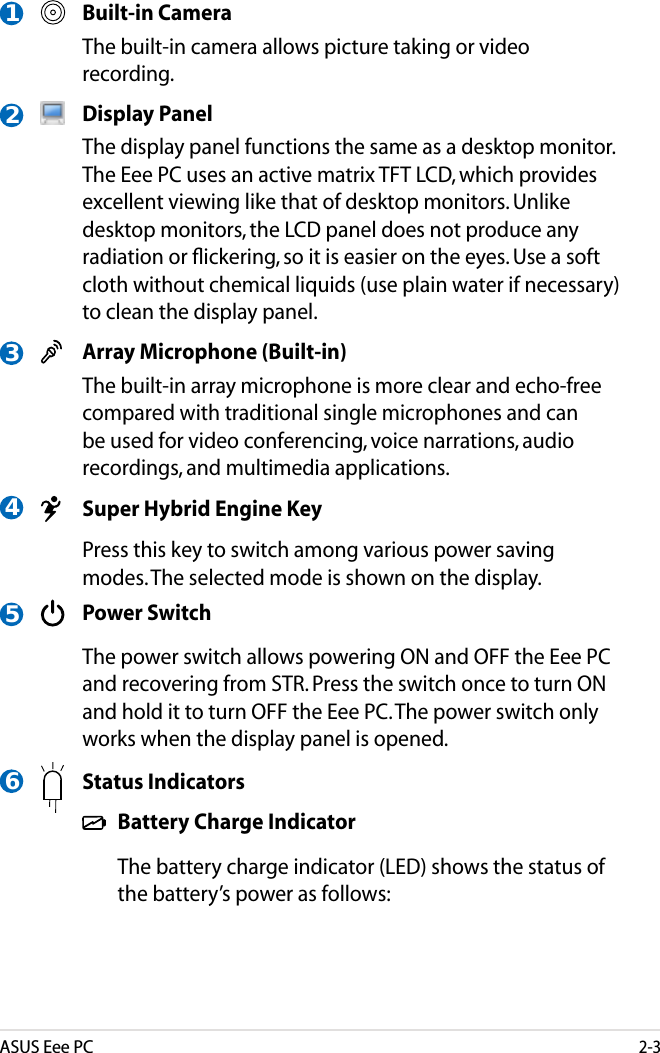
![A-4AppendixDeclaration of Conformity(R&TTE directive 1999/5/EC)The following items were completed and are considered relevant and sufficient:• Essential requirements as in [Article 3]• Protection requirements for health and safety as in [Article 3.1a]• Testing for electric safety according to [EN 60950]• Protection requirements for electromagnetic compatibility in [Article 3.1b]• Testing for electromagnetic compatibility in [EN 301 489-1] & [EN 301]• Testing according to [489-17]• Effective use of the radio spectrum as in [Article 3.2]• Radio test suites according to [EN 300 328-2]CE Mark WarningThis is a Class B product, in a domestic environment, this product may cause radio interference, in which case the user may be required to take adequate measures.IC Radiation Exposure Statement for CanadaThis equipment complies with IC radiation exposure limits set forth for an uncontrolled environment. To maintain compliance with IC RF exposure compliance requirements, please avoid direct contact to the transmitting antenna during transmitting. End users must follow the specific operating instructions for satisfying RF exposure compliance.Operation is subject to the following two conditions: • This device may not cause interference and • This device must accept any interference, including interference that may cause undesired operation of the device.](https://usermanual.wiki/ASUSTeK-Computer/EPCS1N771/User-Guide-992916-Page-74.png)
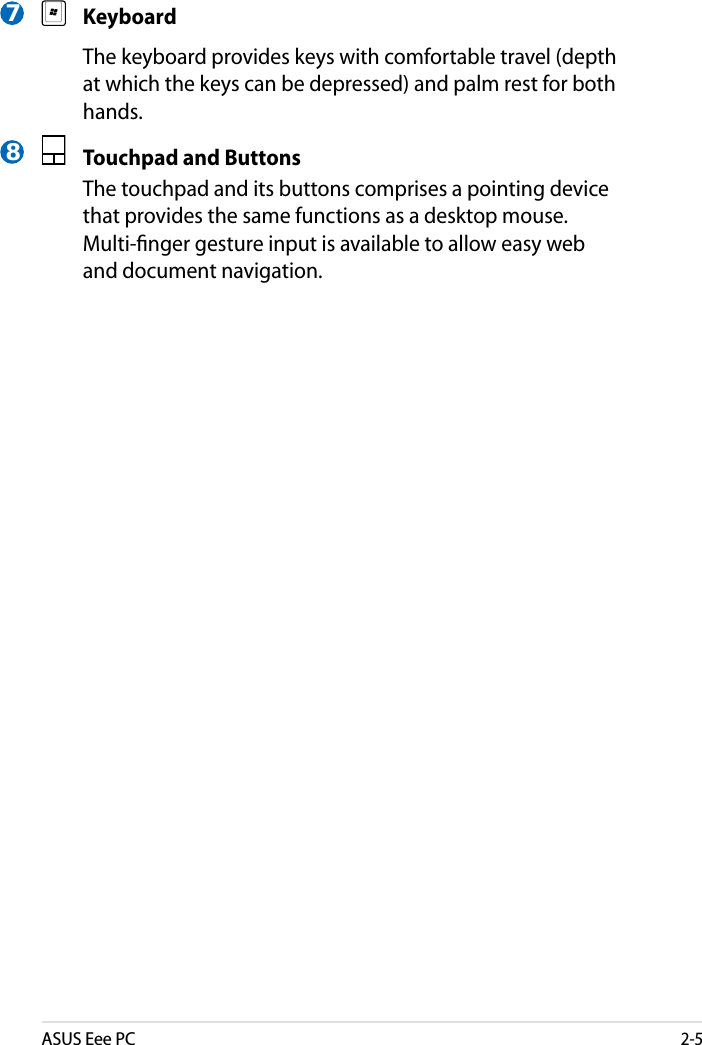
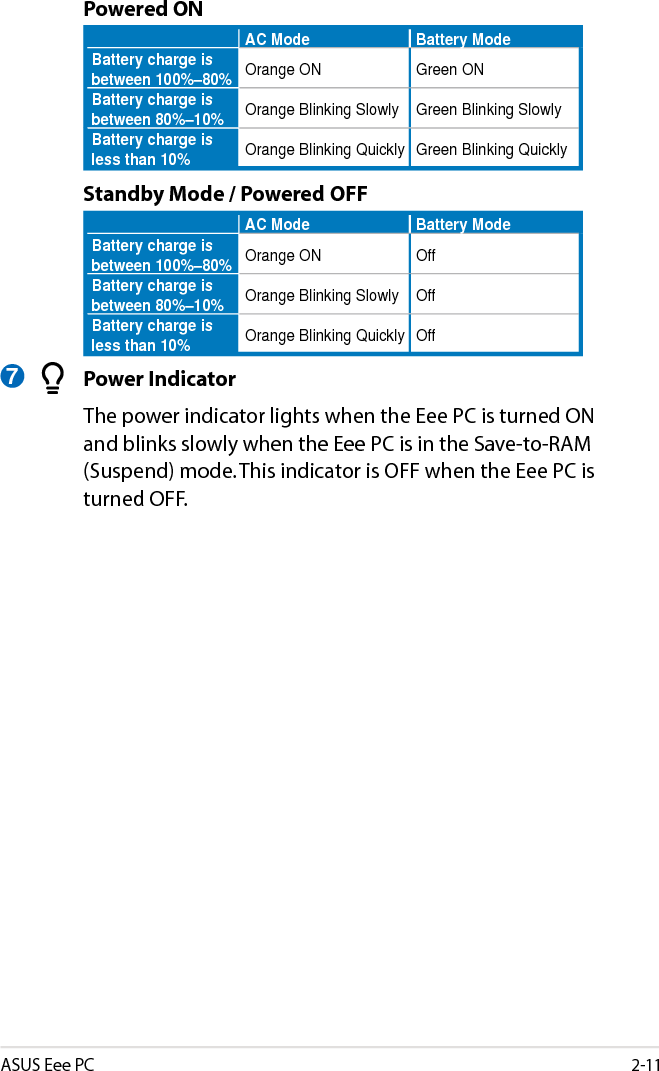
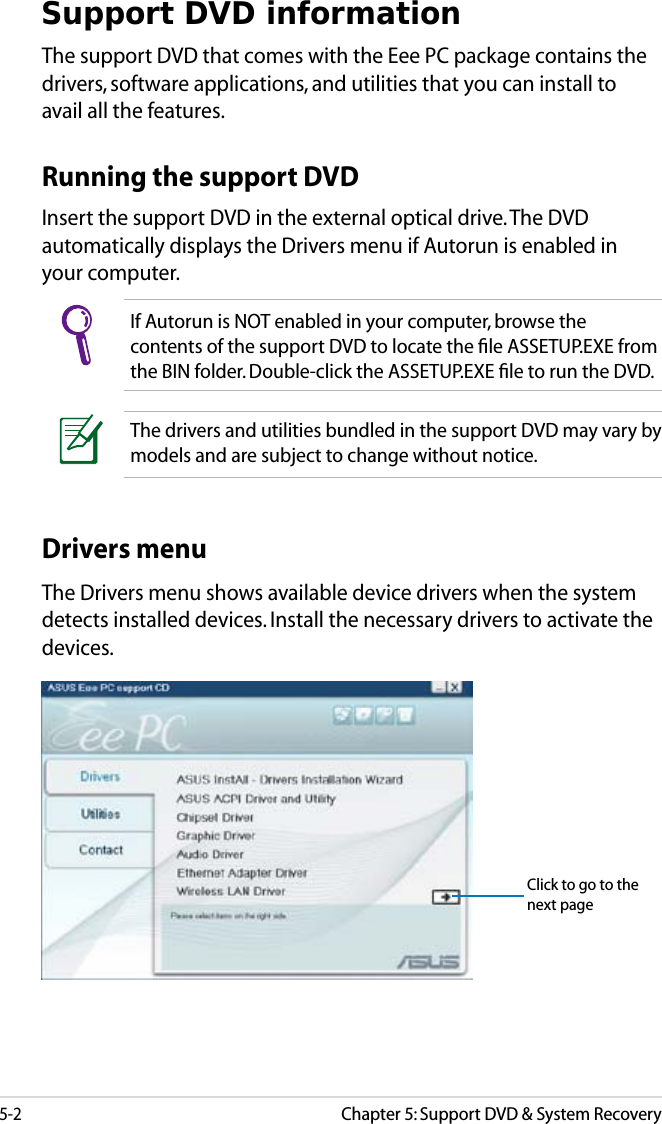
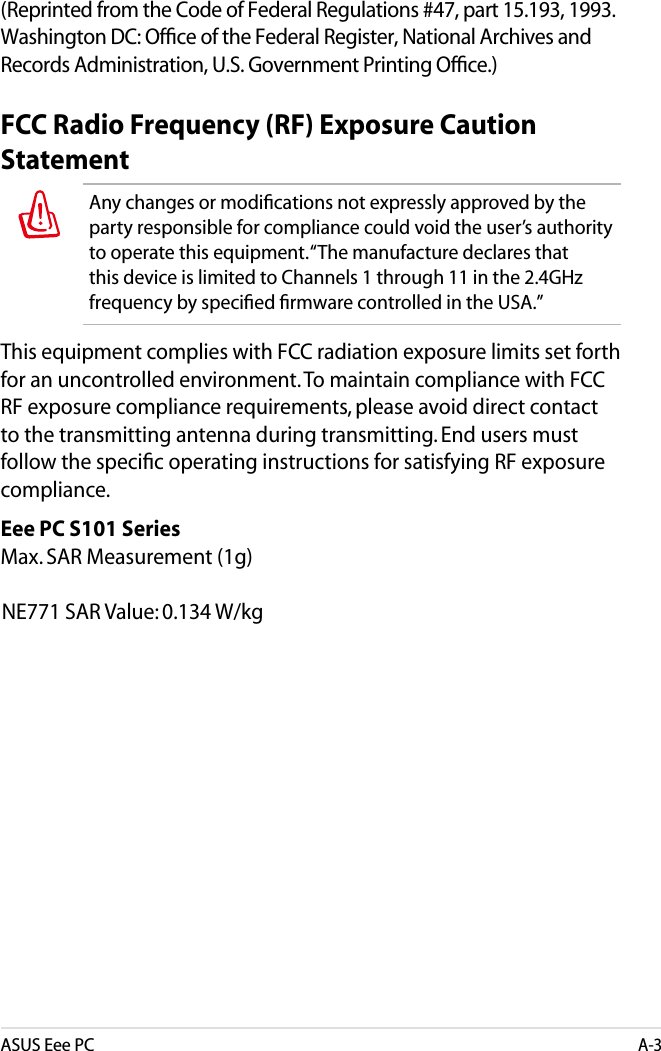
![ASUS Eee PCA-5To prevent radio interference to the licensed service (i.e. co-channel Mobile Satellite systems) this device is intended to be operated indoors and away from windows to provide maximum shielding. Equipment (or its transmit antenna) that is installed outdoors is subject to licensing. Eee PC S101 SeriesMax. SAR Measurement (1g)NE771 SAR Value: 0.134 W/kgThis device and its antenna(s) must not be co-located or operating in conjunction with any other antenna or transmitter.Country Code selection feature to be disabled for products marketed to the US/CANADA.This Class [B] digital apparatus complies with Canadian ICES-003.Cet appareil numérique de la classe [B] est conforme à la norme NMB-003 du Canada](https://usermanual.wiki/ASUSTeK-Computer/EPCS1N771/User-Guide-992916-Page-75.png)