ASUSTeK Computer RT0V00 Wireless-AC2600 Dual WAN VPN Wireless Router User Manual
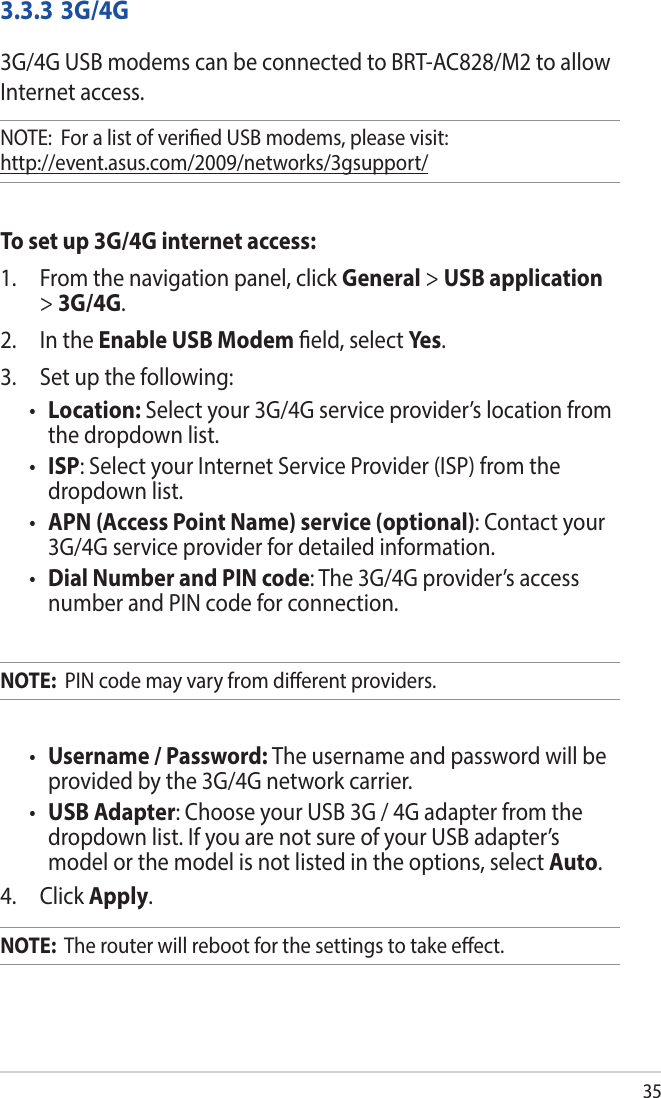
ASUSTeK Computer Inc Wireless-AC2600 Dual WAN VPN Wireless Router Users Manual
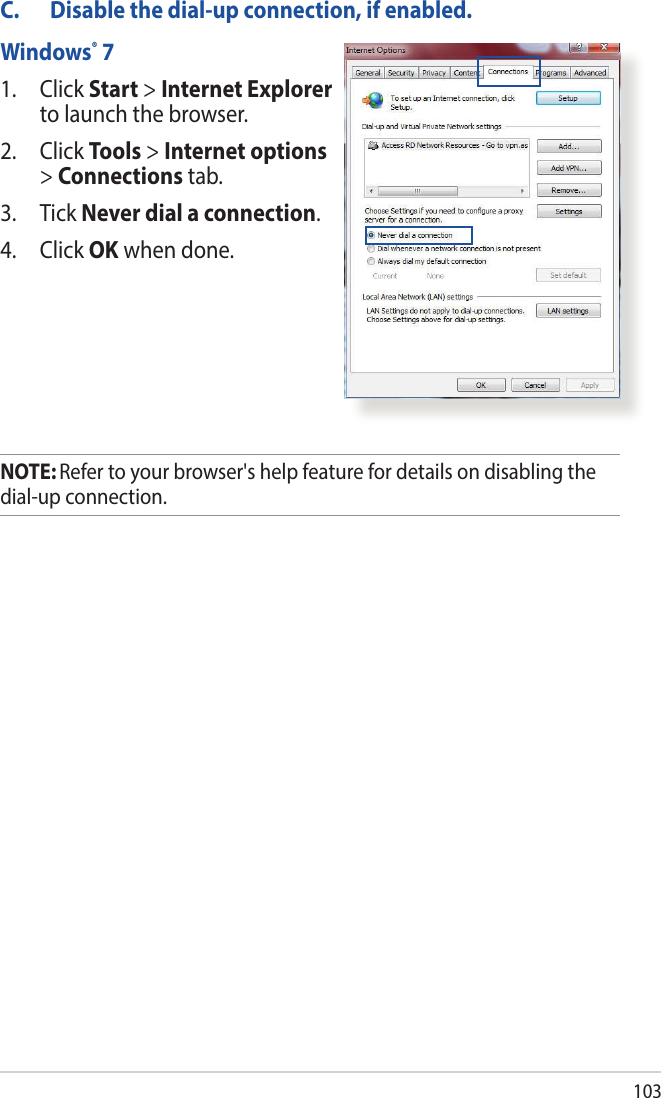
UserManual.wiki
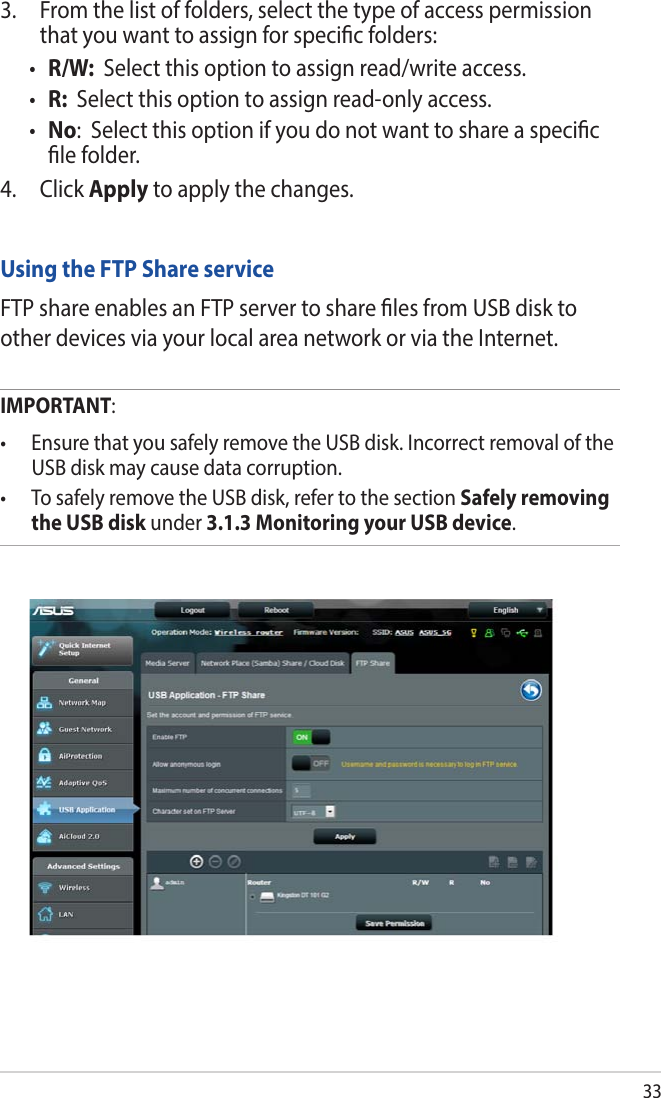
>
ASUSTeK Computer
>
RT0V00 User Manual
Users Manual
Navigation menu
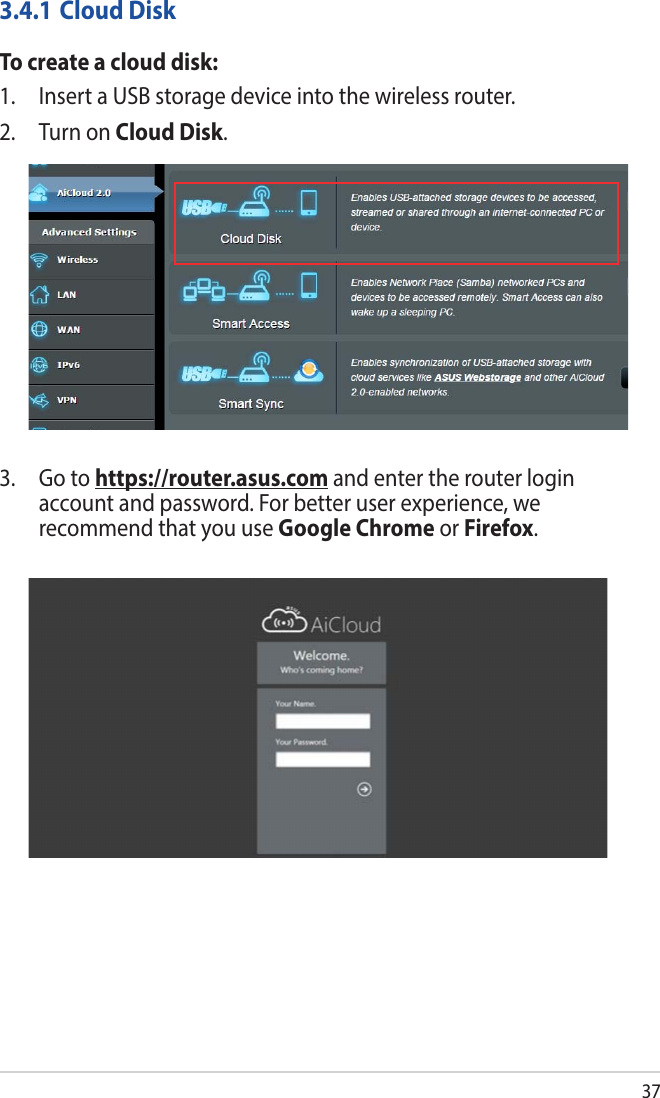
Upload a User Manual
Namespaces
Wiki Guide
HTML
PDF
Info
Views
User Manual
Discussion / Help
Navigation

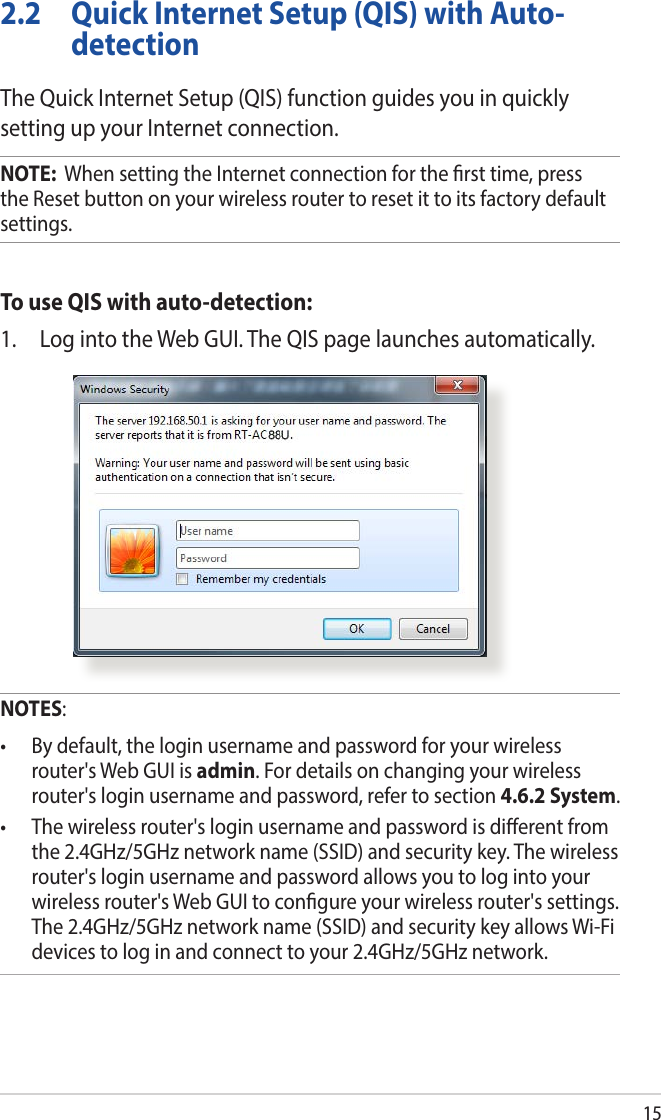
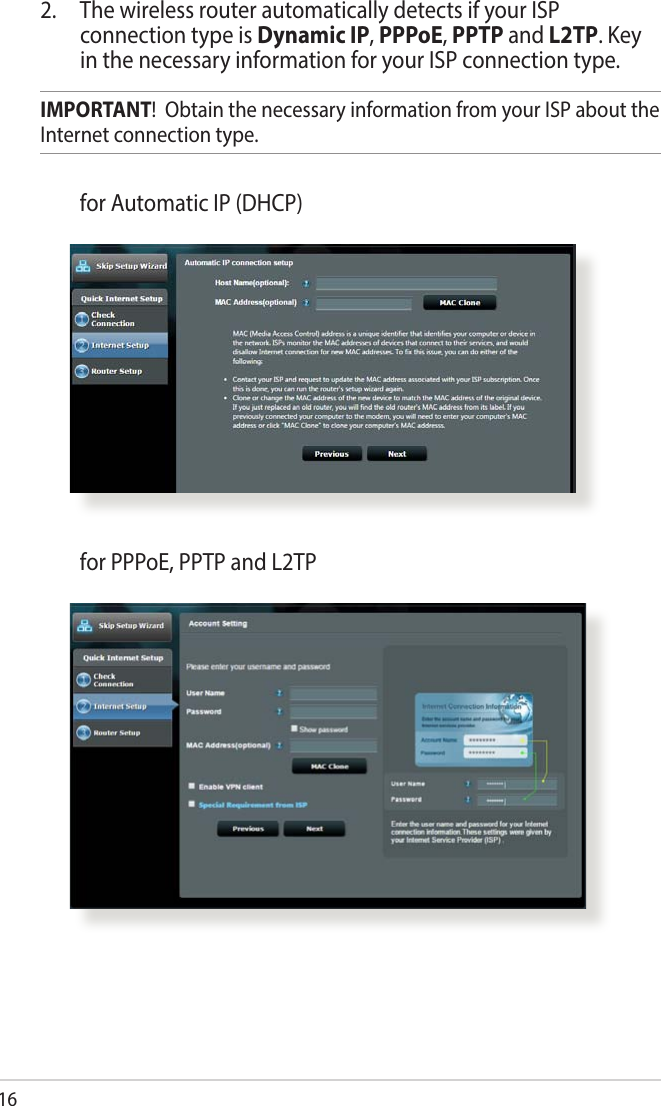

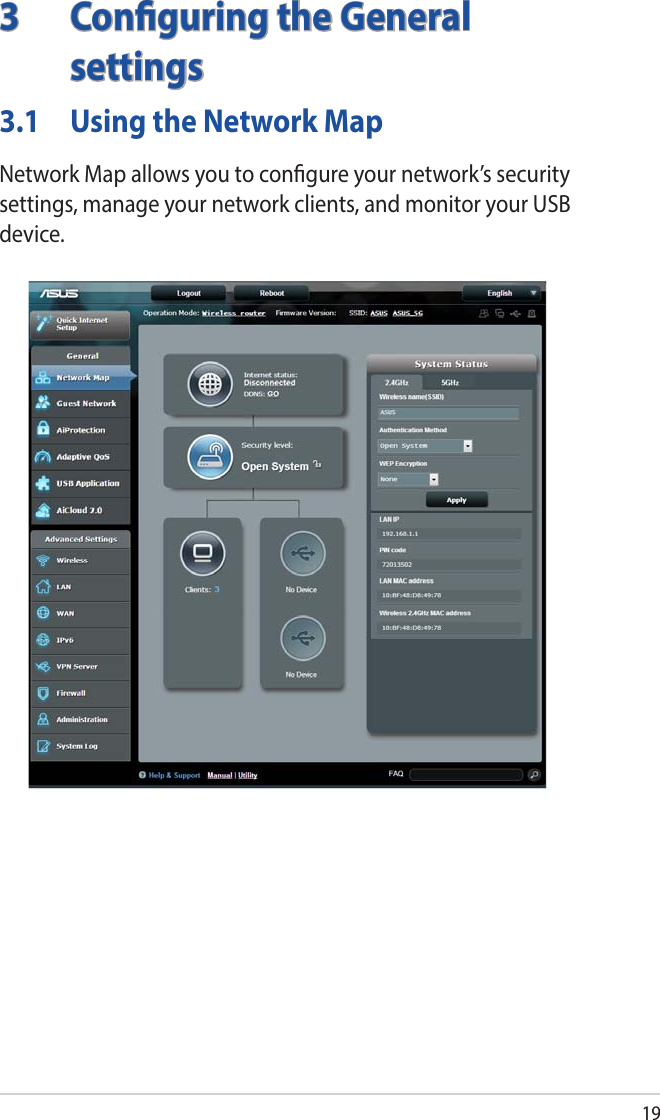


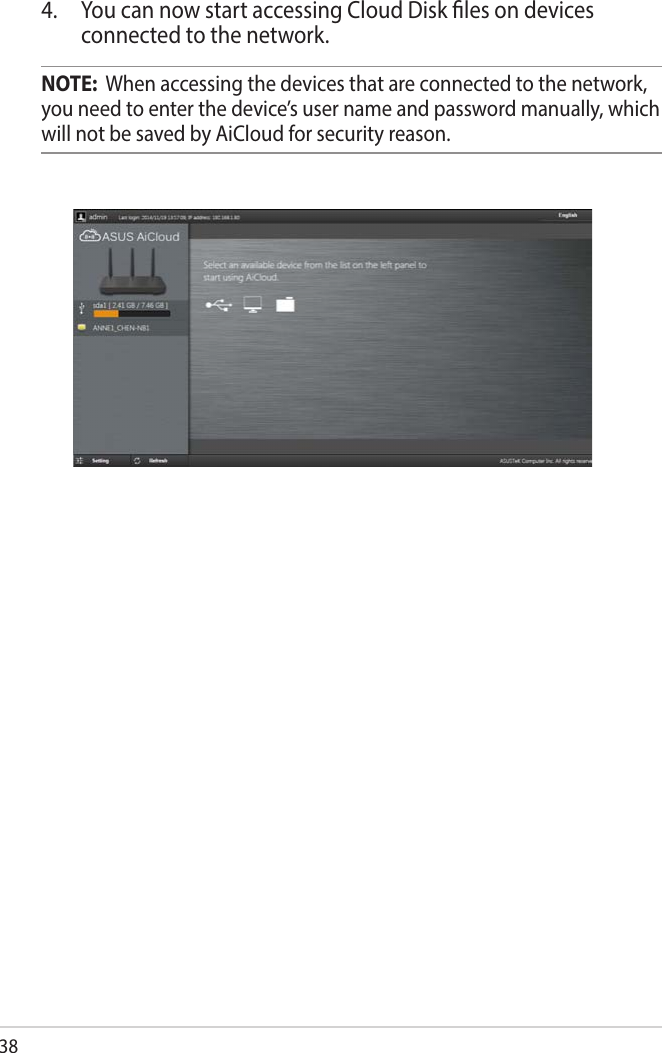
![393.4.2 Smart AccessThe Smart Access function allows you to easily access your home network via your router’s domain name.NOTES: • YoucancreateadomainnameforyourrouterwithASUSDDNS.Formore details, refer to section 4.3.5 DDNS.• Bydefault,AiCloudprovidesasecureHTTPSconnection.Keyinhttps://[yourASUSDDNSname].asuscomm.com for a very secure Cloud Disk and Smart Access usage.](https://usermanual.wiki/ASUSTeK-Computer/RT0V00/User-Guide-2824226-Page-39.png)