ASUSTeK Computer V66S GSM Cellphone User Manual 0 TOC
ASUSTeK Computer Inc GSM Cellphone 0 TOC
UserManual.wiki
>
ASUSTeK Computer
>
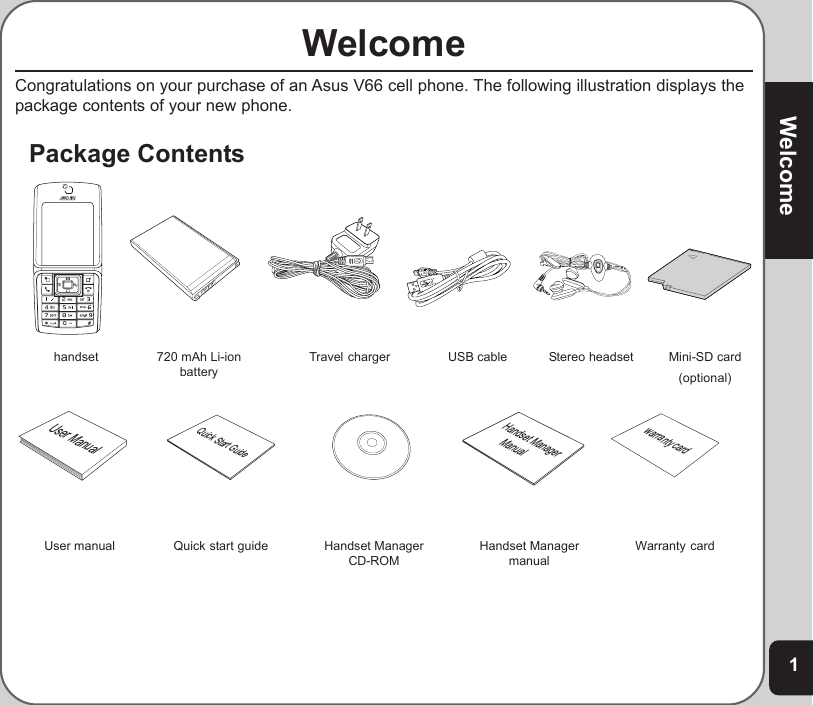
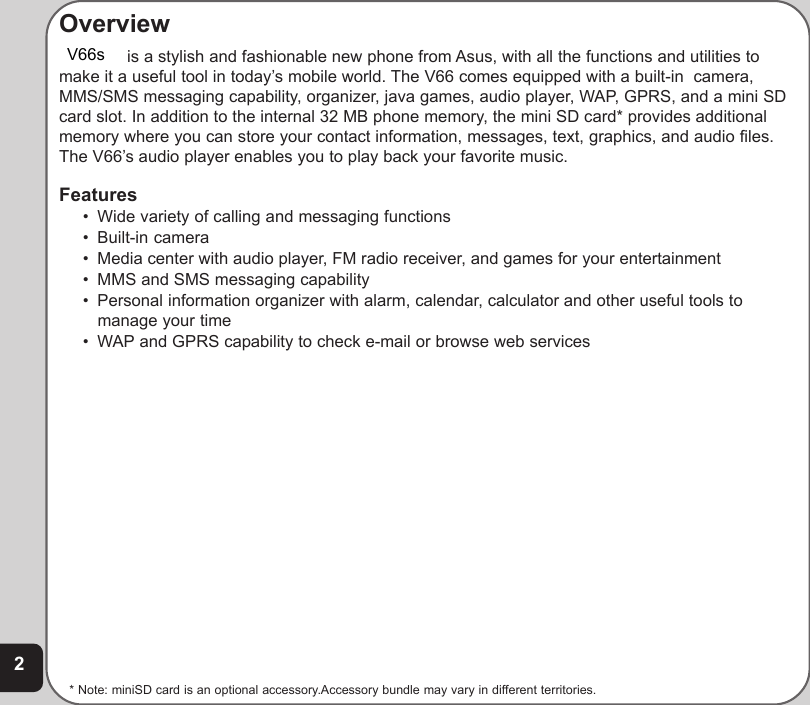
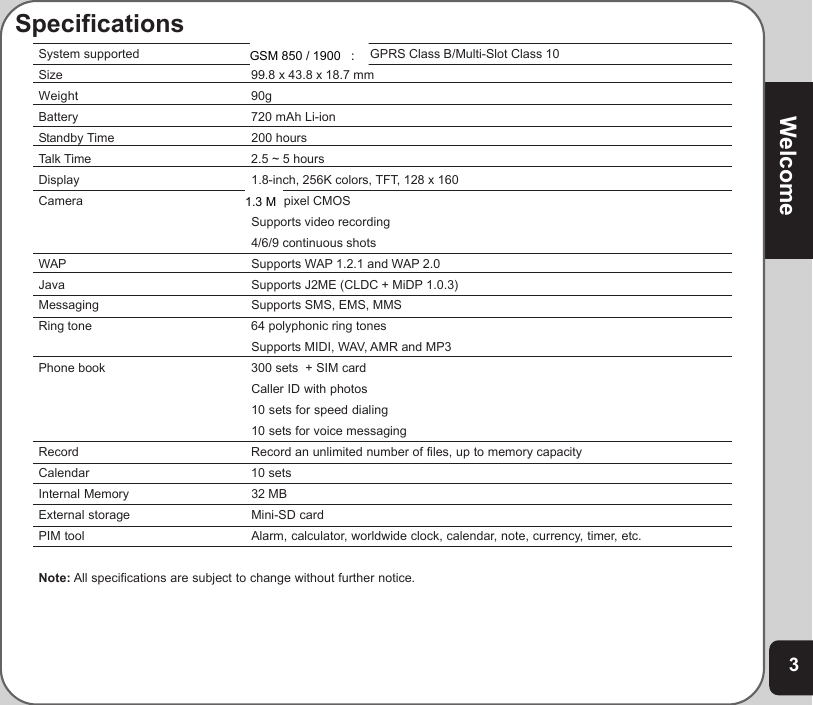
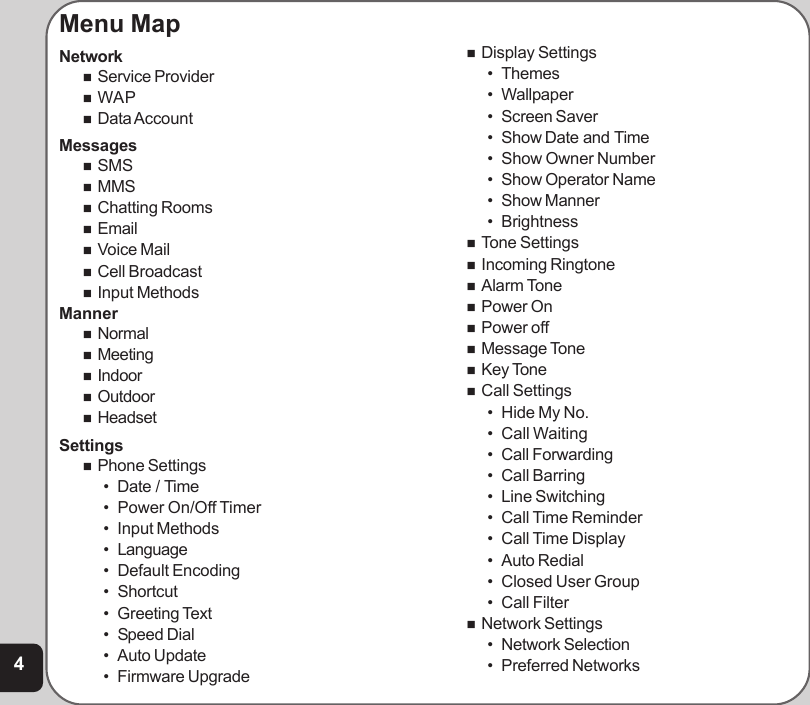
V66S User Manual
Users Manual
Navigation menu
Upload a User Manual
Namespaces
Wiki Guide
HTML
PDF
Info
Views
User Manual
Discussion / Help
Navigation


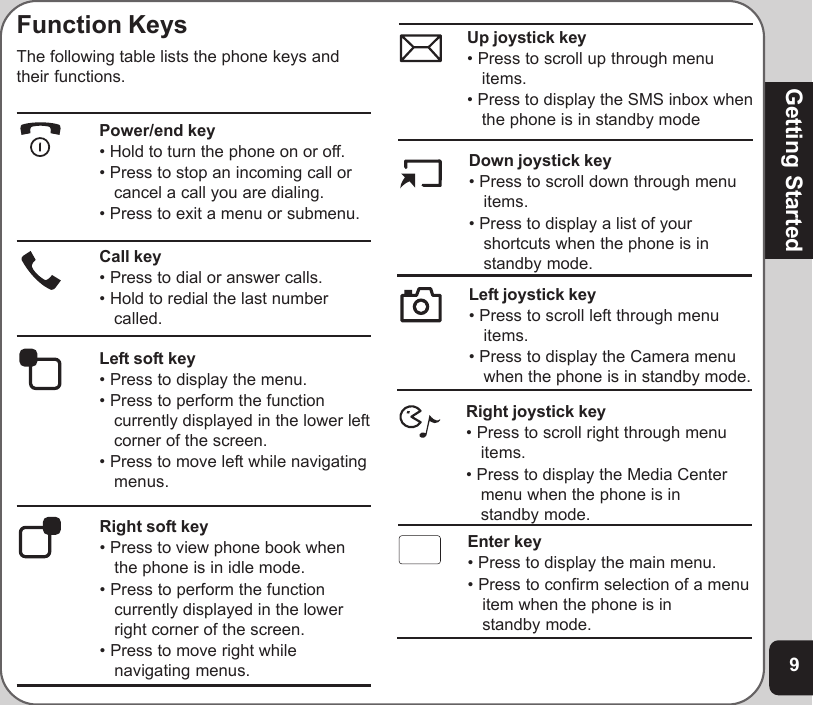
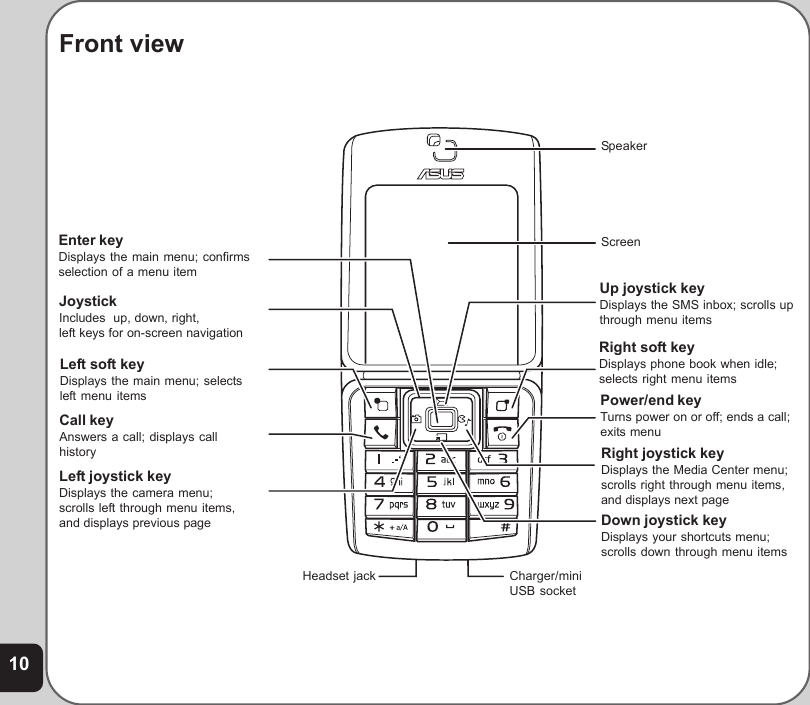
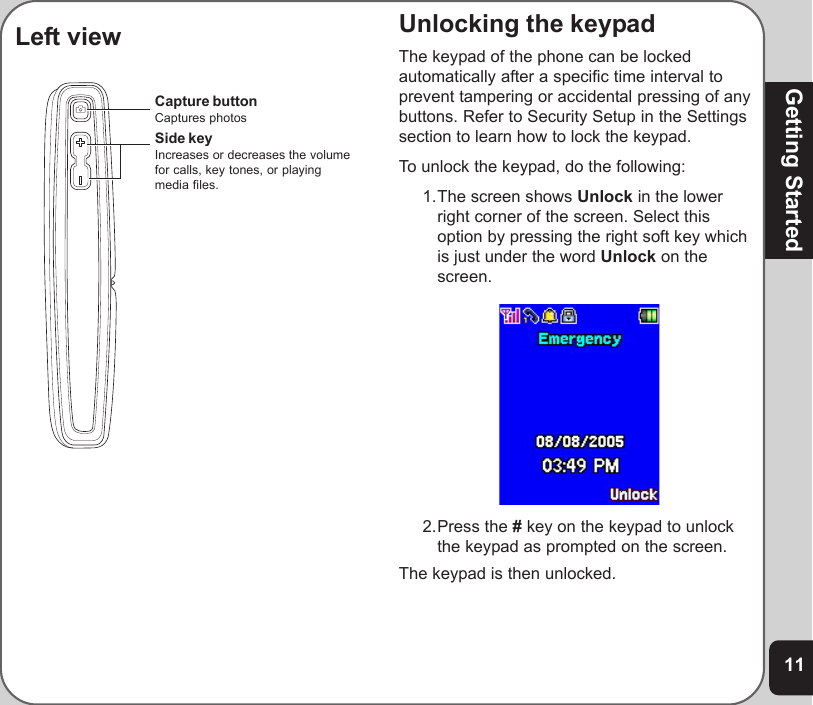
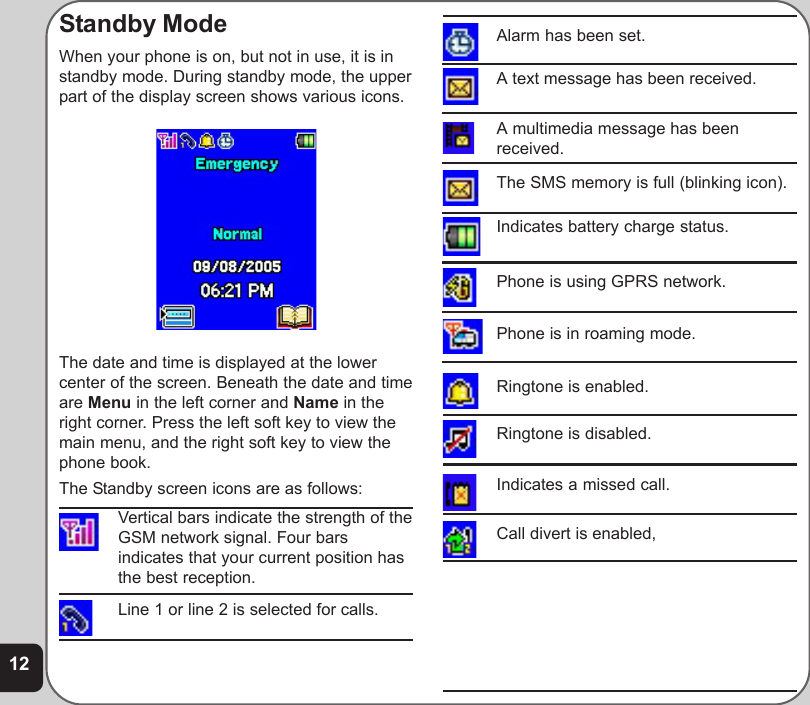
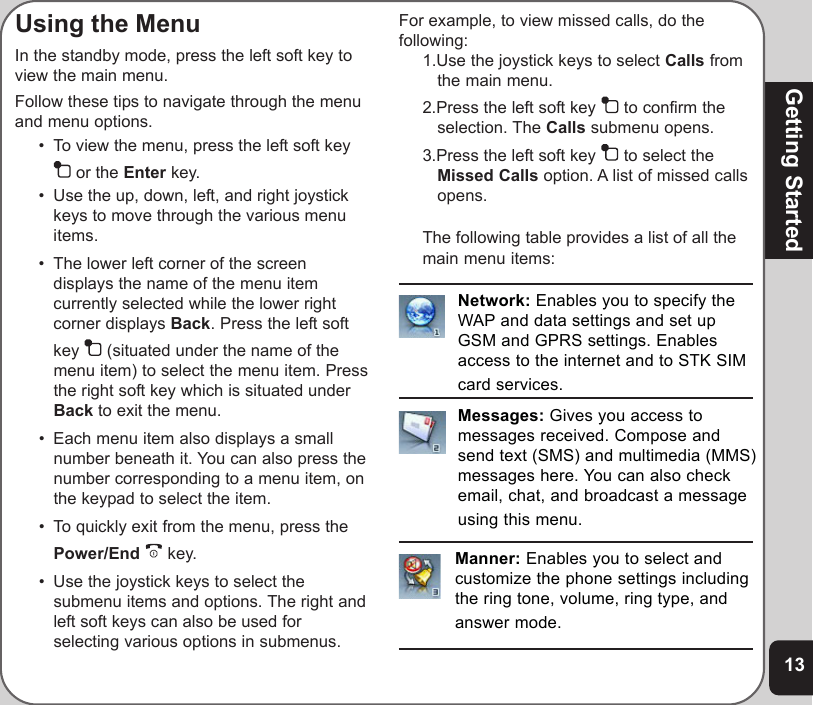
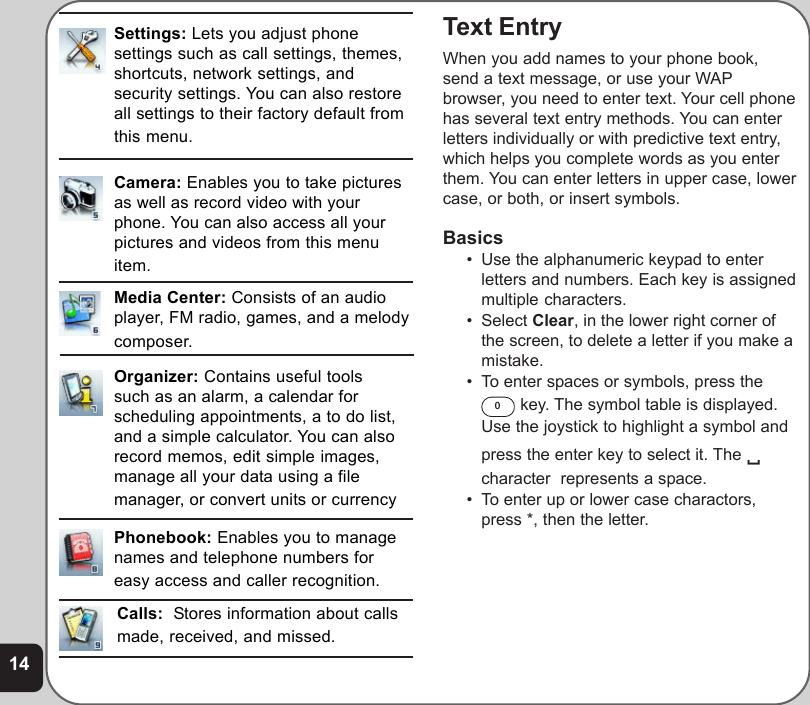
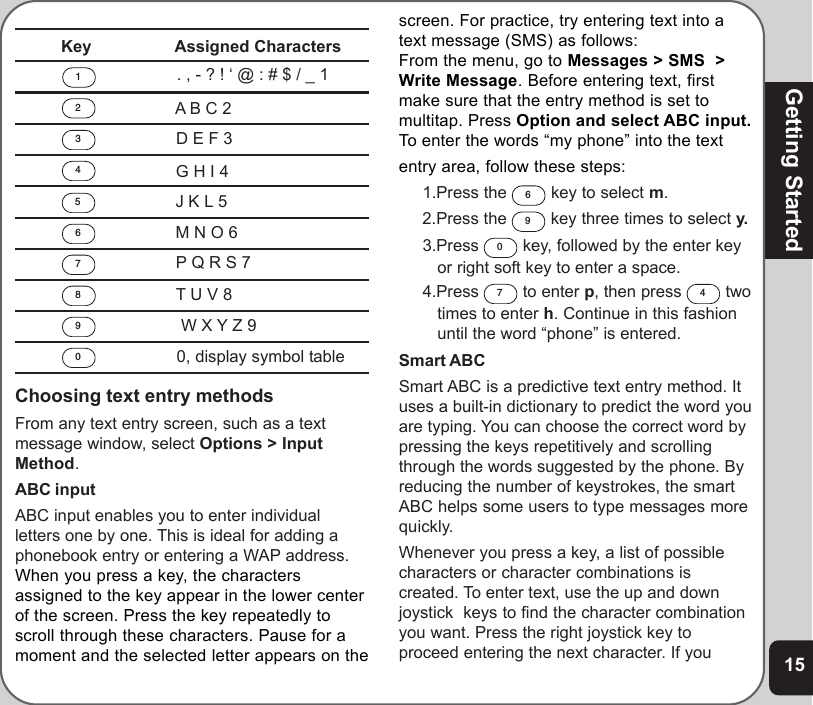
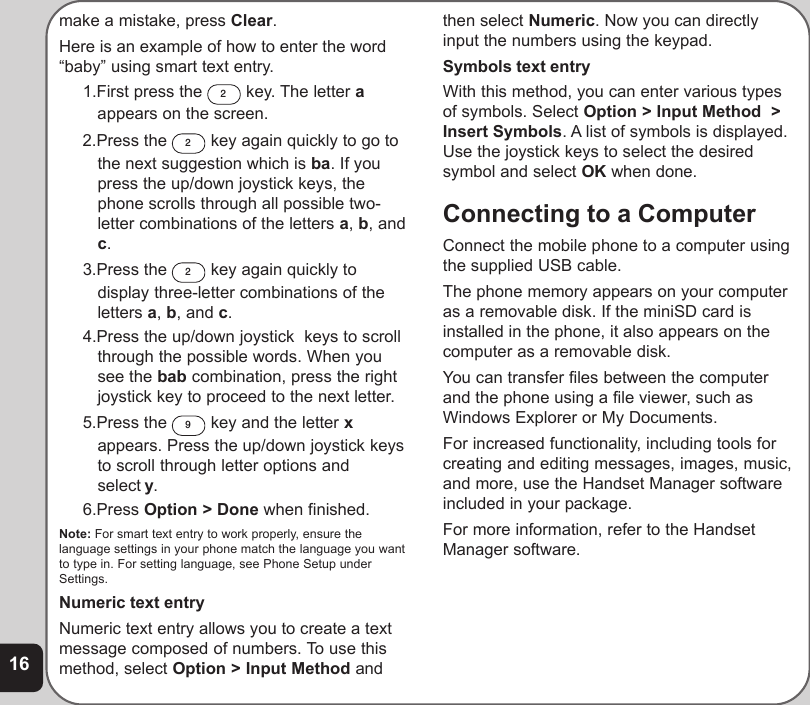


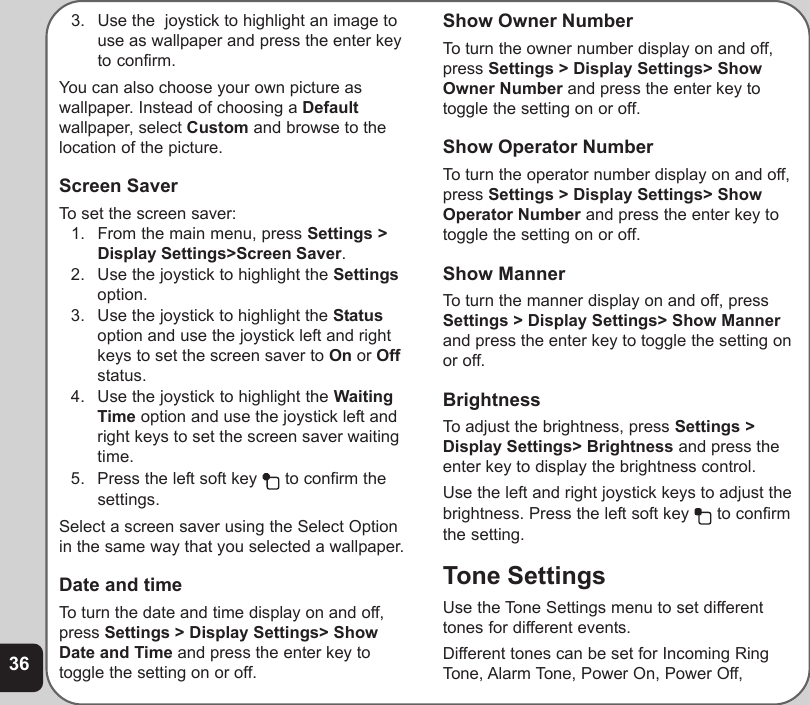

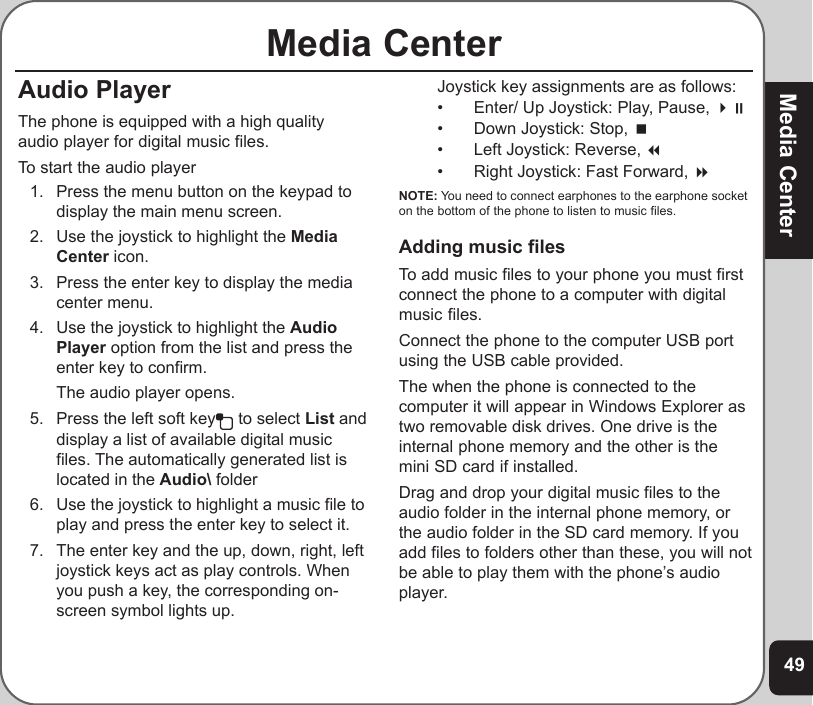
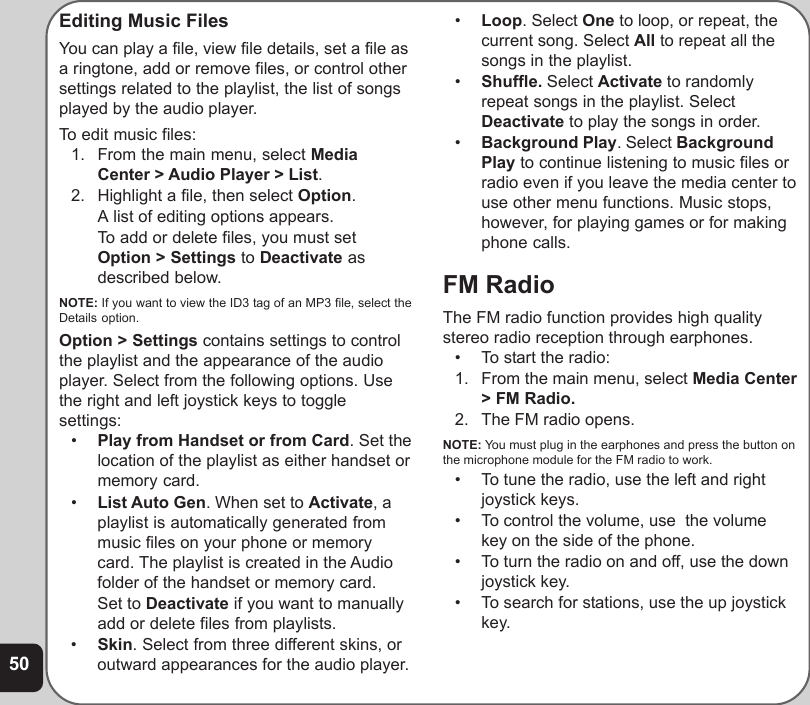
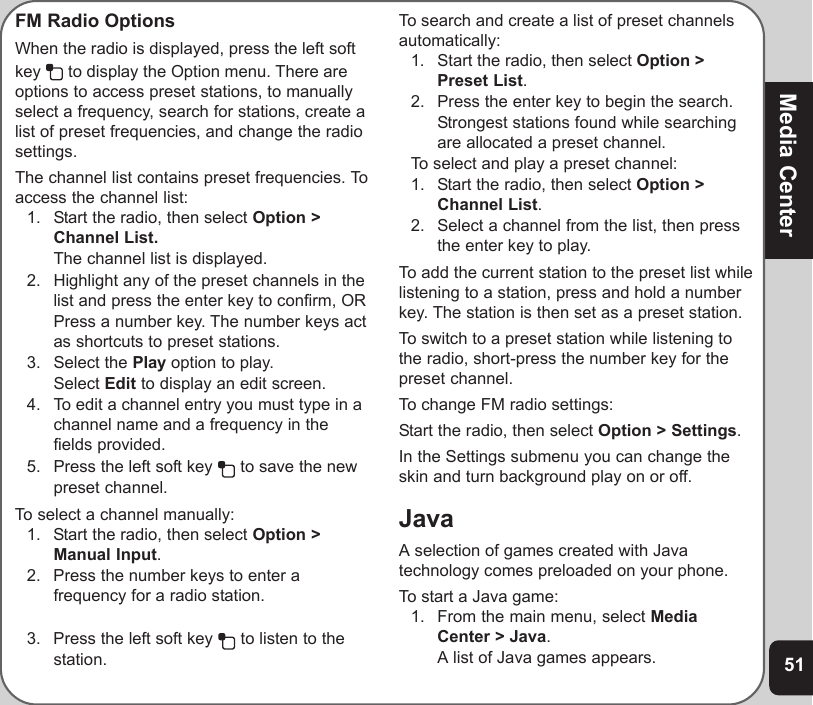
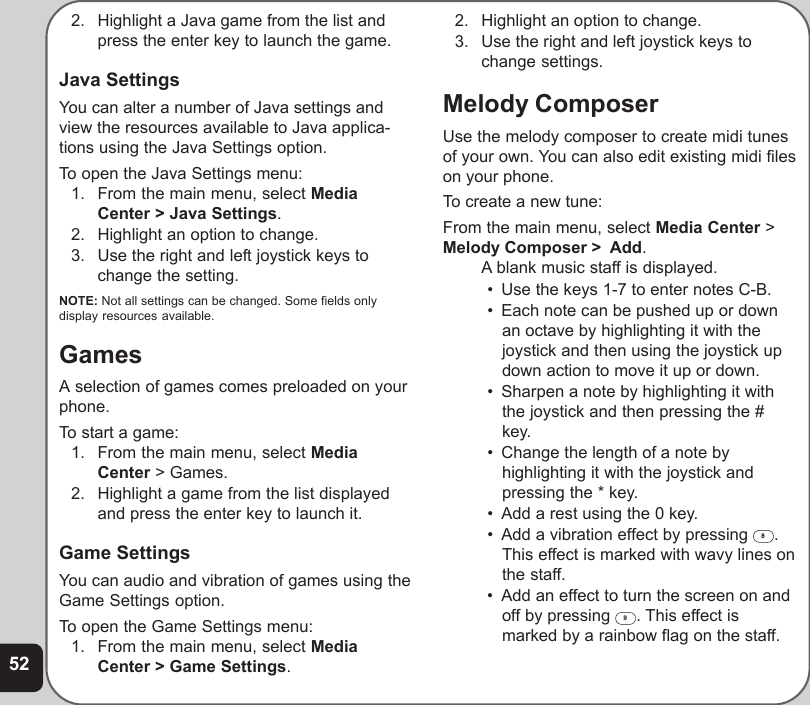
![56•mc Select mc then press the Enter keyto clear memory.•mr Select mr to retrieve and enter thenumber in memory.The number stored in memory appears in[brackets] at the top of the screen.Note that most of the functions are selectedwith the joystick alone, with no need to pressOK or the enter key. For example, compute239 + 1,238 + 439 as follows:1. Enter 239 with the number keys.2. Press the up joystick key once to selectthe + function.3. Enter 1,238 with the number keys.4. Press the up joystick key once to selectthe + function. The subtotal, 1,477,appears.5. Enter 439 with the number keys. Thesubtotal, 1916, appears.6. Press the enter key to display the total,1916.NOTES:1. Numbers are cleared from memory once you exit thecalculator.2. Press the # key to enter a decimal point.World ClockThe world clock function enables you to see thetime in various major cities of the world.To open the world clock:1. From the main menu, select Organizer >World Clock.The World Clock is displayed.The clock displays a map and the current timein your own location. You can move the locationeast or west.Voice RecorderThe voice recorder lets you record and playback sounds.To open the voice recorder:1. From the main menu, select Organizer >Voice Recorder.The Voice Recorder is displayed.2. Use the joystick to highlight an existing filefrom the list and press the enter key toconfirm. Alternatively, press the left softkey to display the Option menu.From the option menu you can make anew recording, play the current recording,append the current recording, rename thecurrent recording, delete the currentrecording, delete all recordings, changesettings, or send the recording.Recorder settings include the defaultstorage location and the file format. Filescan be stored in AMR or WAV formats.3. Highlight an item from the option menuand press the enter key to confirm.](https://usermanual.wiki/ASUSTeK-Computer/V66S/User-Guide-601331-Page-64.png)