ATID AT911N WCDMA wireless data terminal User Manual
ATID Co., Ltd WCDMA wireless data terminal
UserManual.wiki
>
ATID
>
AT911N User Manual
>
User Manual
Contents
1.
User Manual
2.
Users Manual
User Manual
Navigation menu
Upload a User Manual
Namespaces
Wiki Guide
HTML
PDF
Info
Views
User Manual
Discussion / Help
Navigation
![AT911N User Guide 10 When the system is started and shows the main desktop screen or other programs are running, you can enter into the low power mode (sleep mode) by using the power button. If you want to use the device again, press the power button again and turn on the system Use low power mode (sleep mode) with Power button Use Automatic low power mode(sleep mode) If the user doesn’t use the device for a set period of time, system enters into the low power mode (sleep mode) automatically. You can change the setting time in control panel and power management as shown below. Using proper time-out setting prevents the system is on a long time without the user and extends hours of battery use. [Menu] -> [Settings] -> [Display] -> [Sleep mode] 1.4 Batter replacement If the batteries are damaged or out of its life, buy new batteries to use. Warning! Enter low power mode (sleep mode): 1. If the power button is pressed when the device is on, the screen will be turned off and the device will enter the low power mode (sleep mode). Cancel low power mode (sleep mode) 1. If the power button is pressed when the device is off, the screen will be turned on and the device will be turned on.](https://usermanual.wiki/ATID/AT911N.User-Manual/User-Guide-2797649-Page-10.png)
![AT911N User Guide 11 Discard the dead batteries to the designated place 2. System reset (Cold reset) If the system is not responding or application program doesn’t work, restart the system by using reset function. System reset is used to reboot and initialize the hardware completely. The installed programs copied files, and registry values will be preserved even after the system reset [Cold Reset Steps] Push and release the reset button. [Result] The system will restart. The operating system will be loaded again when restarting.](https://usermanual.wiki/ATID/AT911N.User-Manual/User-Guide-2797649-Page-11.png)
![AT911N User Guide 14 4. System settings 4.1 Set Screen Brightness Brightness of the screen affects the power consumption the most, so it is recommended to be set as required by the user. [Setting the screen brightness] 1. [Menu] -> [Settings] -> [Display] -> [Brightness] Brightness: Adjust the screen brightness. Wallpaper: Choose the wallpaper. Auto-rotate screen: Set the Auto-rotate screen function. Sleep mode: Adjust the time period to enter into the sleep mode Font size: Adjust the font size of PDA. 4.2 Set sound volume The volume is set to 80% when it is dispatched. The user can set the different features of sound settings from [Menu] -> [Settings] -> [Sound]. Volumes and sound setting [Menu] -> [Settings] -> [Sound]](https://usermanual.wiki/ATID/AT911N.User-Manual/User-Guide-2797649-Page-14.png)
![AT911N User Guide 15 5. Use keypad Keypad is an input method editor that inputs numbers or alphabetic characters easily. 5.1 Use keypad To change the current input language, follow the steps below. [Menu] -> [Settings] -> [Language & input] 5.2 Keypad button execution Describe the Keypad Function. Keypad Function description < > Menu key < > Home button. < > Contains keyEvent values of KEYCODE_SOFT_RIGHT. < > It is used to move back to previous state. < > It is used for searching](https://usermanual.wiki/ATID/AT911N.User-Manual/User-Guide-2797649-Page-15.png)

![AT911N User Guide 17 [Correct barcode reading] 1. The small barcode should be closer to the device. This device is read at the distances of 40~300mm. If the reading not working well, please adjust angle or distance. 2. Laser beam appears as a dark red line when shined to barcode label. [Incorrect barcode reading] 1. Laser beam should cross the barcode. 2. If only part of the barcode is shined by the laser beam, it won’t be recognized. 1D 2D 1D 2D [Menu] -> [ATID Scanner]](https://usermanual.wiki/ATID/AT911N.User-Manual/User-Guide-2797649-Page-17.png)
![AT911N User Guide 18 2. WLAN connection This device can communicates wireless data by 802.11b/g radio, and describes access pointer and the contents related to wireless communication. AT 911N device supports TCP/IP network protocol and directly use host computer and TCP/IP in TCP/IP network. When shipping goods, wireless LAN is always set to off 2.1 Turn Wi-Fi on / Turn Wi-Fi off [Menu] -> [Applications] -> [Settings] -> [Wi-Fi]](https://usermanual.wiki/ATID/AT911N.User-Manual/User-Guide-2797649-Page-18.png)
![AT911N User Guide 19 3. Bluetooth The below contents are related to “AP6330 COMBO” Module which is used in AT911N. 3.1 Turn on/off Bluetooth [Menu] -> [Applications] -> [Settings] -> [Bluetooth] 1. Start Bluetooth function](https://usermanual.wiki/ATID/AT911N.User-Manual/User-Guide-2797649-Page-19.png)
![AT911N User Guide 20 4. GPS Module The device can be installed with GPS system as option, and GPS Module will be installed on top of AT911N into Built-in shape. 4.1 Start GPS Demo Program [Menu] -> [Applications] -> [GPS Test] GPS Test Start the program. Confirm GPS reception Data: 1. Confirm whether GPS reception is normal in the open place. 2. Actual reception times of GPS Data may be different according to environment (about 3~5 minutes) If the signal is received previously, it can receive the GPS Data quickly. GPS Test Screen.](https://usermanual.wiki/ATID/AT911N.User-Manual/User-Guide-2797649-Page-20.png)
![AT911N User Guide 21 5. Use Camera The products are installed with 5.0 mega pixel cameras and have the functions of screen brightness, resolution adjustment and screen captures 5.1 Use Camera [Menu] -> [Applications] -> [Camera] Start Camera program Camera screen](https://usermanual.wiki/ATID/AT911N.User-Manual/User-Guide-2797649-Page-21.png)
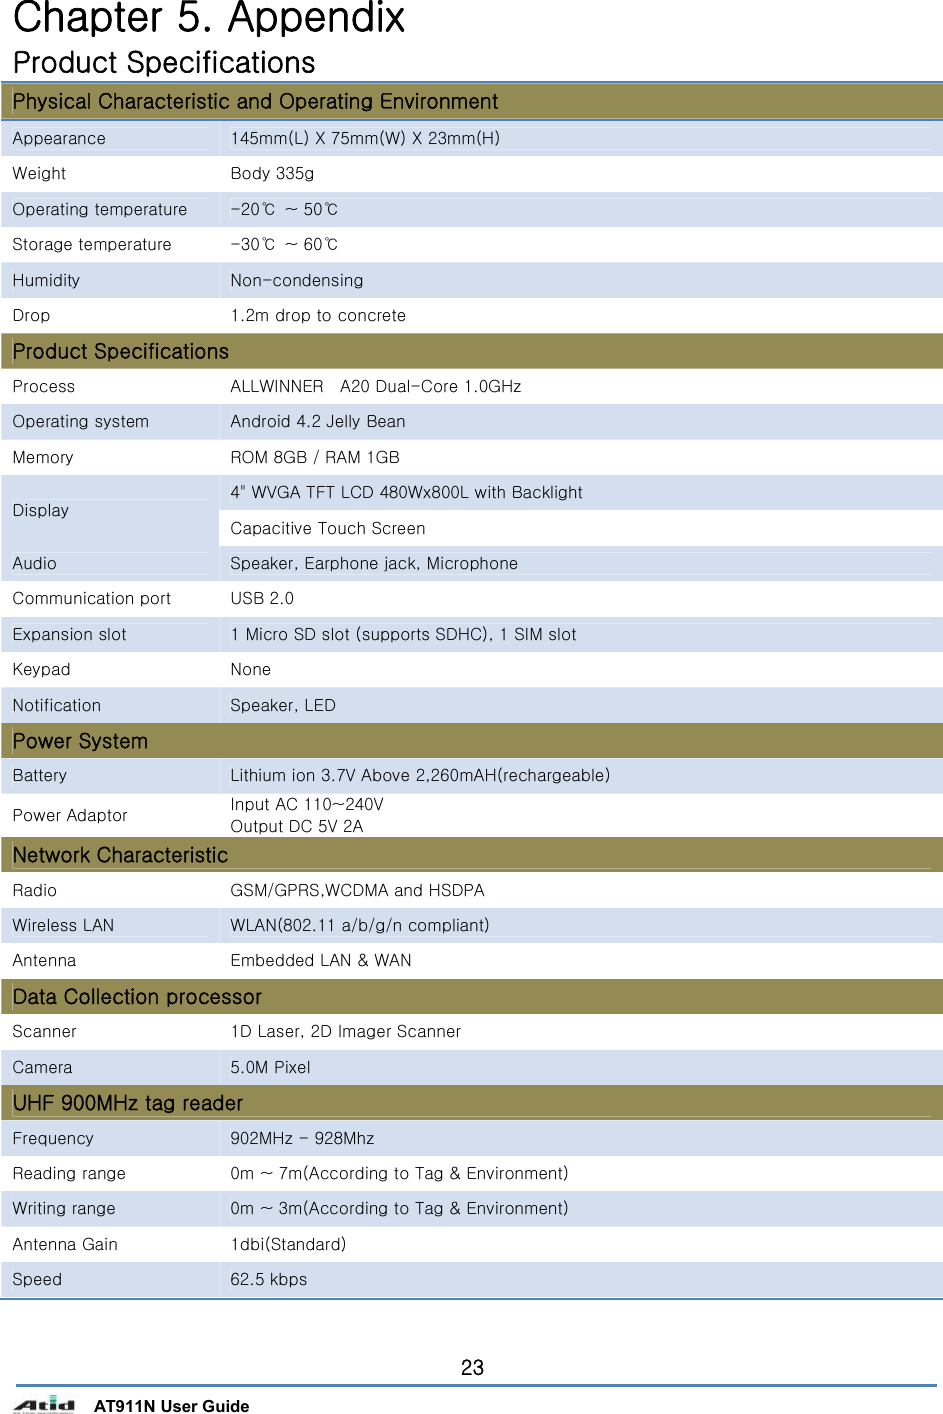
![AT911N User Guide 22 6. Use UHF 6.1 UHF 900Mhz RFID Program [Menu] -> [Applications] -> [Settings] -> [ATUHF Demo] Start ATUHF Demo program ATUHF Demo screen](https://usermanual.wiki/ATID/AT911N.User-Manual/User-Guide-2797649-Page-22.png)