AVC Technology F024 Digital Audio Flash Player User Manual DFP4000 Manual FCC
AVC Technology Limited Digital Audio Flash Player DFP4000 Manual FCC
UserManual.wiki
>
AVC Technology
>
F024 User Manual
User Manual
Navigation menu
Upload a User Manual
Namespaces
Wiki Guide
HTML
PDF
Info
Views
User Manual
Discussion / Help
Navigation
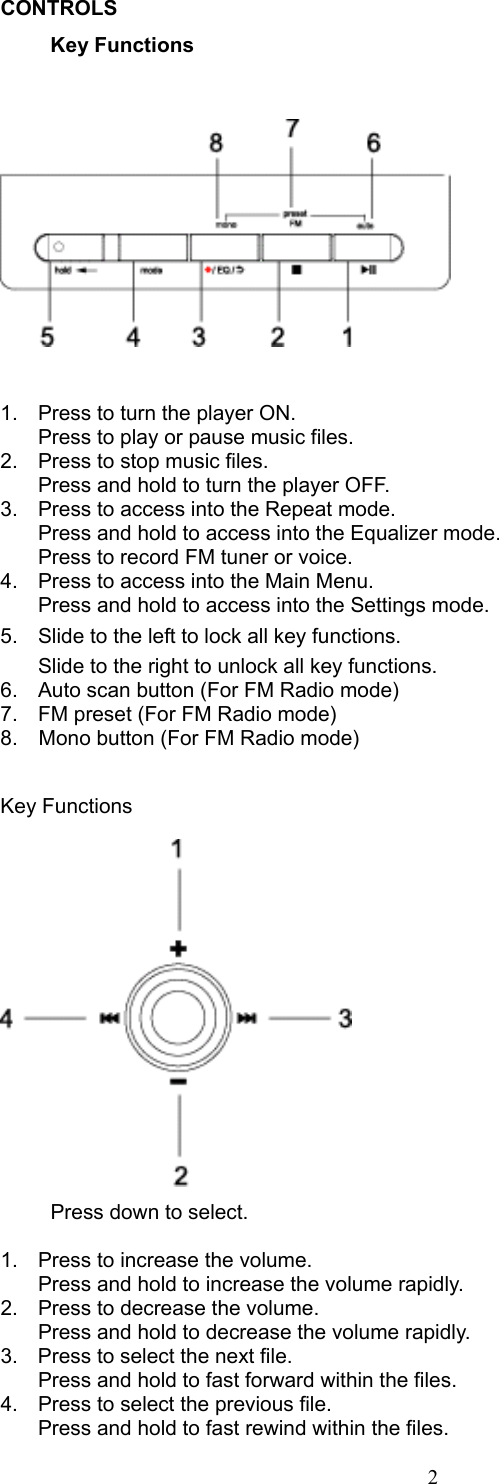
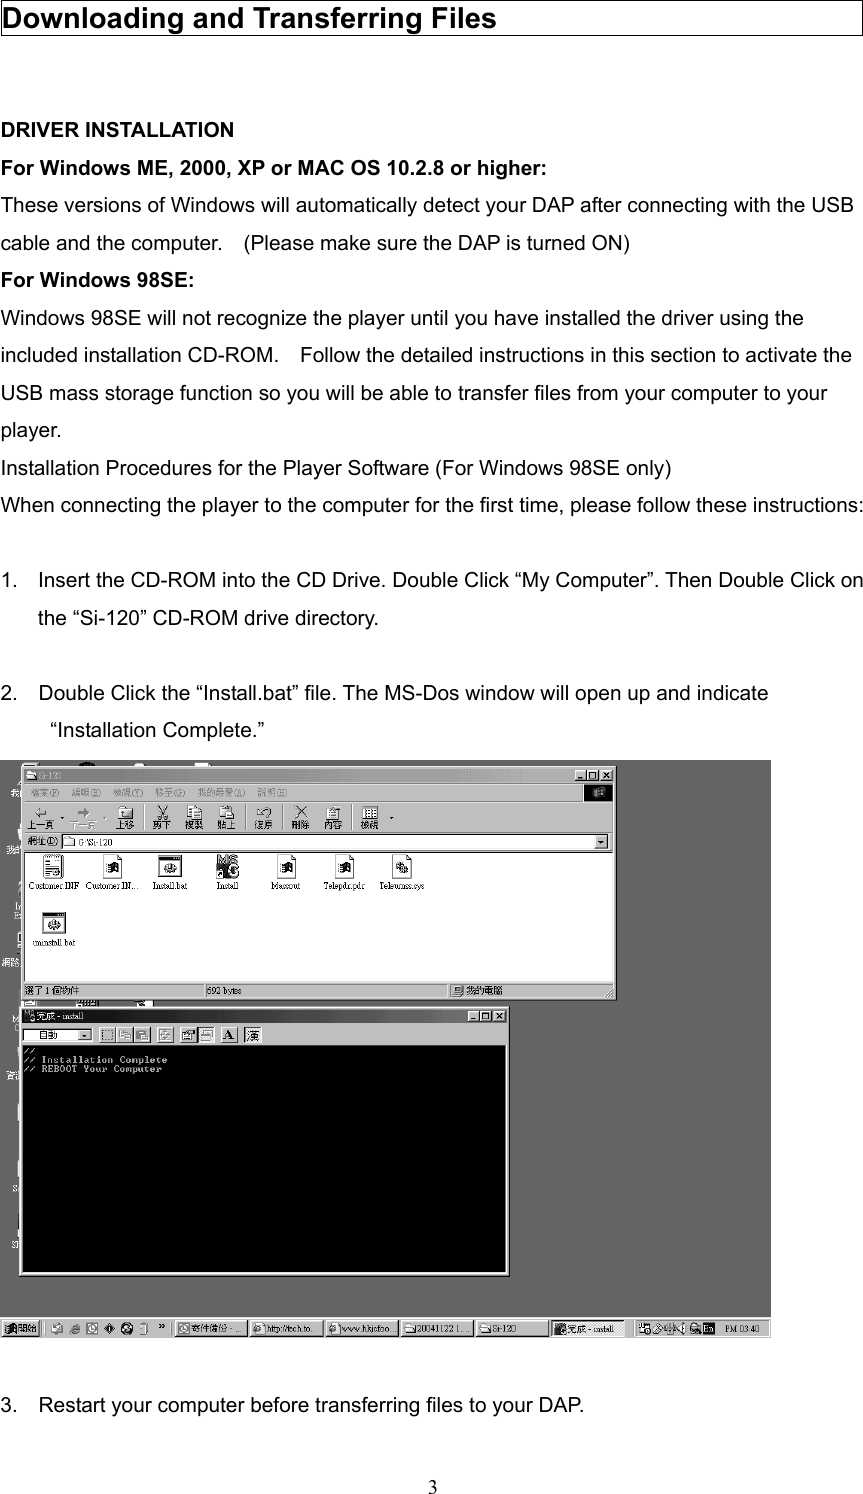
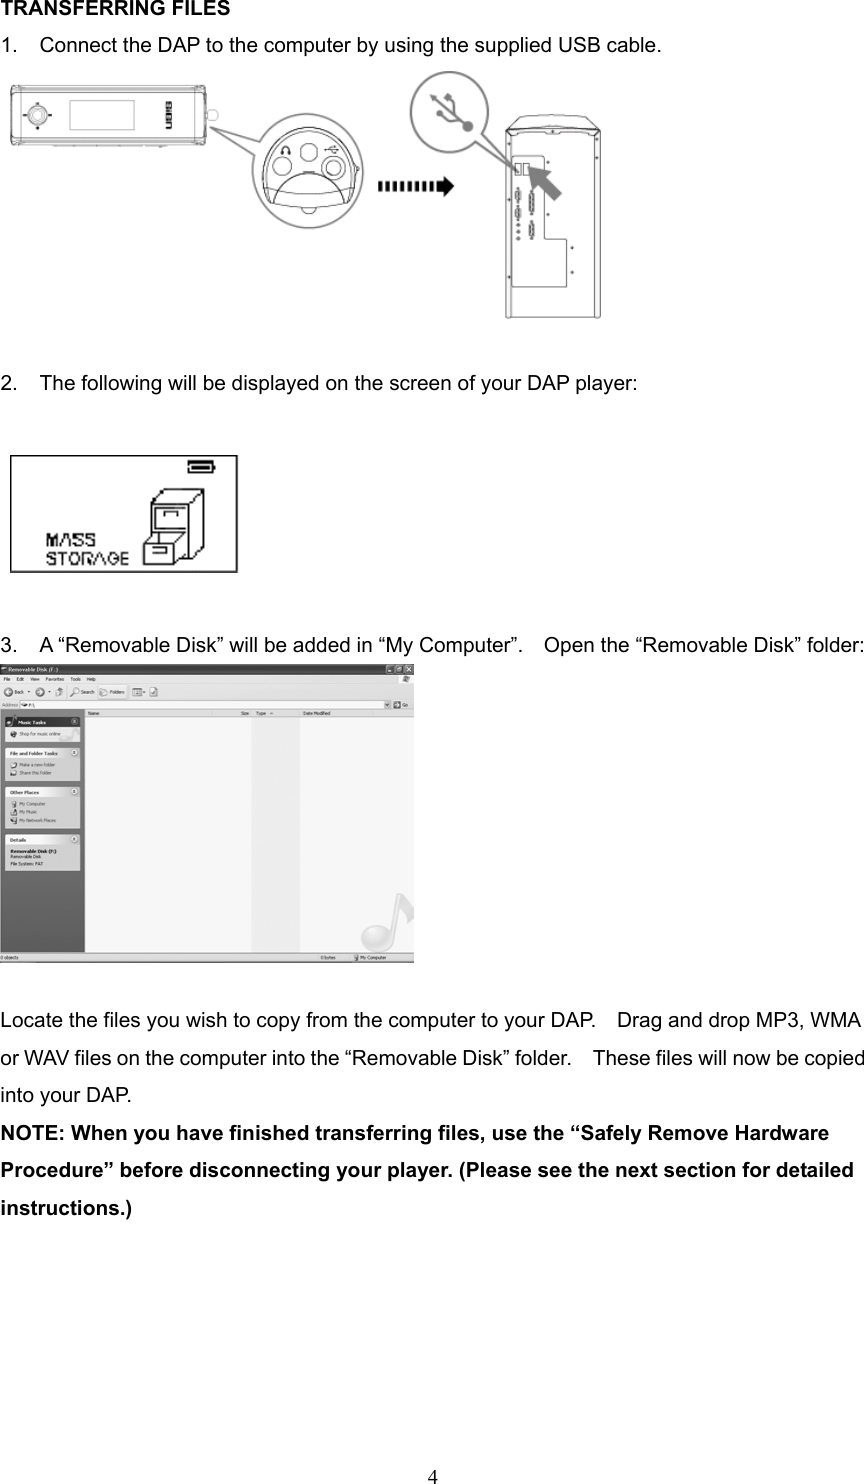
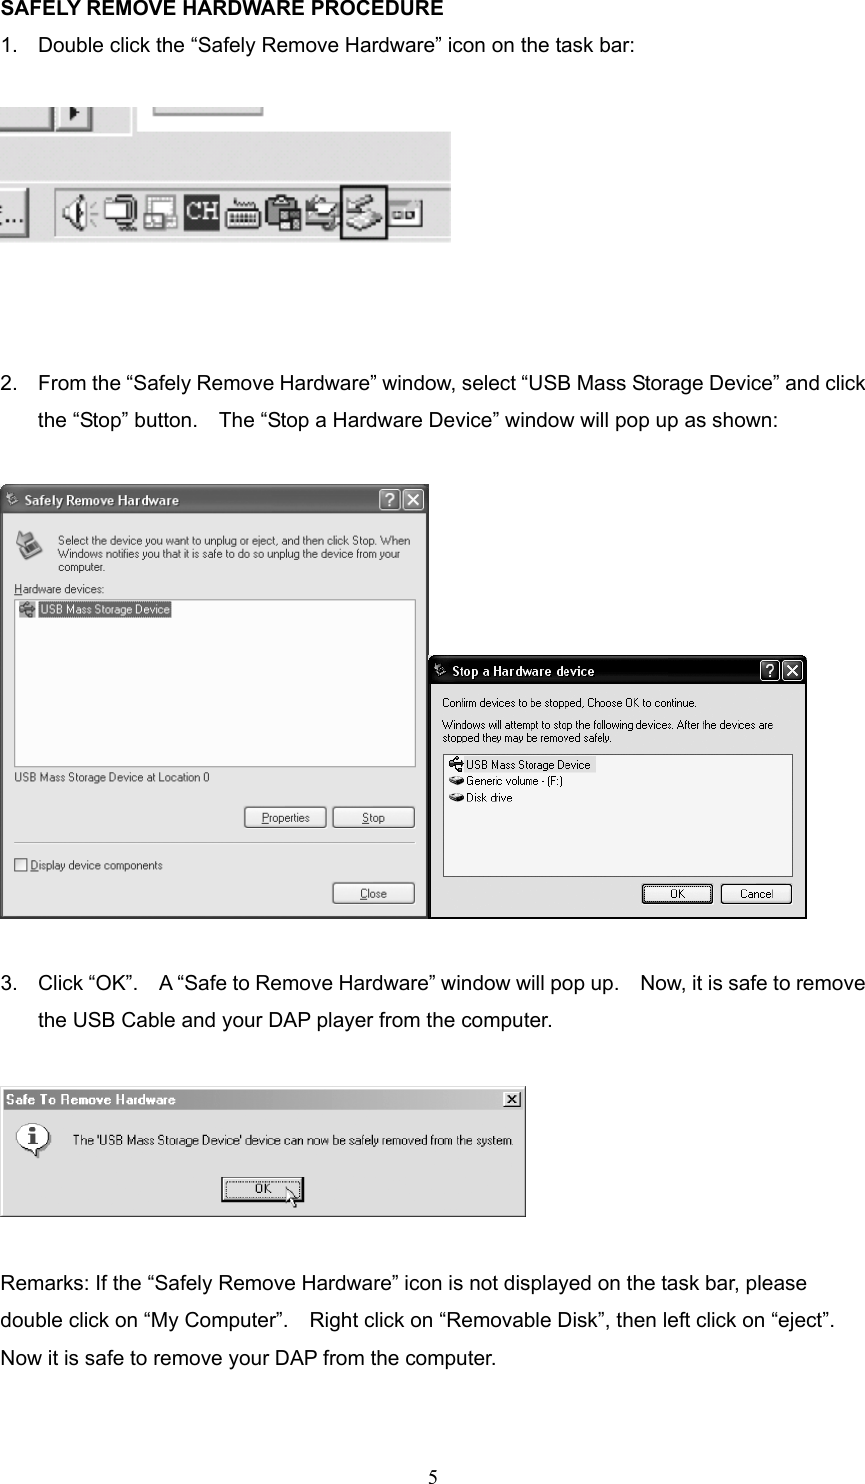
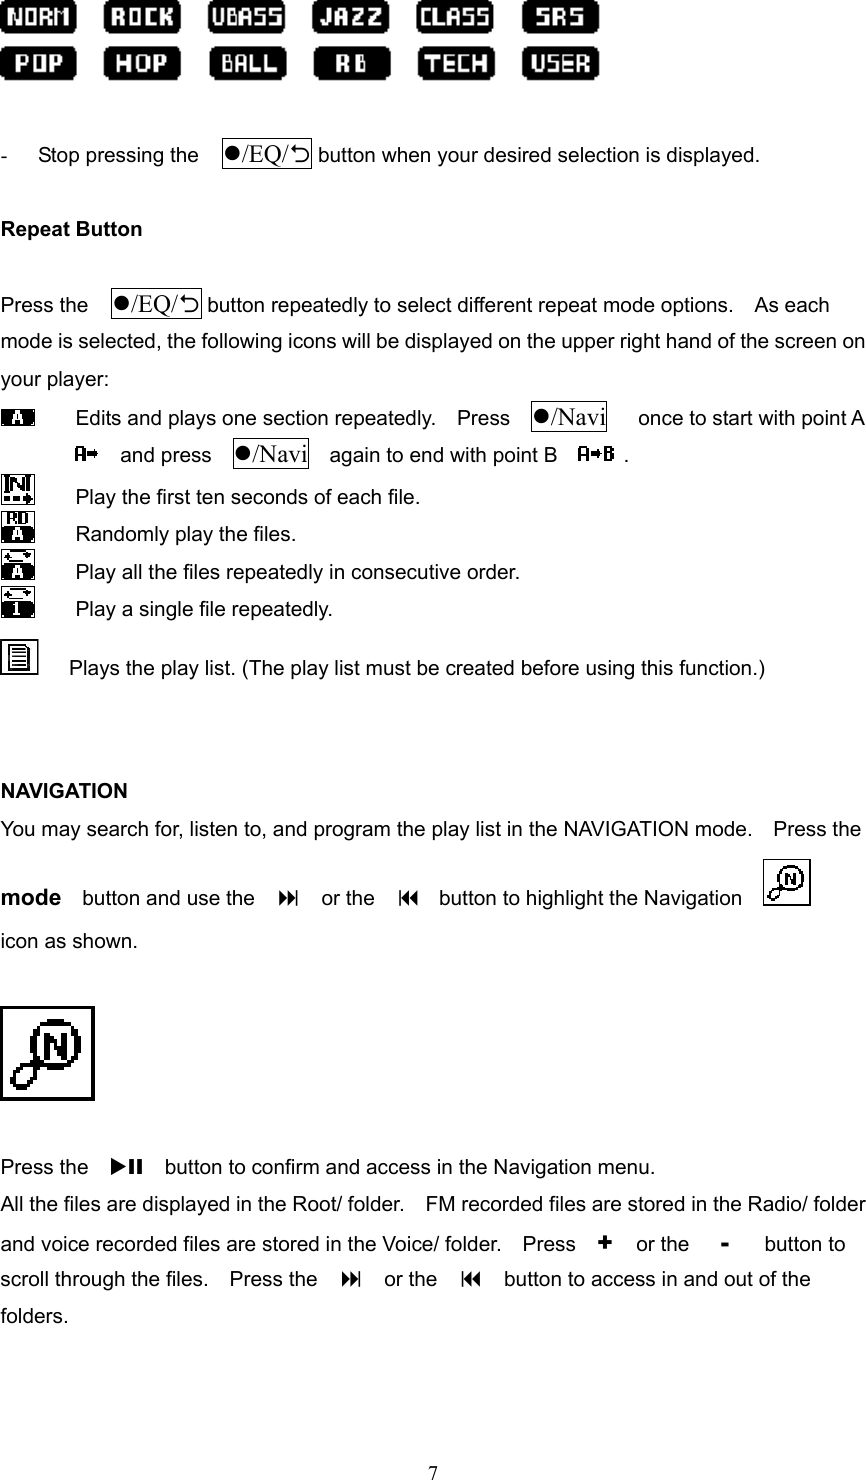
![8Creating a play list from the DAP - Enter into the Navigation menu. - Press the + or the - button to highlight a desired song or file. - Press the /EQ/2 button; a number icon (01, 02 etc.) will be displayed next to that song or file. - Press the /EQ/2 button to confirm the song or file selection; the number icon will disappear and the file or the song will be added to the play list. - Follow these steps with each file you would like to add to your play list. NOTE: The play list cannot be created during file playback. Deletion - Enter into the Navigation menu. - Press the + or the - button to highlight a desired song or file. - Press the button; a [FILE DELETE] YES/NO box will display. - Press the or the to select between Yes and No. - Press the /Navi button to confirm the selection. NOTE: Files cannot be deleted during playback. Certain files can only be deleted through the computer. FM RADIO The DAP has a built-in FM tuner with auto scan and twenty preset station memory. Besides listening to your favorite station, you can also record a song or program. Press the mode button and use the or the button to highlight the FM Radio as shown: Press the XII button to confirm the FM Radio mode. Setting FM Stations with Auto Scan - If Preset is displayed in the screen, press the button to clear it. - Press and hold the XII button to begin auto scan. “FM Search” will be displayed on the screen. Each detected FM station will be stored in memory with a channel number icon from [Ch01] up to [Ch20] next to the station frequency.](https://usermanual.wiki/AVC-Technology/F024/User-Guide-493272-Page-10.png)