Acer orporated 344A 802.11a/b/g/n/ac + BT4.1 M.2 2230 Type Card User Manual sp513 52N Woody KL UM date EN
Acer Incorporated 802.11a/b/g/n/ac + BT4.1 M.2 2230 Type Card sp513 52N Woody KL UM date EN
Contents
- 1. User manual 1 of 2
- 2. User manual 2 of 2
- 3. User Manual
- 4. User manual (statement)
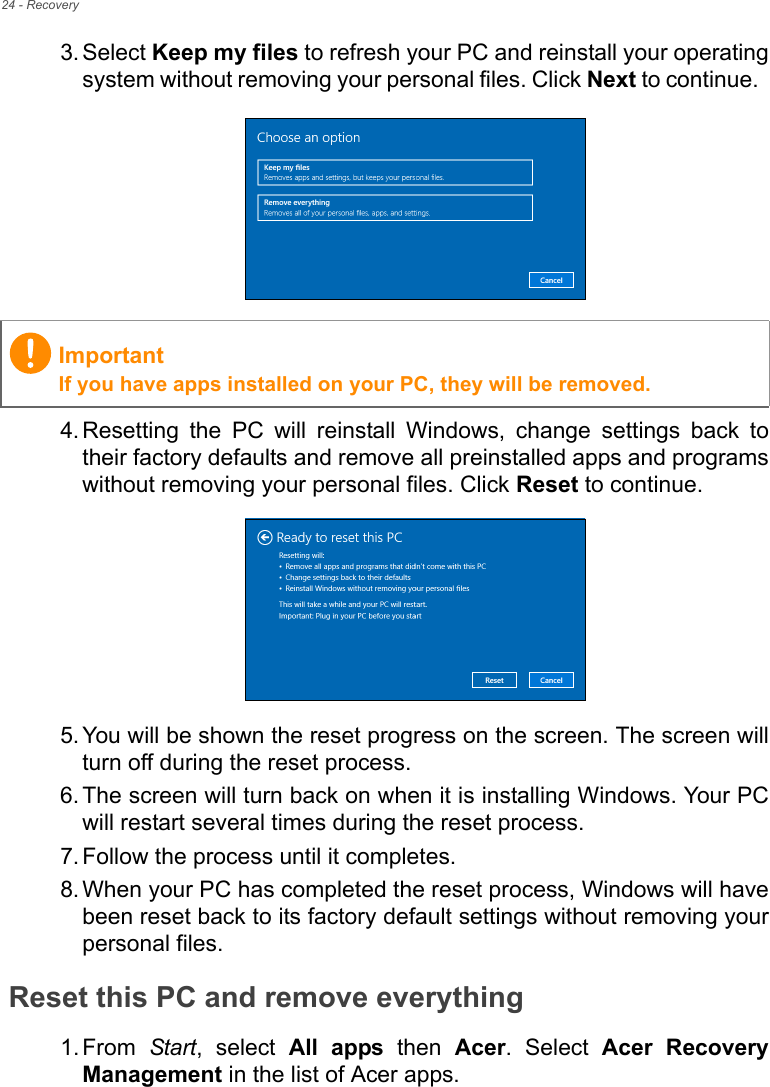
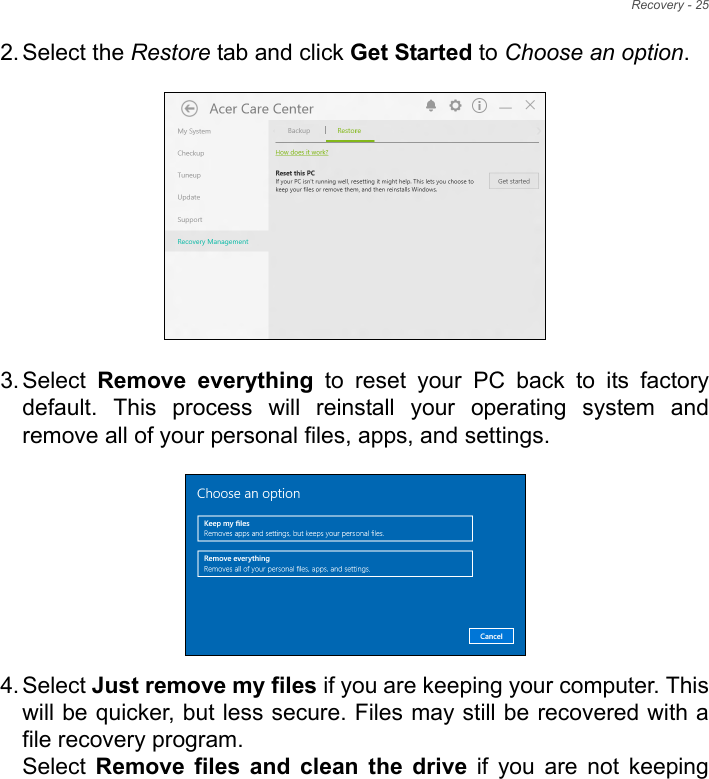
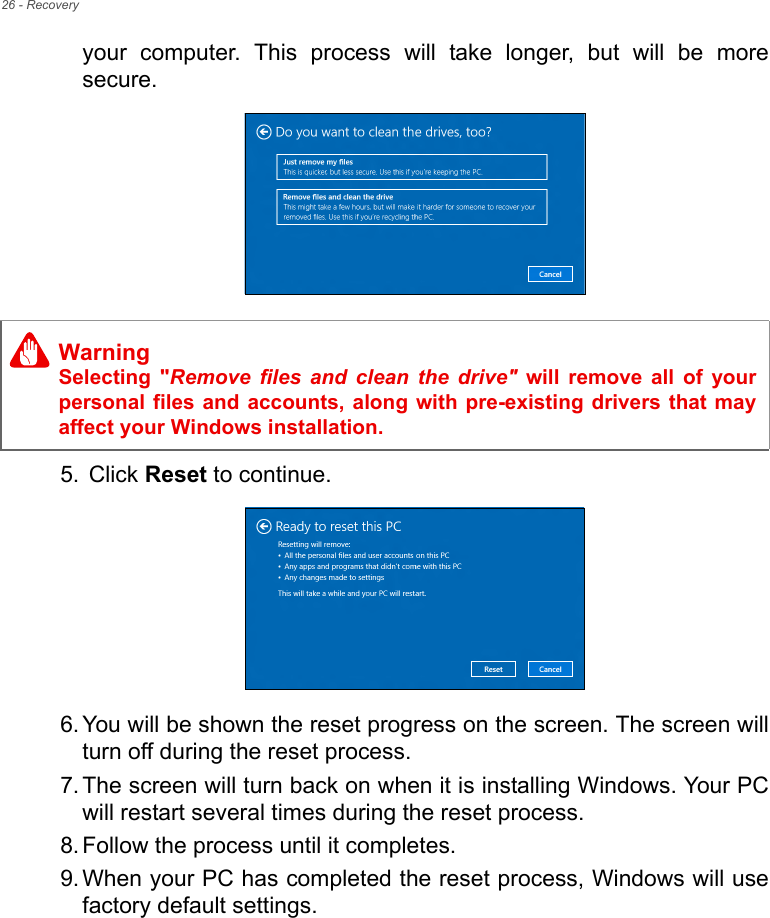
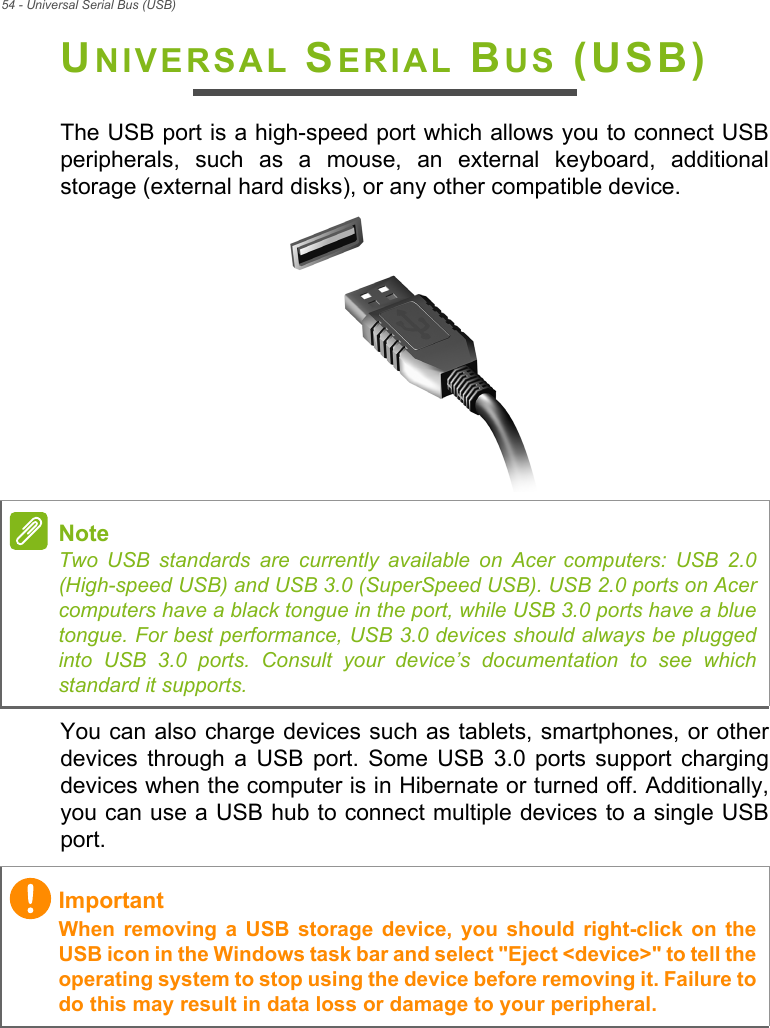
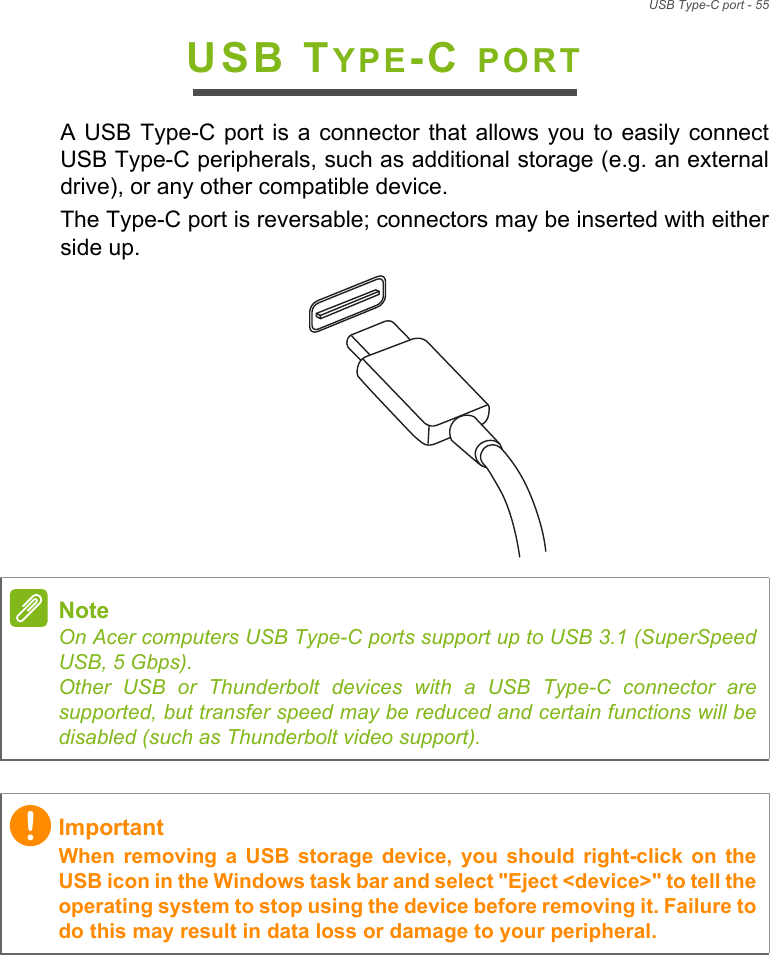
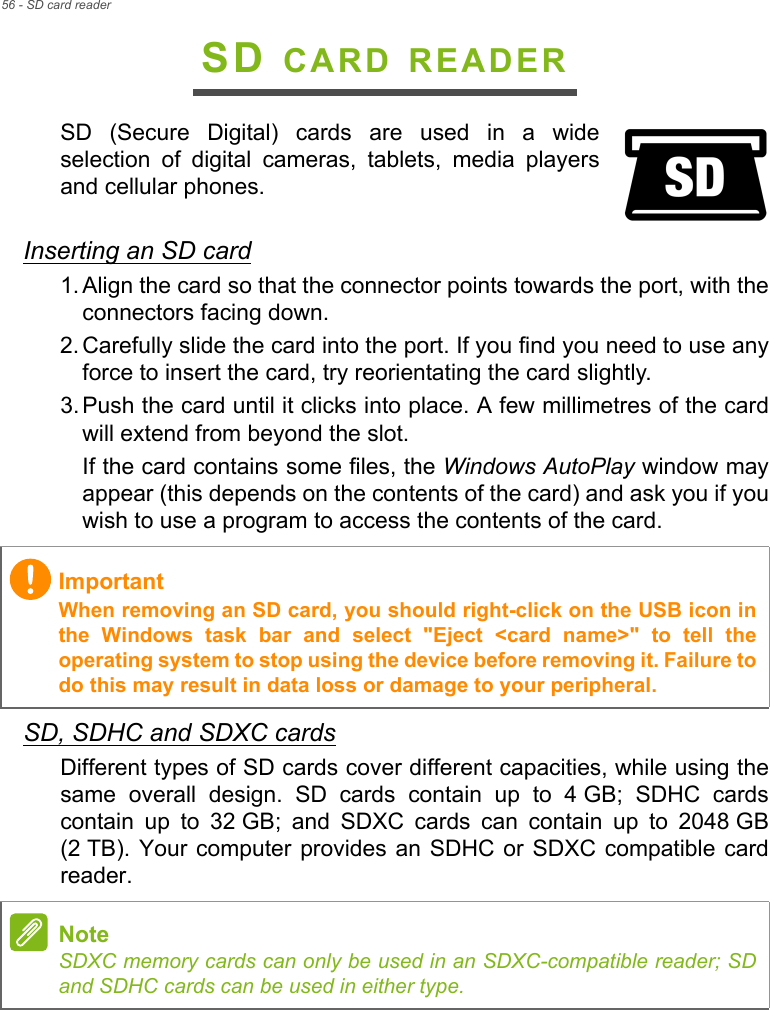
User manual 2 of 2