Acer orporated AR5B95 WLAN MODULE User Manual 2
Acer Incorporated WLAN MODULE Users Manual 2
Contents
Users Manual 2

Aspire One Series
Quick Guide
Model number: __________________________________
Serial number: ___________________________________
Date of purchase: ________________________________
Place of purchase: ________________________________
© 2010 All Rights Reserved.
Aspire One Series Quick Guide
Original Issue: 07/2010
Aspire One Series Notebook PC

3
First things first
We would like to thank you for making an Acer notebook your choice for
meeting your mobile computing needs.
Your guides
To help you use your Acer notebook, we have designed a set of guides:
First off, the setup poster helps you get started with setting up your computer.
The Aspire One Series Generic User Guide contains useful information applying
to all models in the Aspire One product range. It covers basic topics such as
Acer's eRecovery Management, using the keyboard, audio, etc. Please
understand that due to its nature, the Generic User Guide as well as the
AcerSystem User Guide will occasionally refer to functions or features which are
only contained in certain models, but not necessarily in the model you have
purchased. Such instances are marked in the text with language such as "only
for certain models".
The Quick Guide introduces you to the basic features and functions of your new
computer. For more on how your computer can help you to be more productive,
please refer to the AcerSystem User Guide, which contains detailed information
on such subjects as system utilities, data recovery, expansion options and
troubleshooting. In addition it contains warranty information and the general
regulations and safety notices for your notebook. It is available in Portable
Document Format (PDF) and comes preloaded on your notebook. Follow these
steps to access it:
1 Click on Start > All Programs > AcerSystem.
2 Click on AcerSystem User Guide.
Note: Viewing the file requires Adobe Reader. If Adobe Reader is not
installed on your computer, clicking on AcerSystem User Guide will run the
Adobe Reader setup program first. Follow the instructions on the screen to
complete the installation. For instructions on how to use Adobe Reader,
access the Help and Support menu.
4
English
Your Acer notebook tour
After setting up your computer as illustrated in the setup poster, let us show
you around your new Acer notebook.
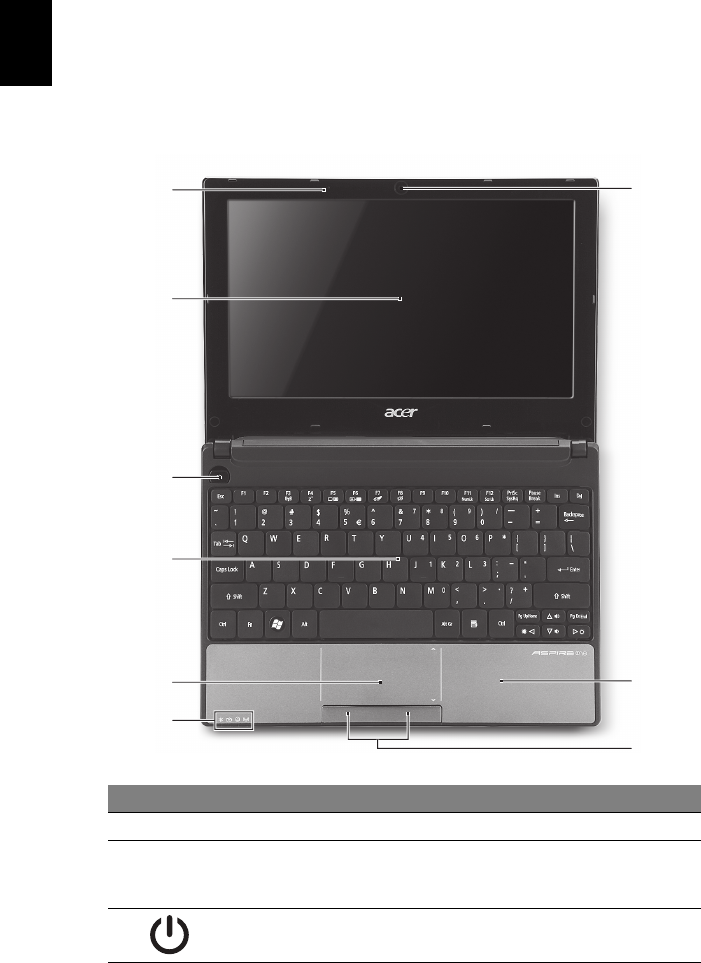
Top view
#Icon Item Description
1Microphone Internal microphone for sound recording.
2Display screen Also called Liquid-Crystal Display (LCD),
displays computer output (configuration
may vary by model).
3Power button Turns the computer on and off.
1
3
2
4
5
6
7
8
9
5
English
1. The front panel indicators are visible even when the computer cover is closed.
Hotkeys
The computer employs hotkeys or key combinations to access most of the
computer's controls like screen brightness and volume output.
To activate hotkeys, press and hold the <Fn> key before pressing the other key
in the hotkey combination.
4Keyboard For entering data into your computer.
5Touchpad Touch-sensitive pointing device which
functions like a computer mouse.
6Status indicators1Light-Emitting Diodes (LED) that light up to
show the status of the computer's functions
and components.
7Click buttons (left
and right)
The left and right buttons function like the
left and right mouse buttons.
8Palmrest Comfortable support area for your hands
when you use the computer.
9Acer Crystal Eye
webcam
Web camera for video communication
(configuration may vary by model).
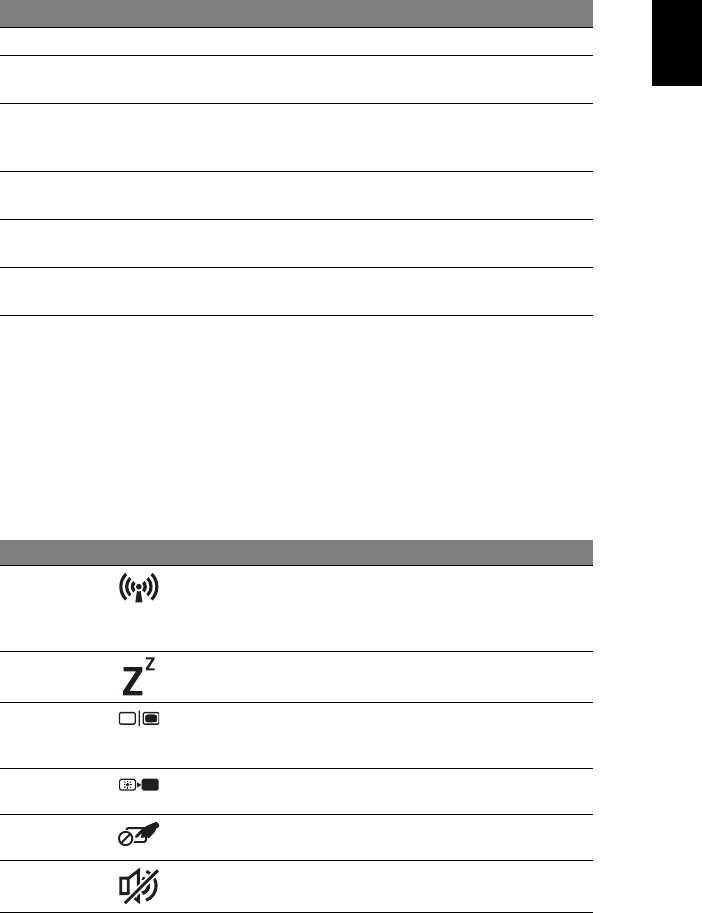
Hotkey Icon Function Description
<Fn> + <F3> Communication
key
Enables/disables the computer’s
communication devices.
(Communication devices may vary by
configuration.)
<Fn> + <F4> Sleep Puts the computer in Sleep mode.
<Fn> + <F5> Display toggle Switches display output between the
display screen, external monitor
(if connected) and both.
<Fn> + <F6> Screen blank Turns the display screen backlight off
to save power. Press any key to return.
<Fn> + <F7> Touchpad
toggle
Turns the internal touchpad on and
off.
<Fn> + <F8> Speaker toggle Turns the speakers on and off.
#Icon Item Description
6
English
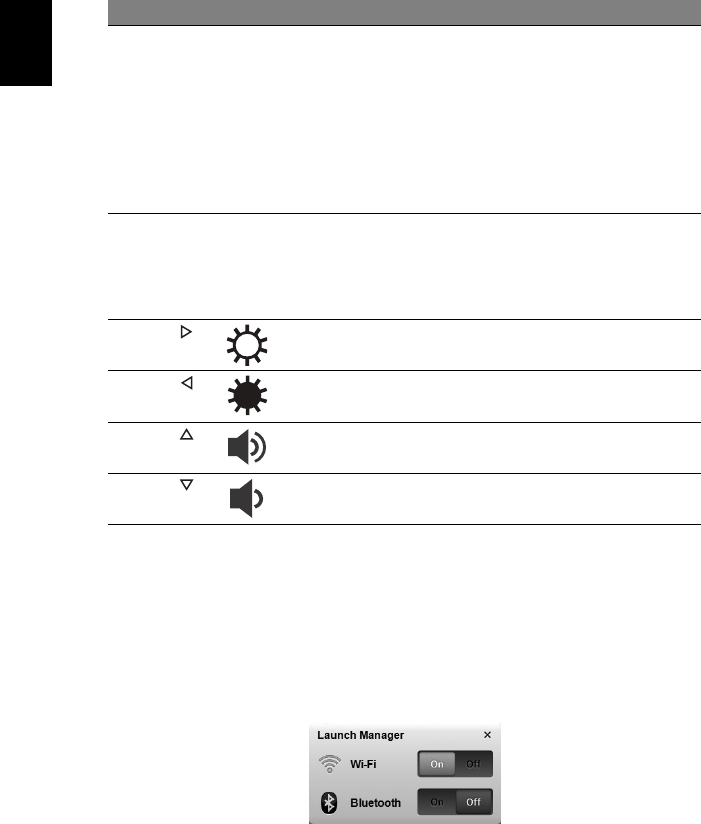
Using the communication key*
Here you can enable and disable the various wireless connectivity devices on
your computer.
Press <Fn> + <F3> to bring up the Launch Manager window panel.
A red toggle indicates the device is off. Click On to enable wireless/Bluetooth
connection. Click Off to disable connection.
* Communication devices may vary by model.
<Fn> + <F11> Num Lock When Num Lock is on, the embedded
keypad is in numeric mode. The keys
function as a calculator (complete
with the arithmetic operators +, -, *,
and /). Use this mode when you need
to do a lot of numeric data entry. A
better solution would be to connect
an external keypad.
<Fn> + <F11> only for certain models.
<Fn> + <F12> Scroll Lock When Scroll Lock is on, the screen
moves one line up or down when you
press the up or down arrow keys
respectively. Scroll Lock does not work
with some applications.
<Fn> + < >Brightness up Increases the screen brightness.
<Fn> + < >Brightness
down
Decreases the screen brightness.
<Fn> + < >Volume up Increases the sound volume (only for
certain models).
<Fn> + < >Volume down Decreases the sound volume (only for
certain models).
Hotkey Icon Function Description
7
English
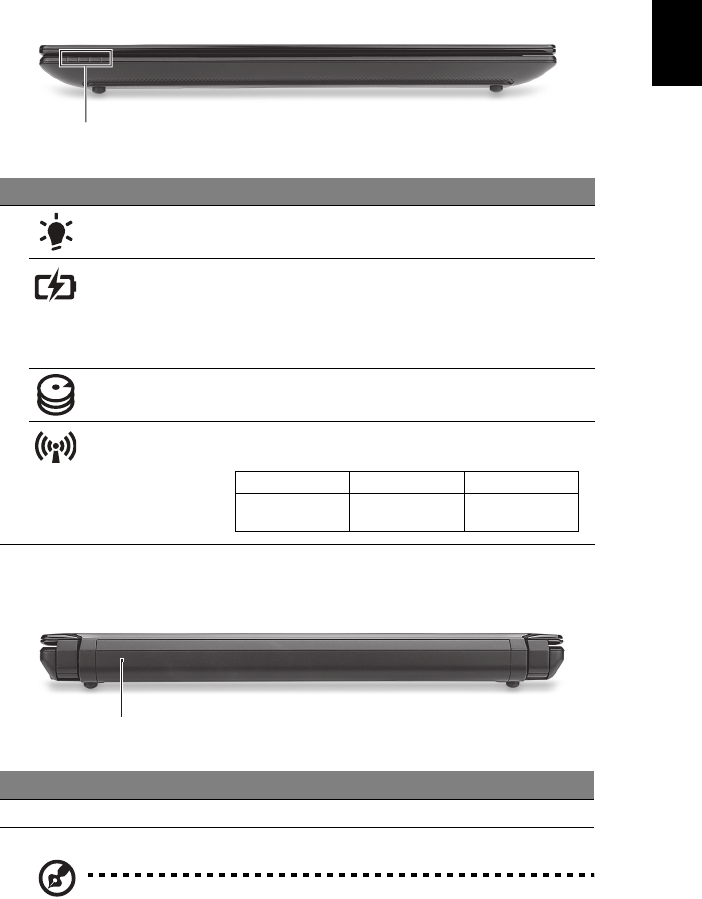
Closed front view
Rear view
Note: Your computer may be equipped with a different battery to
the one in the picture.
#Icon Item Description
1Power indicator Indicates the computer's power status.
Battery indicator Indicates the computer's battery status.
1. Charging: The light shows amber when the
battery is charging.
2. Fully charged: The light shows blue when in
AC mode.
HDD indicator Indicates when the hard disk drive is active.
Communication
indicator
Indicates the status of 3G/Wireless LAN
communication
#Item Description
1Battery bay Houses the computer’s battery pack.
1
Blue light on Orange light on Not lit
3G on / Wi-Fi on
3G on / Wi-Fi off 3G off / Wi-Fi on 3G off / Wi-Fi off
1
8
English
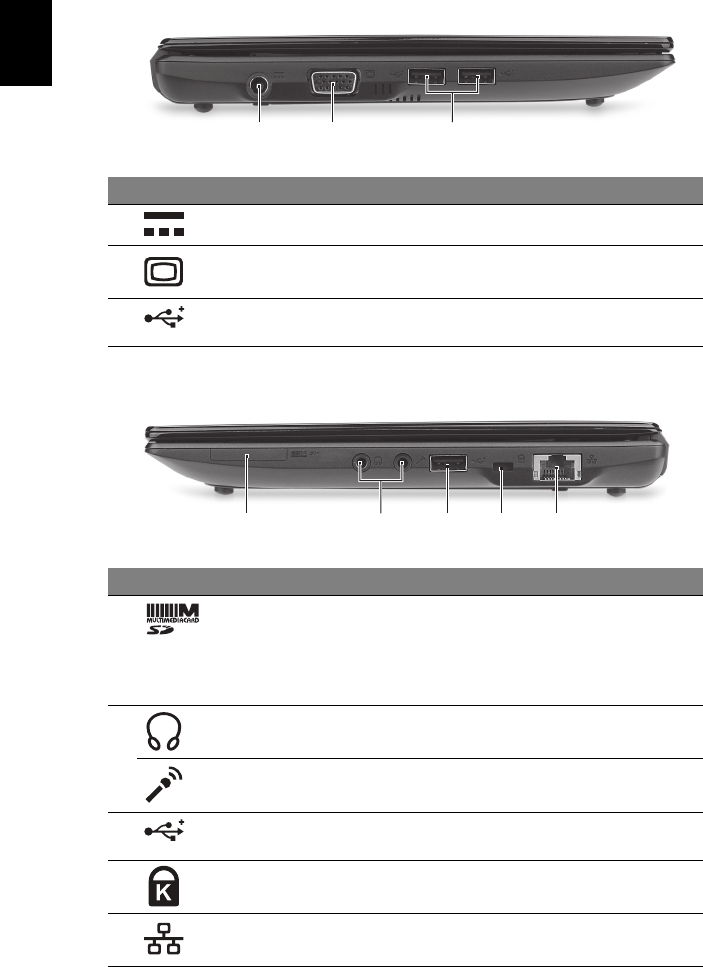
Left view
Right view
#Icon Item Description
1DC-in jack Connects to an AC adapter.
2External display
(VGA) port
Connects to a display device (e.g.,
external monitor, LCD projector).
3USB ports Connect to USB devices (e.g., USB mouse,
USB camera).
#Icon Item Description
12-in-1 card reader Accepts Secure Digital (SD) and
MultiMediaCard (MMC).
Note: Push to remove/install the card.
Only one card can operate at any given
time.
2Headphone/speaker/
line-out jack
Connects to audio line-out devices
(e.g., speakers, headphones).
Microphone-in jack Accepts inputs from external
microphones.
3USB port Connects to USB devices
(e.g., USB mouse, USB camera).
4Kensington lock slot Connects to a Kensington-compatible
computer security lock.
5Ethernet (RJ-45) port Connects to an Ethernet 10/100 based
network.
213
21345

9
English
Base view
Environment
#Icon Item Description
1Ventilation slots and
cooling fan
Enable the computer to stay cool, even
after prolonged use.
Note: Do not cover or obstruct the
opening of the fan.
2Battery release latch Releases the battery for removal.
33G SIM card slot Accepts a 3G SIM card for 3G connectivity
(only for certain models).
4Battery bay Houses the computer's battery pack.
5Battery lock Locks the battery in position.
6Speaker Emits audio from your computer.
•Temperature:
•Operating: 5 °C to 35 °C
•Non-operating: -20 °C to 65 °C
•Humidity (non-condensing):
•Operating: 20% to 80%
•Non-operating: 20% to 80%
1
2
3
4
5
6