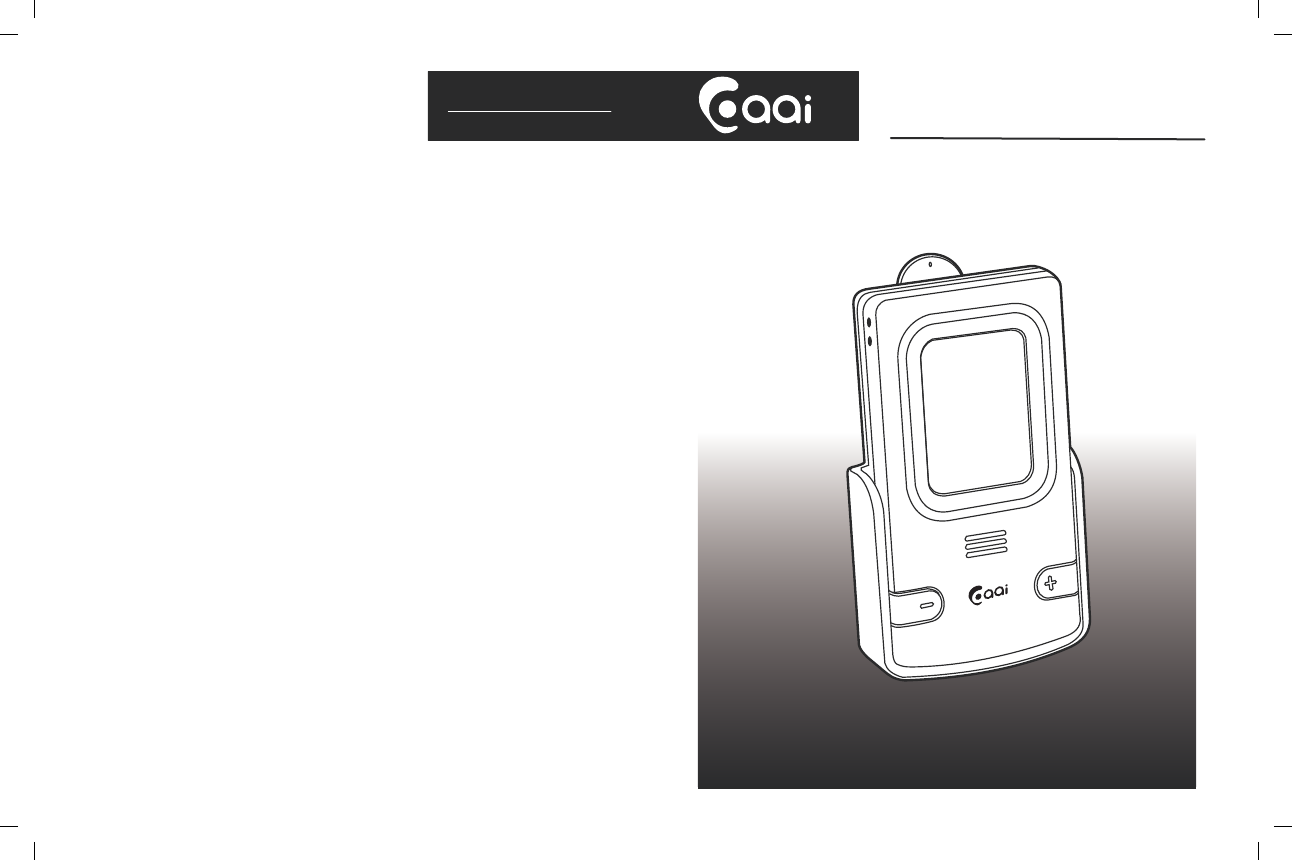
Acoustic Arc AAI-BT0820-00 Solar Power Bluetooth Car Kit User Manual BT0820
Acoustic Arc International Ltd. Solar Power Bluetooth Car Kit BT0820
User Manual

Solar Power Bluetooth
Car Kit
BT0820
Solar Powere Bluetooth
Car Kit
BT0820
OPERATIONAL
MANUAL

TABLE OF CONTENTS
INTRODUCTION
Included in the Package
PRODUCT DIAGRAM
OPERATION
Installation
Charging the BT 0820
Low Battery
Power On/Off
Pairing
Dialing a Call
Receiving a Call
Volume Control
Auto Reconnect
Auto Shut-Off
Pairing Memory
IMPORTANT INFORMATION
Precautions
Warnings
Important Safety Information
FCC Statement
1
1
2
3
3
3
4
4
4
5
5
5
5
5
5
6
6
6
7
7

INTRODUCTION
Thank you for purchasing the AAi BT0820 Solar Hands-free
Bluetooth Car Kit. Please read this manual carefully to familarize
yourself with its many features and to ensure years of reliable
operation.
The BT0820 is a wireless, solar powered, hands-free device that
uses Bluetooth technology that supports hands-free Bluetooth
profiles.
It can be powered by the sun (solar), by the USB cable (included)
or by the car charger (included) so you can charge it however or
wherever you need to.
The BT0820 features two internal batteries with a patented auto
switch mechanism that allows one battery to charge while the
second battery is in use. When one battery runs low, it will
automatically switch to the charged one. This will provide longer
conversation time and less charging time.
INCLUDED IN THE PACKAGE:
BT 0820 Solar Bluetooth Car Kit
User Manual
Car Charger
USB Cable for Charging
Suction Cups
Windshield Mount
1
However, there is no guarantee that interference will not
occur in a particular installation. If this equipment does
cause harmful interference to radio or television
reception, which can be determined by turning the
equipment off and on, the user is encouraged to try to
correct the interference by one or more of the following
measures:
Reorient or relocate the receiving antenna.
Increase the separation between the equipment and receiver.
Connect the equipment into an outlet on a circuit different from
that to which the receiver is connected.
Consult the dealer or an experienced radio/TV technician for help.
8
1
1
1
1
1
2
- Connect the equipment into an outlet on a circuit different from
that to which the receiver is connected.
- Consult the dealer or an experienced radio/TV technician for
help.
This device complies with Part 15 of the FCC Rules. Operation
is subject to the following two conditions: (1) This device may
not cause harmful interference, and (2) this device must accept
any interference received, including interference that may
cause undesired operation.
FCC Caution: Any changes or modifications not expressly
approved by the party responsible for compliance could void the
user's authority to operate this equipment.
If you have questions please feel free to our website :
http://www.acousticarc.com

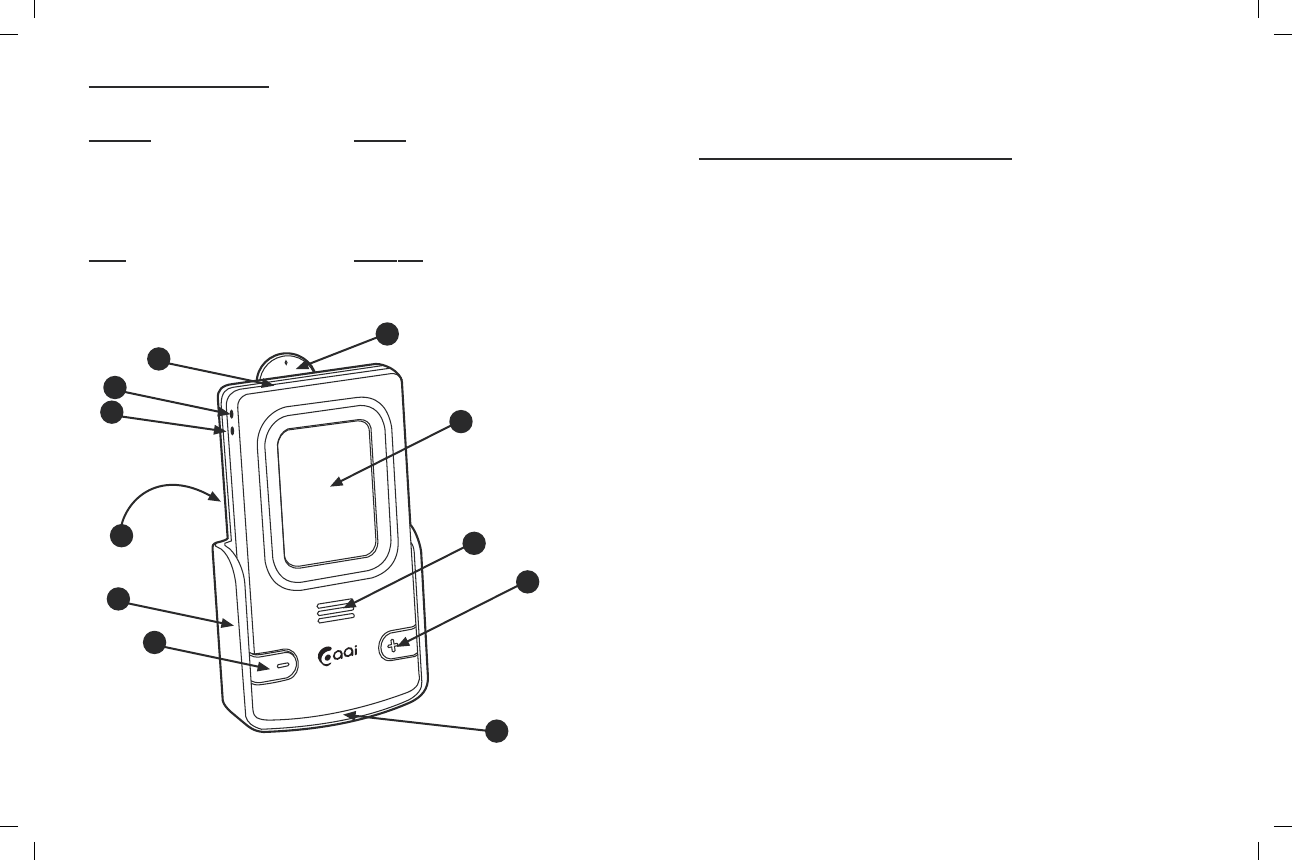
PRODUCT DIAGRAM
FRONT BACK
1 Talk/On/Off Button 6 Solar Panel
2 Speaker 7 Suction cups
3 Microphone 8 Windshield Mount
4 Volume Down Button
5 Volume Up Button
SIDE BOTTOM
9 Charge Status Indicator 11 USB Port
10 On/Off Indicator
1
2
4
3
5
6
7
8
9
10
11
2 7
manner in which drivers may mount devices to their
windshields. Consult your local laws to determine whether
any of the previous regulations mentioned apply to you.
IMPORTANT SAFETY INFORMATION
Permanent hearing loss may occur if you continually use your
device at a high volume, so set the volume to a safe level. Over
time you can become accustomed to a higher volume that may
sound normal but can be damaging to your hearing. If you
experience ringing in your ears or muffled speech, stop the use
of your device and have your hearing checked. Hearing experts
suggest the following to protect your hearing:
Limit the amount of time you use the device at high volume.
Avoid turning up the volume to block out noisy background
sounds.
Turn the volume down if you can’t hear people speaking
near you.
This equipment has been tested and found to comply with the
limits for a Class B digital device, pursuant to Part 15 of the FCC
Rules. These limits are designed to provide reasonable
protection against harmful interference in a residential
installation. This equipment generates, uses and can radiate
radio frequency energy and, if not installed and used in
accordance with the instructions, may cause harmful
interference to radio communications. However, there is no
guarantee that interference will not occur in a particular
installation. If this equipment does cause harmful interference
to radio or television reception, which can be determined by
turning the equipment off and on, the user is encouraged to try to
correct the interference by one of the following measures:
- Reorient or relocate the receiving antenna.
- Increase the separation between the equipment and receiver.
Federal Communication Commission Interference

driver’s view of the road.
OPERATION
INSTALLATION :
For the best performance, we suggest the AAi BT0820 be
installed in the middle of the far left-hand side of the windshield
in front of the drivers seat. Make sure it does not obstruct the
CHARGING THE BT0820:
Warning: Do not use any chargers other than what is included
in this package to charge your BT0820. Doing so will damage
the unit and void your warranty.
Using the Car Charger:
1. Open the cover of the USB port on the BT0820.
2. Plug the car charger into the DC outlet in your car.
3. Use the USB cable to connect the car charger to the BT0820
port.
4. A red LED light will illuminate indicating the unit is charging.
5. When the charge is complete (about 4 hours), the red LED
light will turn off.
Using the USB Cable:
1. Open the cover of the USB port on the BT0820.
2. Plug the USB cable into the USB port of your PC.
3. Connect the other end of the USB cable to the BT0820 port.
4. A red LED light will illuminate indicating the unit is
charging.
5. When the charge is complete (about 4 hours), the red LED
light will turn off.
Using Solar Power:
1. Direct the solar panel on the back of the BT0820 toward the
sun.
3
IMPORTANT INFORMATION
PRECAUTIONS:
1. Avoid dropping the device.
2. Do not attempt to modify or repair the device yourself. Doing
so may damage the device and void your warrant.
3. Do not try to clean the device with water, alcohol, benzene,
etc. Use a clean, dry, soft cloth,
4. Do not place the device near flammables.
5. Keep the device in a dry, dust-free place.
6. Do not place heavy objects on top of the device.
7. Do not use any chargers other than what is included in the
package to charge your BT0820. Doing so will damage
the device and void your warranty.
8. Do not attempt to replace the battery.
WARNINGS:
Failure to avoid the following hazardous situations could
result in an accident or collision resulting in death or serious
injury.
1. Never let the use of this device or any other device divert
your attention in any way from the safe operation of your
vehicle. Always observe safe driving rules and obey all traffic
laws.
2. Do not adjust or reposition this device or any other device
while operating your vehicle. Park your vehicle first before
doing so.
3. When installing the device in your vehicle, make sure the
device is secure and does not obstruct the drivers view of
the road or interfere with the operation of the vehicle.
4. Do not mount this device near or over an airbag cover panel
within an airbag deployment zone.
5. In some states, certain operations of devices capable of use
with this product while driving, including video functionality,
is illegal. In addition, some states prohibit or restrict the
6

2. A red LED light will illuminate indicating the BT0820 is
charging.
3. It will take up to 8 hours to charge depending on the
brightness of the sun.
NOTE: Because of the patented auto switch mechanism,
the BT0820 will always be available for use even if the unit
just started charging. This switch controls the two
rechargeable batteries. When one battery runs low, it will
automatically switch to the charged one.
LOW BATTERY:
A red LED light will flash approximately every second when the
battery power is low.
POWER ON/OFF:
ON: Press and hold the TALK button located in the middle of
the front panel for approximately 3 seconds until a blue LED
light flashes and a beep sound is heard. If the TALK button is
held in longer, the BT0820 will go into the Pairing Mode.
OFF: Press and hold the TALK button located in the middle
of the front panel approximately 5 seconds until the blue LED
light turns off and a beep sound is heard.
PAIRING:
Before pairing, make sure the BT0820 and the Bluetooth device
are both charged.
1. Press and hold the TALK button located in the middle of
the front panel until a blue LED light flashes and a beep
sound is heard. Continue pressing the TALK button until
2 quick beeps are heard and both a red and blue LED light
flashes. The BT0820 is now in the Pairing Mode.
2. Activate the Bluetooth Mode on your Bluetooth phone.
3. Search for “BT0820” on your phone and select it.
4.Enter the password “0000”.
4
5. The BT0820 and the Bluetooth phone will pair in about 10
seconds.
6. When the pairing is complete, the blue LED light on the
BT 0820 will start flashing slowly.
DIALING A CALL:
Dial a call from your mobile phone and talk into the BT0820
speaker.
RECEIVING A CALL:
Press the TALK button on the BT0820 to answer the call and then
press it again to disconnect.
VOLUME CONTROL:
Briefly press the (+) or (-) buttons on the front of the unit to
adjust the volume. There are 14 levels of volume.
AUTO RECONNECT:
If the BT0820 should shut off (either accidentally or intentionally)
while connected to a mobile phone, it with automatically reconnect
when the BT0820 is turned back on as long as both devices are
in the required range of 33 feet.
AUTO SHUT OFF:
The BT0820 will automatically turn off when it has been in stand-
by mode for 60 minutes.
PAIRING MEMORY:
The BT0820 will store the paired devices in memory. Press the
TALK button once and it will automatically pair with the last mobile
phone used.
5