Actiontec Electronics T3200M Wireless 802.11ac Bonded VDSL2 Modem Gateway with MoCA 2.0 User Manual pt 1
Actiontec Electronics Inc Wireless 802.11ac Bonded VDSL2 Modem Gateway with MoCA 2.0 pt 1
Contents
- 1. User Manual pt 1
- 2. User Manual pt 2
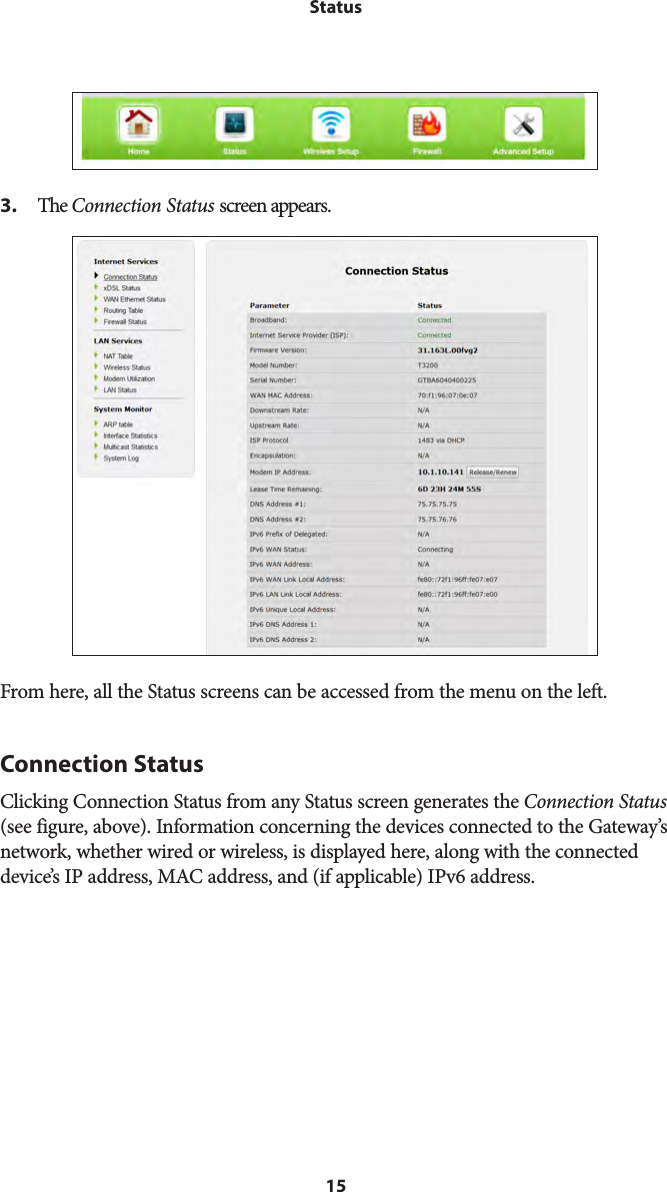
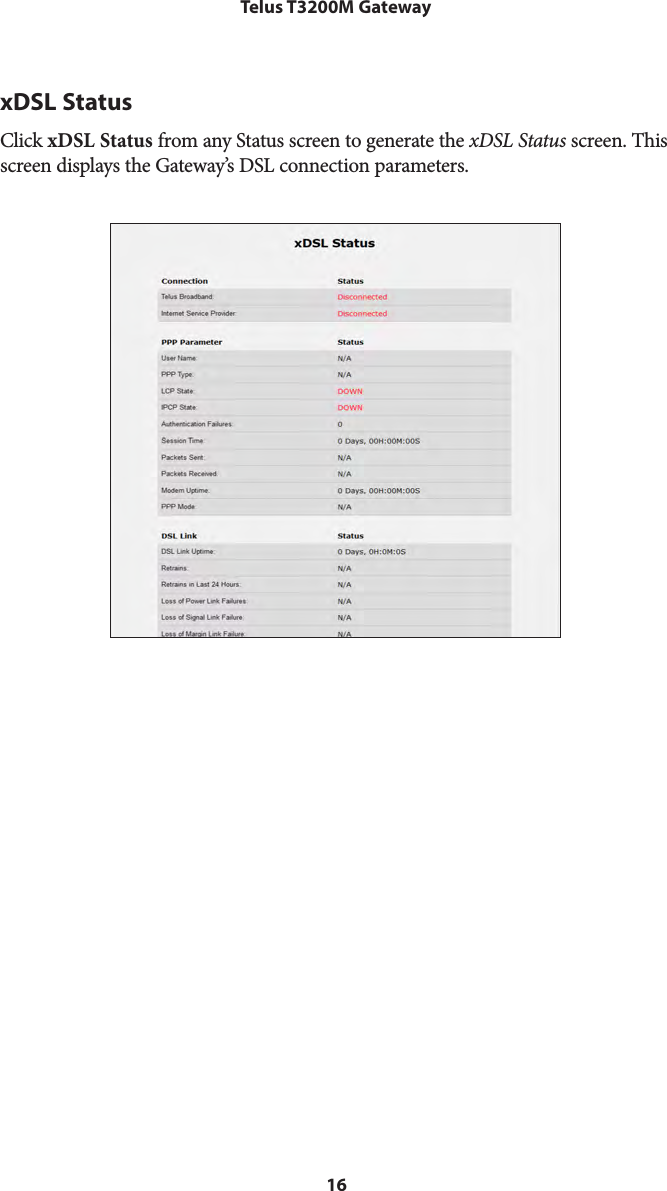
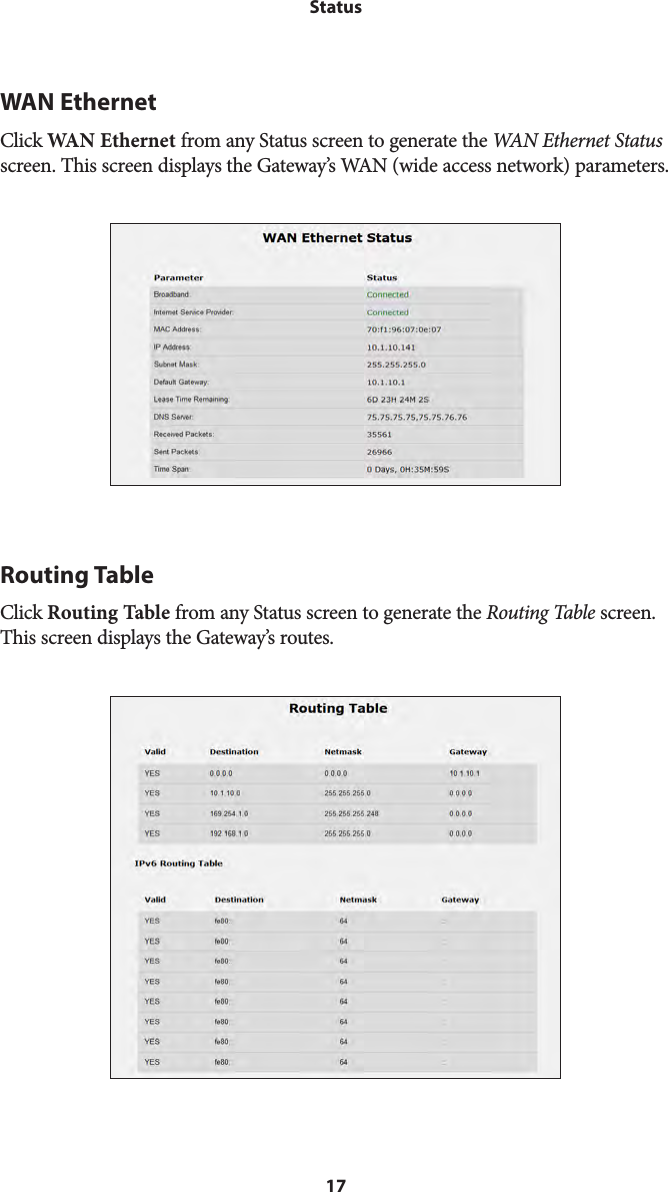
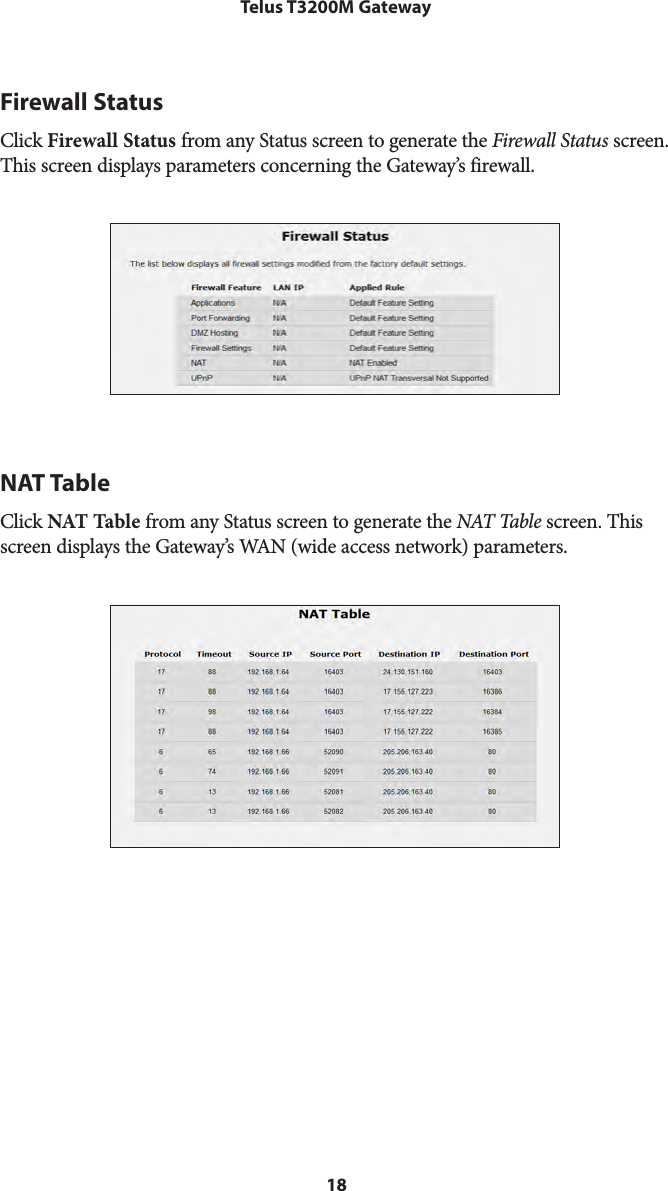
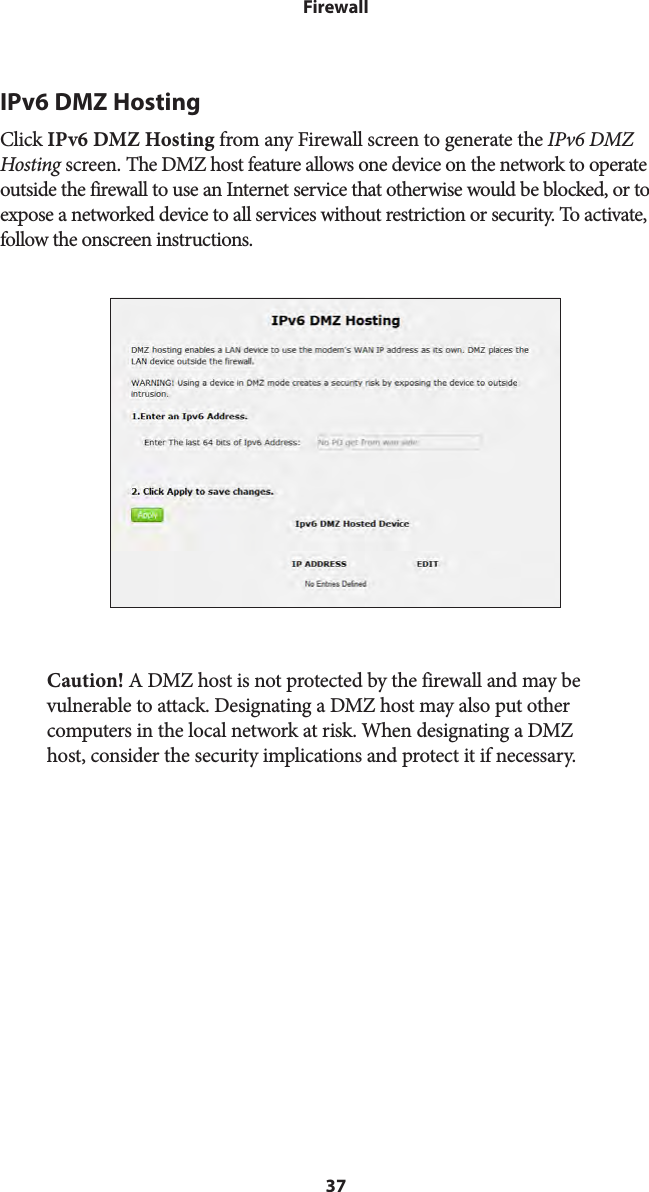
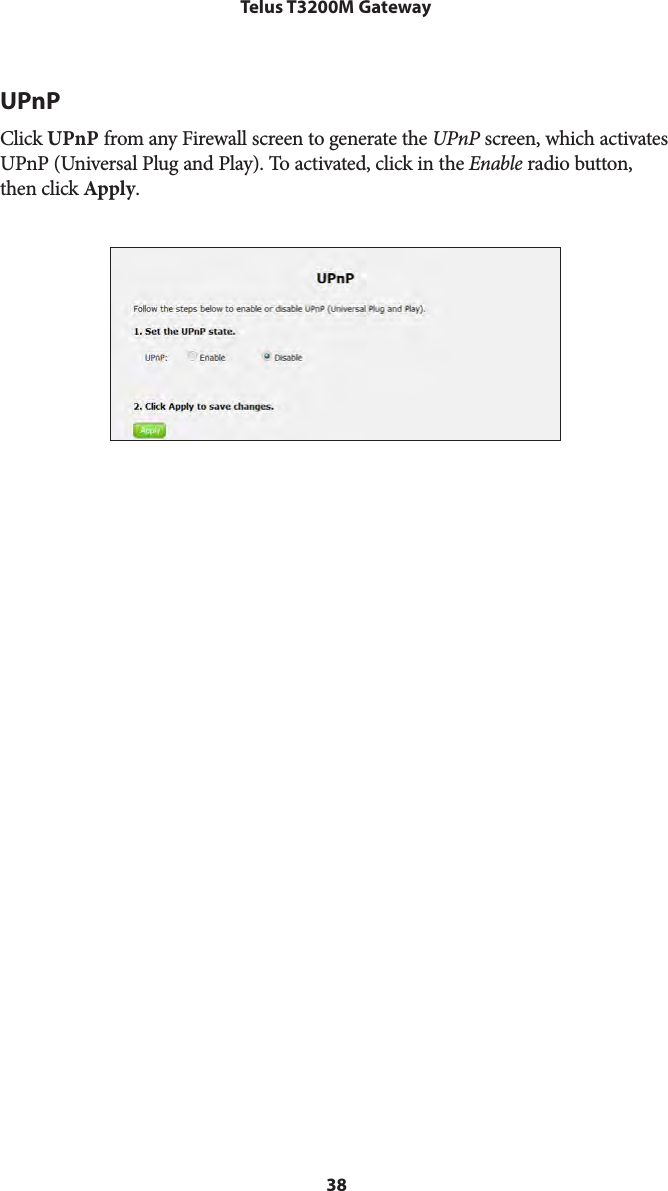
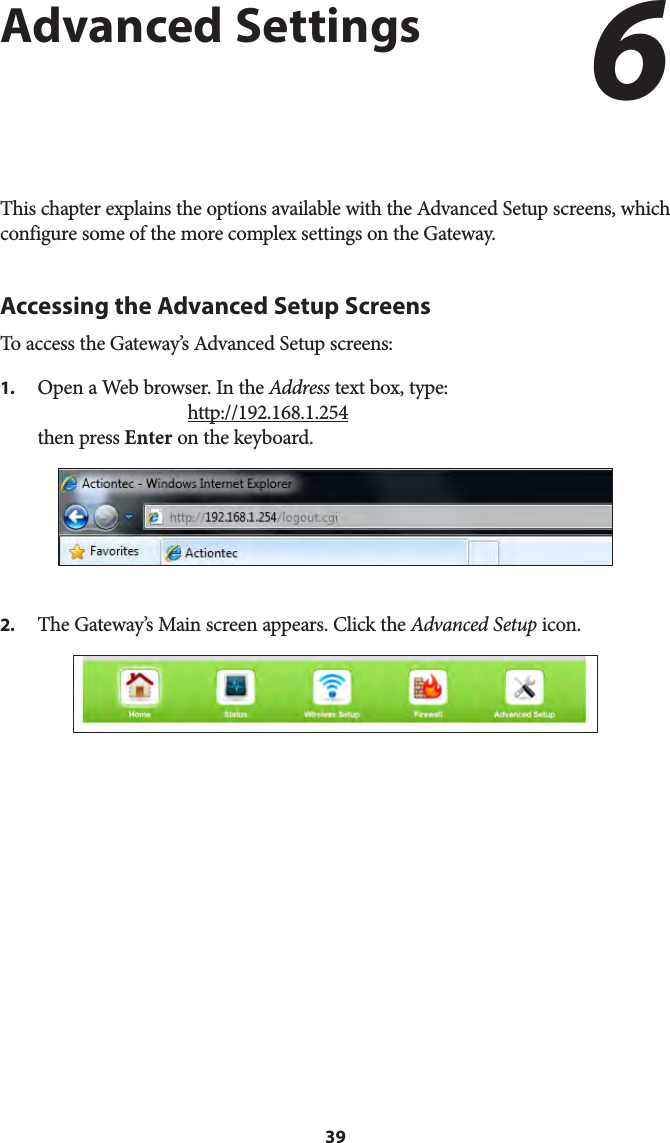
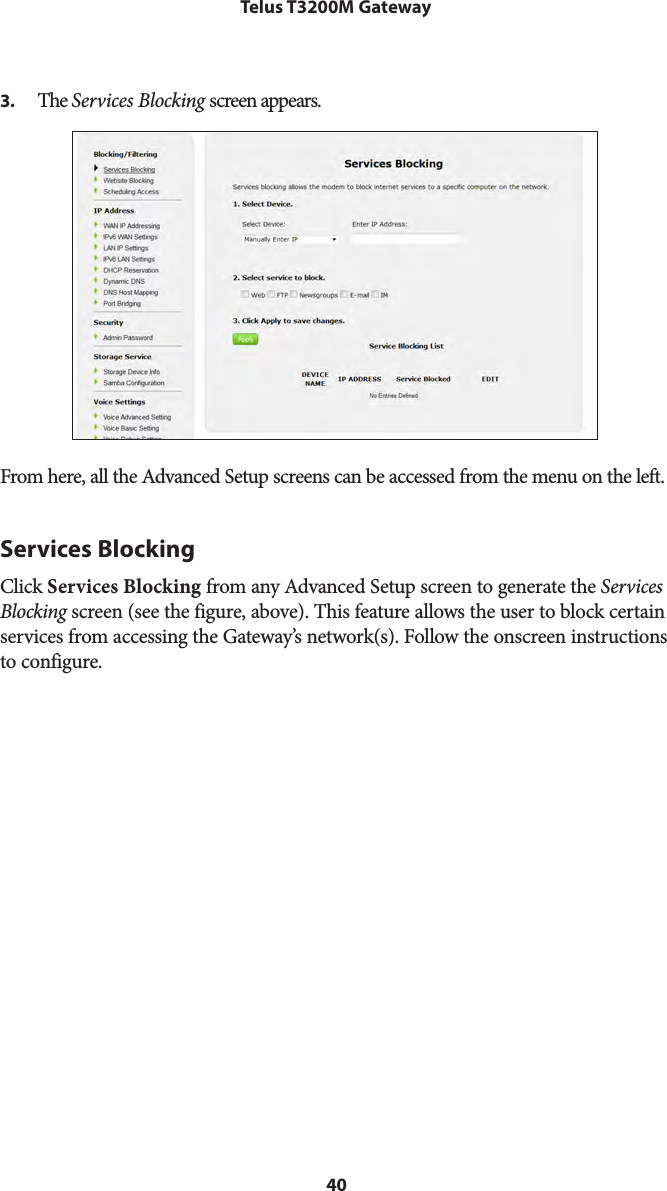
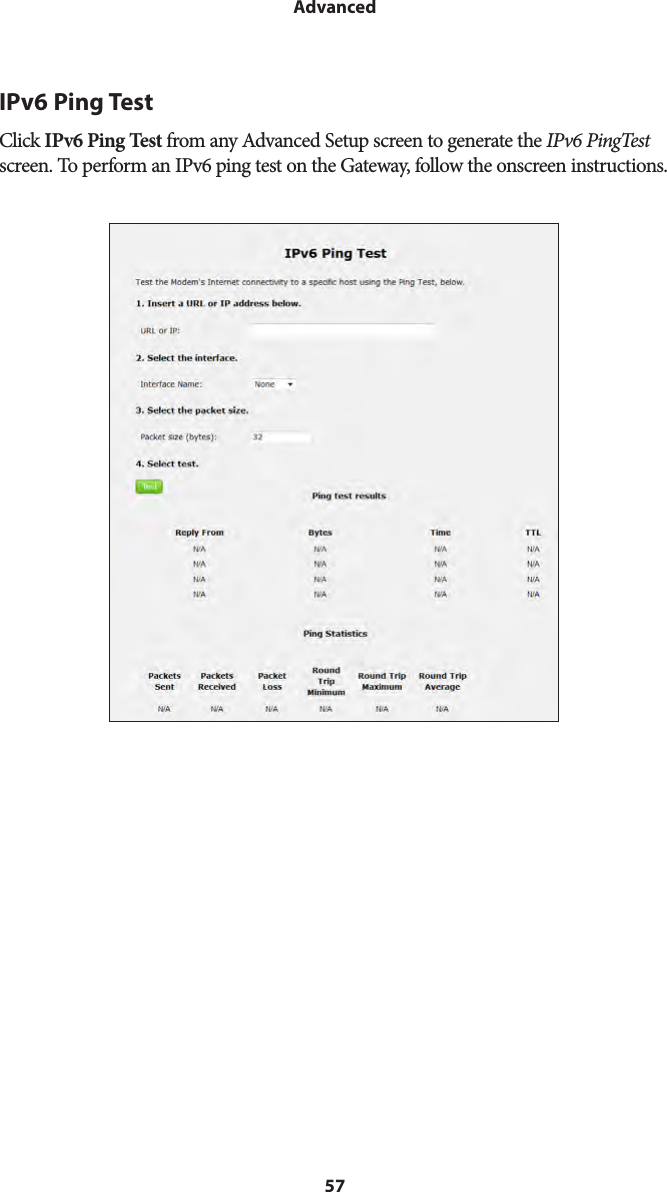
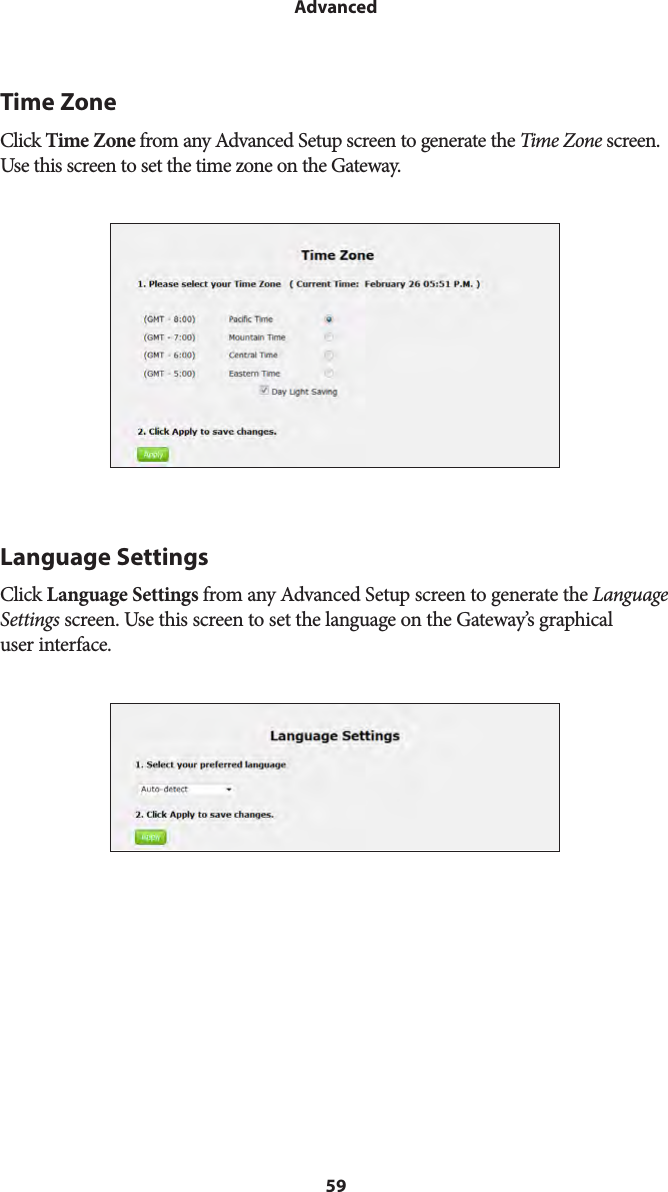
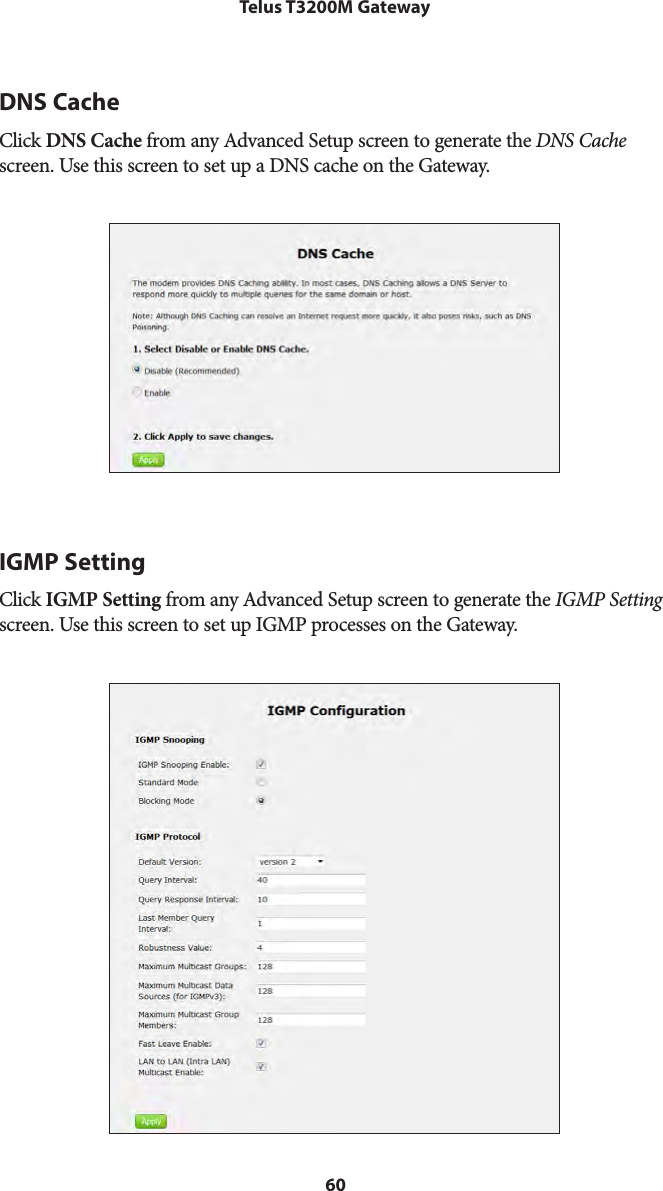
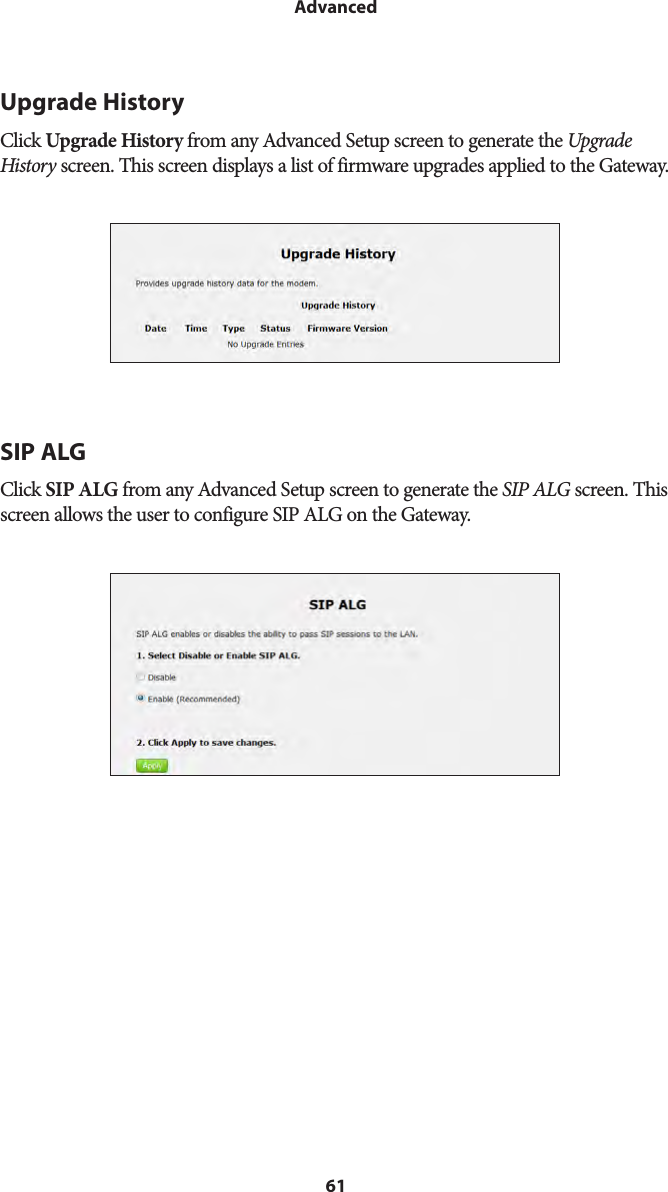
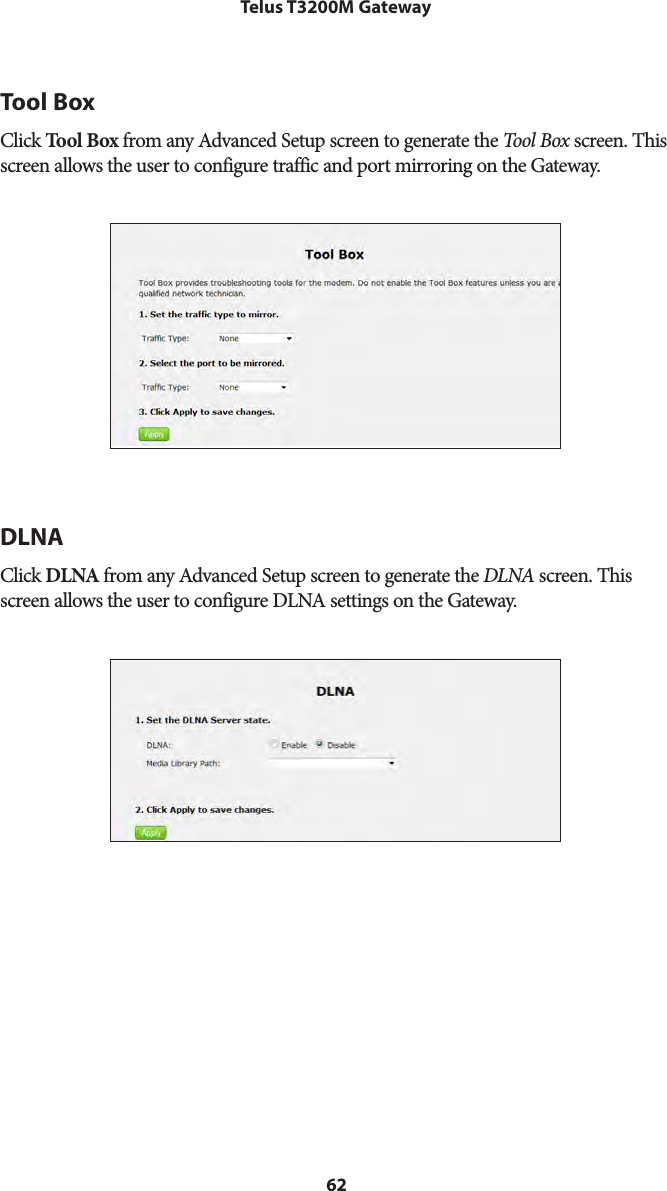
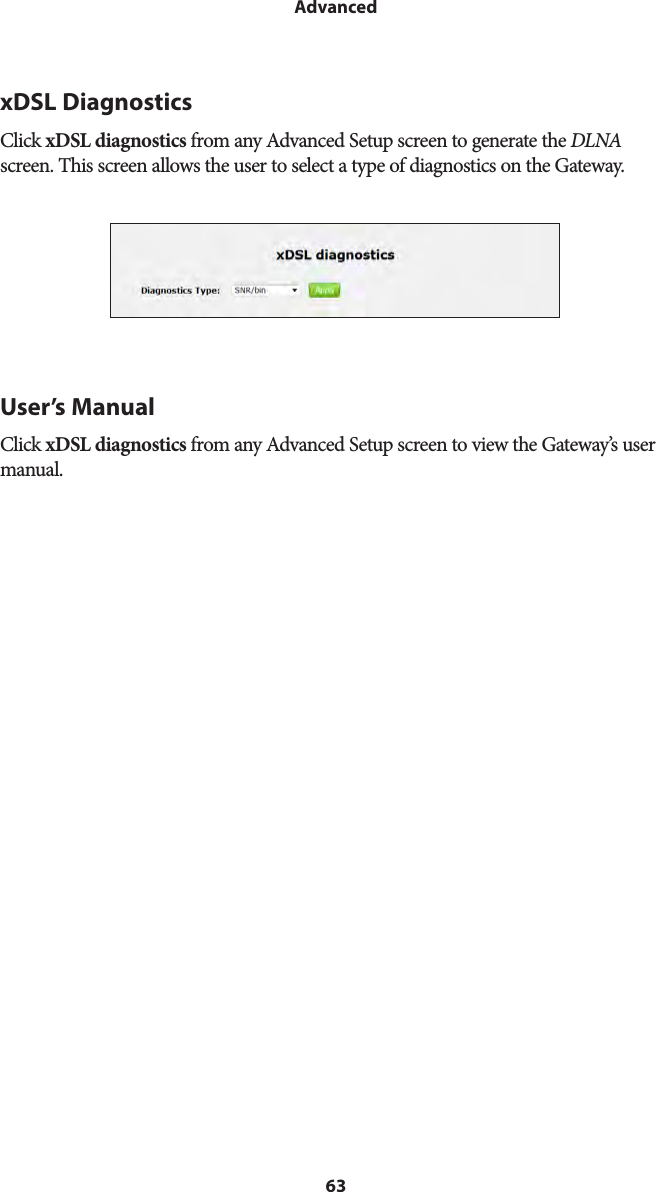
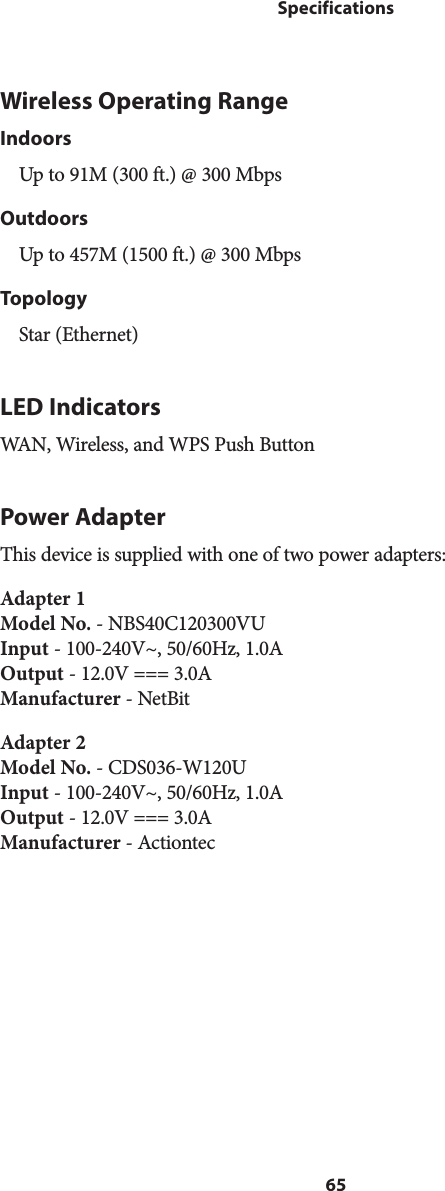
User Manual pt 1