Advantech Co MARS-1030F Portable Data Terminal User Manual Mars 1030F backup
Advantech Co Ltd Portable Data Terminal Mars 1030F backup
UserManual.wiki
>
Advantech Co
>
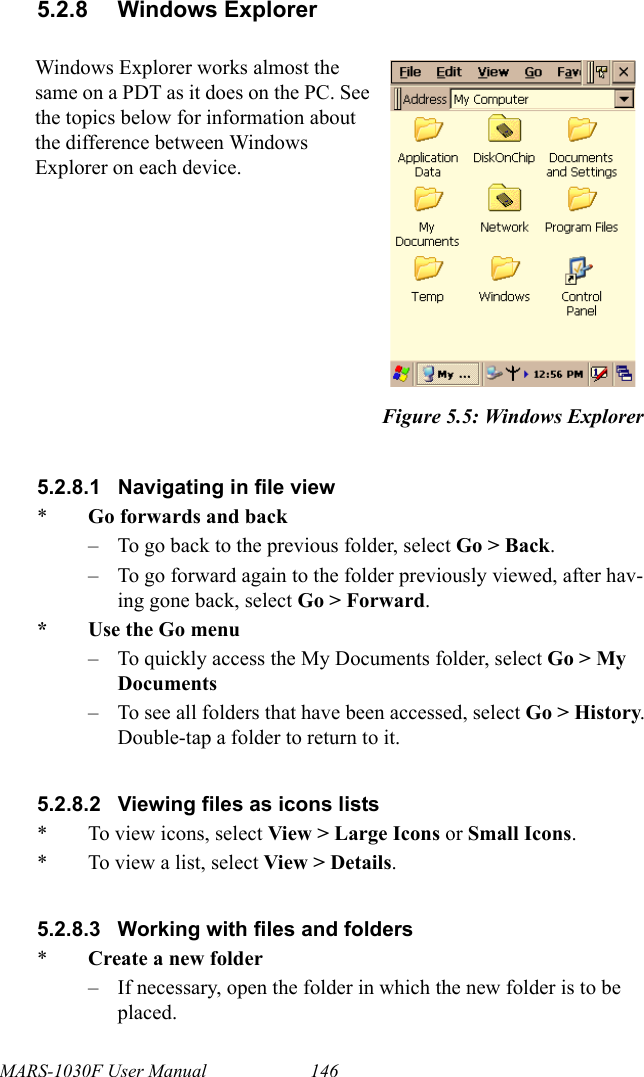
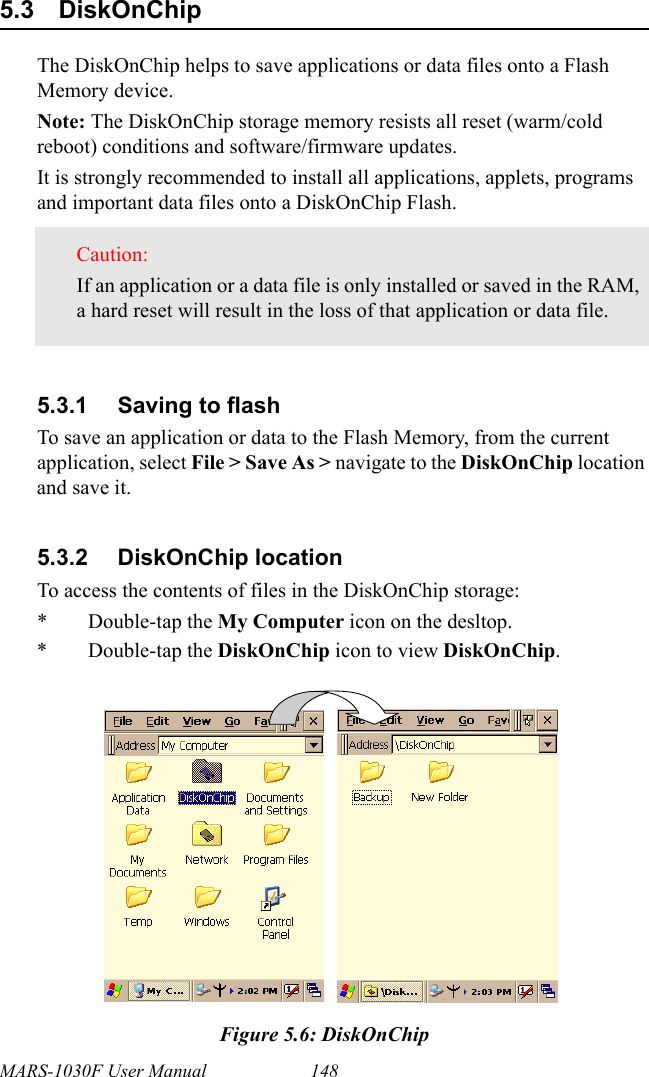
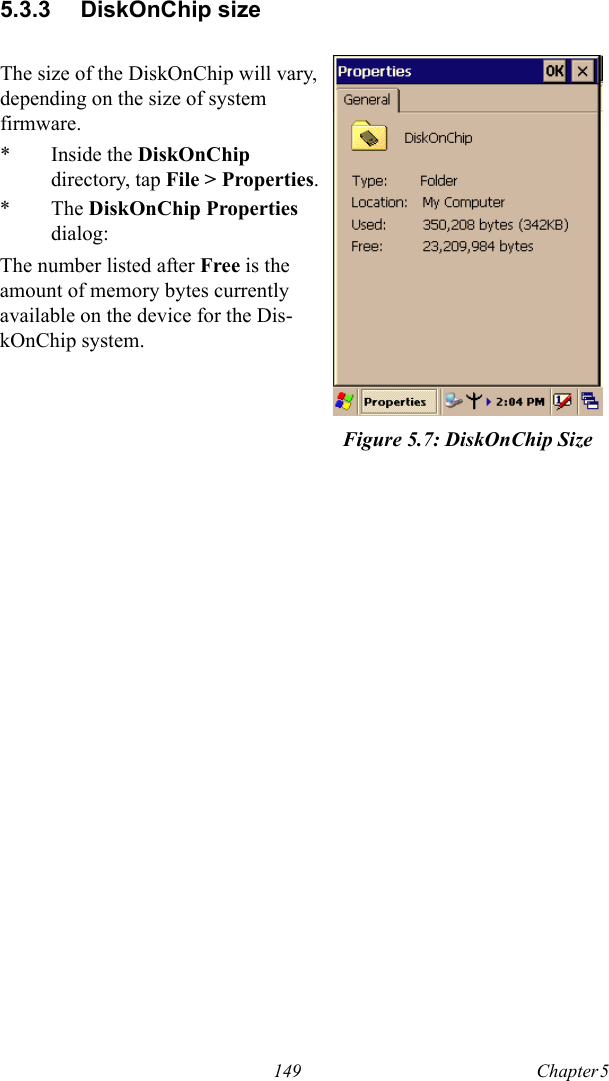
MARS-1030F User Manual
>
Manual Part 2
Contents
1.
Manual Part 1
2.
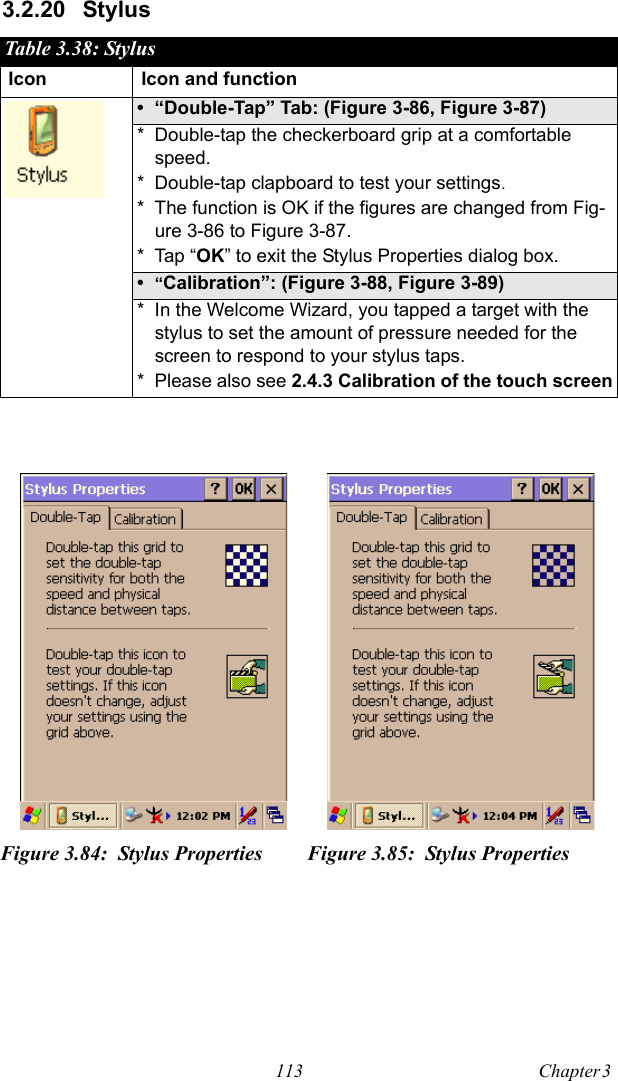
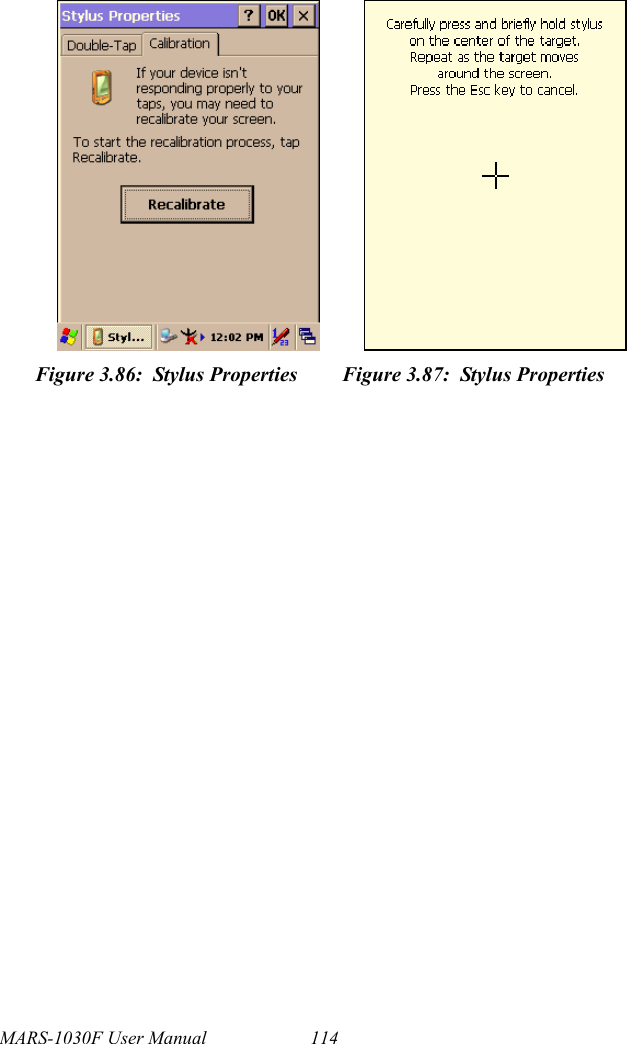
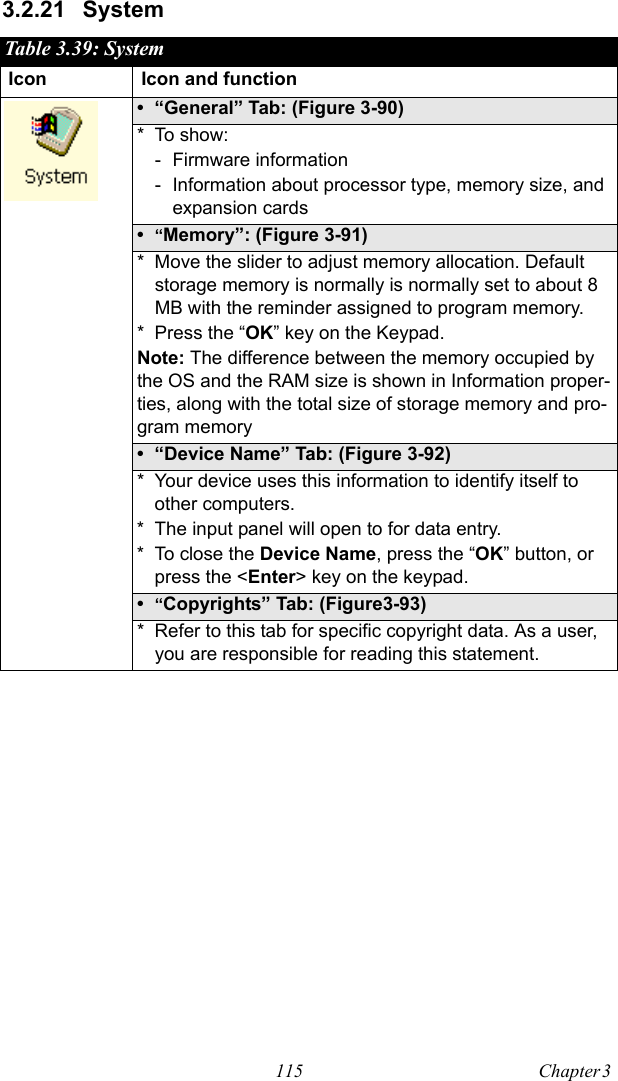
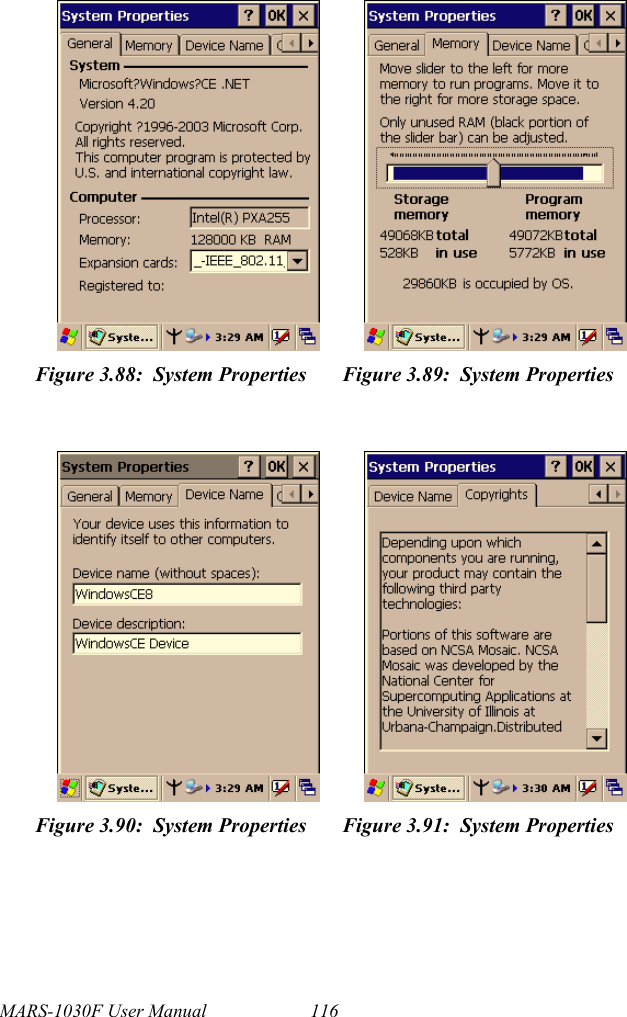
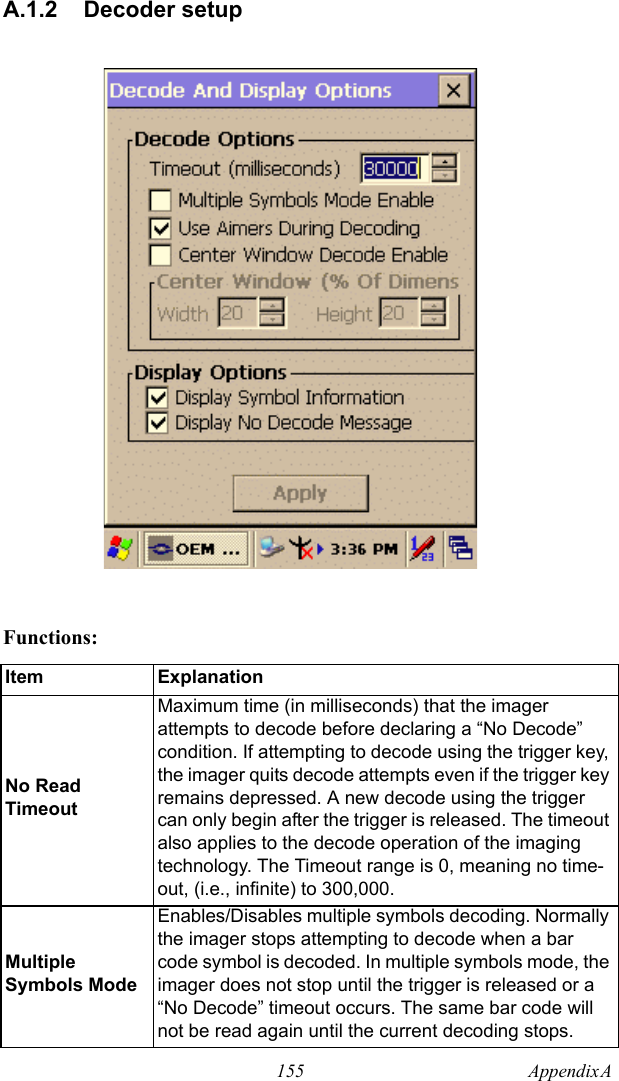
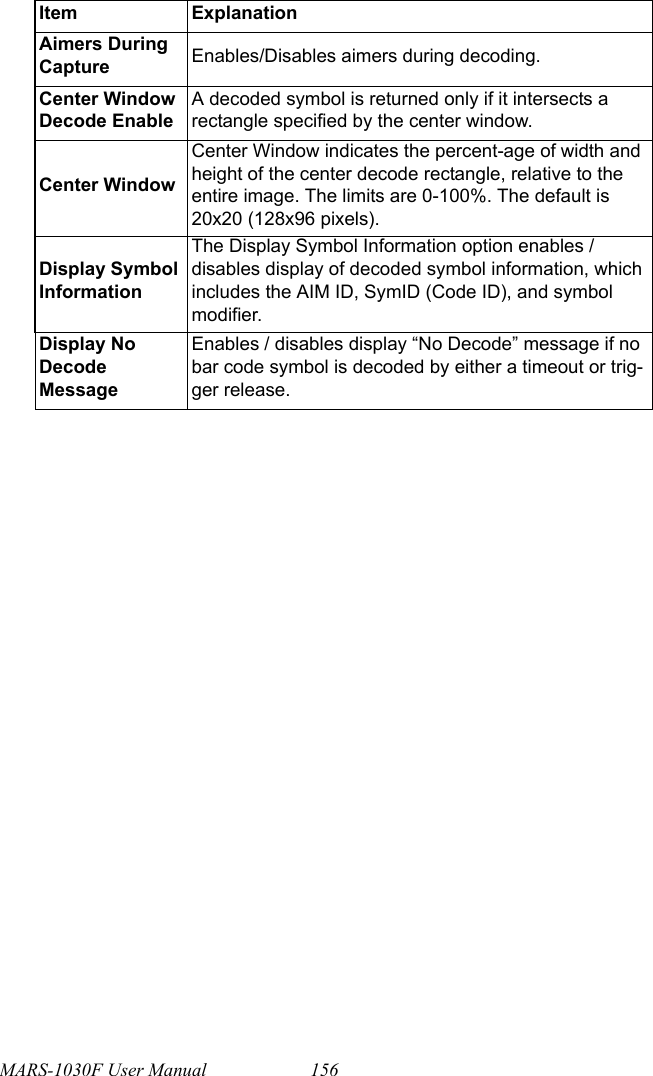
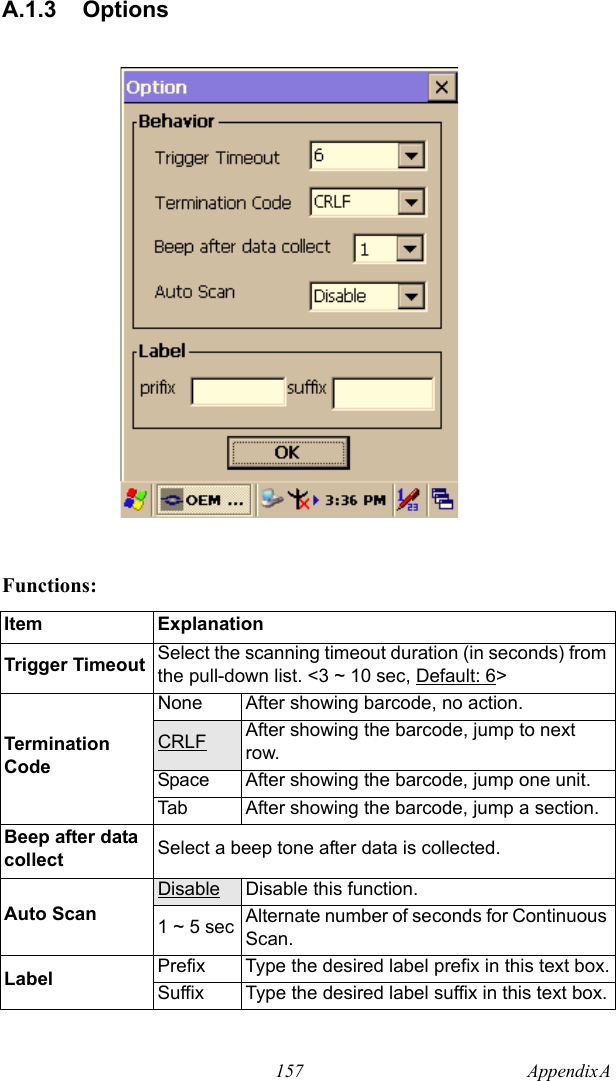
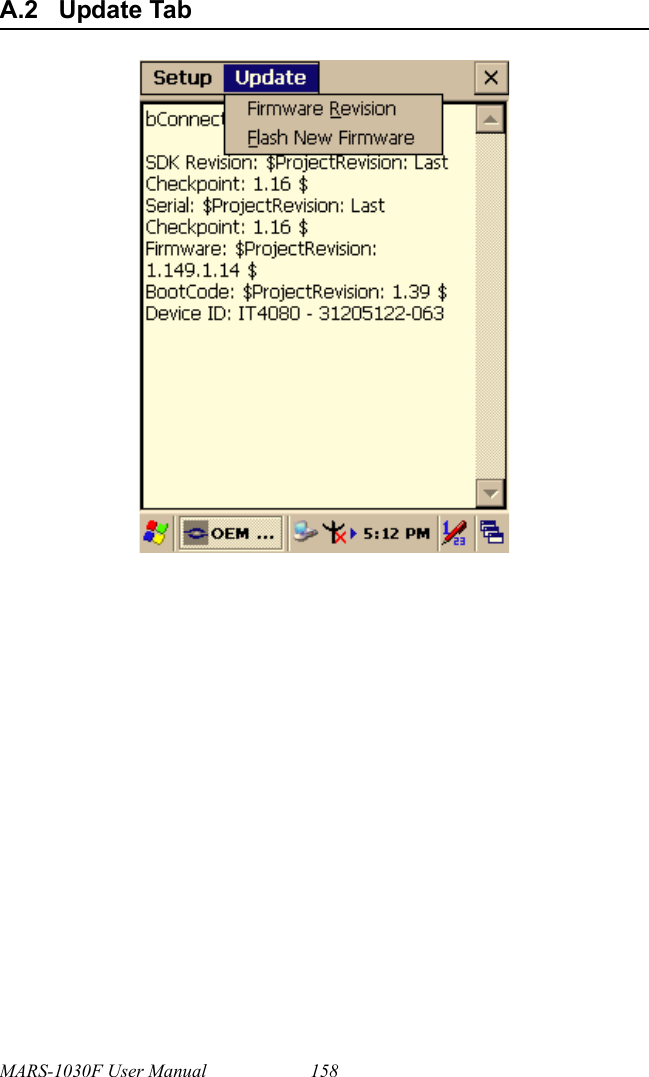
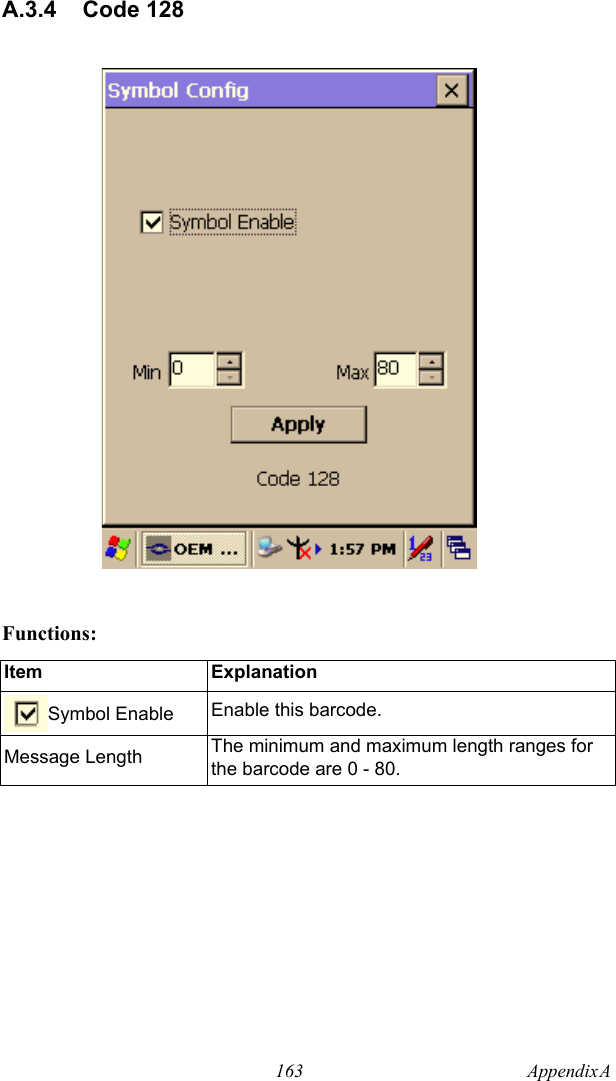
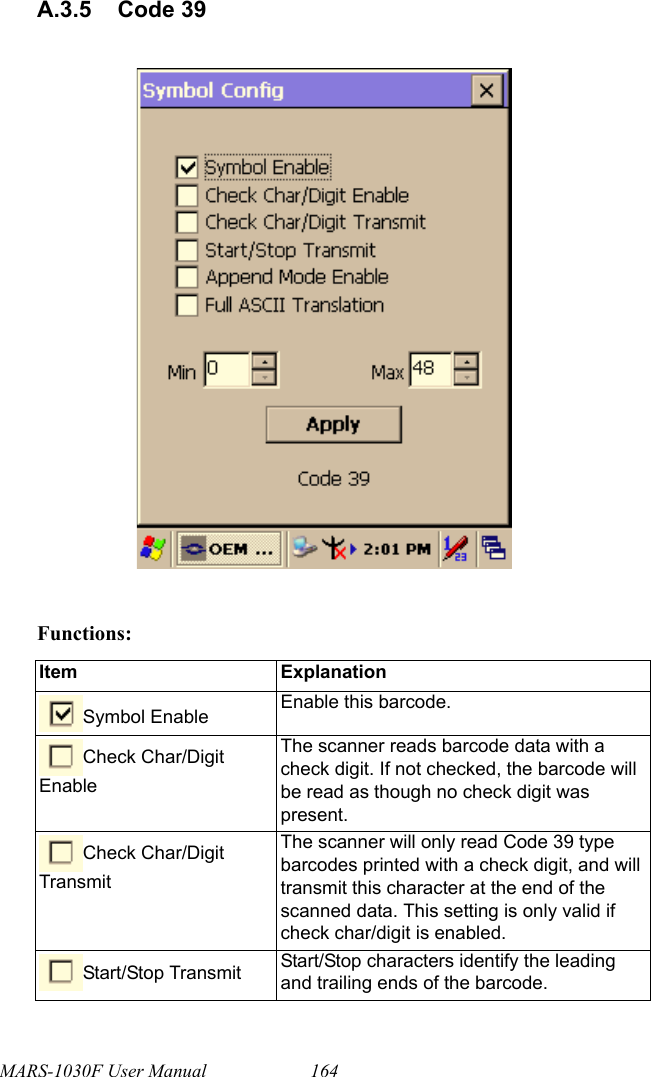
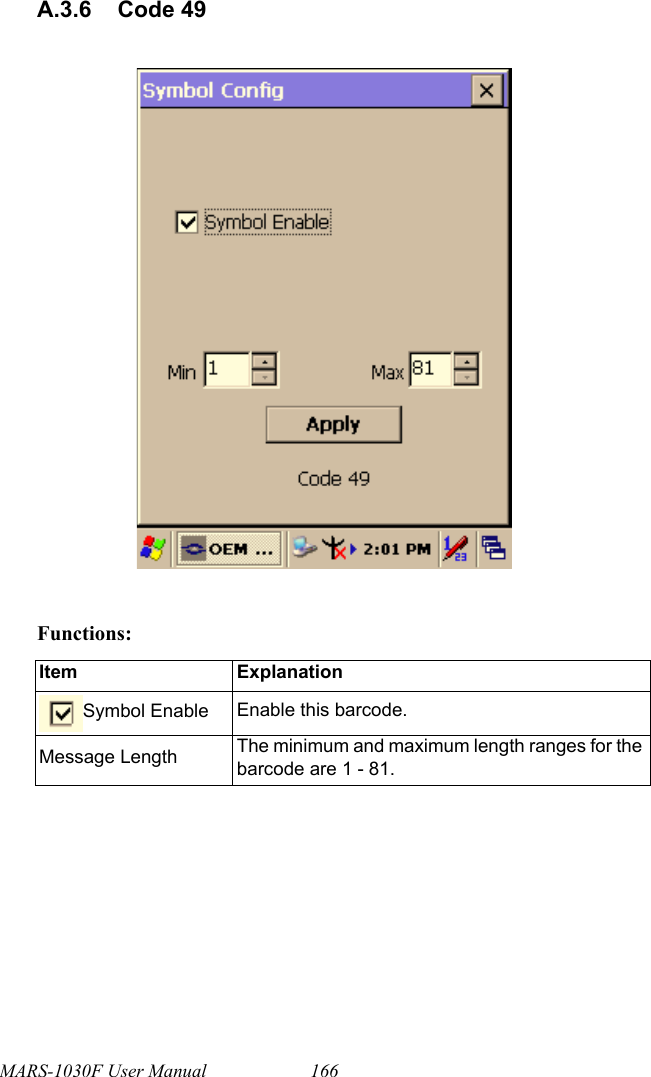
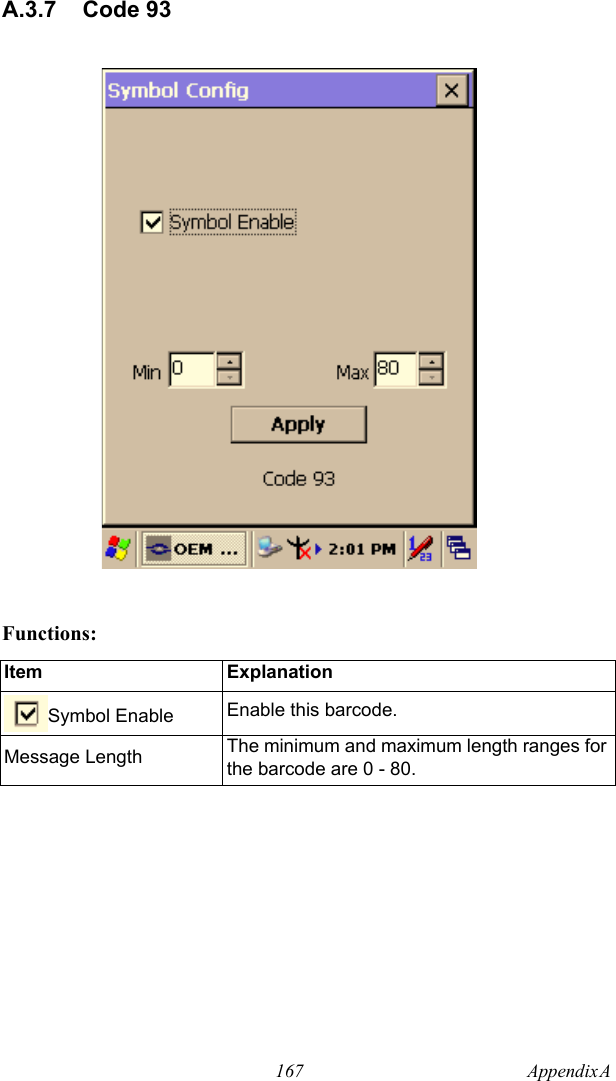
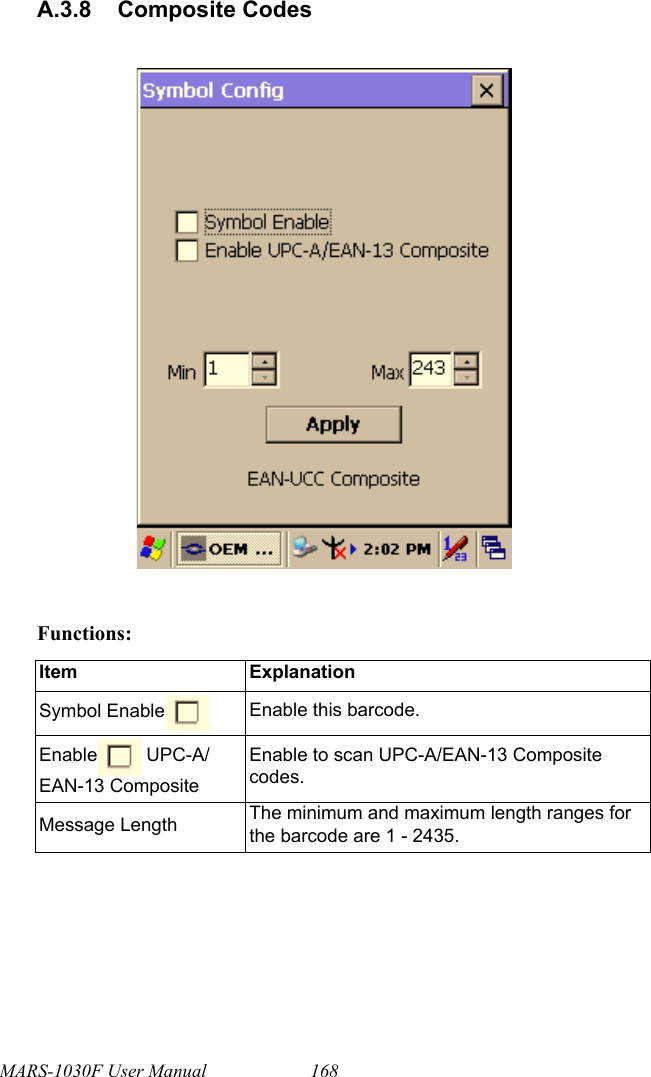
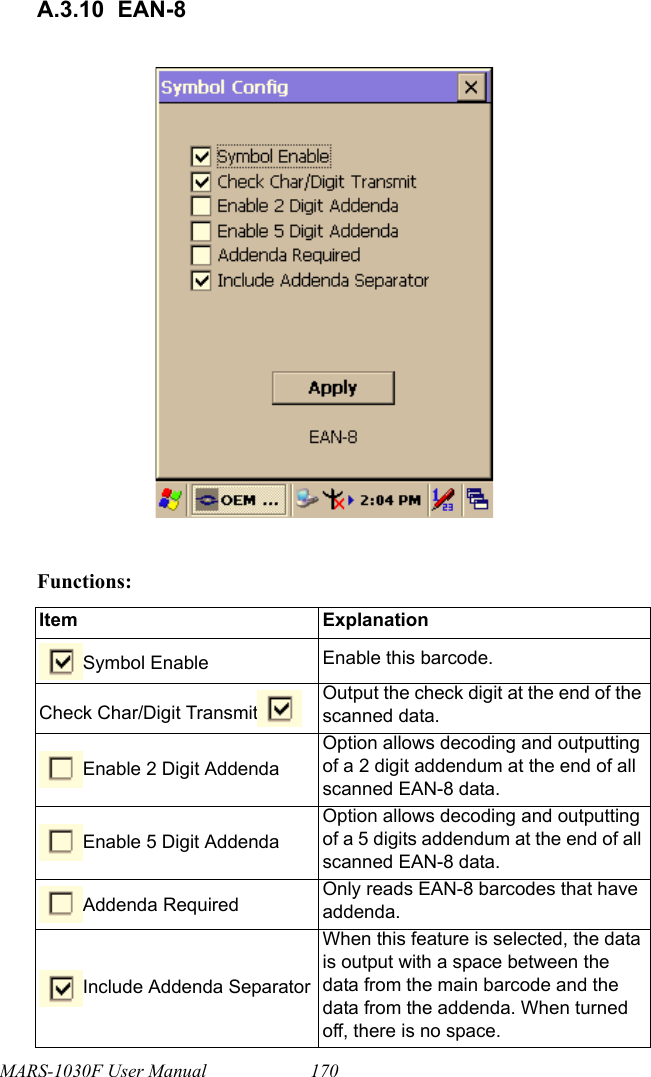
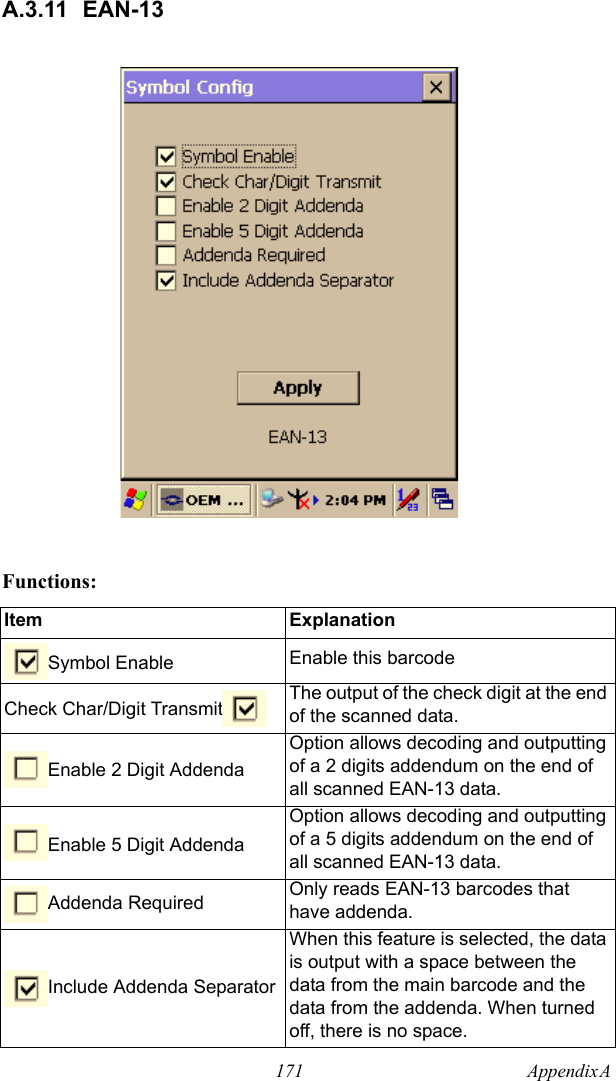
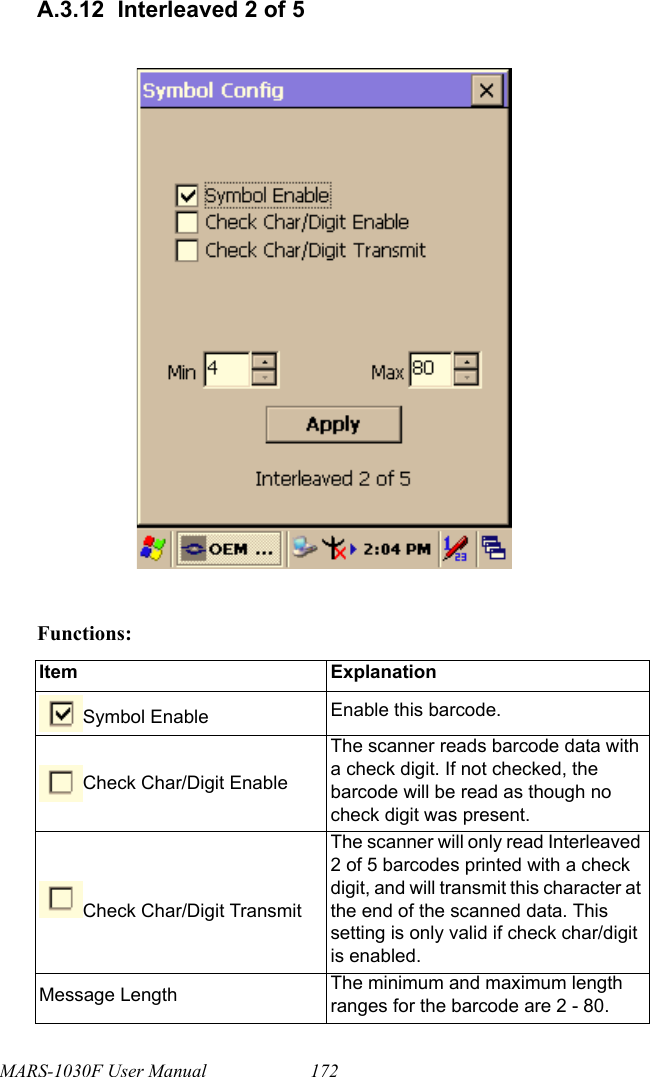
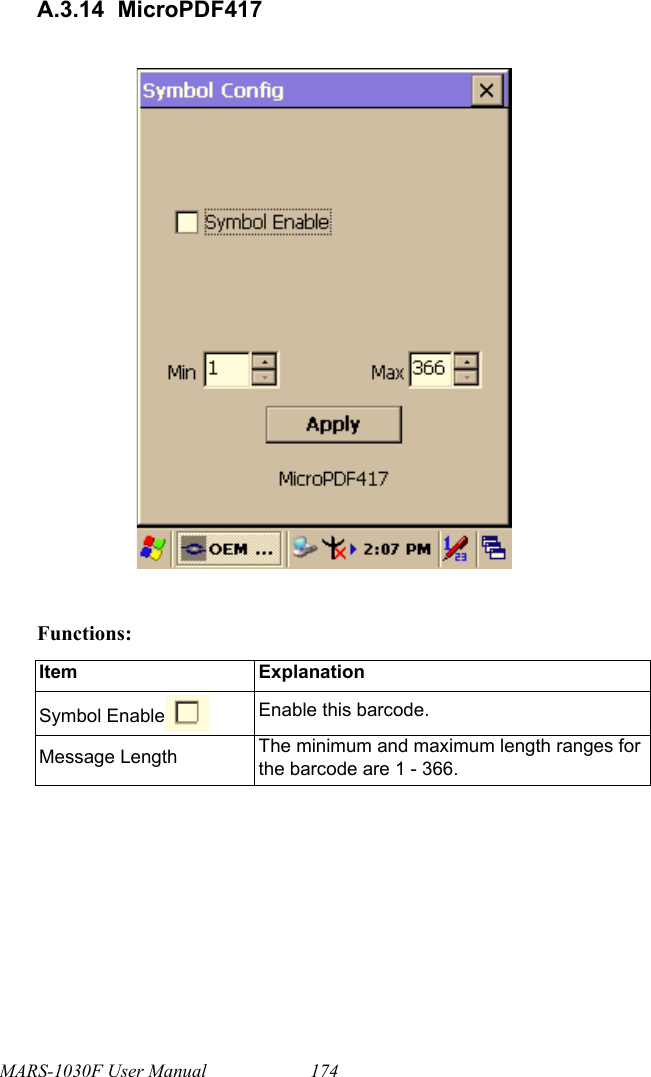
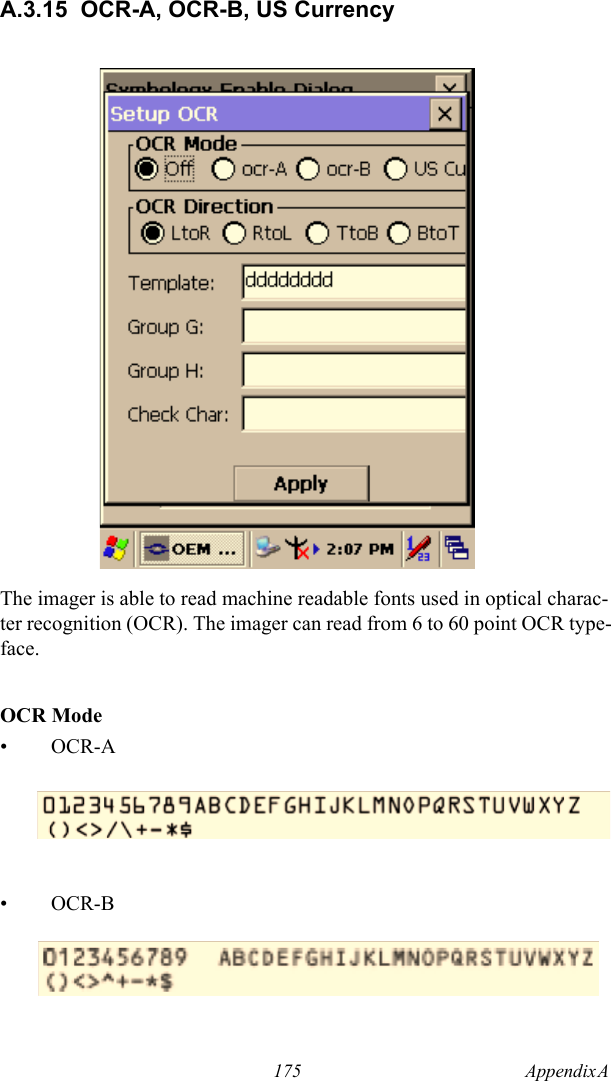
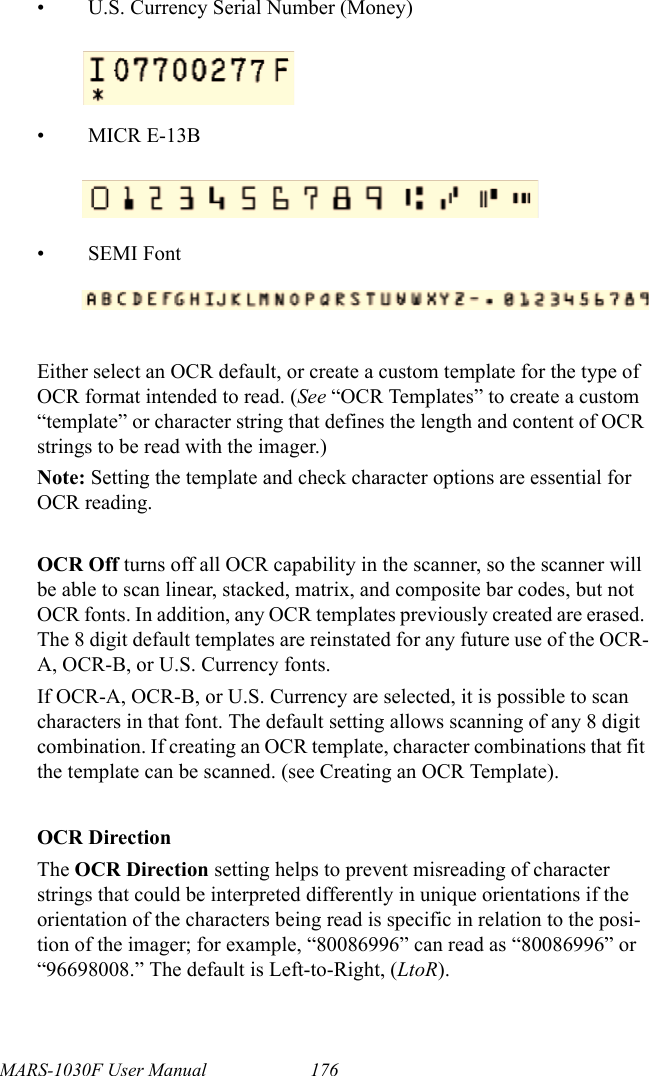
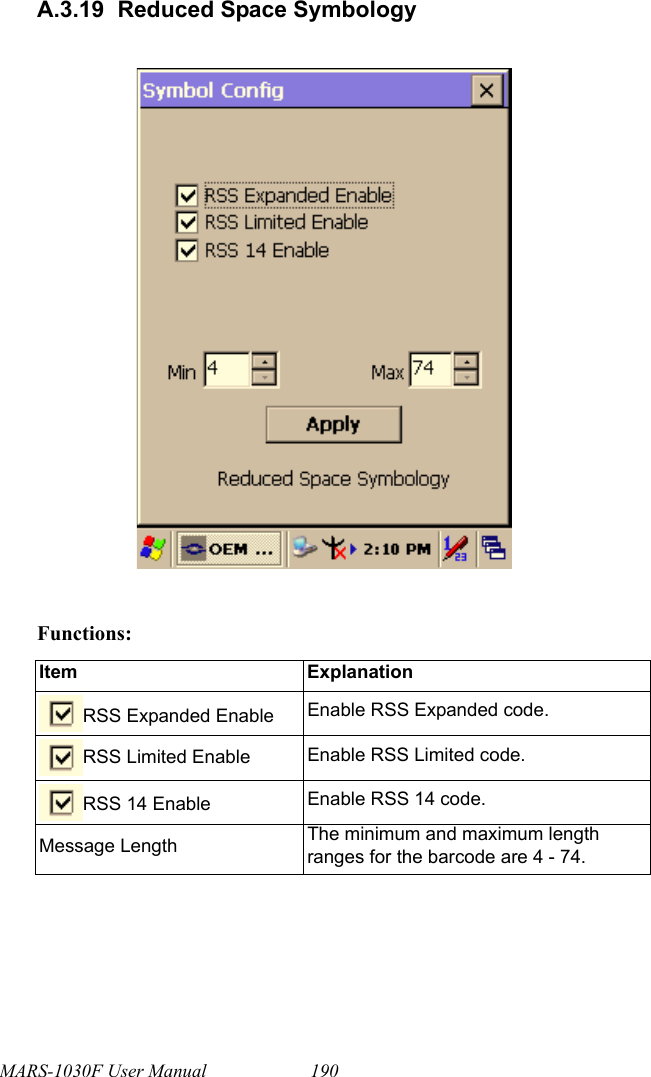
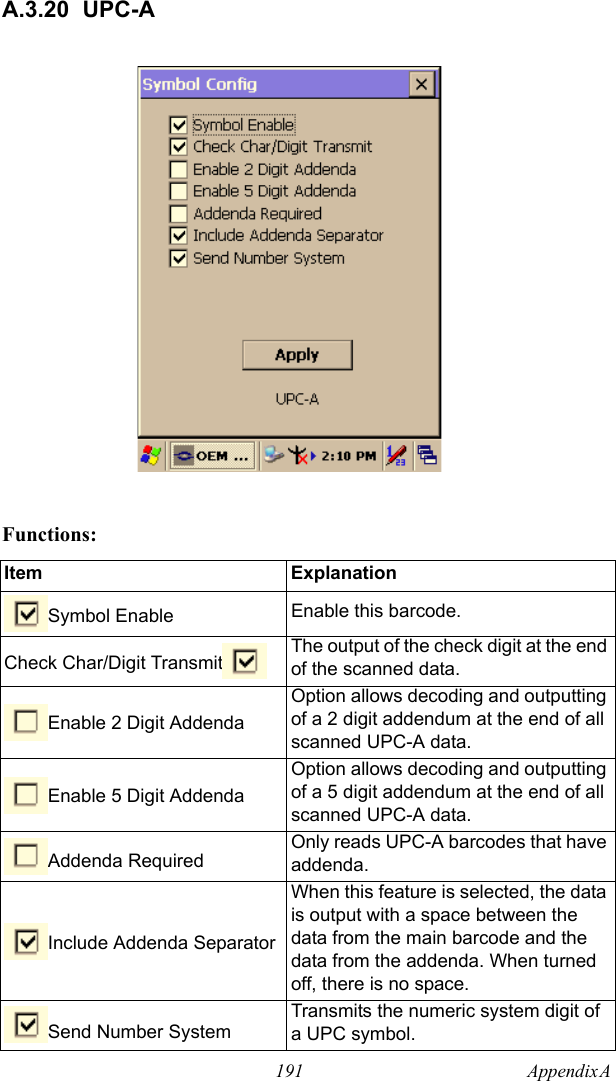
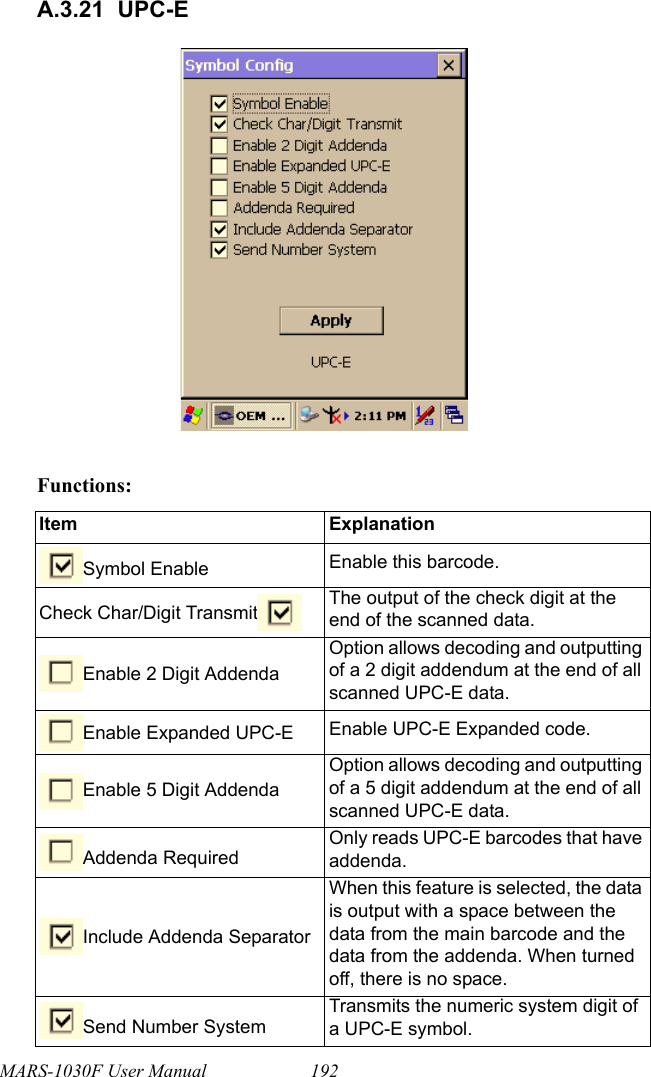
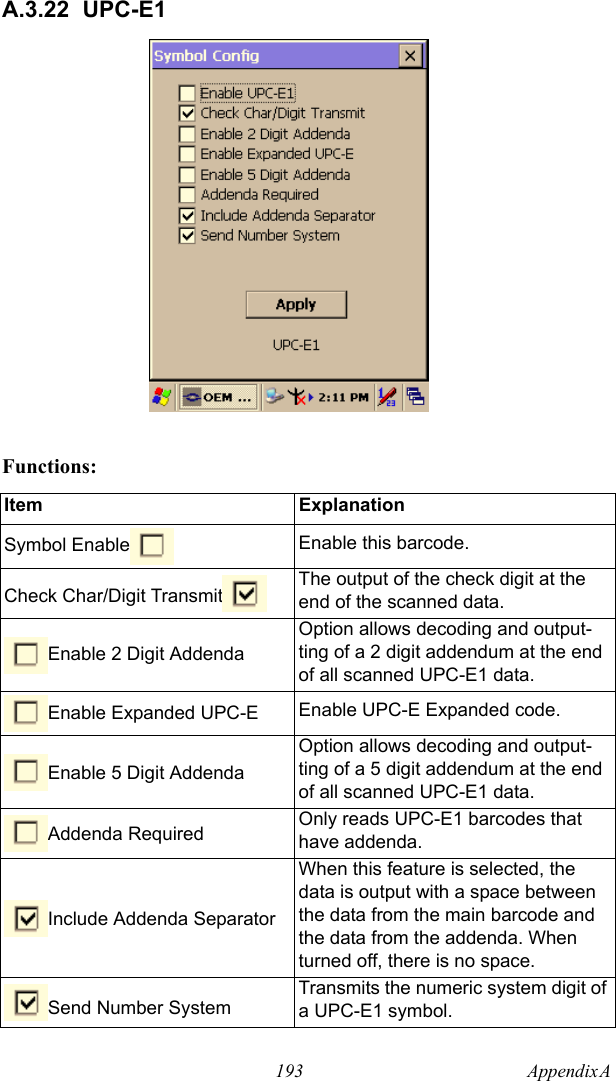
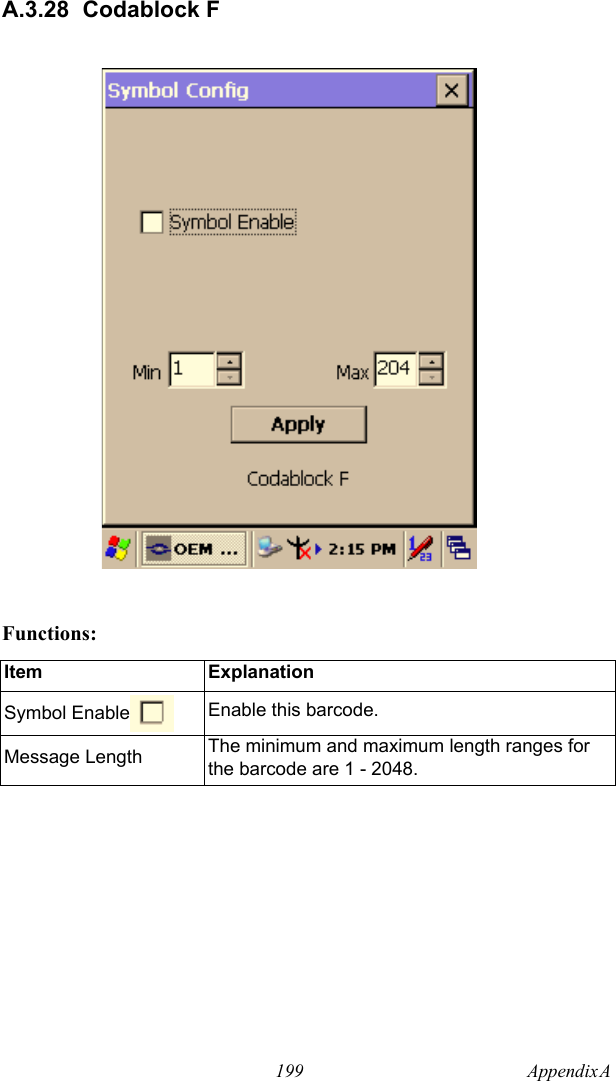
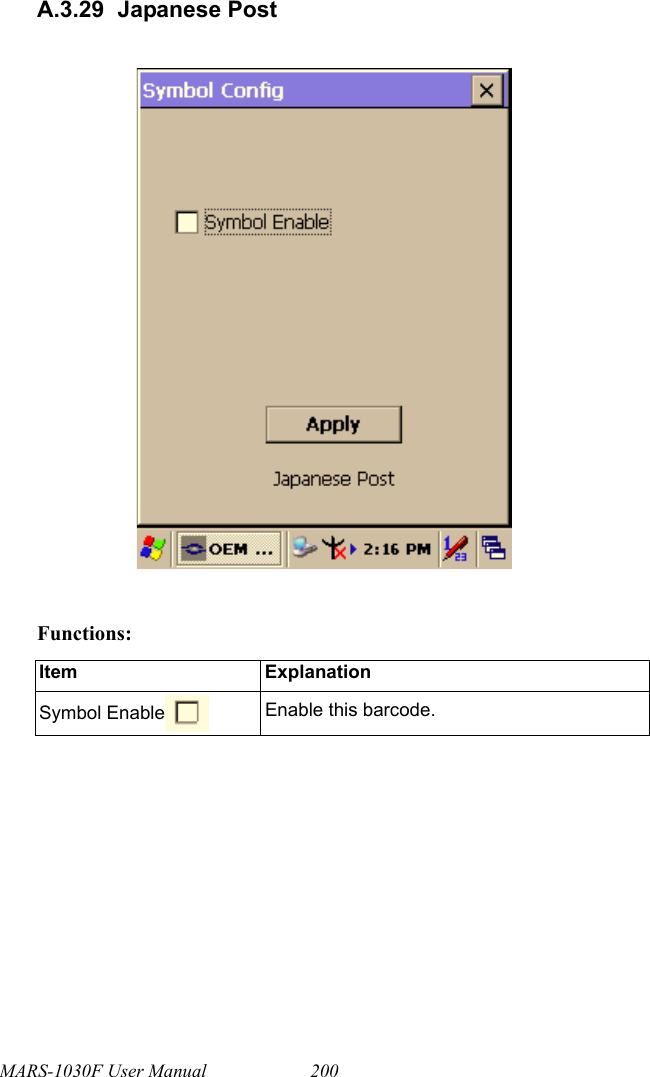
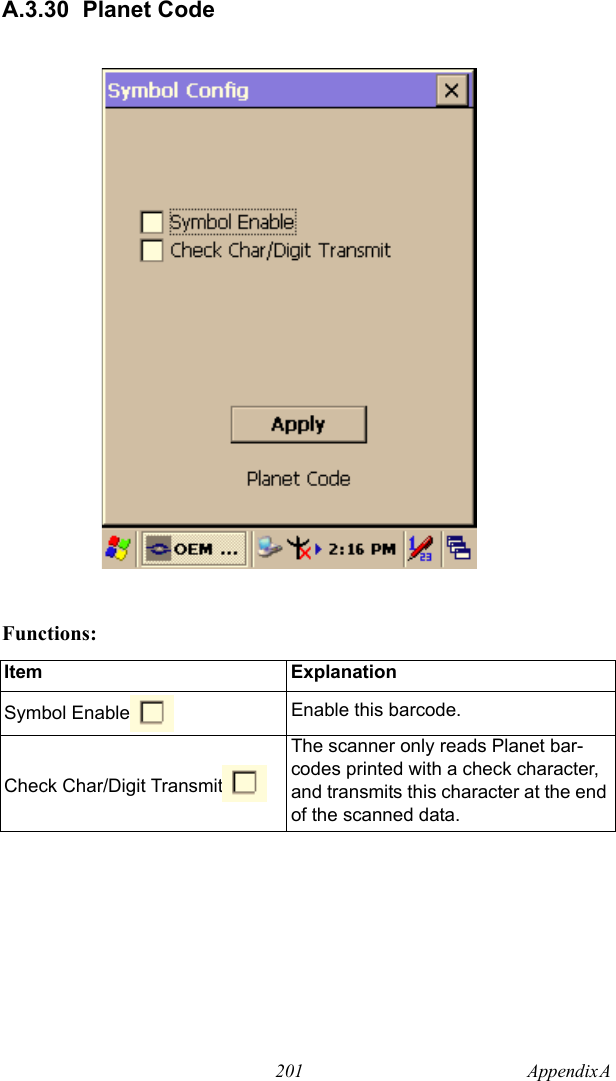
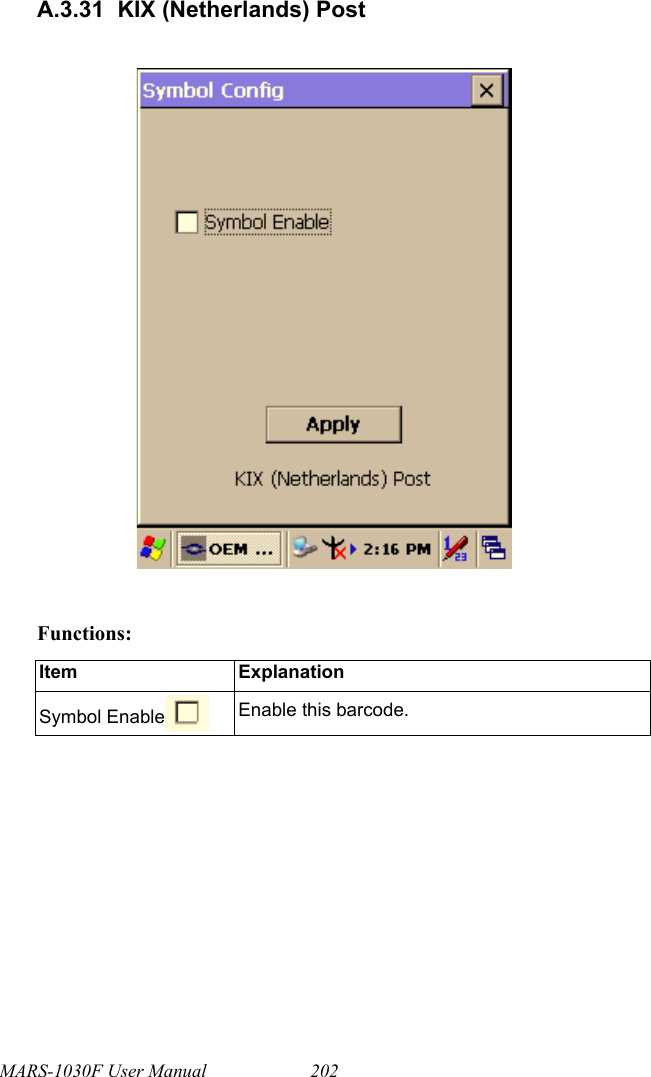
Manual Part 2
Manual Part 2
Navigation menu
Upload a User Manual
Namespaces
Wiki Guide
HTML
PDF
Info
Views
User Manual
Discussion / Help
Navigation