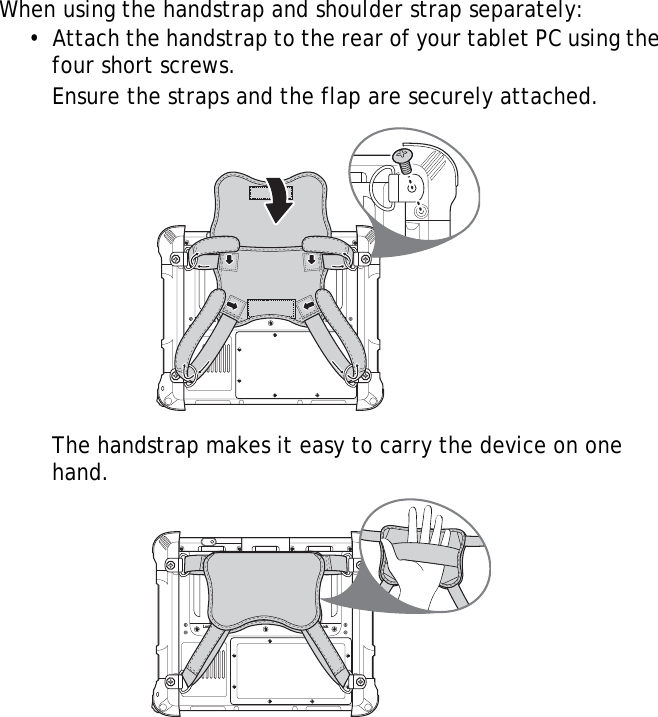
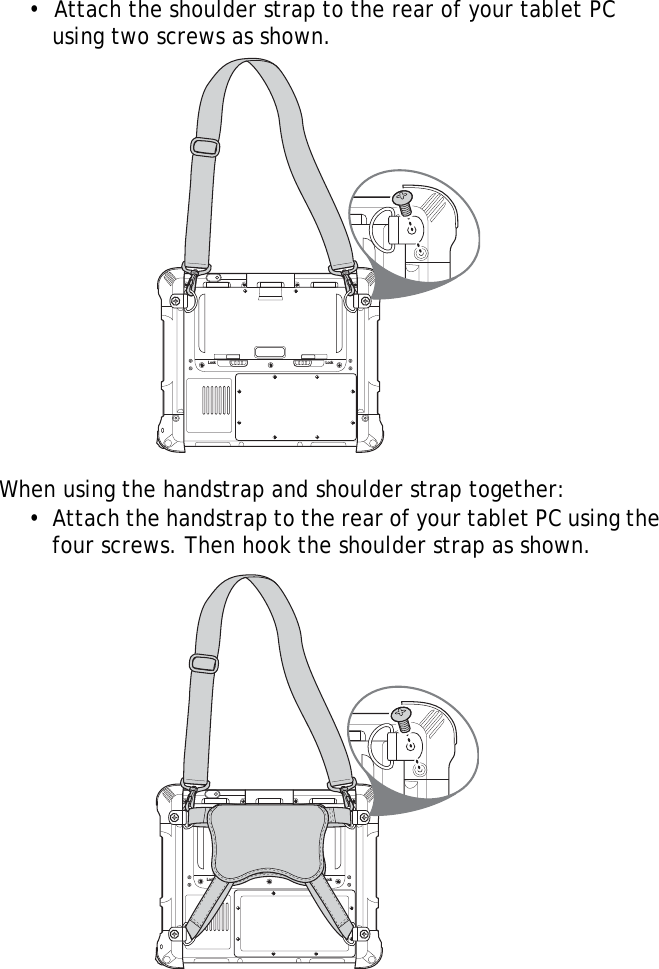
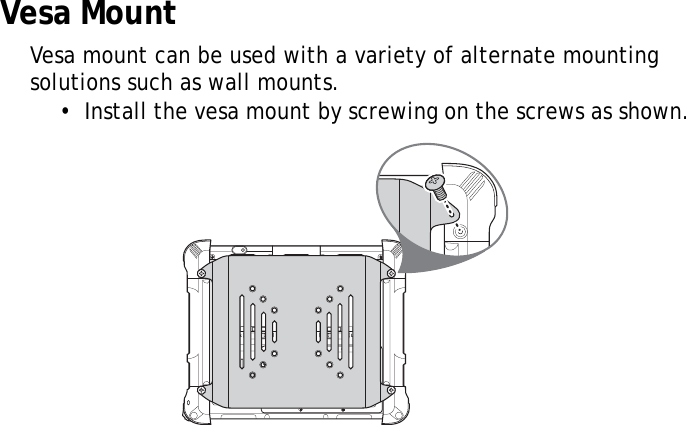
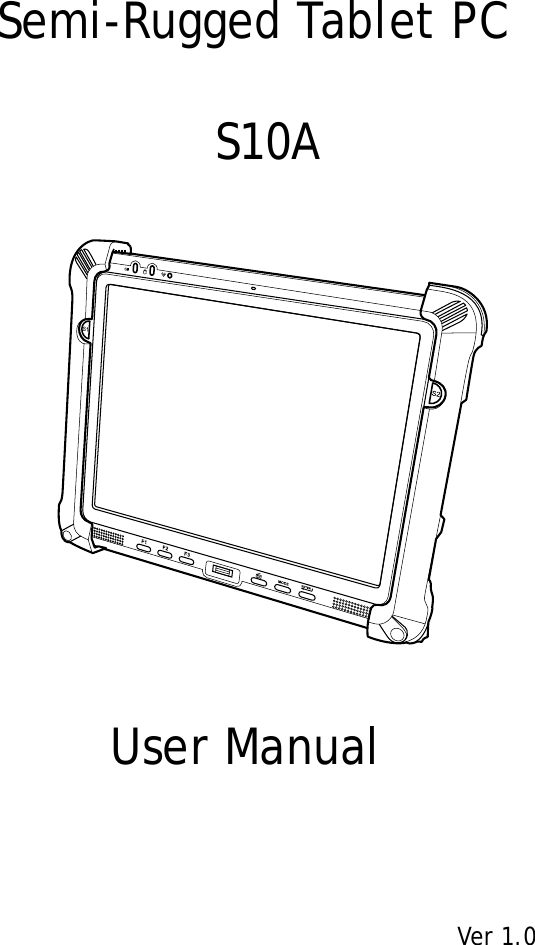
Advantech Co S10A Tablet PC User Manual S10A UM EN
Advantech Co Ltd Tablet PC S10A UM EN
UserManual.wiki
>
Advantech Co
>
S10A User Manual
>
User Manual
Contents
1.
User Manual
2.
user manual
User Manual
Navigation menu
Upload a User Manual
Namespaces
Wiki Guide
HTML
PDF
Info
Views
User Manual
Discussion / Help
Navigation
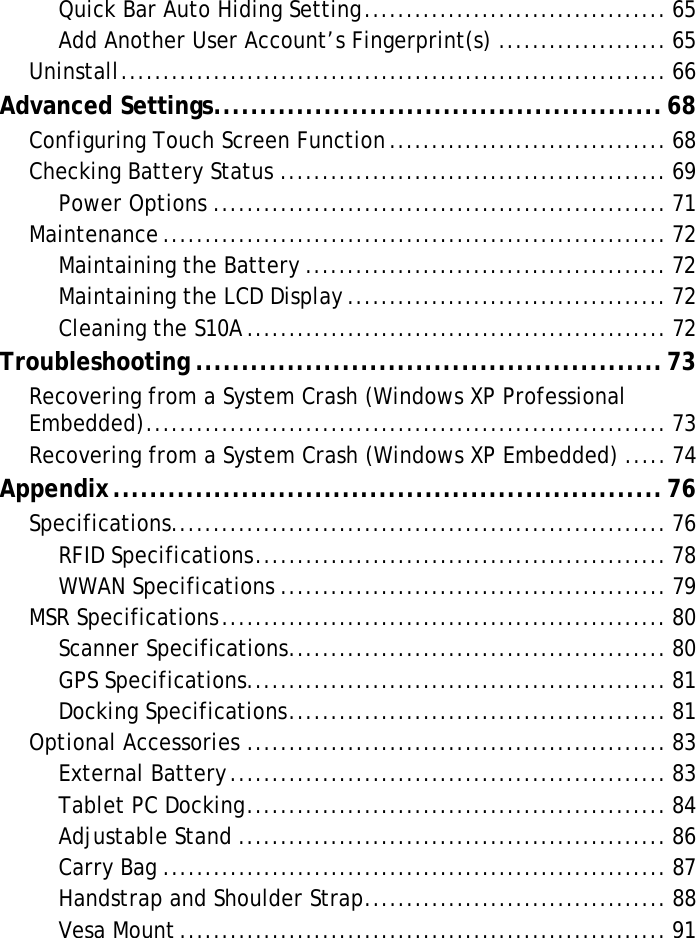

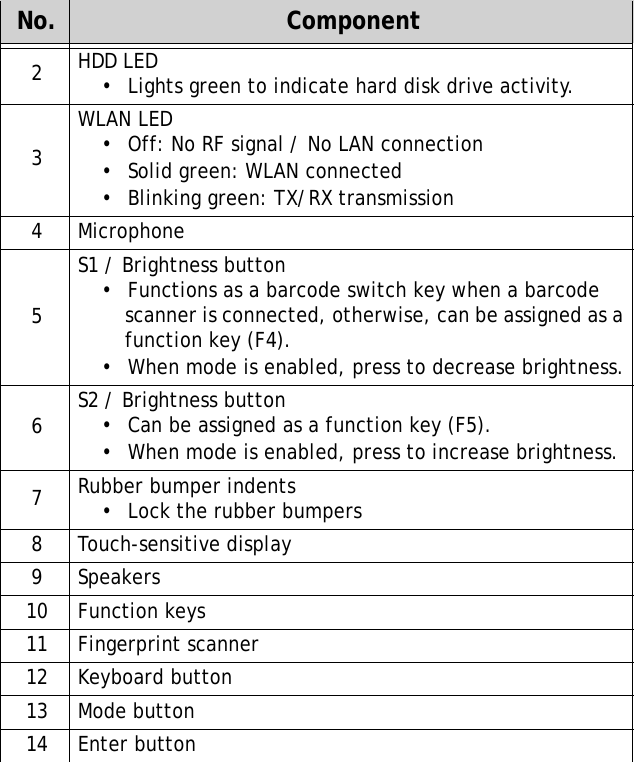


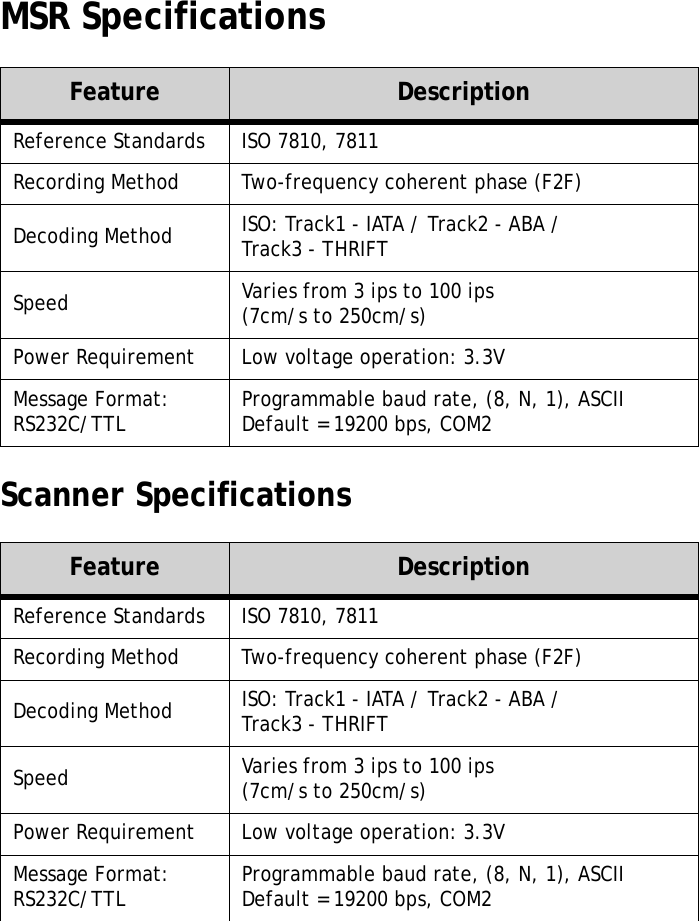
![S10A User Manual79WWAN SpecificationsFeature DescriptionHSDPA 3GPP Release 5• 3.6 Mbps, UL 384 kbps• UE CAT. [1-6], 11, 12 supportedCompressed Mode Supported according to 3GPP TS25.212UMTS 3GPP Release 4• PS data rate - 384 kbps DL / 384 kbps UL• CS data rate - 64 kbps DL / 64 kbps ULGSM• Multislot Class 10• Full PBCCH support• Mobile Station Class B• Coding Scheme 1-4EGPRS• Multislot Class 10• EDGE E2 power class for 8 PSK• Downlink coding schemes - CS 1-4, MCS 1-9• Uplink coding schemes - CS 1-4, MCS 1-9• BEP reporting• SRB loopback and test mode B• 8-bit, 11-bit RACH• PBCCH support• 1 phase/2 phase access procedures• Link adaptation and IR• NACC, extended UL TBF• Mobile Station Class BCSD • V.110, RLP, non-transparent• 9.6 kbpsMicrosoft™ Compatibility RIL / NDIS for Windows Mobile™Frequency Bands• UMTS/HSDPA: Triple band, 850/1900/2100MHz• GSM/GPRS/EDGE: Quad band, 850/900/1800/1900MHz](https://usermanual.wiki/Advantech-Co/S10A.User-Manual/User-Guide-1487701-Page-90.png)