Alcon Research 212-1 Constellation Vision System User Manual NGVS Book 1 indb
Alcon Research Ltd. Constellation Vision System NGVS Book 1 indb
Contents
- 1. User Manual part 1
- 2. User Manual part 2
- 3. User Manual part 3
- 4. User Manual part 4
- 5. User Manual part 5
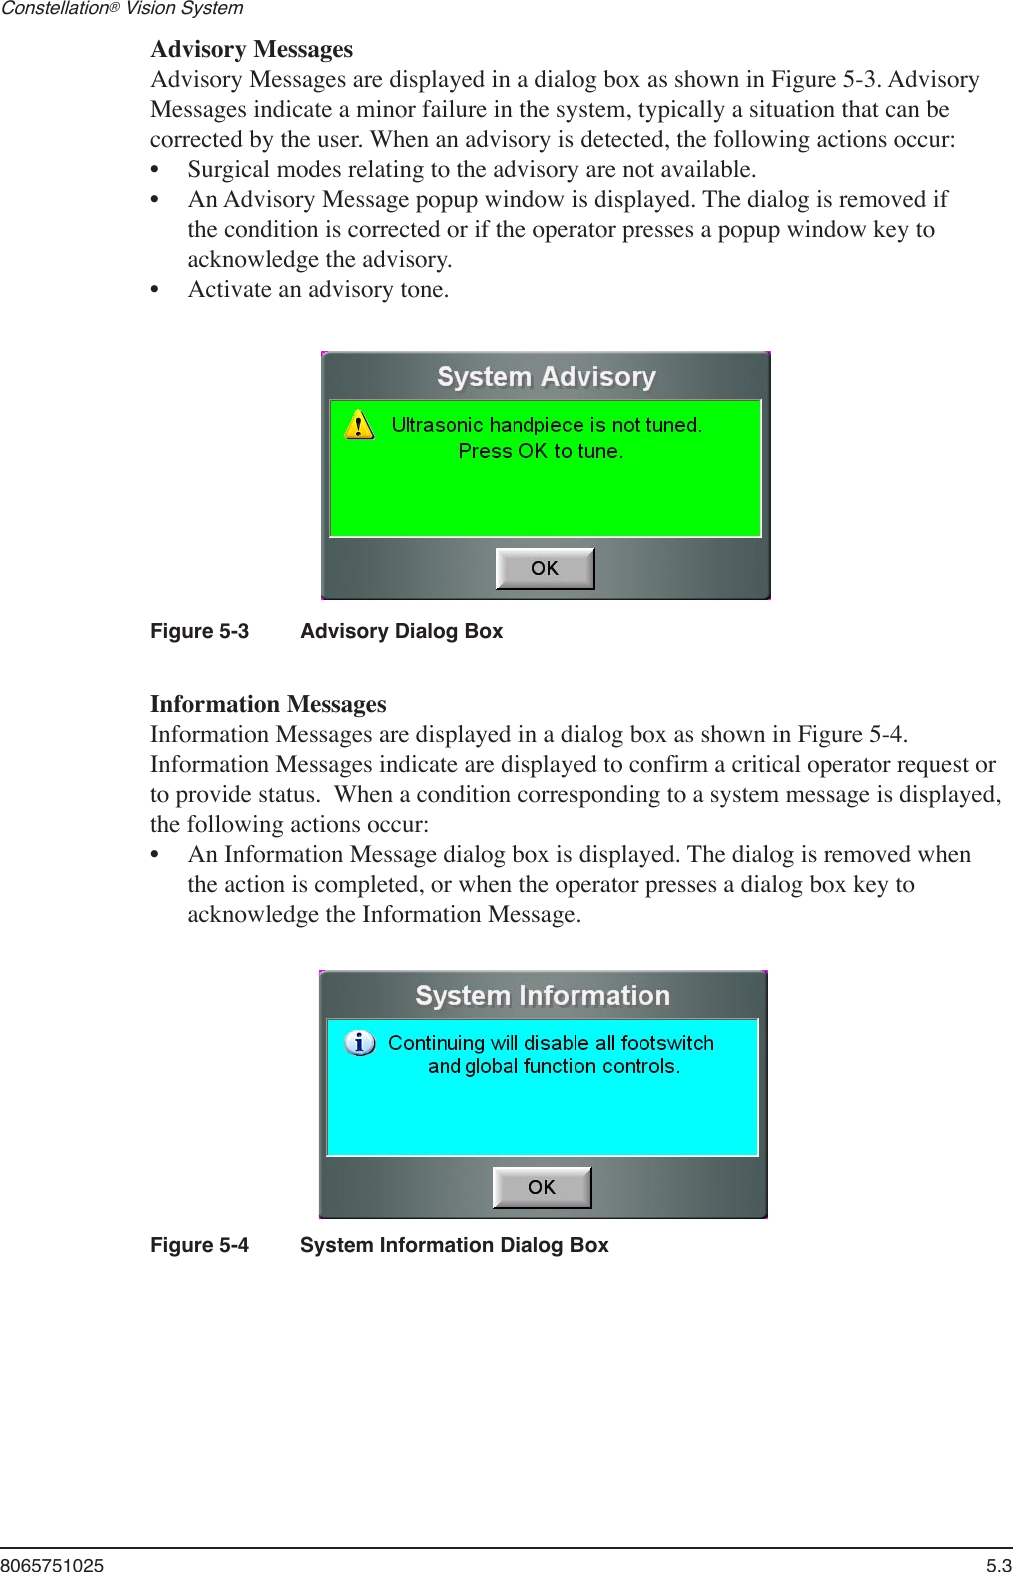
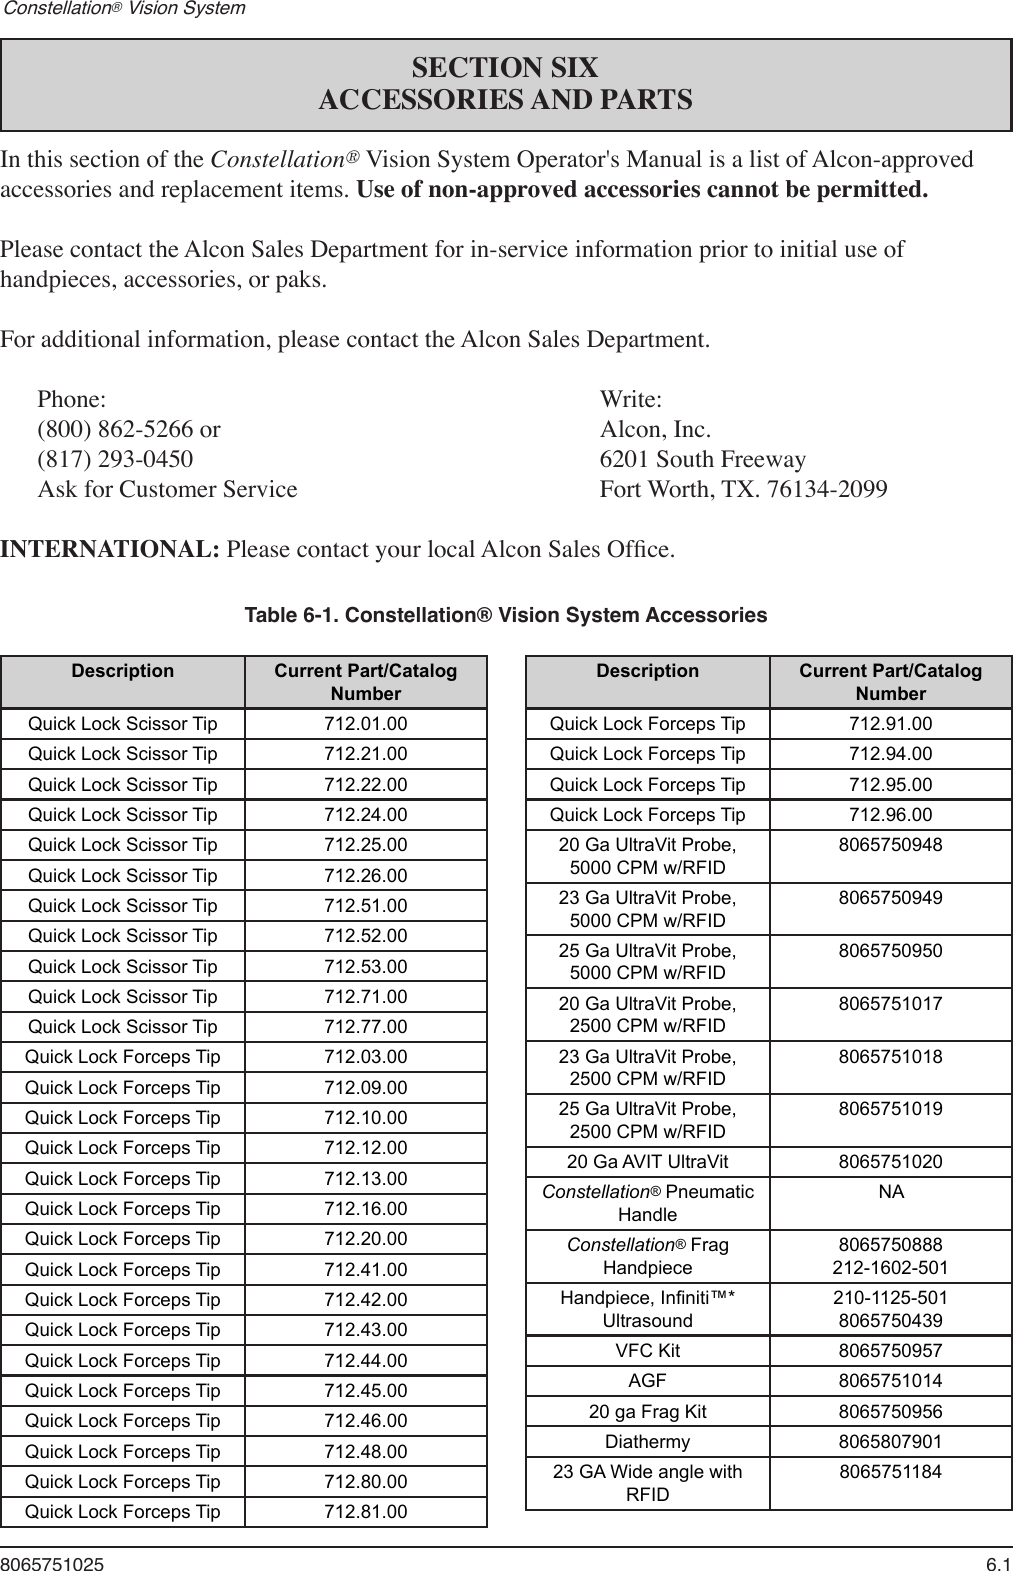
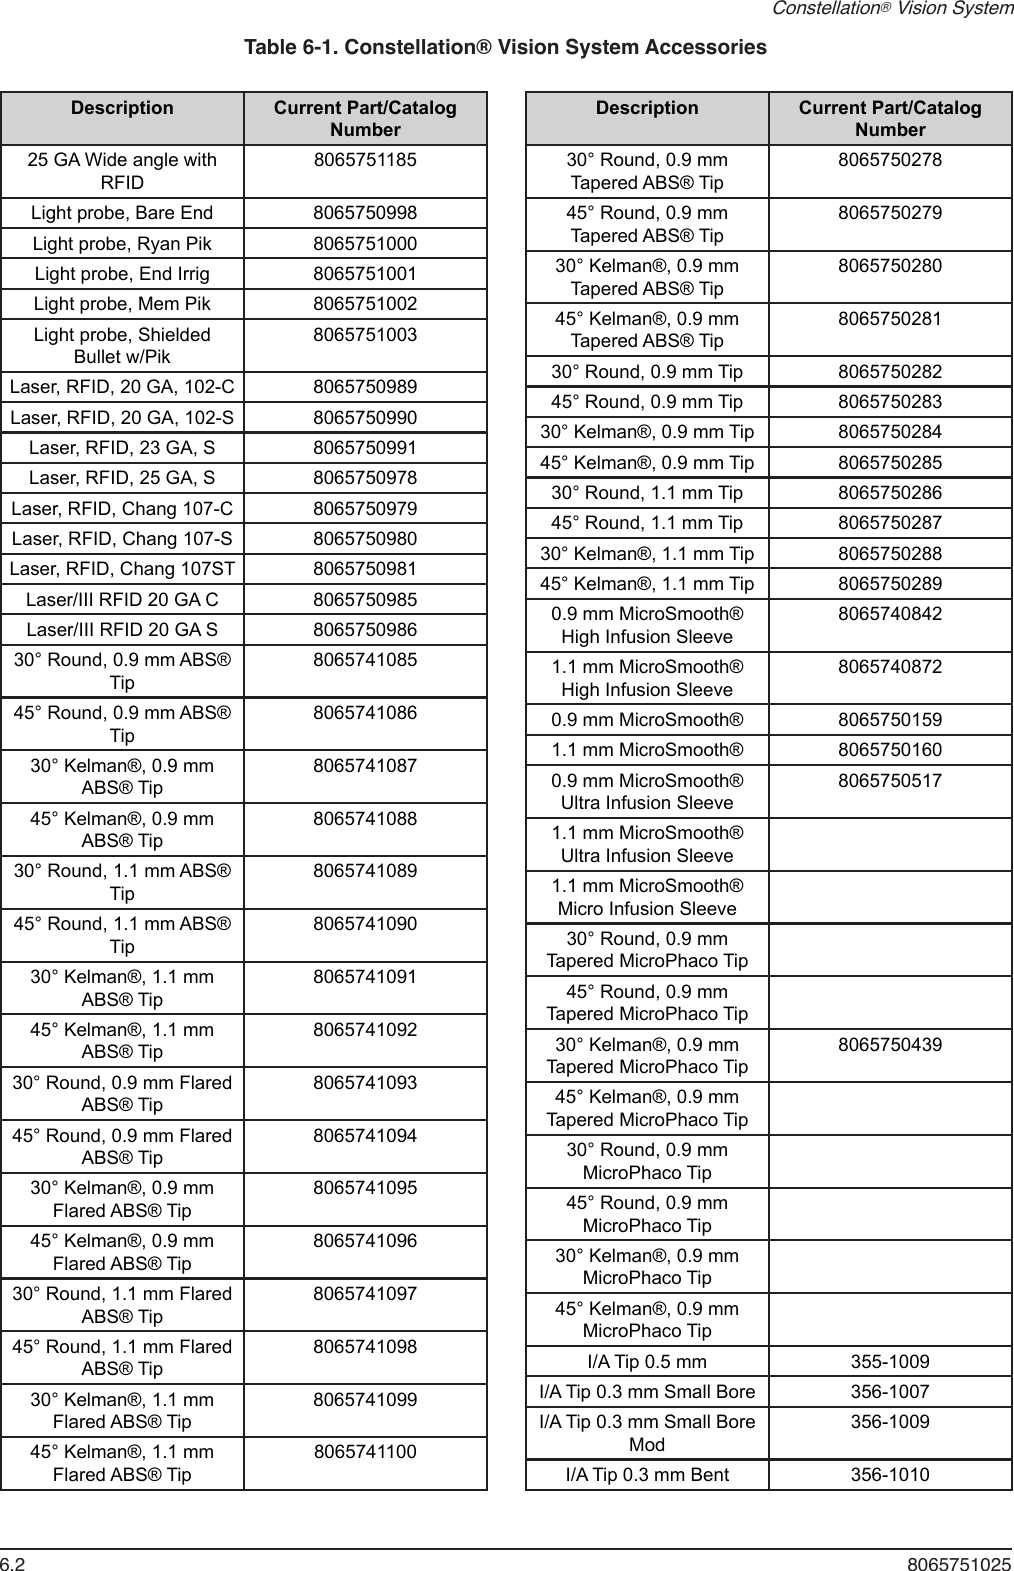
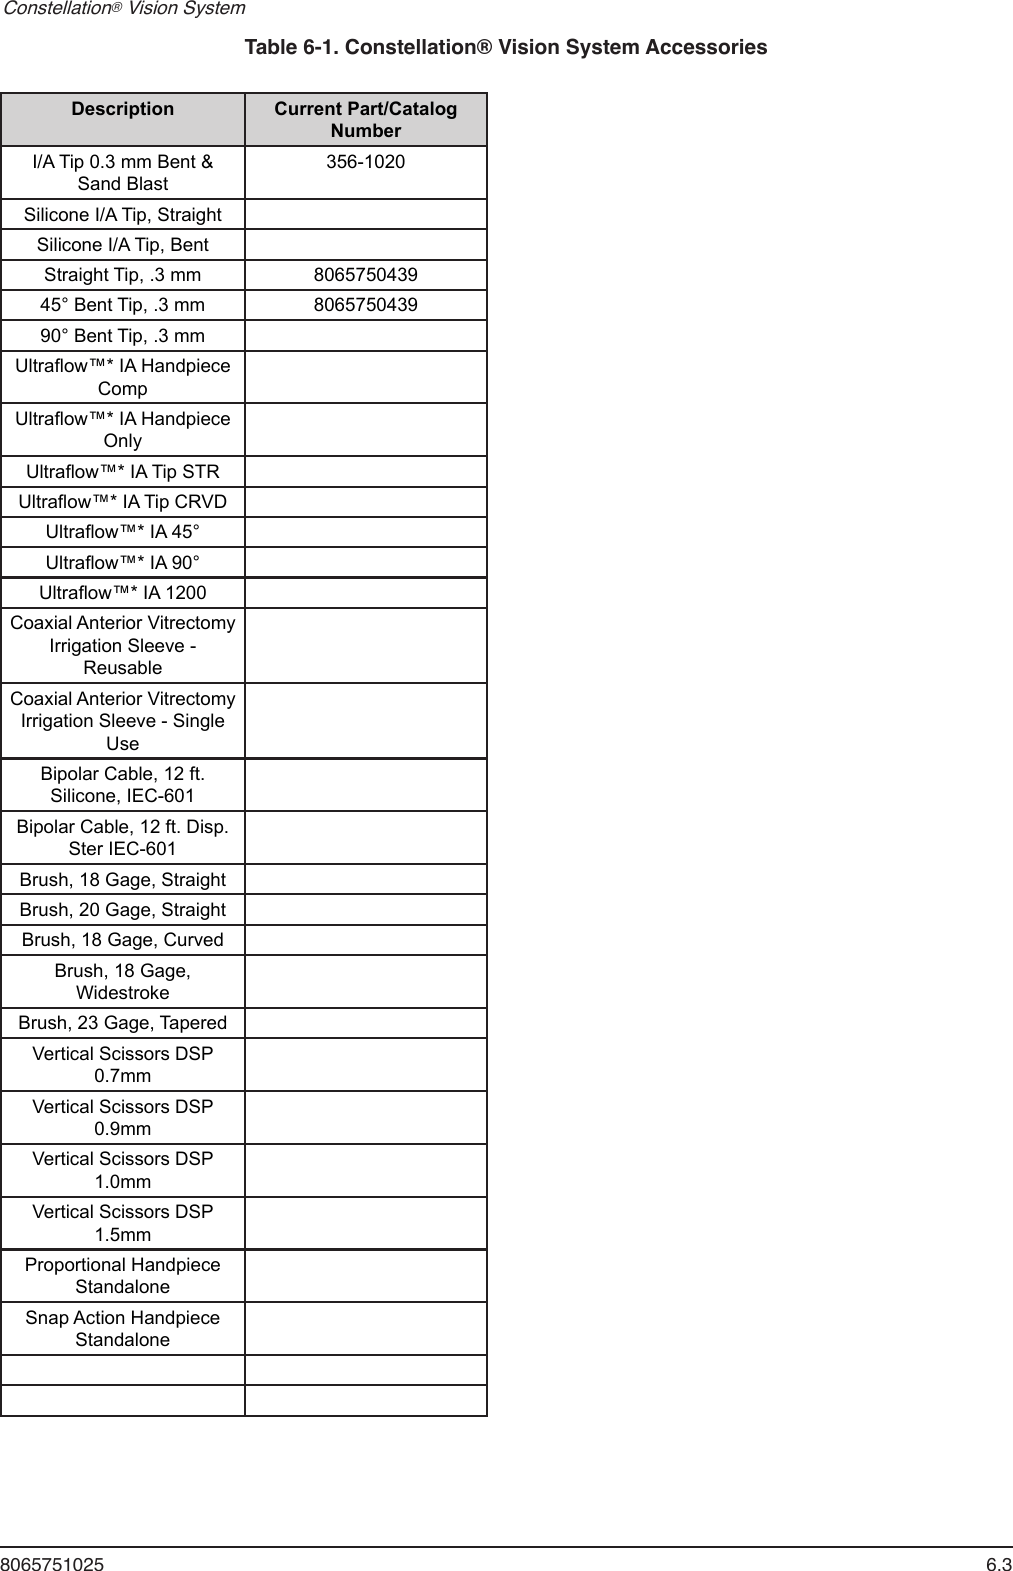
User Manual part 5