Alcon Research 212WIFI WLAN 802.11b/g in Constellation Vision System User Manual NGVS Book 1 indb
Alcon Research Ltd. WLAN 802.11b/g in Constellation Vision System NGVS Book 1 indb
UserManual.wiki
>
Alcon Research
>
212WIFI User Manual
>
User Manual part 4
Contents
1.
User Manual part 1
2.
User Manual part 2
3.
User Manual part 3
4.
User Manual part 4
5.
User Manual part 5
6.
User Manual 2
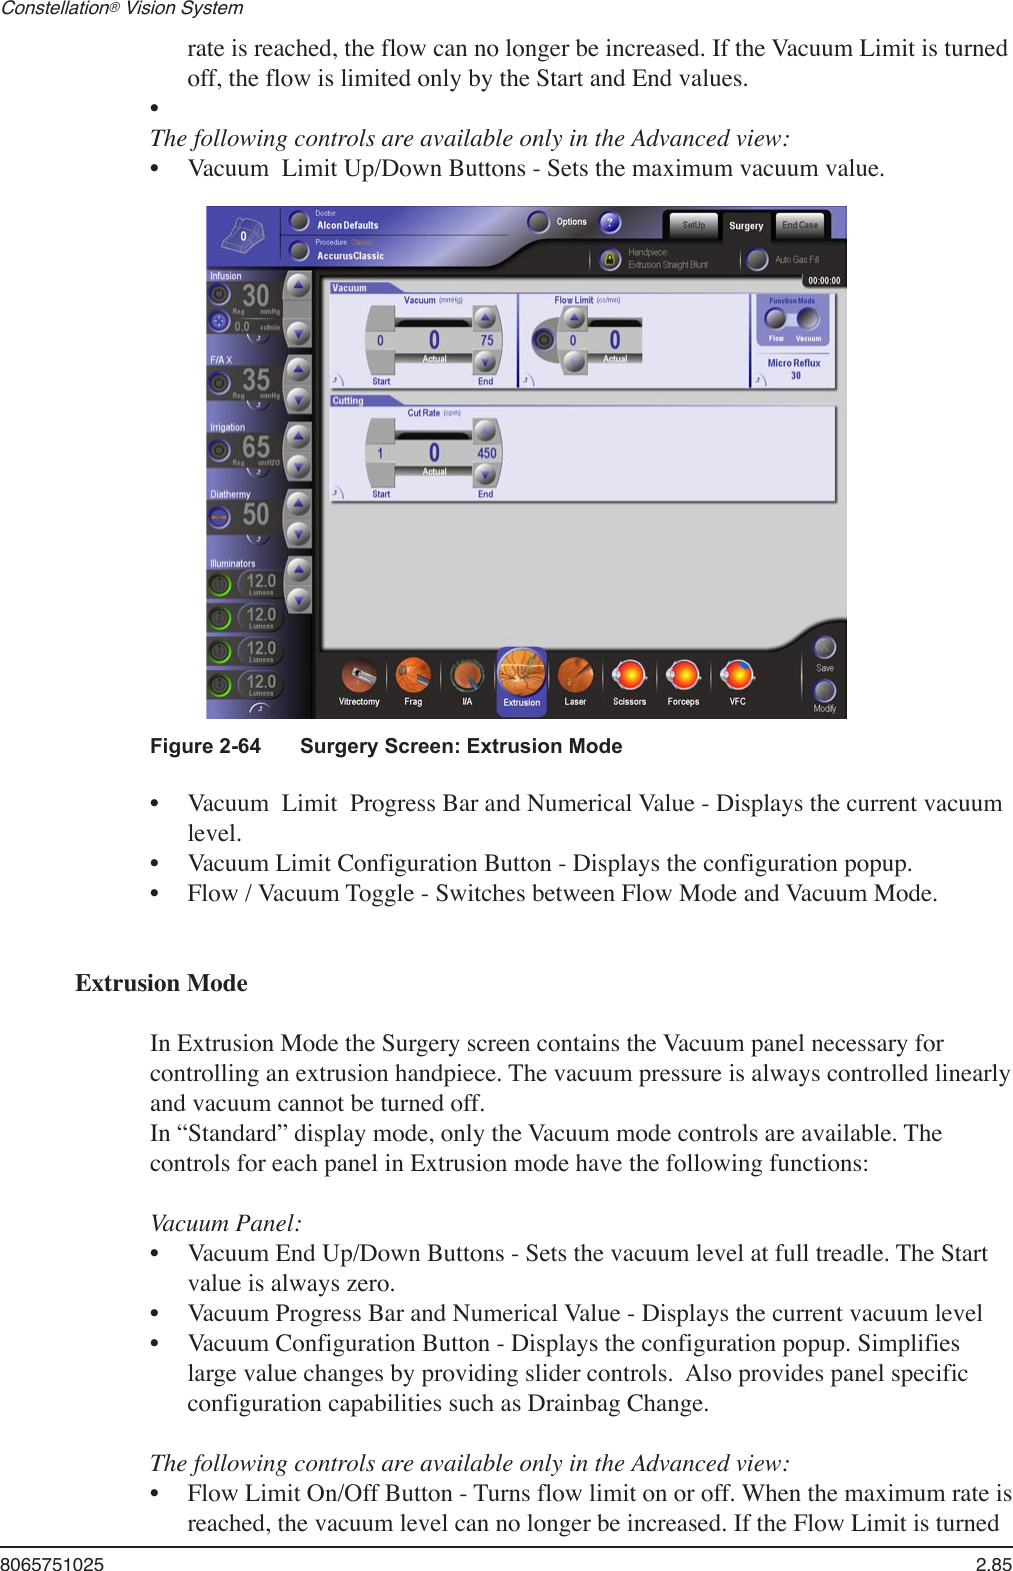
User Manual part 4
Navigation menu
Upload a User Manual
Namespaces
Wiki Guide
HTML
PDF
Info
Views
User Manual
Discussion / Help
Navigation