Amelia World LINSAY F-10XIPS Tablet PC User Manual
Amelia World Corporation dba LINSAY Tablet PC
User Manual
User Guide
Dear users:
Thank you for purchasing our products.
This is the operation guide for users. Please carefully read it in order
to ensure your quick and convenient use of the machine.

Contents
1 Precautions
2 Boot-up and shutdown
3 Home screen
4 Buttons
5 Home screen
6 System setting
7 Time and date setting
8 Screen brightness
9 Application
10 Network
11 Music play
12 Video display
13 Photo browsing
14 Wallpaper
15 Camera
16.Battery Batería
17. External equipment
Precautions
﹡This is a high-precision electronic products. Please don't disassemble
the product by yourself.
﹡Avoid fierce beating on or collision with the product.
﹡Avoid using the product in the following places: with too high or low
temperature, humid, dusty, highly magnetic or long-time direct
exposure to sunlight.
﹡Please gently scrub the shell of the product with a wrung-out wet
cotton cloth, and do not wash it with other chemical solutions. The
product must not be exposed to dripping or splashing, and no objects
filled with liquids, such as cups, shall be placed near the product.
﹡Using the earphones for too long a time or too high a volume may
cause permanent damage to hearing.
﹡Please do not use the earphone when crossing the road, or driving a
motor vehicle or riding a bicycles, so as to avoid traffic accidents.
﹡Please use the battery, charger and accessories permitted only, for the
use of any other type of products is a violation of the warranty
provisions and may cause dangerous accidents.
﹡Please dispose the disused machine and accessories in accordance with
relevant local environmental protection regulations.
﹡If you run into any problem in the use of the product, please contact the
local distributor or directly contact the customer service center of the
company.
﹡The company will be not be responsible for any RAM loss caused by
the product damage, repair or any other reason. Please carry out the
operation properly in strict accordance with the User Guide, and back
up your files in time.

Boot-up and shutdown:
﹡Boot-up: press the power button, the system will enter the starting
process as shown below:
Boot logo starting process...
﹡Shutdown: Press the power button and hold for a while, the equipment
option will pop up. Select the shutdown button as shown below:
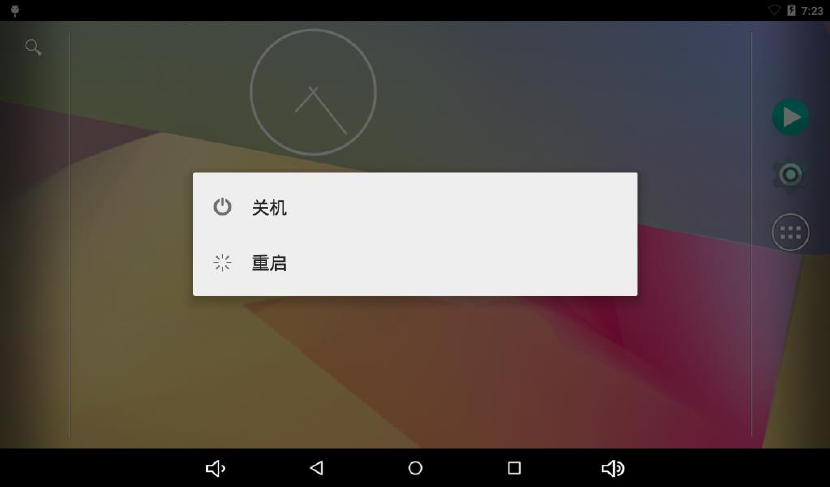
Click Yes to enter the safe shutdown process.
Home screen:
After the system is successfully booted up, you will see the home screen
of Android 5.1 system (as shown in the picture below). The default
system home screen consists of the status bar, quick search bar, the Home
screen label and other icons.
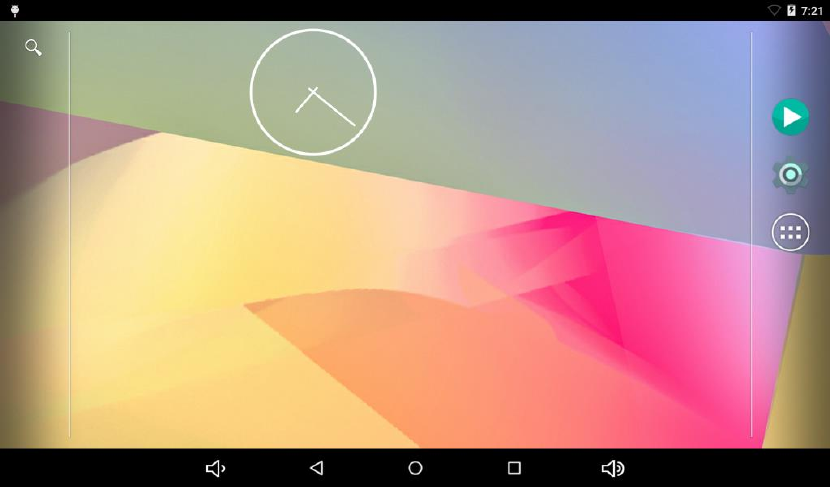
The status bar gives the network status, battery power and time of the
current system.
With the Quick Search Bar, you can enter the keywords and start the
network search. The home screen label is placed on the right center of the
screen. Click on it, the default home screen will be unfolded. At the
bottom of the screen is the shortcut icon of the browser.
Buttons:
Buttons required in the use of the Android system:
Volume button: the Volume +, Volume - button in the task bar can
realize the increase and decrease of the volume level
Power button: Long press the power key for boot-up or shutdown.
Press the power button momentarily to enter or leave the sleep state.
Menu button: show the menu items of the current window.
Home button: return or select the main interface.
Return button: return to the interface one level higher.
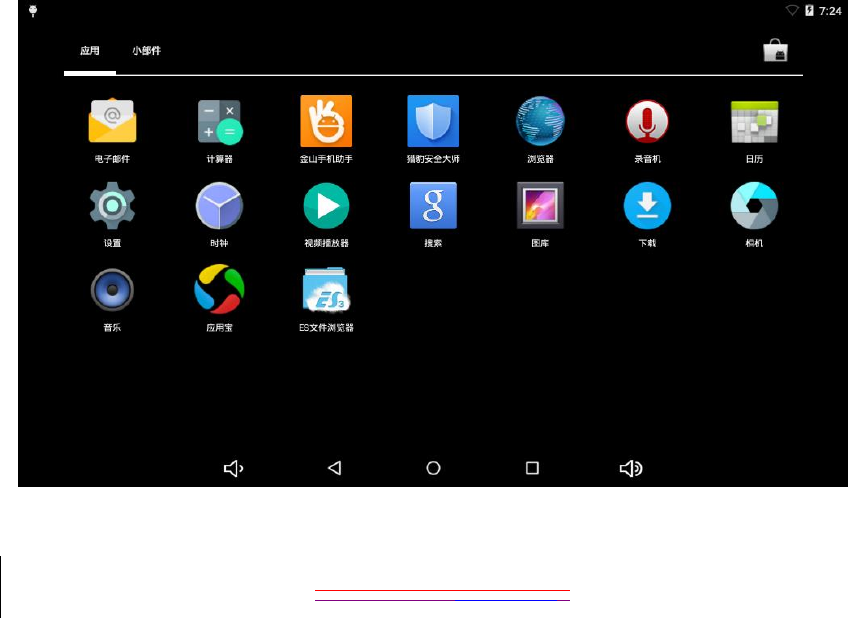
Home screen operation
Click the home screen label on the main interface, as shown below:
In the home screen, you can set up the system, run existing applications,
install new applications, file browserbuscador touch screen alignment,
play music and videos, browse web pages and conduct other operations.
System setting:
Click the "Setting" icon in the Home screen interface to open the
system setting interface as shown below:
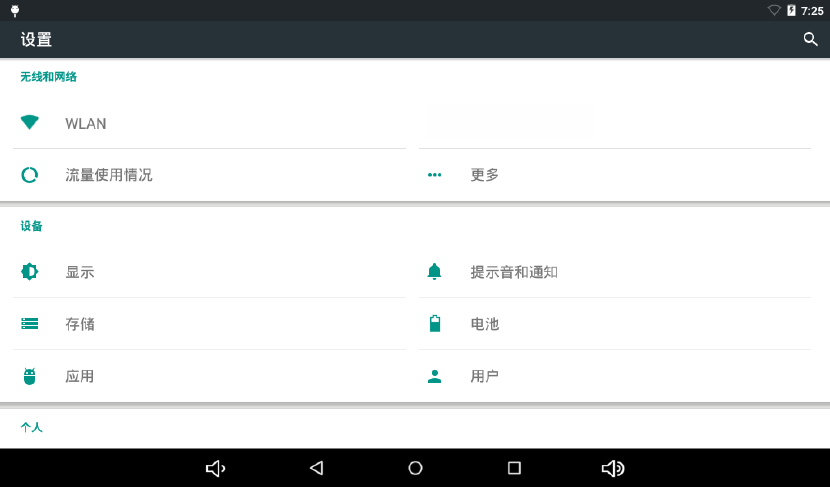
Select related item for corresponding operation, for example:
* WLAN and network:
* Sound and display
* Date and time setting
* About the equipment
etc.
* Time and Date setting:
Select the "Time and date setting option" in the setting interface to enter
the time and date setting interface:
You can choose "Set automatically": use the network time.
Or you can choose to set the date manually. Select the time zone, set up

the time, time format, date format, etc.
For example, you can choose to set up the date as shown below:
By cancelling the automatic setting of time and date, you can set the date
and time required by yourself, and then select "Complete". As shown
below:
Select "setting". Scroll to select the "AM" or "PM", and click the Hr to
set the hour, and click the Min to set the minute.
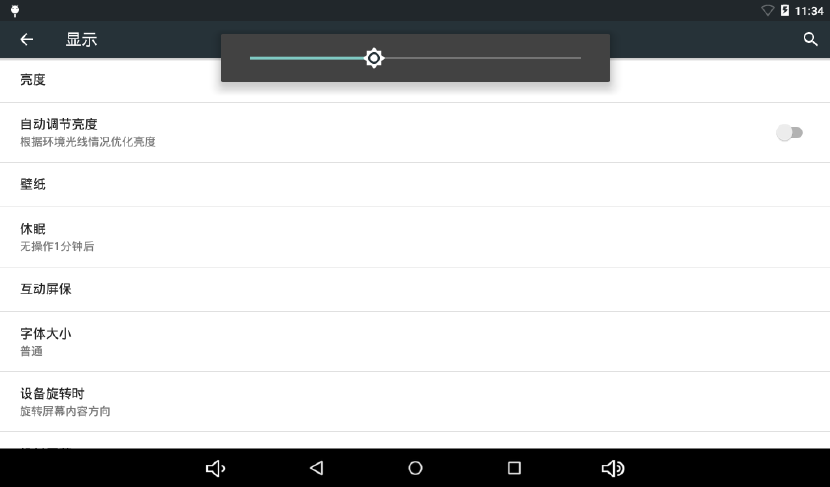
* Screen brightness
Select the "Display setting" on the setting interface to enter the display
setting interface, scroll the dropdown menu, select the "Brightness", and
the following dialog box will appear:
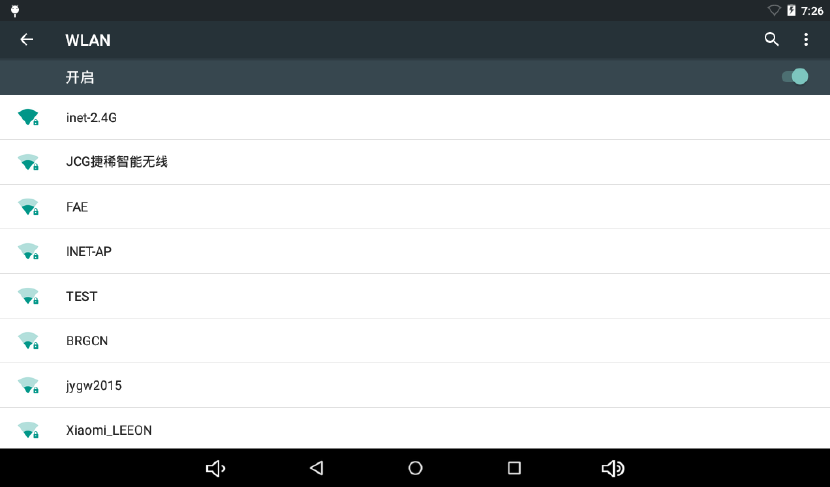
* WIFI wireless connection:
Click the "setting" icon on the Home screen to enter the "system
setting" interface, click "WLAN and network" to enter the "WLAN and
network" setting interface. Click "WIFI" to quickly open the WIFI
function, and then click "WIFI setting" to enter the "WIFI setting
interface" as shown below:
*HDMI
The product supports the HDMI connection.
*Use the HDMI cable to connect the MID and the equipment with
HDMI input port. In about 5s, the system will automatically go to the
HDMI output, which will automatically output sound and images.
When the HDMI output is used, the contents shown on the LCD will
be output to external equipment at the same time,
Applications
1 Get into the menu, select "Setting-- Applications"
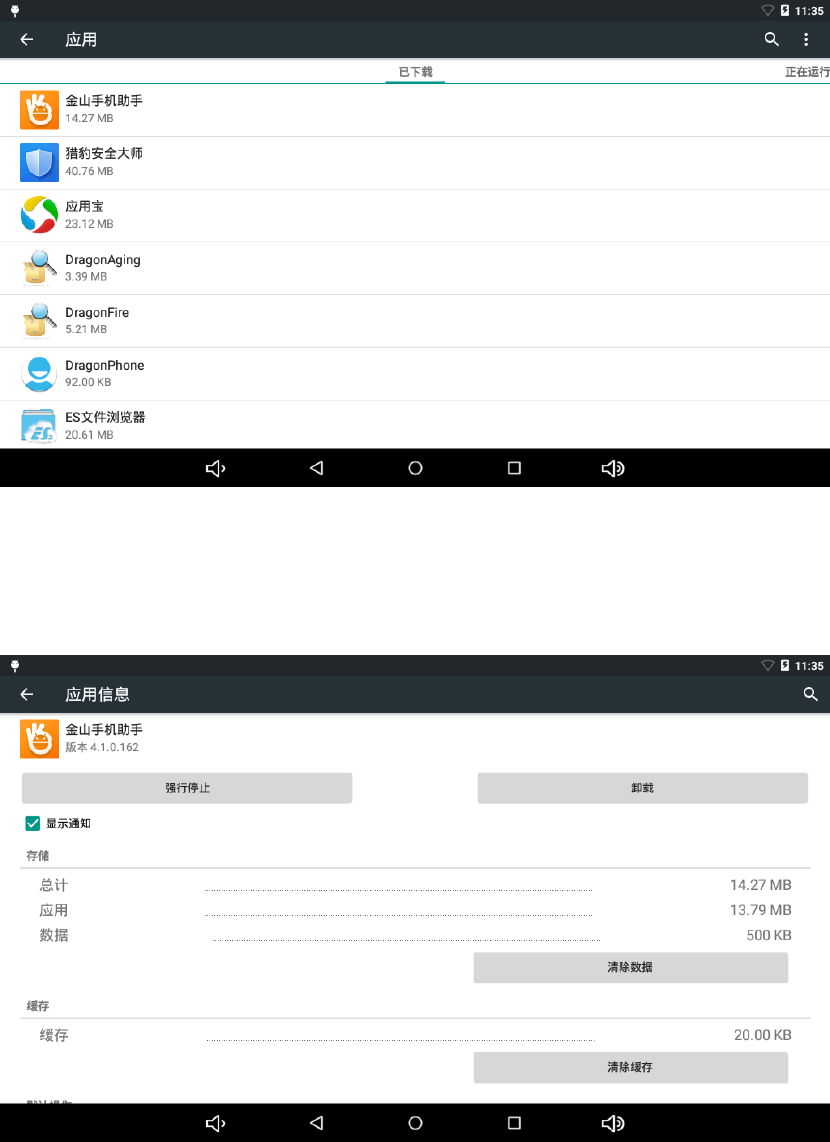
Click the application to install or uninstall it.
2 After clicking it, the following image will appear:
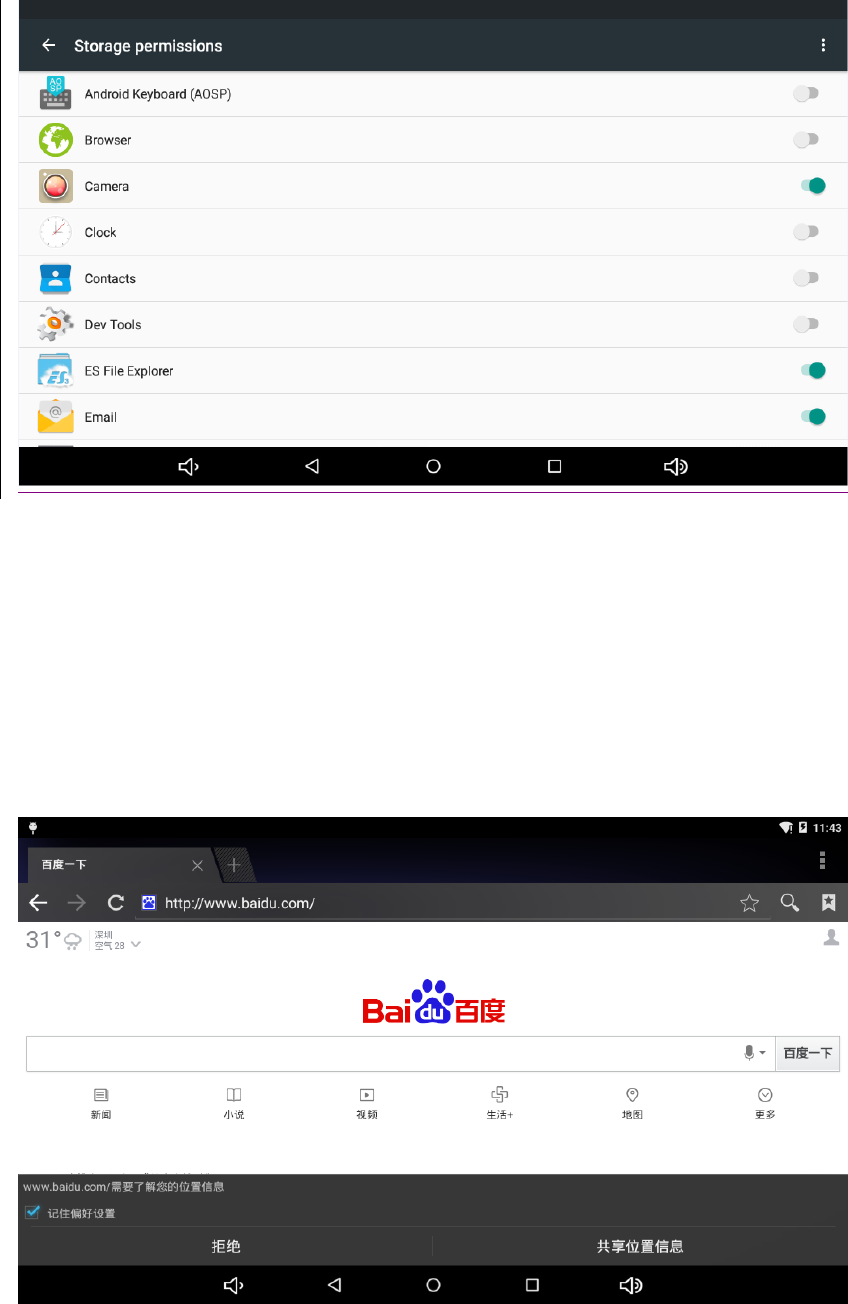
Network:
Webpage browsing
When connecting to the internet, open the web browser, enter the URL to
quickly browse the webpage; or you may enter the URL at the search bar
on the home screen to visit the website.
Music play:
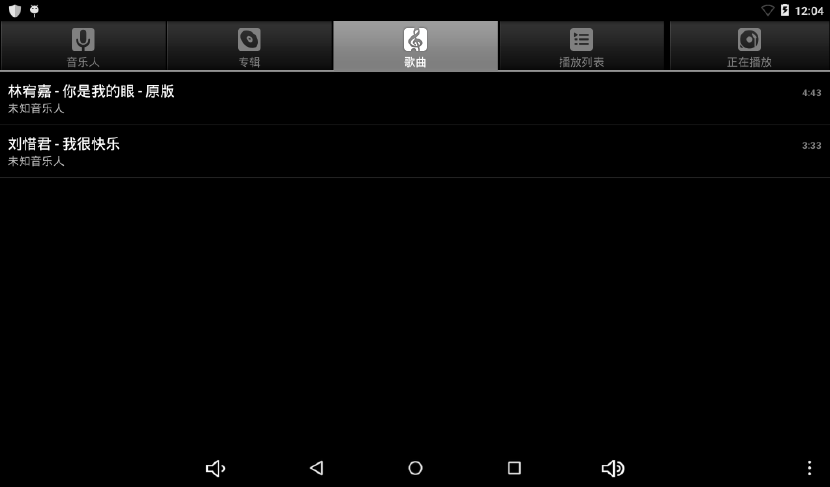
Click the "Music" icon on the Home screen to enter the music play
interface. Here the interface will list all the audio files in the user data
area of the system as shown below:
Audio files may be sent into the system by synchronization through
the USB cable, or by inserting a SD card with audio files, or by
downloading audio files from the network.
Select corresponding tag, you can view the "Artists", "Album" and
"Music" interface. Select a song to play.
Video display:
Click the "Video player" in the Home screen, enter the "music player"
main interface. Here are listed all the video and image files in the system,
as shown below:
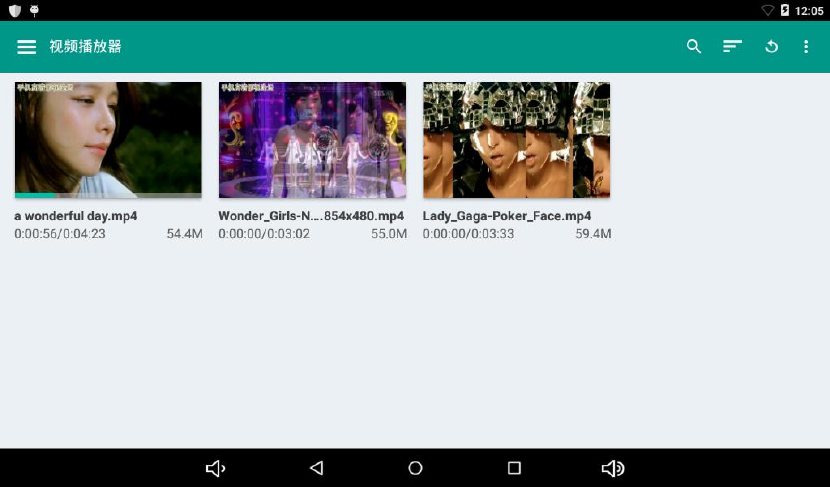
Select the video file to enter the video play interface as shown below. You
can choose "display", "stop", "fast-forward", "rewind" and "progress
bar" control keys to control the display.
Photo browsing:
Click the "Photos" on the Home screen to enter the "Photos" main
interface. Here are listed all the image files and video files, as shown
below:
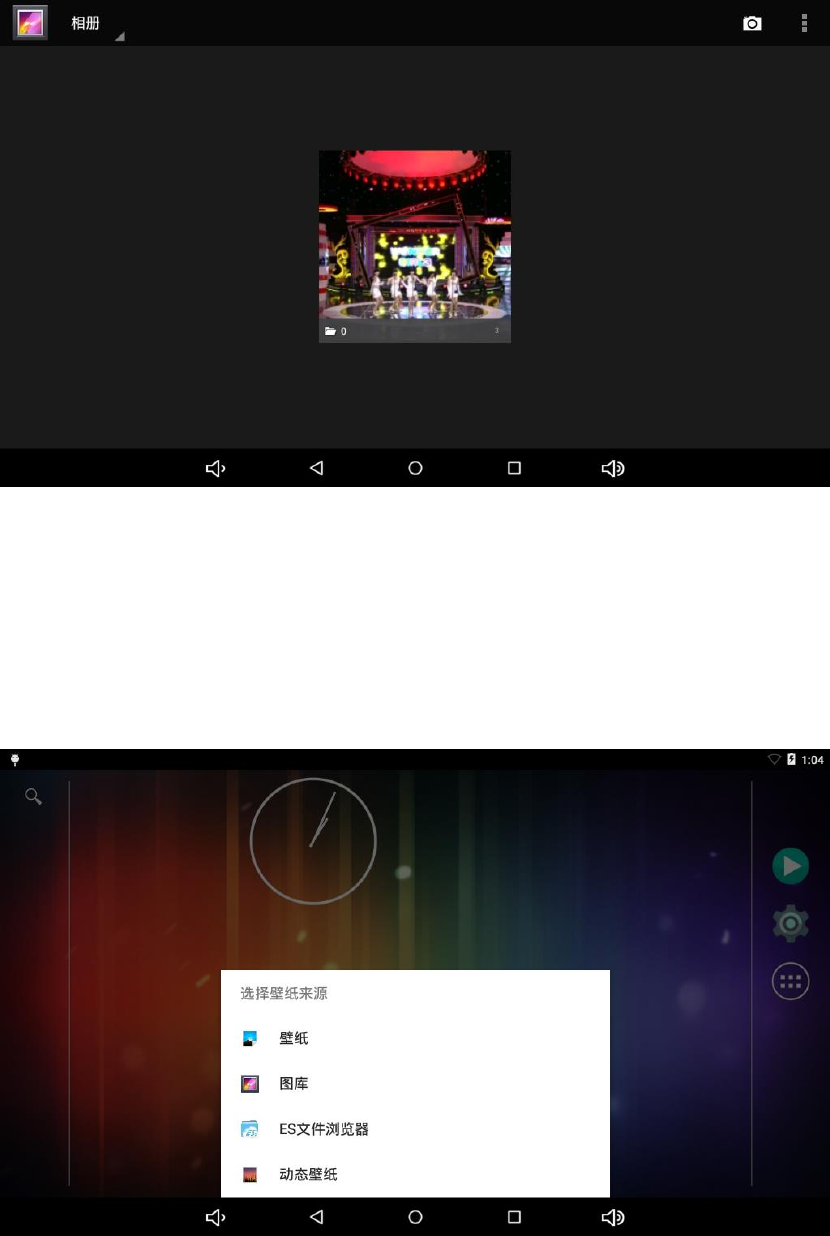
Wallpaper:
The system supports the static photo wallpaper and 3D wall paper.
Press the screen on the wallpaper interface for a while, and the
following dialog box will pop up:
The options are as follows:
Select the "wallpaper": you can customize which photo to be used as
the wallpaper.
Select the "Live wallpaper": you can choose from the 3D wallpapers
provided by the system:
Select the "Photos", you can select the photo provided by the system as
the still wallpaper.
Click the "wallpaper”setting, you can select the wallpaper, and then
click setting wallpaper to confirm the setting.
Camera:
Click the "Camera" icon on the Home screen to enter the "camera"
main interface, as shown below:
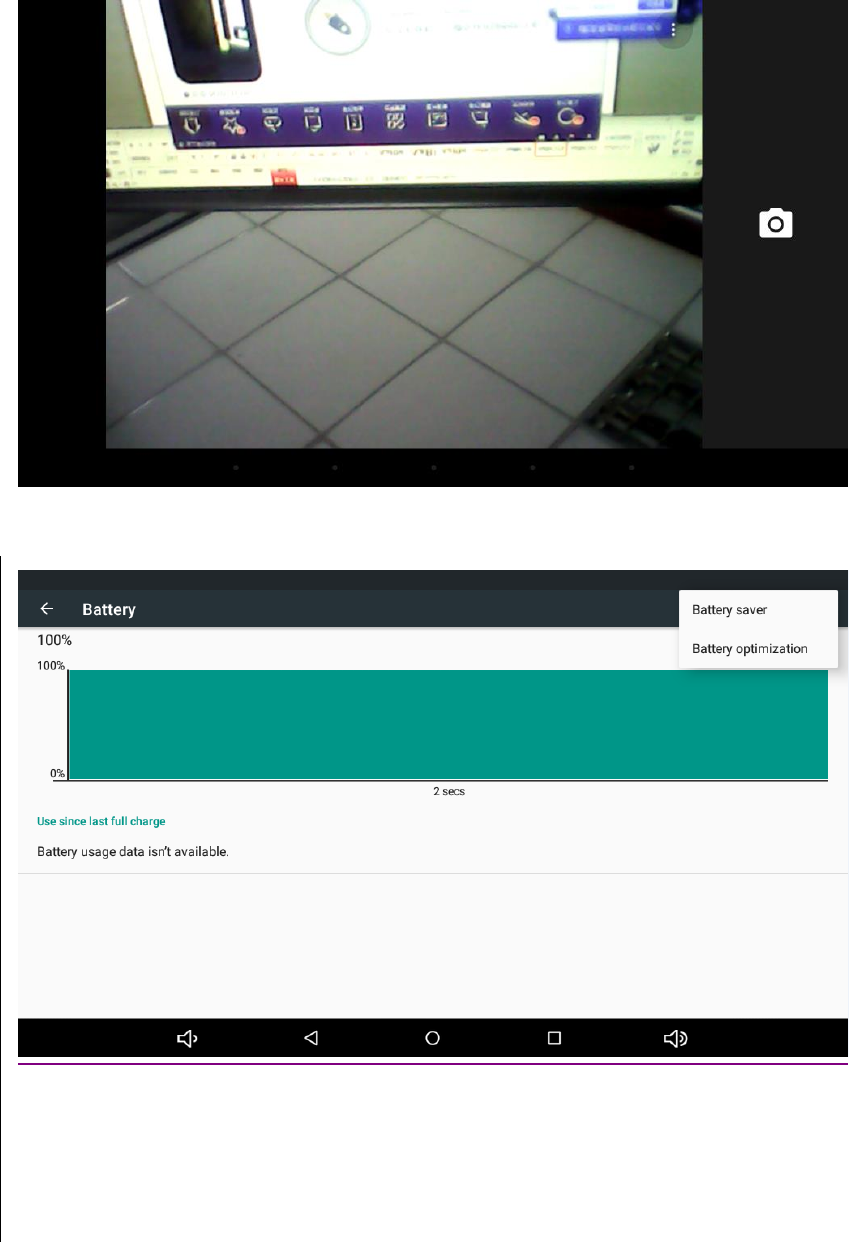
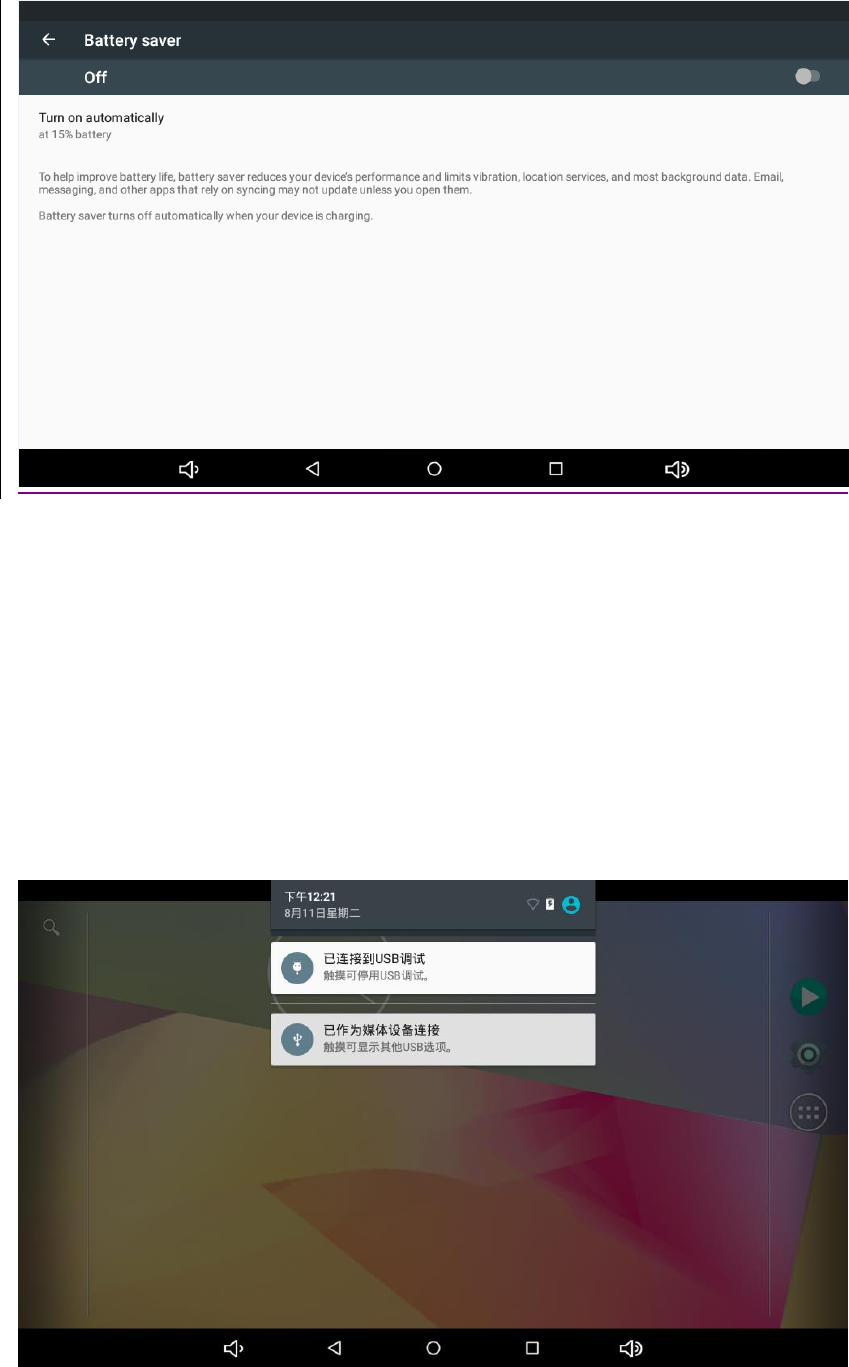
External equipment:
* Connection through USB cable
Use the USB cable to connect the MID to a PC in synchronous mode
at default. Pull down the status bar, and the following interface will pop
up:
"USB connected": means the external memory (SD card).
After it has been loaded, you can see corresponding drive on the PC.
These photos are for reference only. The actual product may be different
in appearance and function. The product size and design are subject to
change without prior notice.
FCC Warning
This device complies with Part 15 of the FCC Rules. Operation is subject to the following two
conditions:
(1) This device may not cause harmful interference, and (2) this device must accept any
interference received, including interference that may cause undesired operation.
NOTE 1: This equipment has been tested and found to comply with the limits for a Class B digital
device, pursuant to part 15 of the FCC Rules. These limits are designed to provide reasonable
protection against harmful interference in a residential installation. This equipment generates, uses
and can radiate radio frequency energy and, if not installed and used in accordance with the
instructions, may cause harmful interference to radio communications. However, there is no
guarantee that interference will not occur in a particular installation. If this equipment does cause
harmful interference to radio or television reception, which can be determined by turning the
equipment off and on, the user is encouraged to try to correct the interference by one or more of
the following measures:
- Reorient or relocate the receiving antenna.
- Increase the separation between the equipment and receiver.
-Connect the equipment into an outlet on a circuit different from that to which the receiver is
connected.
-Consult the dealer or an experienced radio/TV technician for help.
NOTE 2: Any changes or modifications to this unit not expressly approved by the party
responsible for compliance could void the user's authority to operate the equipment.