Amtek System AIRT23XQXKN Tablet PC User Manual T23x English 20080610
Amtek System Co., Ltd. Tablet PC T23x English 20080610
Contents
- 1. Manual part 1
- 2. MAnual part 2
MAnual part 2
47
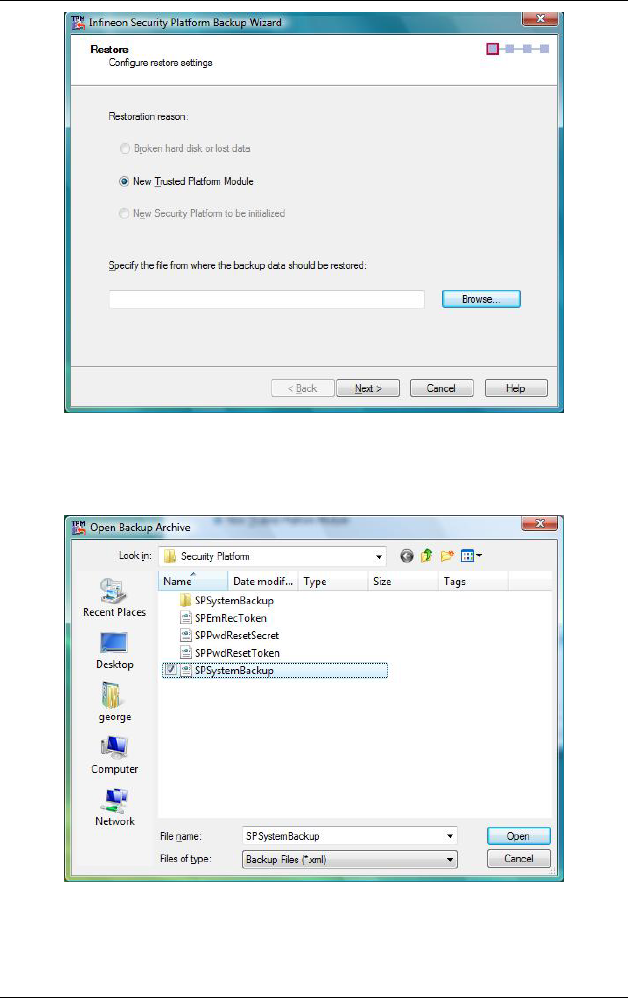
Click on the “Browse” tab and select the
“SPSystemBacktup” item and click on the “Open”
tab.
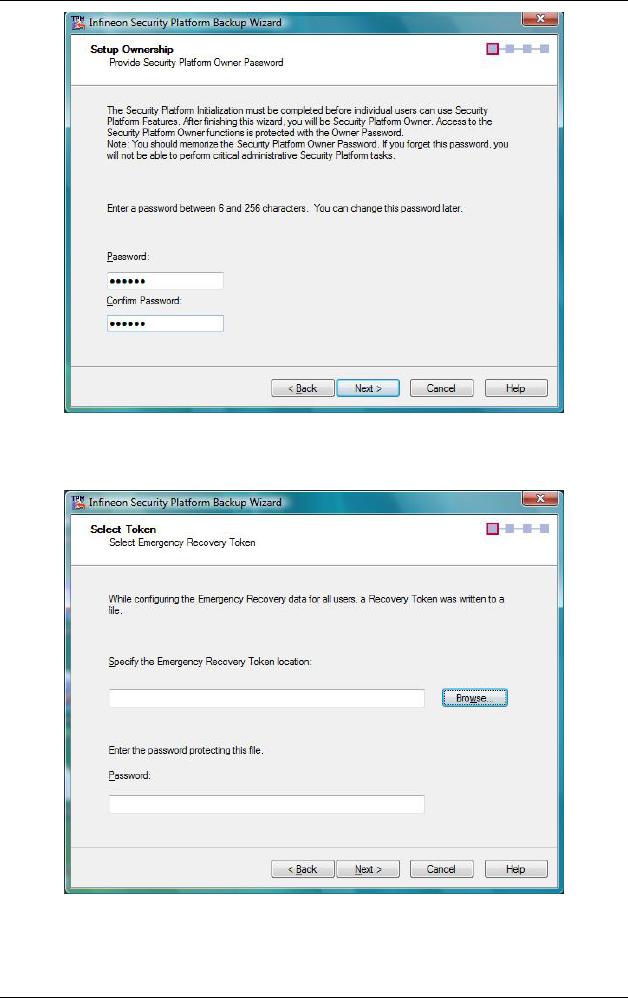
Enter your new password.
48
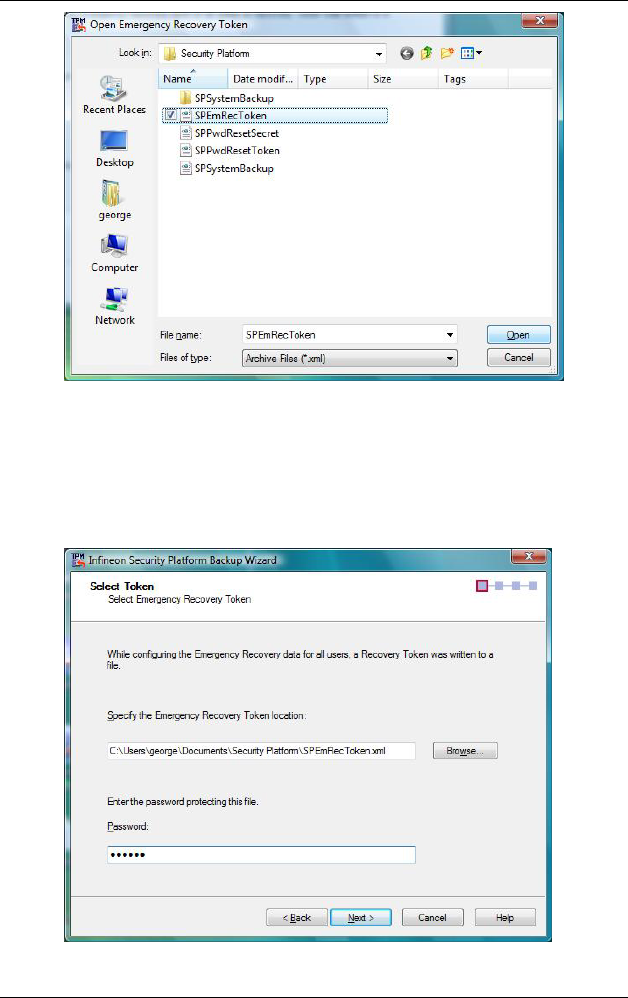
Click on the “Browse” tab and select the “SPEmRec
Token” item and click on the “Next” tab.
49
Confirm your password for the selected “Token” and
click on the “Next” tab.
50
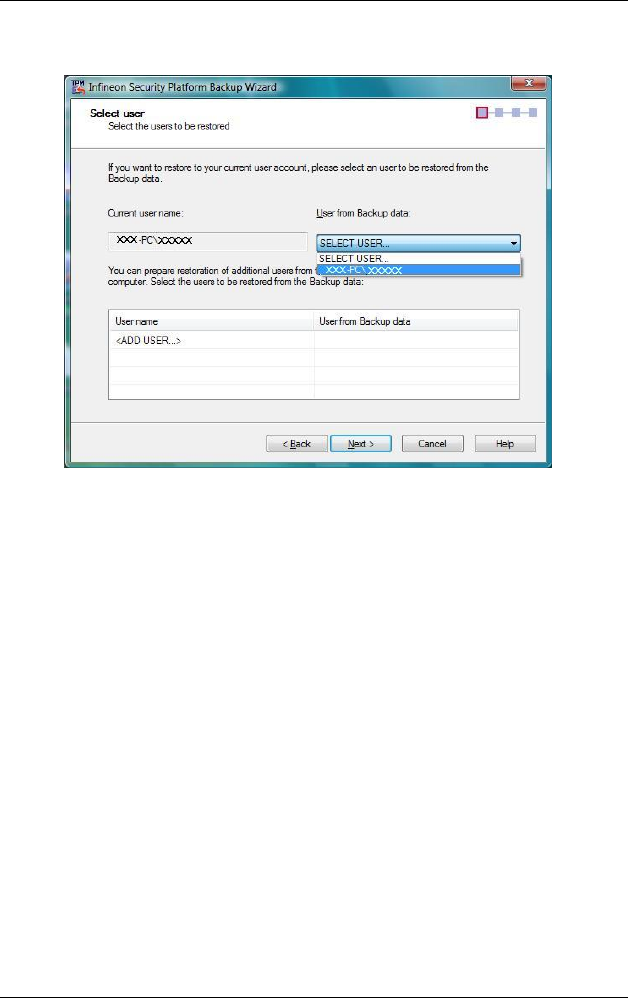
The item is selected and click on the “Next” tab.
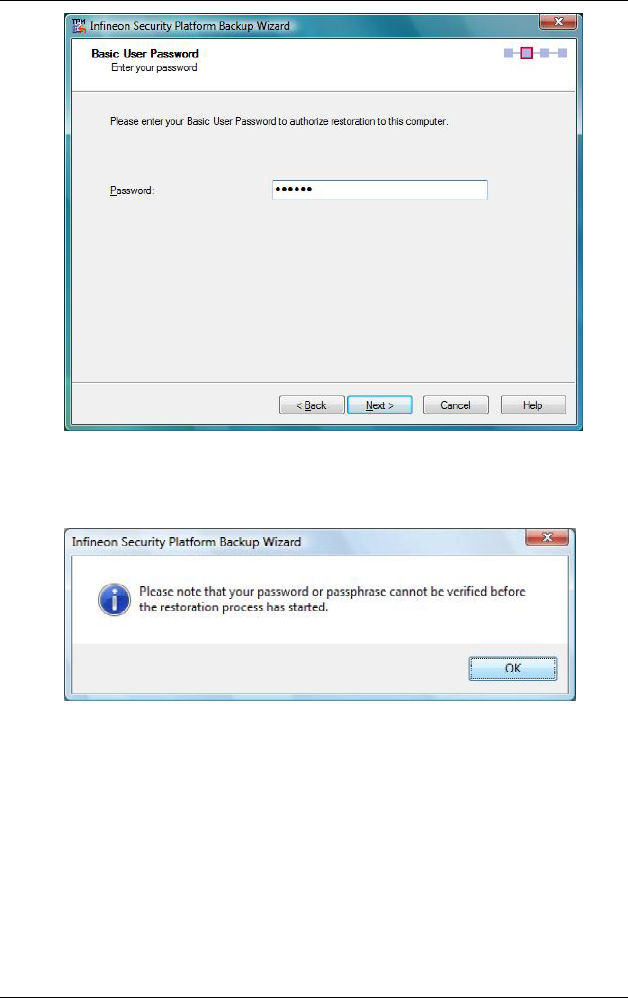
Select on the password for the “Basic User” and
click on the “Next” tab.
51
Click on the “OK” tab.
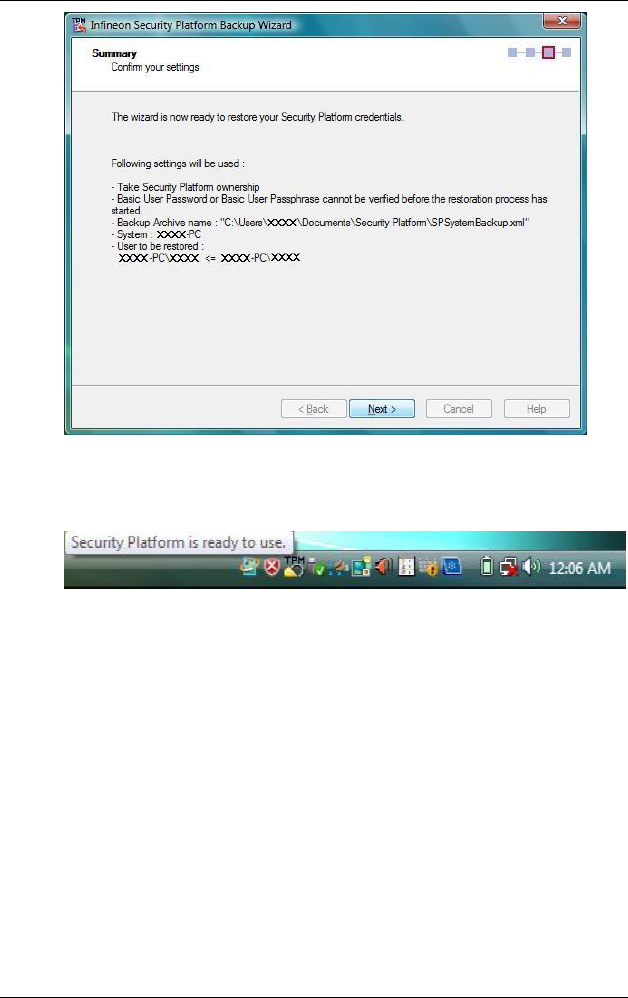
Click on the “Next” tab to complete the process.
52
The Security Platform is ready to use.

53
Finger Print
The system’s Fingerprint application offers a secure and
convenient system for managing your passwords and
providing your sensitive data for confidentiality through
file encryption.
B
Be
ef
fo
or
re
e
Y
Yo
ou
u
S
St
ta
ar
rt
t
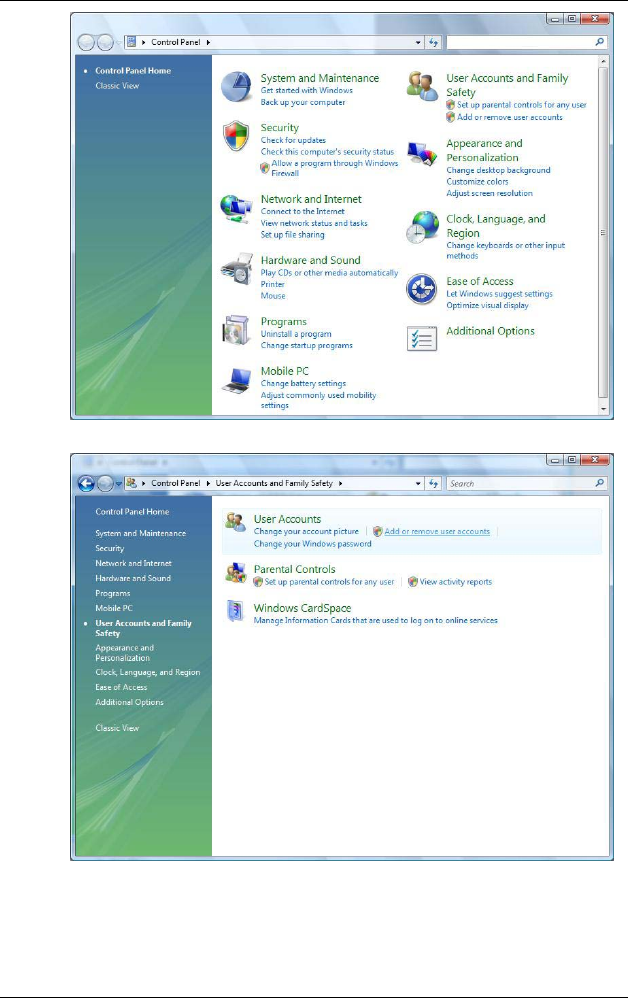
From “Start”, click on the “Control Panel” and select
the “User Account and Family Safety” , and then
select “User Account” item.
54
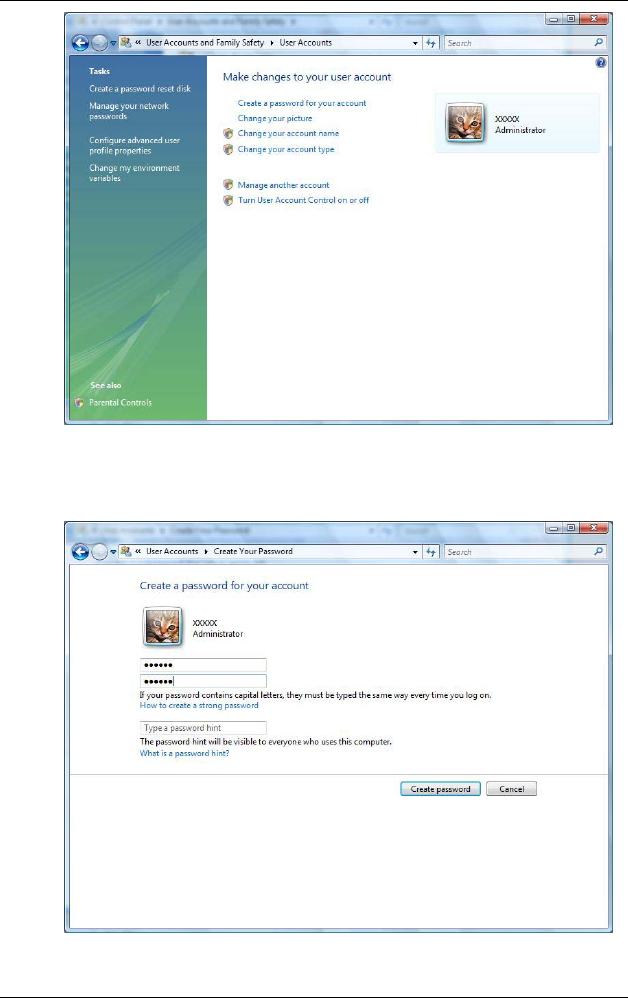
Choose “Create a password for your account”
55
Enter your password.
56
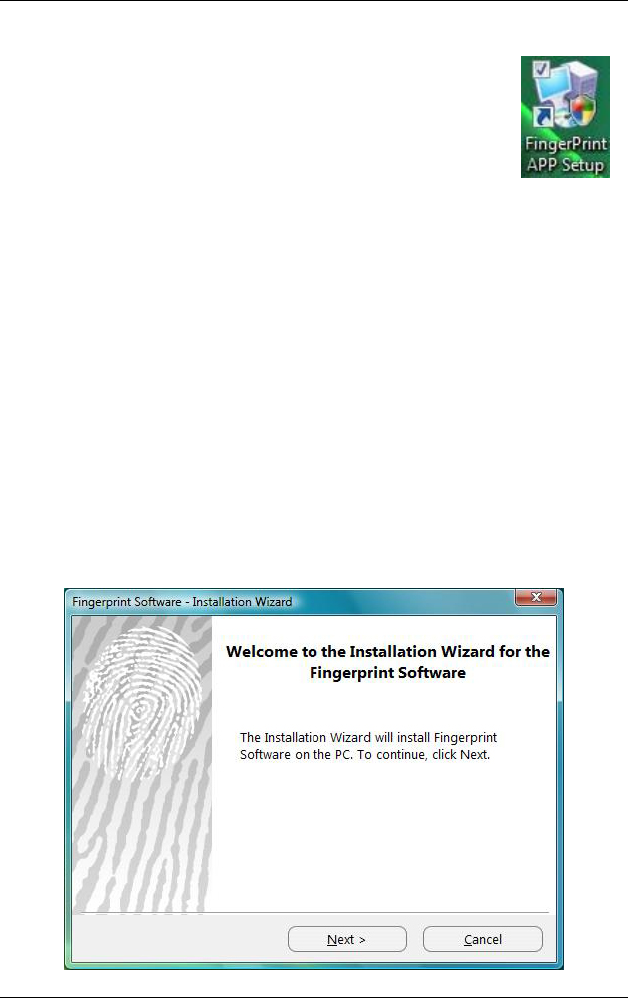
From your system screen, click on the
fingerprint icon to activate the application
and setting your password.
Click on the “Next” button.
57
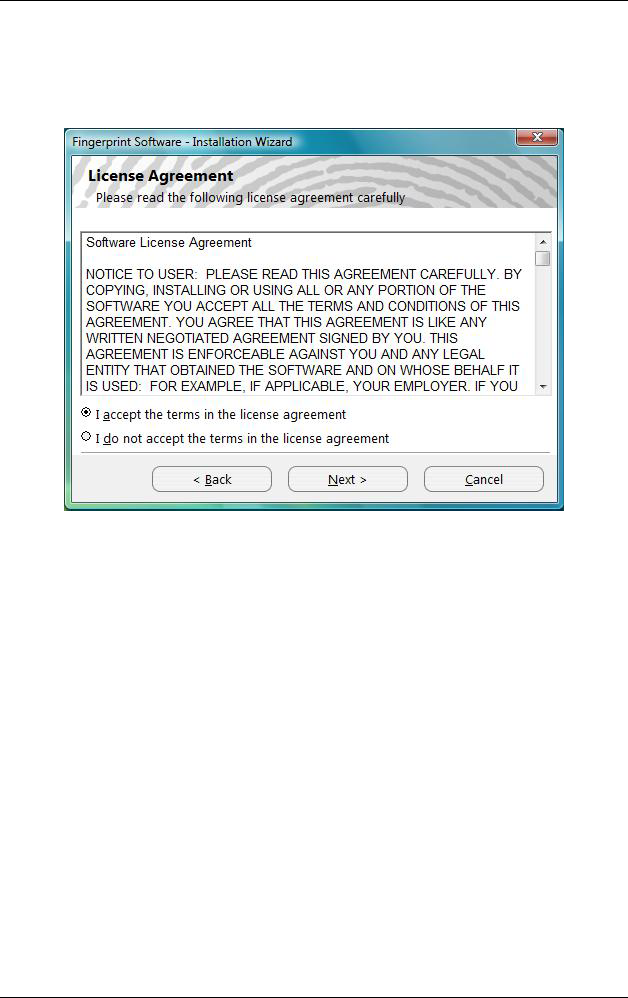
Select the “I accept the terms in the license
agreement”, Click on the “Next” button.
After select install path, Click on the “Next” button.
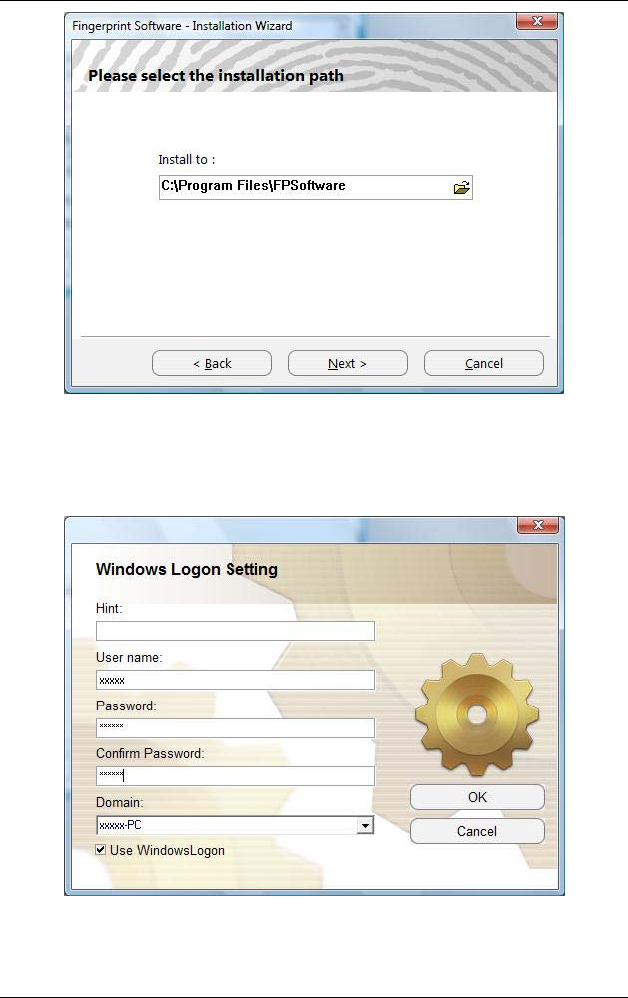
58
Input User name, Click on the “OK” button.
Select on the finger that you will set for your
fingerprint identification.
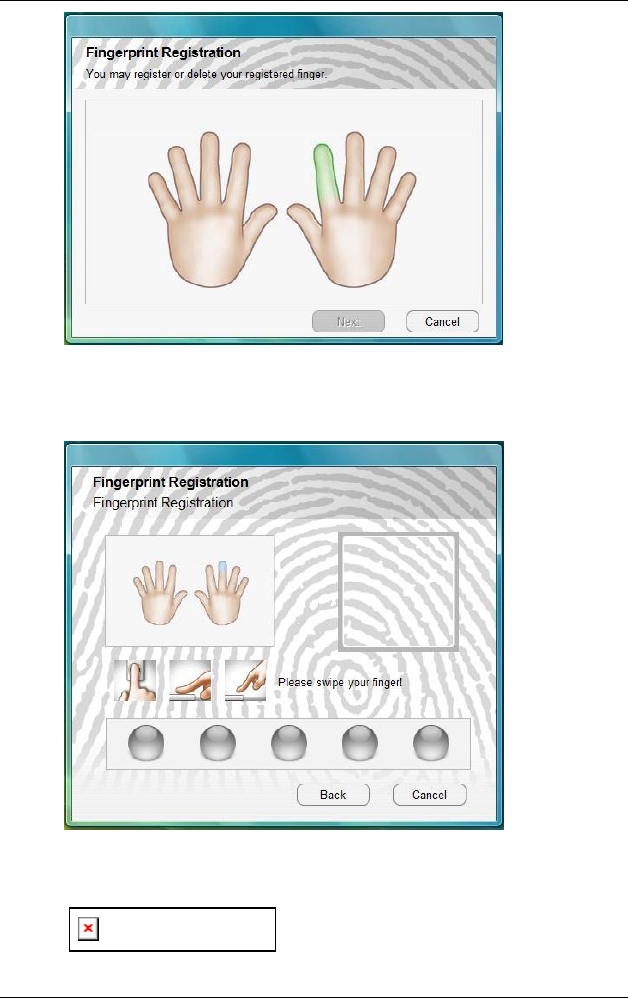
59
Swipe your finger to set the fingerprint.
Position your finger to the center of
60
the sensor to achieve the best contact. Start swiping your
finger from the bend closest to the fingertip. Do not lift
your finger as you swipe over the sensor.
You will be allowed to perform the test 5 times.
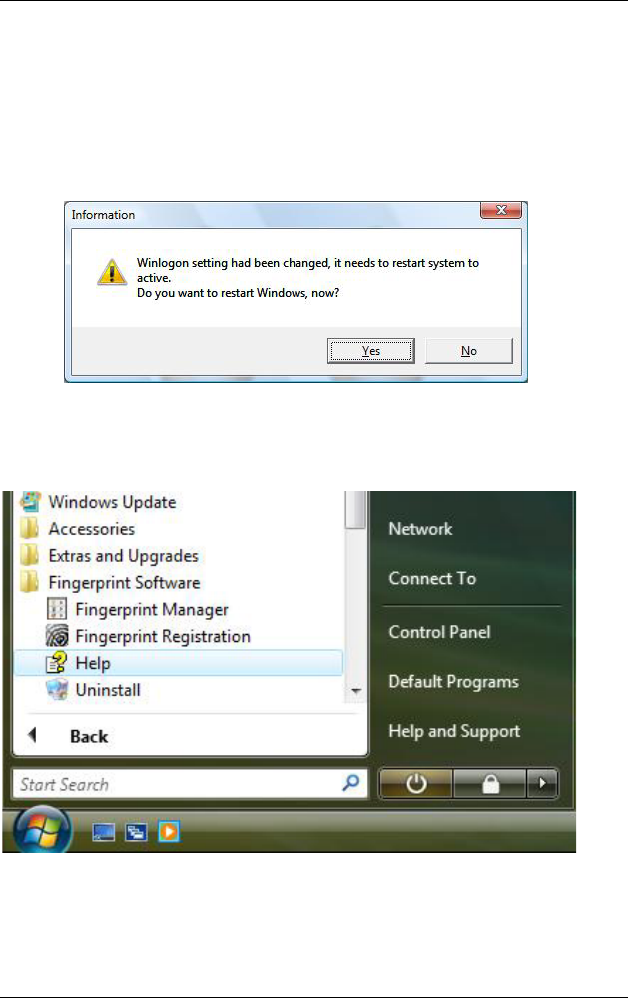
Complete the setting, must to restart the system
Help file location
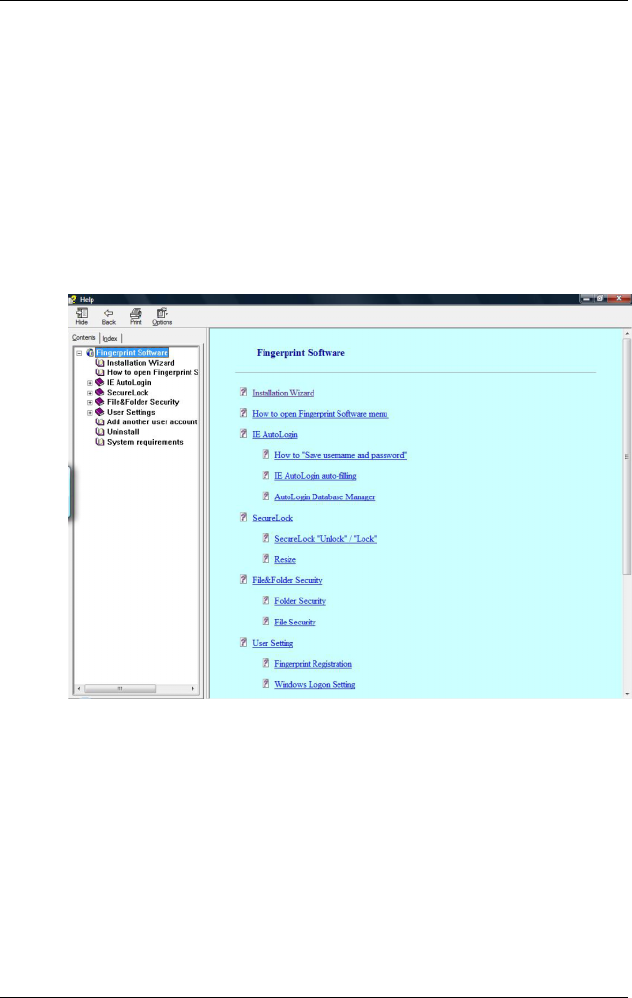
61
Help file contents

62
Troubleshooting
This chapter describes locating and solving problems that
you may encounter while using your computer.
G
Ge
en
ne
er
ra
al
l
H
Ha
ar
rd
dw
wa
ar
re
e
P
Pr
ro
ob
bl
le
em
ms
s
/
/
P
Po
os
ss
si
ib
bl
le
e
C
Ca
au
us
se
e
a
an
nd
d
S
So
ol
lu
ut
ti
io
on
n
A few common hardware problems and suggested
solutions are presented in the table below:
A
A
f
fr
re
ee
ez
ze
e
o
on
n
t
th
he
e
s
sy
ys
st
te
em
m
d
du
ur
ri
in
ng
g
p
pr
ro
og
gr
ra
am
m
o
op
pe
er
ra
at
ti
io
on
n
An error occurs during program currently being used.
Press the SAS key of your Tablet PC.
Solution: An error with the Windows OS. Reboot the
system using the Power button.
S
Sy
ys
st
te
em
m
N
No
ot
t
R
Re
es
su
um
mi
in
ng
g
O
Op
pe
er
ra
at
ti
io
on
n
If the system will not resume operation after system
operation has been suspended, check the following
possible causes:
Solution: The battery may either be defective, or
discharge to a critically low level. To correct this problem,
connect an external power supply such as AC adapter.

63
T
Th
he
e
L
LC
CD
D
s
sc
cr
re
ee
en
n
i
is
s
t
to
oo
o
d
da
ar
rk
k
o
or
r
t
to
oo
o
b
br
ri
ig
gh
ht
t
Solution: Adjust the LCD brightness. Press the Mobility
Center button and click on Brightness Up or Brightness
Down.
B
Be
ee
ep
pi
in
ng
g
s
so
ou
un
nd
d
Solution: Connect the computer to an external power
source immediately.
T
Th
he
e
s
sy
ys
st
te
em
m
c
ca
an
n
n
no
ot
t
s
sh
hu
ut
td
do
ow
wn
n
p
pr
ro
op
pe
er
rl
ly
y
Solution: Press and hold the power button for 4~6
seconds until the system shutdown manually.
W
Wh
ha
at
t
a
ar
re
e
t
th
he
e
m
ma
aj
jo
or
r
s
st
te
ep
ps
s
t
to
o
f
fo
ol
ll
lo
ow
w
w
wh
he
en
n
t
th
he
e
s
sy
ys
st
te
em
m
d
do
oe
es
s
n
no
ot
t
t
tu
ur
rn
n
o
on
n
p
pr
ro
op
pe
er
rl
ly
y
a
af
ft
te
er
r
i
it
t
s
sh
hu
ut
td
do
ow
wn
n
The system will turn after connecting the AC adapter, this
indicates the battery is in low status.
Solution:
Check if the LCD screen or LCD toggle key is
accidentally press.
Remove the battery and connect the AC adapter to
turn on and press on the Reset the button to turn on
the system.
H
Ho
ow
w
t
to
o
e
ex
xt
te
en
nd
d
b
ba
at
tt
te
er
ry
y
l
li
if
fe
e
Solution:
Adjust the display brightness to minimum level.
Adjust the volume to minimum level.
Disconnect all PC card not often used.
Turn off the Bluetooth application
Turn off the Wireless application
Set the power scheme to “Power Saving” mode

64
W
Wi
ir
re
el
le
es
ss
s
L
LA
AN
N
c
co
on
nn
ne
ec
ct
ti
io
on
n
i
is
s
d
di
is
sc
co
on
nn
ne
ec
ct
te
ed
d
a
af
ft
te
er
r
2
2~
~3
3
m
mi
in
nu
ut
te
es
s,
,
a
an
nd
d
t
th
he
e
c
co
on
nn
ne
ec
ct
ti
io
on
n
i
is
s
n
no
ot
t
r
re
ec
co
ov
ve
er
re
ed
d.
.
Solution: The reason may be caused by channel
interference, change the channel of the AP and
reconnect.
T
Th
he
e
c
co
om
mp
pu
ut
te
er
r
i
is
s
u
un
na
ab
bl
le
e
t
to
o
c
co
on
nn
ne
ec
ct
t
t
to
o
t
th
he
e
I
In
nt
te
er
rn
ne
et
t.
.
Solution: Account for Internet service provider (ISP) is
not properly configured. Ask for your ISP assistance.
T
Th
he
e
W
Wi
ir
re
el
le
es
ss
s
L
LA
AN
N
i
is
s
c
co
on
nn
ne
ec
ct
te
ed
d,
,
b
bu
ut
t
I
I
c
ca
an
n
n
no
ot
t
c
co
on
nn
ne
ec
ct
t
t
to
o
o
or
r
t
to
o
a
an
no
ot
th
he
er
r
c
co
om
mp
pu
ut
te
er
r.
.
Solution:
Check the device driver is properly installed.
Check that the device driver is properly installed. If
the driver is not properly installed, you will find a
yellow exclamation mark on the network icon by
licking Start > Control Panel > System > Device
Manager > Network Adapters.
If there is a yellow exclamation mark, please
reinstall the device driver with the system software
Media.
T
Th
he
e
s
si
ig
gn
na
al
l
s
st
tr
re
en
ng
gt
th
h
i
is
s
e
ex
xc
ce
el
ll
le
en
nt
t
b
bu
ut
t
c
ca
an
nn
no
ot
t
c
co
on
nn
ne
ec
ct
t
t
to
o
t
th
he
e
n
ne
et
tw
wo
or
rk
k.
.
Solution: Check the TCP/IP properties are configured
properly. When you connect to an AP, click the Wireless
Network Connection icon on the taskbar and select the
Support tab.

65
C
Co
on
nt
ta
ac
ct
ti
in
ng
g
Y
Yo
ou
ur
r
D
De
ea
al
le
er
r
If you still have a problem after reading the preceding
section, the next step is to contact your dealer.
Your dealer can determine if the problem is something
that requires the computer to be taken to the shop.
Before you call your dealer, however, please have the
following information available:
Solution:
How is your computer configured? Your dealer
needs to know what peripheral devices you are
using.
What messages, if any, are on the screen?
What software were you running at the time?
What have you done already to try to solve the
problem? If you have overlooked a step, your dealer
may be able to solve the problem over the phone.
W
Wh
ha
at
t
s
st
te
ep
ps
s
s
sh
ho
ou
ul
ld
d
b
be
e
t
ta
ak
ke
en
n
w
wh
he
en
n
w
wa
at
te
er
r
a
ac
cc
ci
id
de
en
nt
ta
al
ll
ly
y
g
ge
et
t
i
in
ns
si
id
de
e
t
th
he
e
T
Ta
ab
bl
le
et
t
P
PC
C
Solution:
At this time be sure not to power on the Tablet PC or
else it will cause more serious damage to the
computer
Unplug the adapter and take out the battery.
Disconnect as well if there are any external devices
connected (like CD-ROM or flash drive)
Pour out the water that got inside the computer and
use a soft cloth to remove the stain to avoid any
more damage
Use the fan to dry the whole system and any
peripheral then send it to the closest service center
for experienced personnel to diagnose and repair.

66
This will reduce the damage to the system
As a special reminder, be sure not to put the
computer inside the carry bag that has stain in
sending the computer for repair
T
Th
he
e
s
sy
ys
st
te
em
m
c
ca
an
n’
’t
t
r
re
es
su
um
me
e
o
op
pe
er
ra
at
ti
io
on
n
Solution:
Malfunction of external memory or internal
memory – an error will occur during saving into the
system memory, it will not execute normal operation
External peripheral connected to the system not
compatible – such as external USB devices,
compact flash, MMC, Smart Media are complicated
devices will easily cause the computer to enter
standby mode thus unable to resume operation
Un-suitable program or driver – any un-suitable
driver could cause any extension file like .dll, .sys
and .exe would not allow the system to enter
standby or hibernate mode
Operating System loses effect – the power saving
mode of Microsoft operating system adopt ACPI
mode (advanced Configuration and Power
Interface), the power scheme will be handle by the
OS thus affecting the power saving mode of the
system
R
Re
ec
co
ov
ve
er
ri
in
ng
g
y
yo
ou
ur
r
s
sy
ys
st
te
em
m
Solution: Press on the F11 key to recover.
To execute this operation, an
external keyboard and mouse must be connected to your
system.