Ansen Electronics Co EC-B130TX Remote Sensor User Manual
Ansen Electronics Co Remote Sensor
UserManual.wiki
>
Ansen Electronics Co
>
EC B130TX User Manual
User manual
Navigation menu
Upload a User Manual
Namespaces
Wiki Guide
HTML
PDF
Info
Views
User Manual
Discussion / Help
Navigation
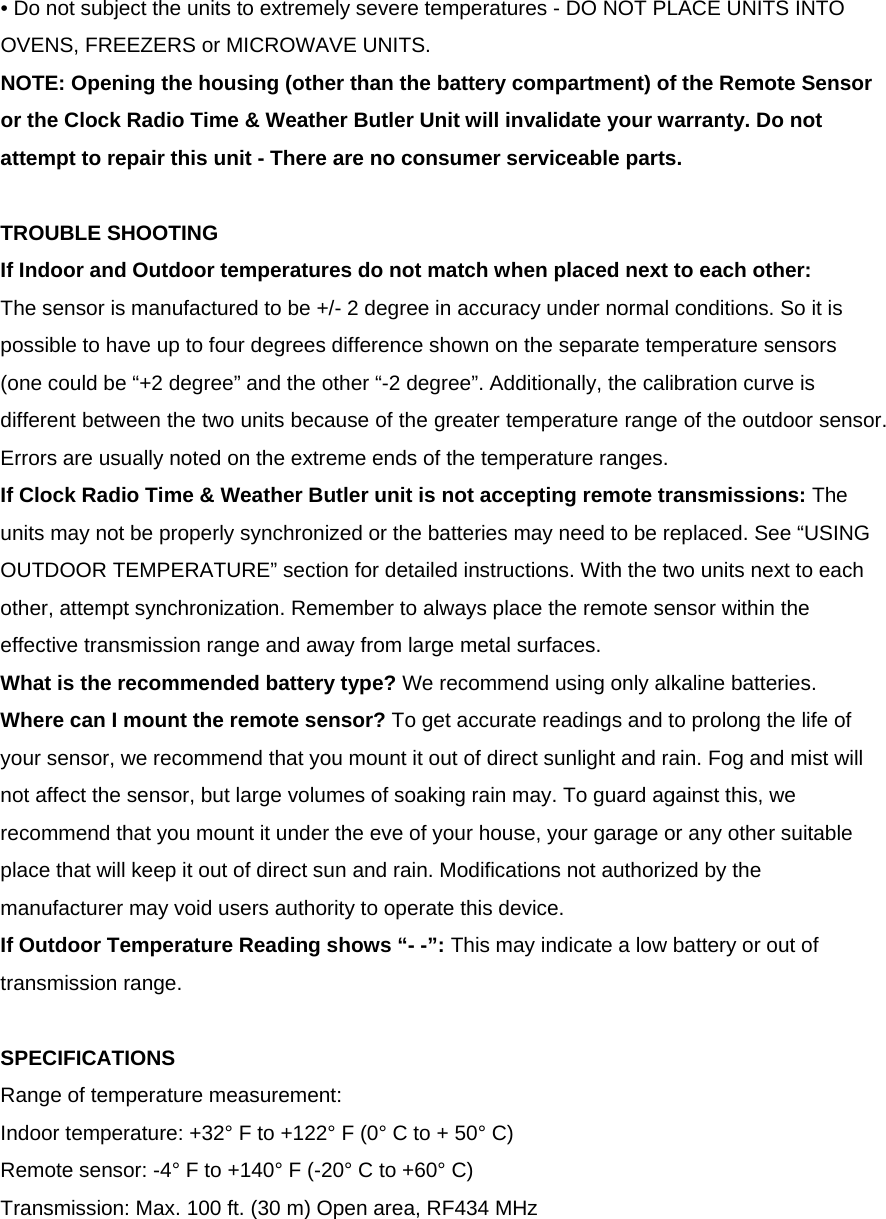
![PAGE 4 [INSERT LINE DRAWING OF FRONT OF IMAGE] Clock Radio Time & Weather Butler Features: • Indoor & Outdoor Temperature Display • Male voice announces time reporting and alarm mode • Easy-to-read display with illuminated LCD/3-level white backlight (HI/MED/LO) • AM/FM Digital Radio tuning with 8 preset memory • Dual Alarm Clock – 3 Wake Modes: Radio, Beep Tone or Male voice (report looping) • Convenient Snooze/Nap function • Digital Volume (0 1~8 level) • Speaker included (3” diameter) • Operation temperature: 0~50degC • Indoor temperature range: 0~50degC • Operating frequency: 434MHz • Transmission distance: 30m (open area) • Powered by 6V 300mA (120V input) AC/DC adaptor (included) • Back-up battery (3V DC - 1 x CR2032 (included ) for clock memory and alarm setting only during power failure Outdoor Temperature Remote Sensor Specifications: • Outdoor temperature range: - 20~60degC • Operating frequency: 434MHz • Transmission distance: 30m (open area) • Powered by 3V DC ( A total of 2 (two) AAA batteries (not included))](https://usermanual.wiki/Ansen-Electronics-Co/EC-B130TX/User-Guide-1143991-Page-3.png)
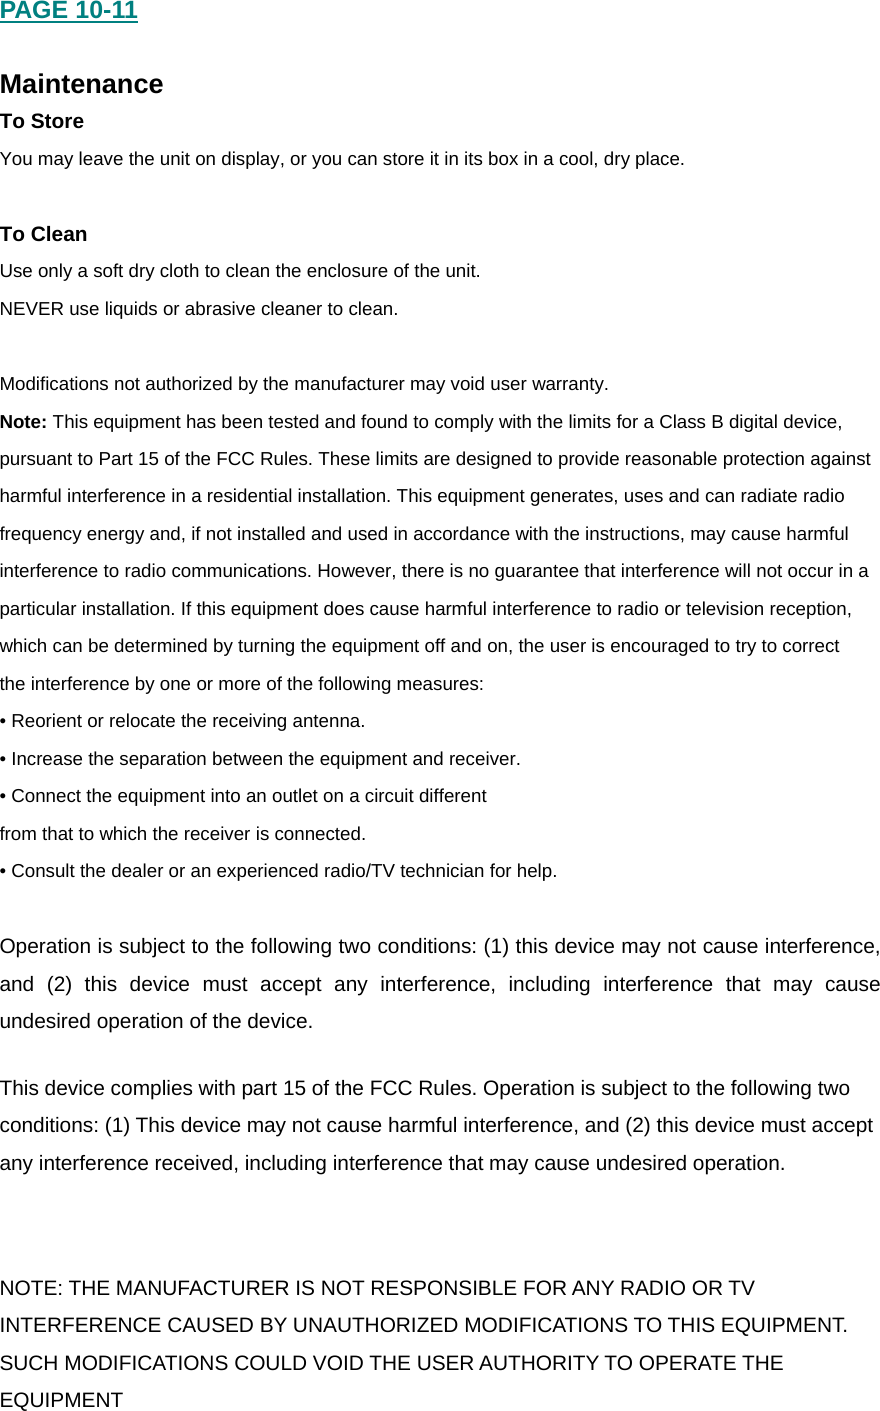
![Battery installation: • Alarm clock uses AC adaptor and 1 CR2032 (included). • Outdoor Temperature Remote Sensor (Transmitter) requires a total of 2 (two) AAA batteries (not included). 1. Remove compartment cover. Insert battery/batteries into the compartment on the bottom of the unit according to the polarity direction indicated. Replace cover and snap into place. 2. Attach the adaptor into the DC jack on the base of the unit and insert the cord into a 120V household outlet. The battery power is designed only to provide MEMORY BACK-UP for the clock and alarm settings (in the event of power outages or if the unit is unplugged). However, the time will not be illuminated on the clock display. As soon as the power supply returns, the display will indicate the correct time. NOTE: Battery must be installed in order for clock memory back-up to operate. In the event of a power failure or disconnection, if the battery is not installed, the clock and alarm, and radio memory will need to be re-set when power is restored. [Need to show image and instructions for how to install batteries (do we have anything like this on file?)] PAGE 5-9 [INSERT LINE DRAWING OF TOP OF IMAGE SHOWING BUTTONS] Setting the Clock: 1. TIMER: Press TIMER button and it will display 15, 30, 45, 60 and OFF. This feature allows you to choose how long you listen. 2. RADIO: Press RADIO button once and it will be at FM. Press RADIO button twice for AM. If memory is not empty, under radio off status, pressing it once will return to last memory station frequency, but not in memory mode. Volume Control: • Press “+” to increase the volume level 1~8. • Press “-“ to decrease the volume level 8~1.](https://usermanual.wiki/Ansen-Electronics-Co/EC-B130TX/User-Guide-1143991-Page-4.png)
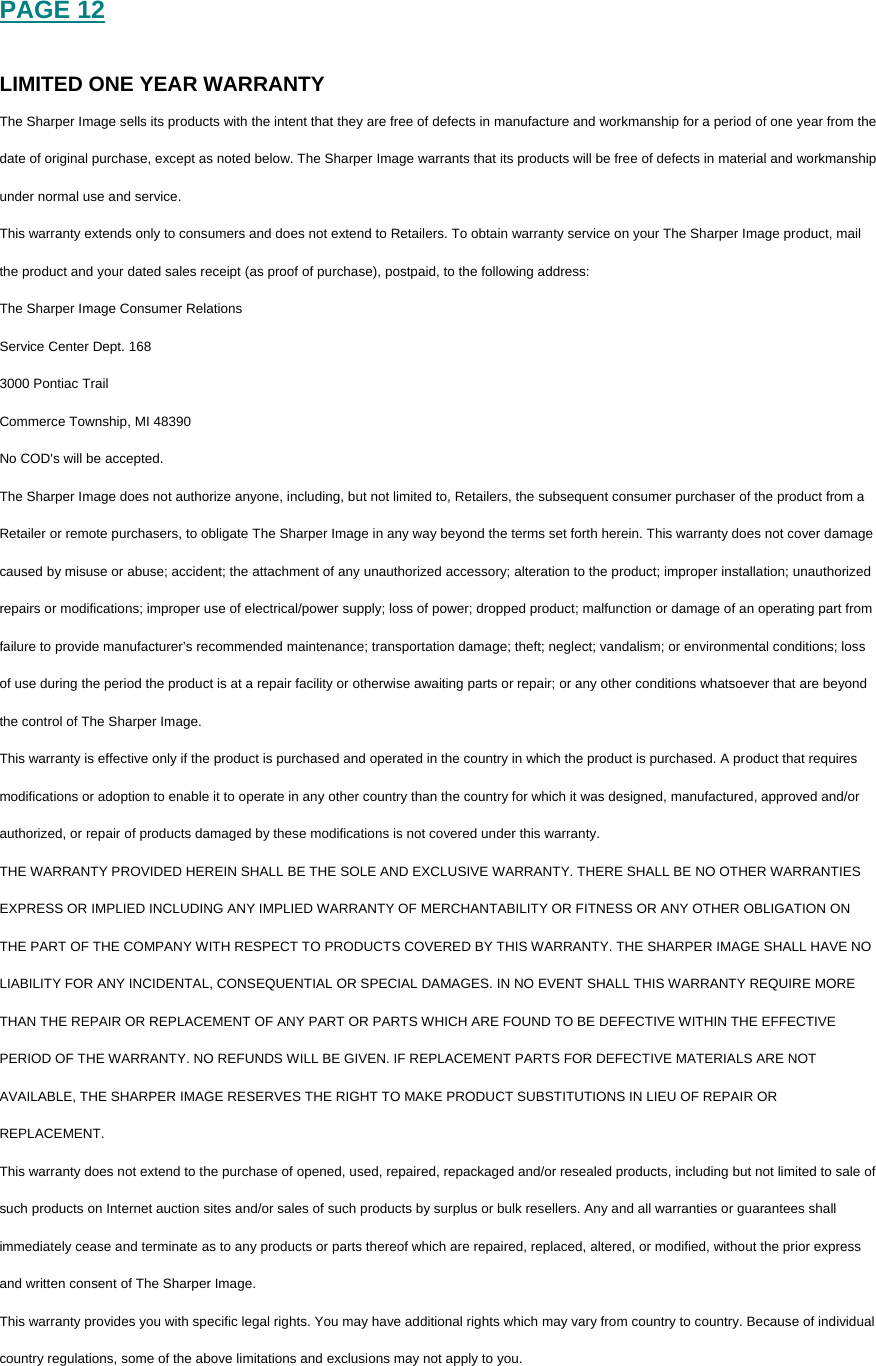
![Setting the Alarm: For your convenience, two separate alarms may be set to accompany individual wake-up times: ALARM 1 & ALARM 2 Alarm 1 button Short press: Set Alarm mode Æ Beep Æ Radio Æ Voice Æ Off The display will show the Alarm 1 bell icon next to your selected mode. Press and hold: 1. Time flashing for HH, press +/- button to change Hour setting, press Alarm 1 button to confirm and change to minute setting. 2. Time flashing for MM, press +/- button to change Minute setting, wait for timeout to save and go back to normal mode. The display will show: Alarm 1 bell icon: HH: MM (AM/PM) Alarm 2 button Short press: Set Alarm mode Æ Beep Æ Radio Æ Voice Æ Off The display will show the Alarm 2 bell icon next to your selected mode. Press and hold: 1. Time flashing for HH, press +/- button to change Hour setting, press Alarm 2 button to confirm and change to minute setting. 2. Time flashing for MM, press +/- button to change Minute setting, wait for timeout to save and go back to normal mode. The display will show: Alarm 2 bell icon: HH: MM (AM/PM) OFF: Press the OFF button to turn off the “radio” feature or “audio” feature, and “Alarm OFF” during alarm mode. REPORT: Press the REPORT button once and real time data and outdoor temperature reading will be announced. MEMORY: The AM/FM radio station memory records a maximum of 8 channels. • Normal mode radio off, short-press [MEM] button to turn on radio and automatically return to the last memory radio station. • Press and hold [MEM] button more than 2 seconds to record new station. The “MEM” icon will appear and the memory digit will flash. • Press the [VOL +/-] to select memory number, press “Tuner +/-“ to tune the station, press the [MEM] button to confirm current station into memory.](https://usermanual.wiki/Ansen-Electronics-Co/EC-B130TX/User-Guide-1143991-Page-5.png)
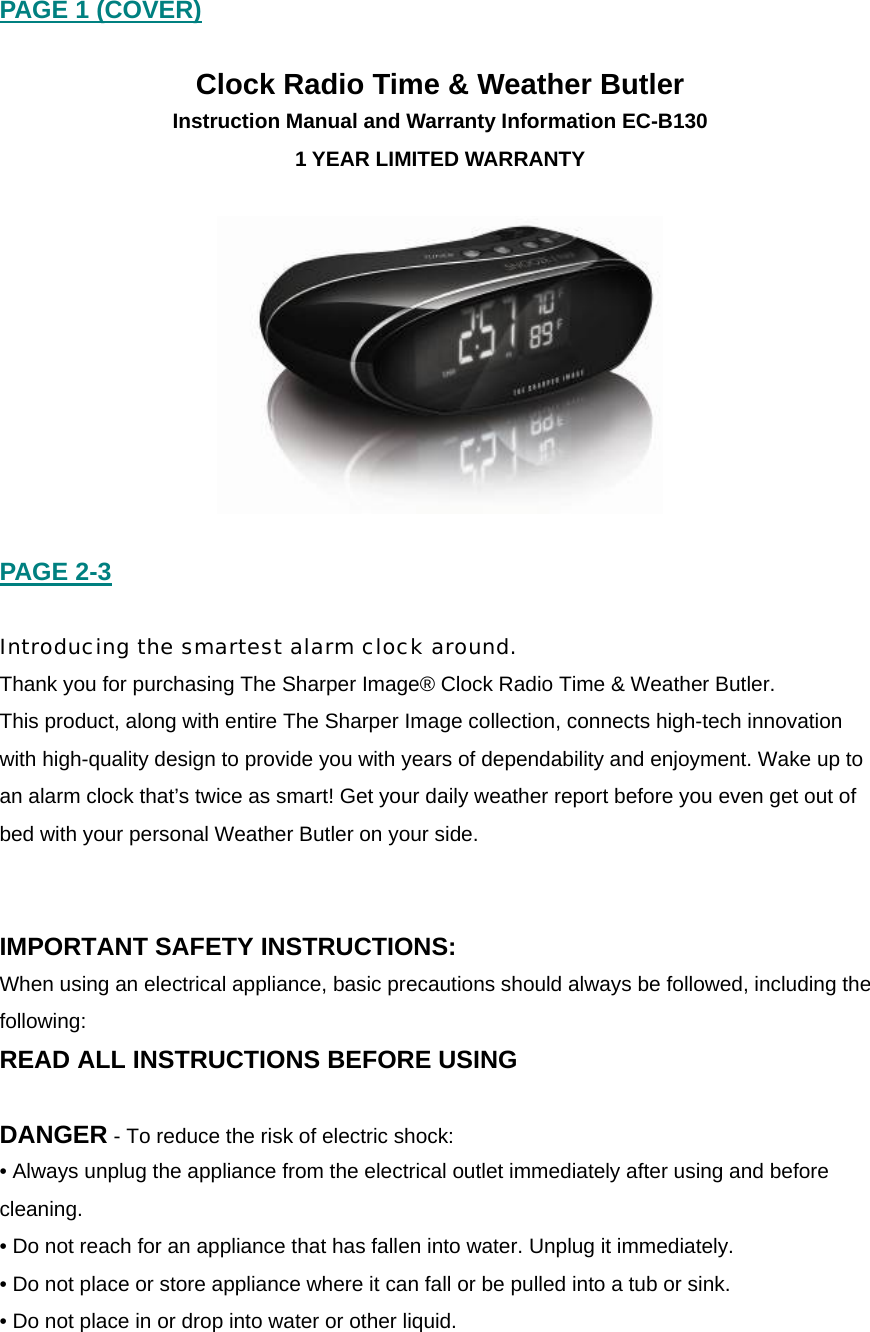
![TUNER/TIME SET: 1. In “DATE SET” mode or “ALARM SET” mode, press the [+] button to increase and press [-] to decrease digital values. 2. In RADIO mode, short press the [+] & [-] buttons to manually adjust the frequency. Long press to auto search forward [+] and for backward [-] selection. SNOOZE/NAP: Press the SNOOZE/NAP bar to snooze. This will automatically activate snooze time for nine minutes. Or you may choose to set the alarm in 15, 30, 45, 60 minutes or OFF for nap. Controls located underneath Clock Radio: Backlight HI/MED/LO: Slide switch to select the brightness level of backlight on display. C/F: Slide switch to interchange between Celsius (°C) or Fahrenheit (°F) for temperature level. Daylight Savings Time: Slide DST ON/OFF switch to activate or inactivate the Daylight Savings Time feature. DATE/TIME: 1. Press and hold [DATE/TIME] button for more than 3 seconds, and enter the “DATE/TIME SET MODE” setting. 2. Press [DATE/TIME] button once, to set “year->month->day->hour->minute-exit” USING INDOOR TEMPERATURE The unit will begin reading indoor temperature when it is plugged in. Allow a few minutes for the correct temperature to register on the LCD display. USING OUTDOOR TEMPERATURE Be sure the Clock Radio Time & Weather Butler unit is plugged in prior to the remote sensor battery installation.](https://usermanual.wiki/Ansen-Electronics-Co/EC-B130TX/User-Guide-1143991-Page-6.png)