V2 Vecton Instructions V2ecton UV Steriliser
2017-05-31
: Aquarium V2Ecton-Uv-Steriliser-Instructions V2ecton-UV-Steriliser-instructions s
Open the PDF directly: View PDF ![]() .
.
Page Count: 9
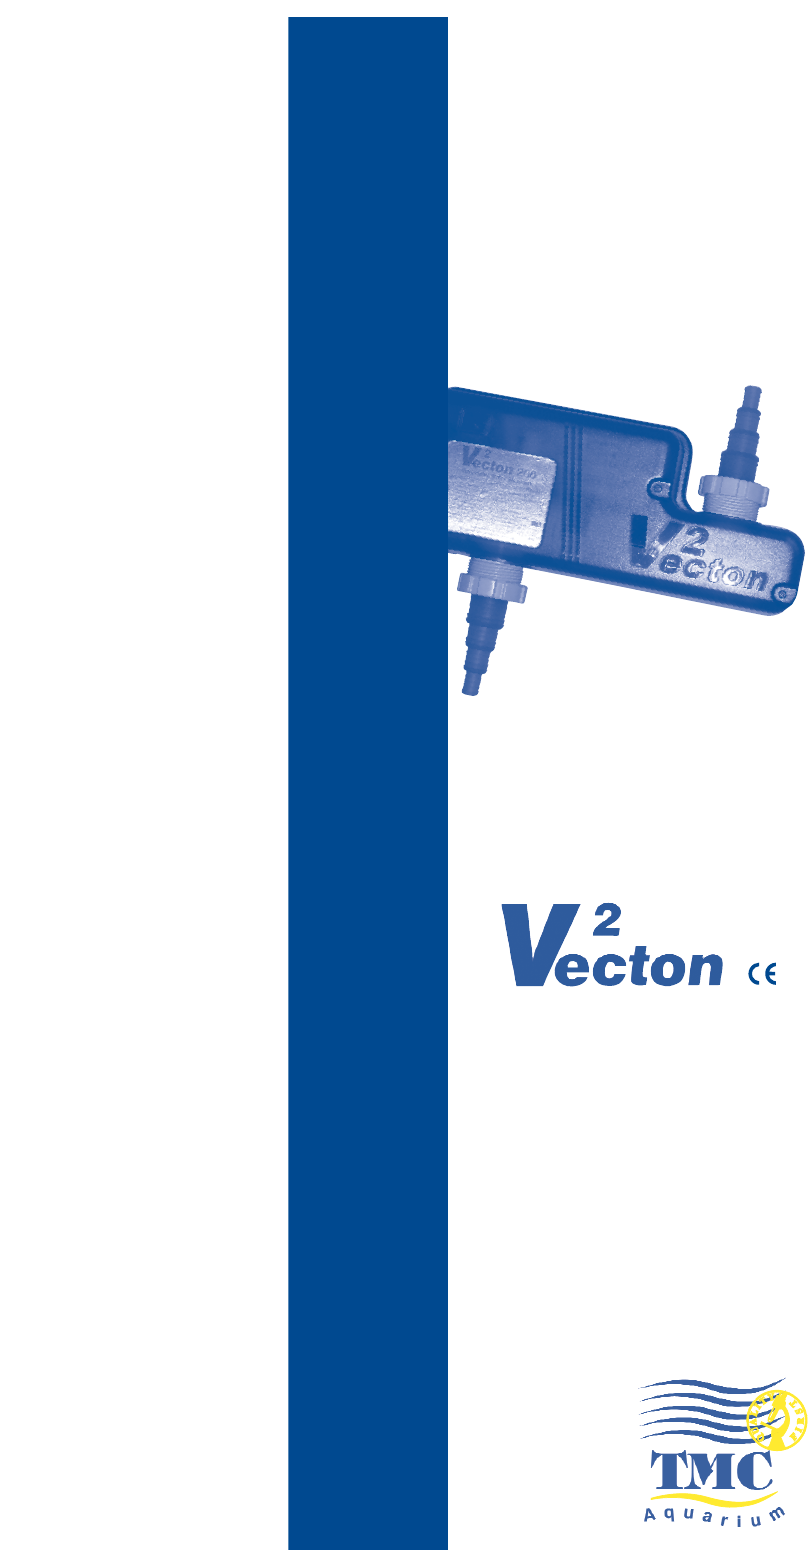
Aquarium UV Sterilisers
INDEX
ENGLISH . . . . . . . . . . . . . . . . . . . . . . . . . . . . . . . . . . . . . . . . . . . . . . . . . . . . 1
FRANÇAIS . . . . . . . . . . . . . . . . . . . . . . . . . . . . . . . . . . . . . . . . . . . . . . . . . 7
DEUTSCH . . . . . . . . . . . . . . . . . . . . . . . . . . . . . . . . . . . . . . . . . . . . . . . . 13
NEDERLANDS . . . . . . . . . . . . . . . . . . . . . . . . . . . . . . . . . . . . . . . . . 19
ITALIANO . . . . . . . . . . . . . . . . . . . . . . . . . . . . . . . . . . . . . . . . . . . . . . . . 25
ESPAÑOL . . . . . . . . . . . . . . . . . . . . . . . . . . . . . . . . . . . . . . . . . . . . . . . . . 31
Always isolate the unit from mains electricity before carrying out
any maintenance.
Isolez toujours l’appareil du courant de secteur avant de procéder
à tout entretien
Vor Ausführung irgendwelcher Wartungsarbeiten müssen Sie
immer zunächst die Stromversorgung der Einheit unterbrechen.
Isoleer het toestel steeds van de hoofdleiding voordat u een
onderhoud uitvoert.
Scollegare sempre l'apparecchio dall'alimentazione di rete prima di
intraprendere qualsiasi operazione di manutenzione.
Aísle siempre la unidad de la red eléctrica principal antes de llevar a
cabo ningún tipo de reparación o mantenimiento.
Dispose of this unit responsibly. Check with your local authority
for disposal information. UVC bulbs must not be disposed of in
household refuse but must be taken to an authorised collection point
for environmentally responsible disposal.
Eliminez cet appareil en respectant la législation en vigueur, que vous
pouvez obtenir auprès de vos autorités locales. Les ampoules UVC
ne doivent pas être jetées avec les déchets domestiques mais
emmenées dans un centre autorisé où elles seront éliminées de
manière écologique.
Entsorgen Sie diese Einheit auf eine verantwortungsvolle Weise.
Informationen über die Entsorgung erhalten Sie bei Ihrer
Kommunalbehörde. UVC-Röhren dürfen nicht zusammen mit dem
normalen Haushaltsmüll entsorgt werden, sondern müssen zu
einer genehmigten Sammelstelle gebracht werden, wo sie
umweltfreundlich entsorgt werden können.
Gooi dit toestel op een verantwoorde manier weg. Informeer bij uw
plaatselijke autoriteit voor informatie over afvalverwerking. UVC-
lampen mogen niet bij het huisafval worden gegooid en moeten naar
een erkend verzamelpunt gebracht worden voor een verantwoorde
afvalverwerking.
Smaltire l’unità in modo responsabile. Per ulteriori informazioni
contattare gli enti locali. Le lampade UVC non devono essere
smaltite con i rifiuti domestici ma devono essere portate a punti di
raccolta autorizzati per lo smaltimento in conformità con le leggi
ambientali in vigore.
Deseche esta unidad de forma responsable. Pida información a las
autorices locales sobre cómo proceder correctamente. Las bombillas
UVC no pueden desecharse junto con la basura doméstica, sino que
deben ser llevadas a un centro de recogida de residuos autorizado
para desecharlas sin dañar el medio ambiente.
IMPORTANT .WICHTIG . BELANGRIJK . IMPORTANTE
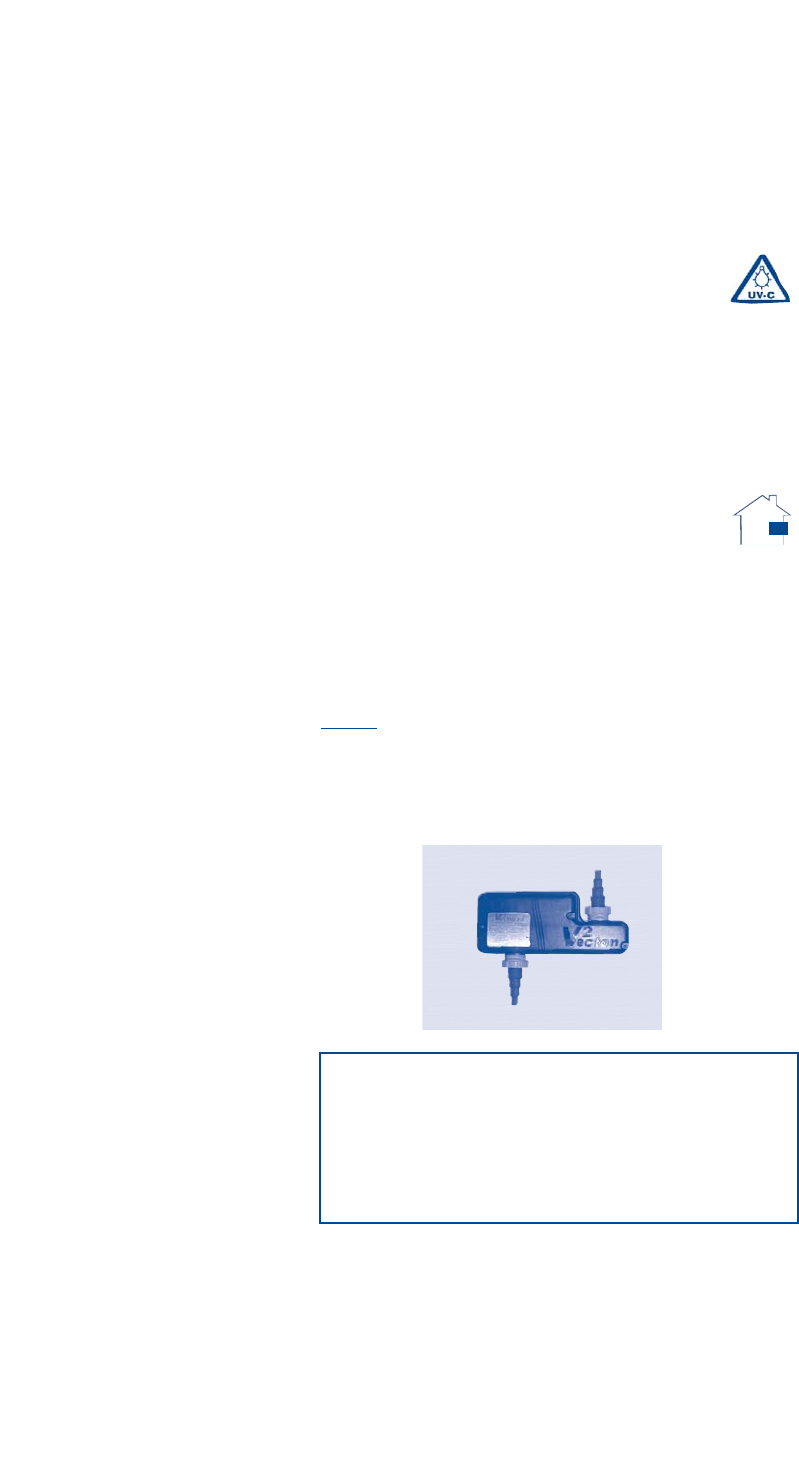
Instructions for
Installation and Use
This V2ecton unit is supplied with two universal hosetails for connecting the
steriliser to the water system. Installation is explained in detail below, but please
read the following safety information first.
Important Safety Information
- Please Read Carefully
- Never look directly at an illuminated UV lamp.
- Do not run this unit dry. Do not cover this unit.
- Always isolate the unit from mains electricity and turn off the
water supply before carrying out any maintenance.
- Power must be supplied through a Residual Current Device (RCD) with a
rated residual operating current not exceeding 30mA.
- This unit must be earthed. Never use a fuse larger than 3 amps.
- Rating: 230V, 50Hz. Class 1. IPX3. USA models: 120v 60Hz.
Model 200/G8T5: 15-17watts. Model 300/G16T5: 24-26 watts
Model 400/G15T8: 23-25watts. Model 600/G25T8: 36-38 watts
- The unit must not be submerged in water.
- If the quartz sleeve is cracked, replace it immediately.
- This unit is designed to be used indoors and is not suitable for
any outdoor applications.
Product Information
This unit is manufactured and conforms to:-
Safety: BS EN 60335-1: 2002. BS EN 60335-2-55: 2003
EMC: EN 55015: 2000. EN61000-3-2: 2000 EN61000-3-3: 1995
This unit is CE approved.
POSITIONING THE V2ECTON UNIT
Caution: This unit must not be mounted above the aquarium or in any position
where it may accidentally fall into water or be splashed by water.
This unit may be installed either flat on its base or mounted using the key hole slots
in the underside of the base. If this unit is mounted then it must only be mounted
as shown in the diagram below. It must not be mounted in any other plane.
DANGER
1
IN
OUT
Mounted on
wall of cabinet
To ensure the correct operation of the
LITE SET
lamp life timer the V2ecton
unit must be positioned away from direct natural sunlight or any other strong
white light source such as metal halides. As a guide, the unit should not be
located in any position where, at any time of the day, even occasionally, direct
natural daylight from a window, skylight, door or any other opening can fall on
any part of the V2ecton unit. If the
LITE SET
lamp life timer is exposed to
strong light at any time during its normal operation it will reset itself when the
light diminishes again. This will drastically affect the accuracy of the timer as it
will lose the memory of the time run before resetting.
The V2ecton unit is best housed in a cabinet or otherwise fixed in a corner on
the same wall as a window as long as it is not exposed to even occasional
direct natural light from another opening or a strong white light source in the room.
This V2ecton unit incorporates a light sensitive
LITE SET
lamp life timer.
This timer provides a visual indication of when the UV lamp on this unit needs
to be replaced and must then be reset when a lamp change is completed.
This
LITE SET
lamp life timer is an additional feature which works independently
of the main operation of the V2ecton steriliser unit. If the
LITE SET
lamp
life timer does not reset correctly, or malfunctions in any way, this will not
affect the operation of the UV Steriliser which will continue to fully operate
normally and effectively for the lifetime of the lamp.

CONNECTION TO THE AQUARIUM WATER SUPPLY
Water flow: Water should be pumped into the lower inlet port and returned
to the aquarium via the upper outlet port as shown in the diagram above.
Connection with flexible hose
The V2ecton unit is supplied with two universal hosetails to take 1/2”, 3/4”, 1”and 11/4”
diameter flexible hose. If you are using one of the three larger sizes, the smaller
sections of the hosetails must be cut off to ensure sufficient water flow and to
prevent possible damage to the pump. We recommend that you use the largest
diameter hose available. As it is easier to cut the hosetails while they are attached to
the unit, attach them using the female threaded lock nuts and gaskets provided. Ensure
that the gaskets are seated correctly between the flat face of the hosetails and the flat
face of the inlet/outlet ports. Using a hacksaw, carefully cut off the excess hosetail,
ensuring that the sections are cut off at the second ridge and that the cut follows the
line of the ridge.
Once trimmed, hand tighten the lock nuts to secure the hosetails to the inlet/outlet ports.
Do not use jointing compound or PTFE tape. Secure the hosepipe to the hosetail
with a stainless steel hose clip.
The hosetails supplied are made from a translucent material which will glow when the
unit is operating correctly. (NB. glow only visible in low levels of light.)
Connection using rigid pipe
This unit may also be rigid plumbed in either of the following ways:-
1. Using TMC universal rigid pipe adaptors available from your aquatic
supplier (part no. PCADRPACTO4).
These should be fitted as shown in the diagram below.
A. If using 40mm solvent weld plastic pipe the adaptor will be glued into the
pipe. It is essential to fit the lock nut before you solvent weld the adaptor
into the 40mm pipe.When solvent welding the two parts, sufficient space
(20mm as shown) must be left between the adaptor and the 40mm pipe
to allow the lock nut to be undone.
B. If using 1” solvent weld pipe the pipe will be glued into the adaptor at the
first stepped stage.
C. If using 32mm solvent weld pipe the pipe will be glued into the adaptor at
the second stepped stage.
Important: Once you have solvent welded the two parts they must be left to
fully cure before making the final connection between the rigid pipe adaptor
and the V2ecton. When attaching the plumbed rigid adaptors to the unit ensure
that the gaskets are seated correctly between the flat face of the pipe adaptor
and the flat face of the inlet/outlet ports. Do not use a jointing compound or
PTFE tape.
For USA rigid plumbing you should use the 1” pipe option above.
2. Using 11/2" BSP female threaded plastic sockets that are available from
most suppliers of plastic plumbing fittings.
2
Gasket
Lock Nut
20mm 40mm solvent
weld plastic pipe
1” or 32mm solvent
weld plastic pipe
CUT
LINE CUT
LINE
CUT
LINE
Gasket Lock Nut

FLOW RATES
Do not exceed the maximum flow rates as this will considerably reduce the
efficiency of the unit.
V2ecton 200: For aquariums up to 200 litres/50 imp gal/60 US gal
Maximum flow/hr: 680 litres/150 imp gal/180 US gal
V2ecton 300: For aquariums up to 300 litres/65 imp gal/80 US gal
Maximum flow/hr: 960 litres/215 imp gal/255 US gal
V2ecton 400: For aquariums up to 400 litres/90 imp gal/110 US gal
Maximum flow/hr: 1300 litres/290 imp gal/350 US gal
V2ecton 600: For aquariums up to 600 litres/130 imp gal/160 US gal
Maximum flow/hr: 1900 litres/420 imp gal/505 US gal
Always use the largest diameter hose possible, this will ensure that you get the
maximum performance from your water pump.
CONNECTION TO THE ELECTRICAL SUPPLY
Power must be supplied through a Residual Current Device (RCD) with a rated
residual operating current not exceeding 30 mA.
This unit is supplied fitted with a moulded plug:-
For the United Kingdom: Fitted with a 3 Amp BS1363A plug
For Mainland Europe: Fitted with a Schuko 10/16 Amp two pole and earth plug
For the USA: Fitted with a 15 Amp two pole and earth plug
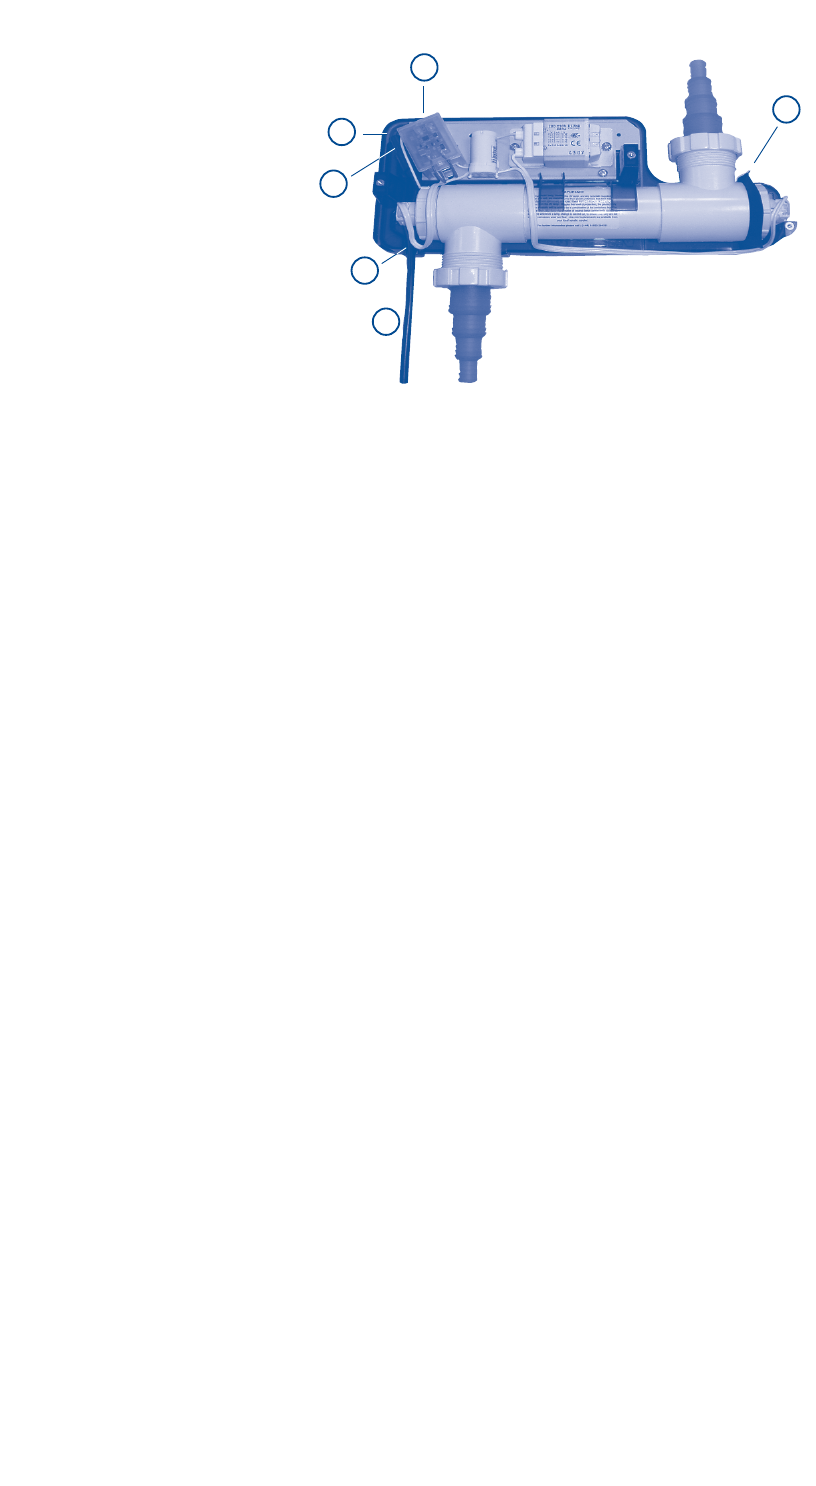
All models are fitted with an in-line 3 amp fuse. This is located inside the unit
to the left of the
LITE SET
lamp life timer (see no. 6 in diagram on page 6).
LAMP LIFE
The UV lamp fitted in this unit has a usable of life of 8000 hours (one year).
At 8000 hours the lamp will still be glowing brightly but the emission of
germicidal UVC will have deteriorated to approximately 85% efficiency.
For the majority of home aquarium applications the lamp should be changed
once a year (8000 hours).
For more critical applications the lamp should be changed at 4000 hours.
LITE SET
LAMP LIFE TIMER
Once set the timer will show:-
A GREEN indicator LED for the first 4000 hours
An ORANGE indicator LED for the next 4000 hours
A RED indicator LED when the lamp needs replacing at 8000 hours
To show that the timer is working a RED light will flash for 1 second every 60
seconds during the GREEN and ORANGE phases.
SETTING THE TIMER
Install the unit and turn on the mains power. Once the unit is running aim the
light beam of the
LITE SET
torch (supplied with the unit) at the small
window through which the green indicator light is visible.
The torch produces a concentrated light beam. When you shine the beam into
the window you will see two plastic posts. Aim the light beam directly onto the
left hand post at a distance of not more than 2cm from the window and keep
the light beam aimed in this position for at least 10 seconds. When you first
aim the beam at the window the indicator light will go through a flashing
green-orange-red sequence, repeating several times, but after about 10 seconds
a red light will flash on and off at 1 second intervals.When this has occurred
more than 3 times the timer is set and you can switch off the torch. The LED
will now be set on green.
3
This V2ecton unit incorporates a light sensitive
LITE SET
lamp life timer.
This timer provides a visual indication of when the UV lamp on this unit needs
to be replaced and must then be reset when a lamp change is completed.
This
LITE SET
lamp life timer is an additional feature which works independently
of the main operation of the V2ecton steriliser unit. If the
LITE SET
lamp
life timer does not reset correctly, or malfunctions in any way, this will not
affect the operation of the UV Steriliser which will continue to fully operate
normally and effectively for the lifetime of the lamp.

Note: If, at any time, the mains power to the unit is disrupted, the
LITE SET
lamp life timer will retain memory of used lamp life and automatically continue
timing when the power is restored. Do not attempt to reset if the green light is
showing.
When you change the lamp repeat the procedure to reset the timer.
ROUTINE MAINTENANCE
The UV lamp should be changed at intervals of either 4000 hours or 8000
hours dependent on application.At each lamp change the quartz sleeve should
be removed and cleaned.
WATER DISPLACEMENT GASKET
A soft black circular rubber gasket is fitted to the right hand side of the white
plastic body and is fitted to protect the lamp holder assembly from any accidental
water spillage or splashing.
Each time the cover is removed from the base this gasket must be correctly
located on re-assembly.
When replacing the cover, and before screwing it to the base, make sure that
the gasket is fitted onto the right hand end of the white plastic body and located
between the white plastic body and the white plastic compression fitting. It will
be held (loosely) in place by this compression fitting.When correctly fitted the
gasket must lean towards the right, away from the outlet port.
4
Unit
Operation LED Condition Operation
Switch ON Green Constant
Normal Working Condition
Unit is set correctly and
present light conditions are
compatible with the operation
of the timer. Check this is
the case under all lighting
conditions, day and
night. When the timer is
working correctly it will
flash RED once for 1 second
every 60 seconds.
Switch ON Red Flashing
Timer is not set
Light conditions are too
bright to allow the unit to
reset. The timer function
will not be working.
Switch ON
Green
then cycling
through 3 colours
before
Red
Constant
Flashing
Timer is trying to reset
Light conditions are possibly
too bright or may be changing.
Timer is trying to reset so
the timer function cannot
operate correctly.
Running Green Constant
Normal Working Condition
Unit is set correctly and
present light conditions are
compatible with the operation
of the timer. Check this is
the case under all lighting
conditions, day and
night. When the timer is
working correctly it will
flash RED once for 1 second
every 60 seconds.
Running Orange Constant
Warning Condition
UV lamp has been operating
for more than 4000 hours and,
in some critical applications,
may need replacing. When
the timer is working correctly
it will flash RED once for 1
second every 60 seconds.
Running Red Constant
Critical Condition
UV lamp has been operating
for more than 8000 hours
and needs to be replaced to
ensure maximum effectiveness.
Running Red Flashing
Timer is not set
Light conditions are too
bright to allow the unit to
reset. The timer function
will not be working.

5
When the cover is replaced on the unit this gasket will be visible through the
cover and should be tilting away from the outlet port and towards the lamp
end and lamp holder.
When correctly fitted this gasket will protect the lamp end assembly from any
possible water splash.
LAMP REPLACEMENT AND QUARTZ CLEANING
Isolate from electrical and water supplies before removing the cover of
the unit.
Caution: If the cover of the unit is wet, gently wipe away any water before
removing for servicing or maintenance. This will prevent water accidentally running
onto the electrical components.
Remove the cover and lift out the white plastic body.To dismantle the body, pull
off the white plastic lampholders at either end (see diagram) and slide the lamp out
carefully.
Next, unscrew the two compression fittings located at either end of the white
plastic body (see diagram) and slide off the two ‘O’ rings.
Then slide out the quartz sleeve. Clean the sleeve and polish with a soft cloth or
paper towel. If you live in a hard water area there may be some limescale on the
quartz sleeve. This can be easily removed by soaking the sleeve in a proprietary
kettle descaling solution. Failure to remove the limescale will limit the effectiveness
of the UV lamp.
ASSEMBLY PROCESS
Slide the quartz sleeve back into the white plastic body. Ensure that you locate
the ‘O’ rings accurately on the ends of the quartz. Failure to do so will result in
leaks when the water is turned on.
If you are carrying out the annual lamp change, use new ‘O’ rings. Firmly hand
tighten the compression fittings. Fit a new lamp. Relocate the lampholders and
place the unit back into the base.
Caution: Ensure that the mains power cable is properly located in the cable slot
in the base (see no. 2 in diagram on page 6).
Caution: Before replacing the cover ensure that the grey tubular gasket is
correctly located in the gasket recess in the base (see 3 in diagram on page 6).
Reconnect and turn on the water supply to check for leaks before connecting the
electricity supply. Replace the cover before switching the unit on.
Caution: To achieve a proper seal,ensure that the three cover fixing screws are
fully tightened, securing the cover to the base.
Correctly
positioned
water
displacement
gasket
1. Lampholder 2. Compression Fitting 3. UV lamp
4. Quartz Sleeve 5.‘O’ Ring 6. Hosetail Socket
7.White Body
23456 7
1
IMPORTANT
The plastic body and any hosetails supplied with this unit are manufactured
from polymers that have been specifically stabilised, to protect them from the
effects of UVC light emitted from the lamp. Despite this UV protection the
plastic body and hosetails will be eroded by the UVC and the water flow. As a
matter of course they should be inspected whenever a lamp change is carried
out, to ensure that they are not showing excessive wear and tear. Low cost
replacements are available from your local aquatic supplier.
1
1. Mains cable
2. Cable slot
3. Grey tubular gasket
4.
LITE SET
lamp life timer
5.Water displacement gasket
6. In-line 3 amp fuse holder.
2
35
4
6
6
GUARANTEE
PLEASE NOTE that the 36 month guarantee
cover for the unit does not include serviceable parts
e.g
LITE SET
lamp assembly, UV lamp, seals and
quartz sleeve
GARANTIE
VEUILLEZ NOTER que la Garantie de 36 mois de l’unité
ne couvre pas les pièces remplaçables, c’est-à-dire le
système d’assemblage
LITE SET
, l’ampoule UV, les
joints d’étanchéité et le manchon en quartz
GARANTIE
BITTE BEACHTEN SIE, dass die 36-monatige Garantie
für die Einheit keine Wartungsteile, wie
LITE SET
-
Leuchtensatz, UV-Leuchte, Dichtungen und
Quarz-Mantel, beinhaltet
GARANTIE
MERK OP dat onder de garantie van 36 maanden voor
het toestel geen onderhoudsonderdelen vallen,
bijvoorbeeld
LITE SET
lamp, UV-lamp, dichtingen
en kwartsvoering
GARANZIA
NOTARE che la garanzia di 36 mesi per l’apparecchiatura
non comprende i componenti soggetti a normale
usura, quali il gruppo lampada
LITE SET
, la lampada
UV, le guarnizioni e il manicotto di quarzo
GARANTÍA
TENGA EN CUENTA que la cobertura de la garantía de
36 meses no incluye las piezas reparables,como por ejemplo,
el ensamblado de la lámpara marca
LITE SET
,lámpara de
rayos UV, sellos y manga de cuarzo
Tropical Marine Centre, Solesbridge Lane, Chorleywood,
Hertfordshire,WD3 5SX, UK
Technical Information Lines
Tel: +44 (0) 1923 284151 Fax: +44 (0) 1923 285840
Open between
9am - 5pm Monday to Thursday/9am - 12pm Friday.
Website: www.tmc-ltd.co.uk Email: tmc@tmc-ltd.co.uk
