Arcadyan Technology WN6301BARC EX-Stream Universal 2.4 GHz/ 5 GHz Cardbus Adapter User Manual 3crshpw796 04
Arcadyan Technology Corporation EX-Stream Universal 2.4 GHz/ 5 GHz Cardbus Adapter 3crshpw796 04
Contents
- 1. DoC
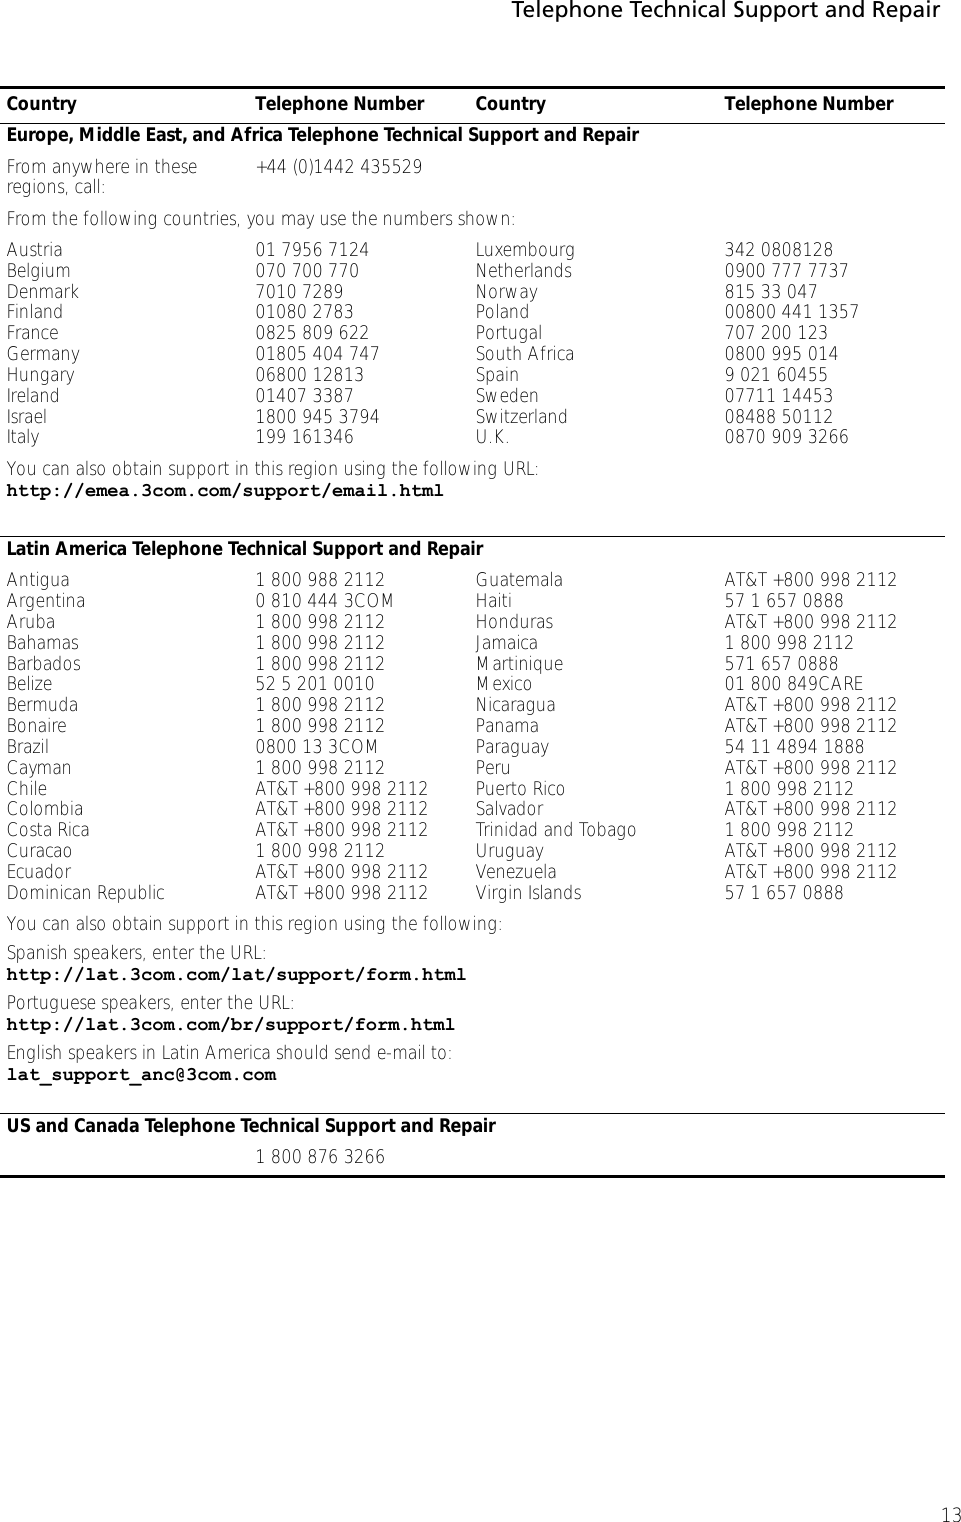
- 2. Users Manual
- 3. Users Manual Revised
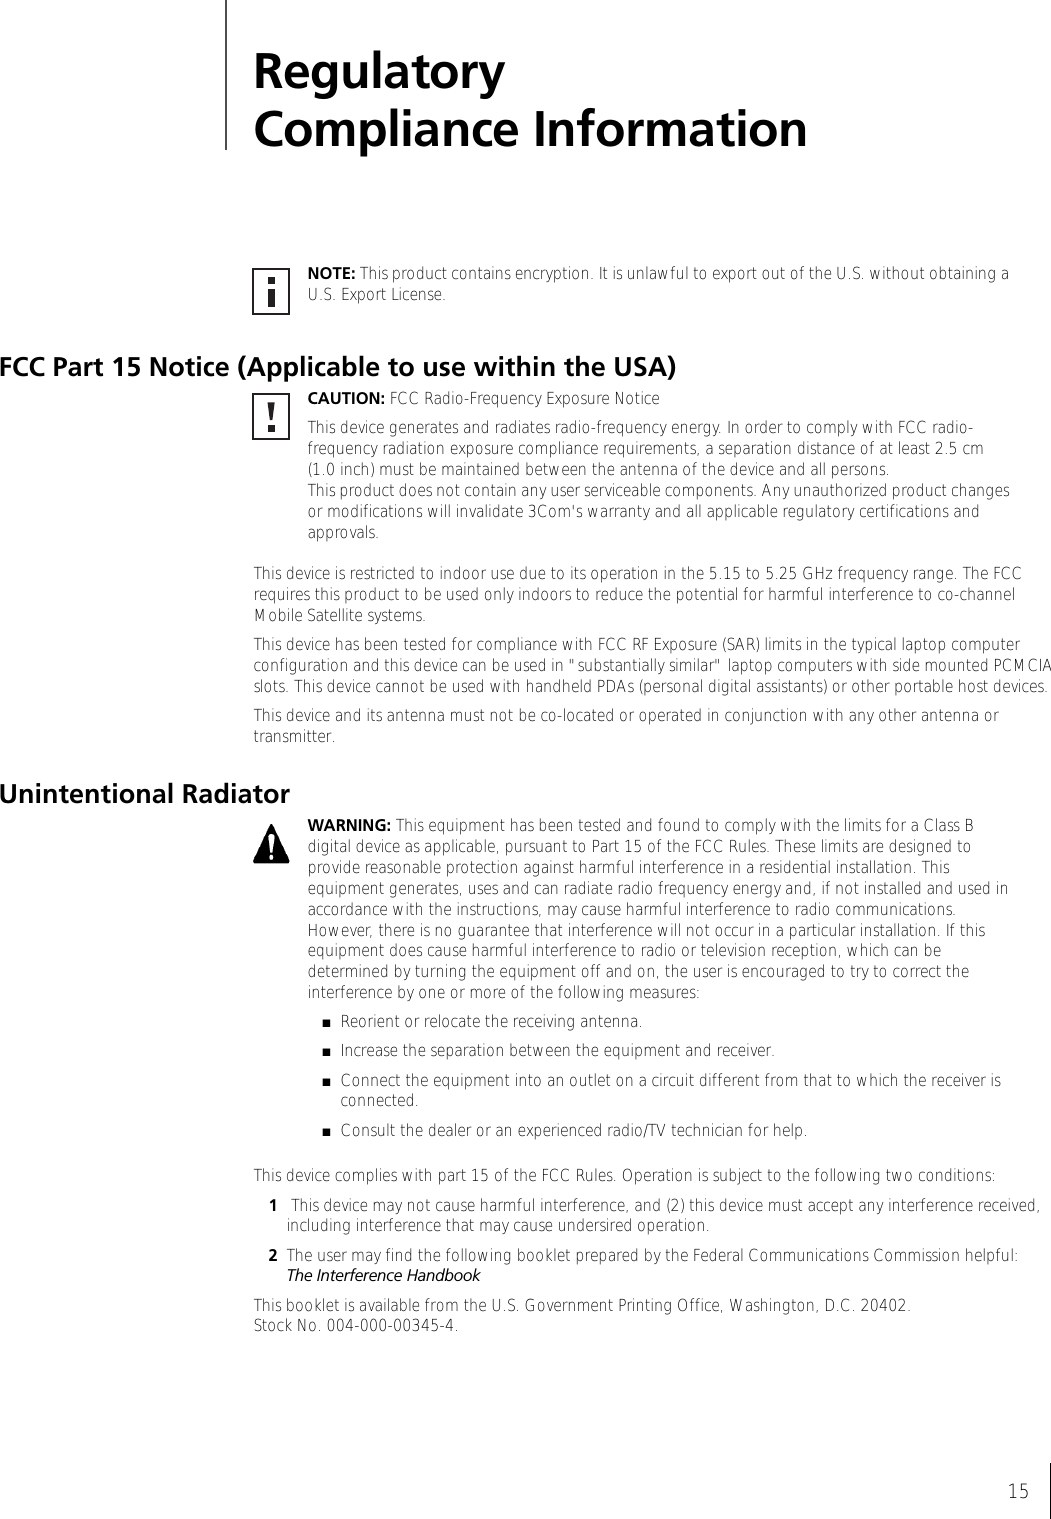
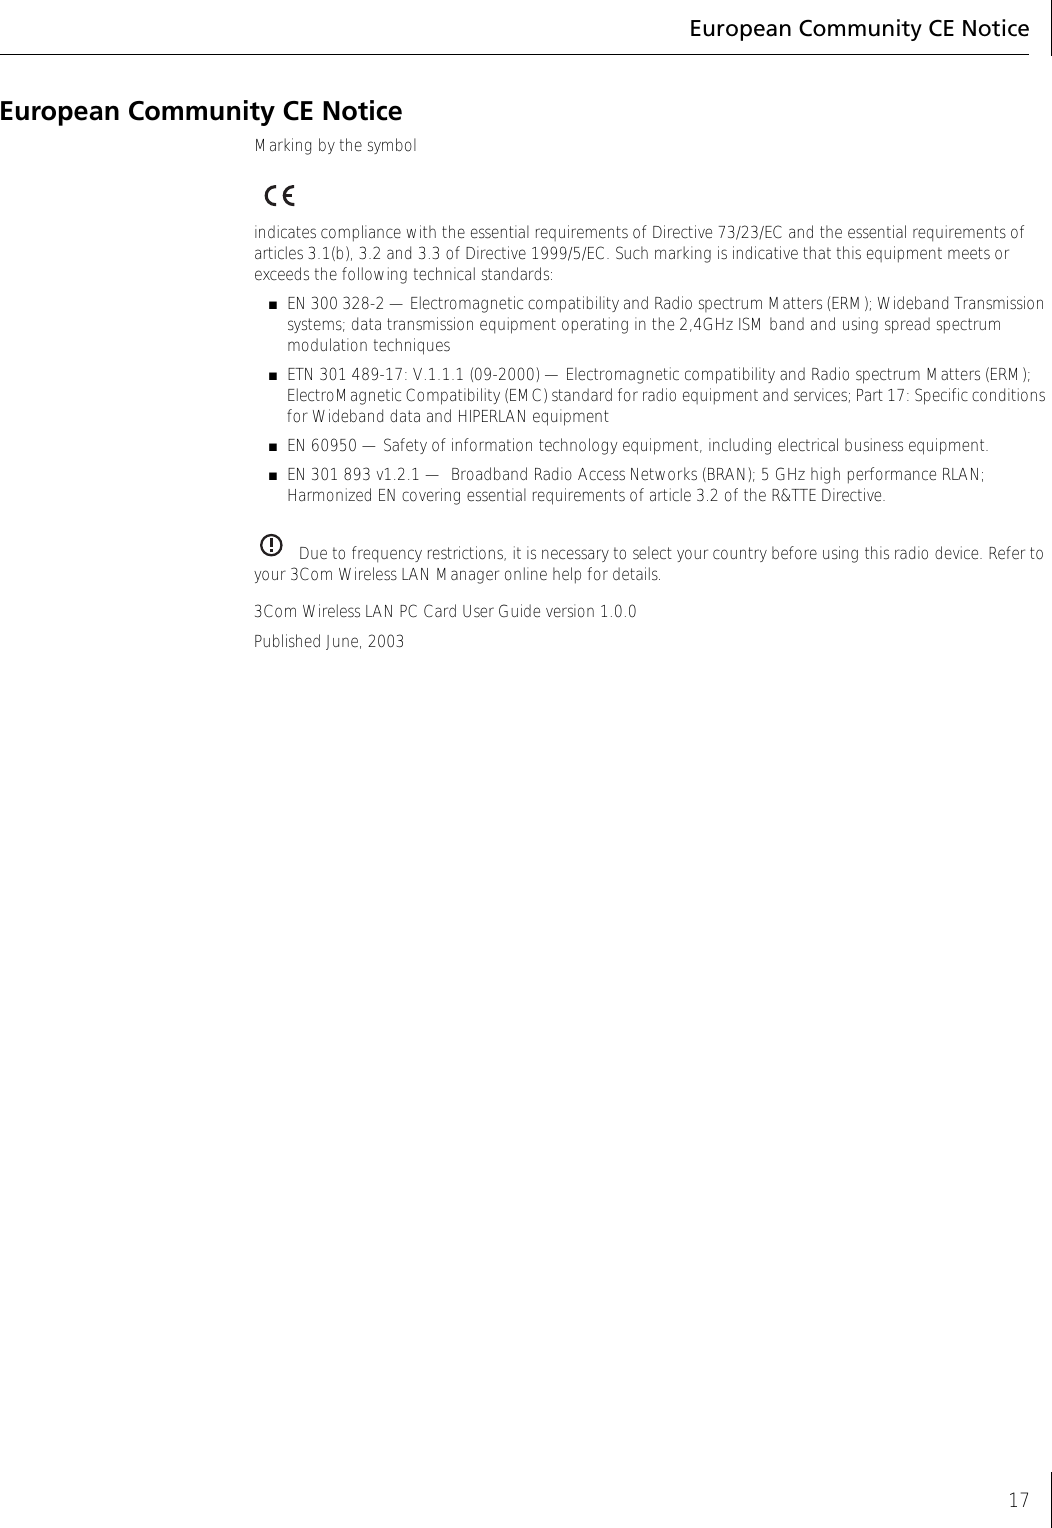
Users Manual Revised